Hey there, compost curious pals! Troy D Harn here, your friendly guide from TopChooser. Ever tossed kitchen scraps into a pile, only to be met with a stinky mess instead of rich, earthy goodness? You’re not alone! It happens to the best of us. But don’t let a little funk or a slow start discourage you. With a few simple tips, you can turn those common composting blunders into composting triumphs.
This guide is all about avoiding the most common aerobic composting mistakes. We’ll walk through them step-by-step, so you can get back to creating that amazing soil amendment your garden will love. Ready to ditch the drain smells and embrace the earth’s magic? Let’s get composting right!
Aerobic Composting Mistakes: Your Proven, Essential Guide
Composting is a fantastic way to reduce waste and create nutrient-rich soil for your garden. Aerobic composting, in particular, is a popular and effective method. It relies on oxygen to help beneficial microbes break down organic materials. But even with the best intentions, beginners can stumble into a few common pitfalls that can turn a promising pile into a smelly or sluggish mess. Don’t worry, though – these are totally fixable! With a little know-how, you can easily avoid these mistakes and achieve composting success.
What is Aerobic Composting?
Before we dive into the mistakes, let’s quickly recap what aerobic composting is all about. “Aerobic” simply means “with air.” In composting, this means we’re creating an environment where oxygen-loving (aerobic) microorganisms can thrive. These tiny helpers are the workhorses of composting. They break down our food scraps, yard waste, and other organic materials into a dark, crumbly, nutrient-rich compost. This process is generally faster and produces less odor than anaerobic (without air) composting when done correctly.
Common Aerobic Composting Mistakes (And How to Fix Them!)

Let’s get down to the nitty-gritty. Here are the most common mistakes people make with aerobic composting, and more importantly, how you can easily avoid them and get your compost brewing beautifully.
Mistake 1: The “Greens” and “Browns” Imbalance
This is arguably the most frequent mistake. Composting isn’t just about throwing everything in the bin. It’s a delicate balance of “greens” (nitrogen-rich materials) and “browns” (carbon-rich materials). Too much of one without enough of the other can lead to problems.
- Too many greens: This can make your compost pile wet, dense, and smelly. Think of it like a food fight where all the dessert gets to the plate first – it gets mushy!
- Too many browns: Your pile might not heat up enough or break down very quickly. It’s like trying to start a fire with only dry twigs – it might smolder, but it won’t burn hot and fast.
The Fix: The Ideal Ratio
The magic blend is generally considered to be about 2 parts browns to 1 part greens by volume, though this can vary. Don’t get too hung up on exact measurements, but aim for a good mix. Think of it this way: for every handful of kitchen scraps (greens), add a couple of handfuls of dried leaves or shredded paper (browns).
What are Greens? (Nitrogen-Rich)
- Fruit and vegetable scraps
- Coffee grounds and tea bags
- Grass clippings (in moderation)
- Plant trimmings
What are Browns? (Carbon-Rich)
- Dried leaves
- Shredded cardboard and newspaper (avoid glossy paper)
- Straw or hay
- Wood chips or sawdust (use sparingly and ensure they’re untreated)
- Egg cartons (shredded)
Pro Tip: Keep a stash of brown materials (like a bag of dried leaves or shredded paper) near your compost bin so you can easily add them whenever you add greens.
Mistake 2: Lack of Airflow (Not Turning Your Pile)
Aerobic composting literally needs air to work! If your compost pile is too compacted, or if you never turn it, the center of the pile can become anaerobic. This is where those stinky, unpleasant bacteria take over. Turning the pile introduces oxygen, helps all the materials break down evenly, and speeds up the composting process.
The Fix: Turn, Turn, Turn!
Aim to turn your compost pile at least once every 1-4 weeks. If you have a tumbling composter, you can just give it a spin. For a stationary bin or pile, use a pitchfork or a compost aerator tool to mix the materials. Try to bring the outer materials into the center and vice-versa. You’ll know your pile is getting enough air if it smells earthy and pleasant, not like rotten eggs or ammonia.
Tools for Turning:
- Pitchfork: Excellent for large, open piles.
- Compost Aerator Tool: These long, screw-like tools are specifically designed to easily insert into a compost pile and lift/aerate the material.
- Compost Tumbler: A rotating barrel that makes turning effortless.
Expert Tip: If your compost pile is starting to smell a bit off, it’s a strong signal that it needs more air. Give it a good turn!
Mistake 3: Adding the Wrong Materials
While composting is great for many organic materials, some shouldn’t go in. Adding these can attract pests, introduce diseases, or simply not break down well, hindering your efforts.
The Fix: Know What NOT to Compost
Avoid adding these items to your active compost pile:
- Meat, fish, and bones: These attract pests like rodents and can create strong odors.
- Dairy products (cheese, yogurt, milk): Similar to meat, they attract pests and can smell bad.
- Oily or greasy foods: They can slow down decomposition and create a greasy, unpleasant mess.
- Diseased plants: You risk spreading plant diseases back into your garden.
- Weeds that have gone to seed: The seeds might survive the composting process and end up in your garden.
- Pet waste (dog or cat feces): These can contain harmful pathogens.
- Treated wood or coal/charcoal ash: They can contain harmful chemicals.
- Synthetic materials: Plastics, synthetic fabrics, etc., won’t break down.
What About Small Amounts of Meat/Dairy?
Some advanced composting systems, like hot composting or using specialized tumblers designed for this purpose, can handle small amounts of meat and dairy. However, for beginner aerobic composting piles, it’s best to steer clear.
Mistake 4: Pile is Too Wet or Too Dry
Getting the moisture level right is crucial for those hardworking microbes. A compost pile needs to be moist like a wrung-out sponge, not soaking wet or bone dry.
The Fix: Moisture Control is Key
-
If your pile is too wet:
- Add more “brown” materials (dried leaves, shredded cardboard) to absorb excess moisture.
- Turn the pile to help it dry out and aerate.
- If it’s in a bin, ensure drainage holes are clear.
- If it’s raining heavily and your pile is exposed, consider covering it temporarily with a tarp.
-
If your pile is too dry:
- Add water! Use a hose or watering can.
- Turn the pile as you add water to ensure it distributes evenly.
- Add more “green” materials, which contain more moisture.
- Covering the pile can help retain moisture.
The Wring-Out-Sponge Test: Grab a handful of compost material. Squeeze it. A few drops of water should come out. If it’s dripping wet, it’s too wet. If it crumbles apart easily, likely too dry. If it feels just right, you’re golden!
Mistake 5: Not Chopping Materials Small Enough
While you don’t need to pulverize everything, larger materials take much longer to break down. Trying to compost whole watermelon rinds or large branches can significantly slow down your compost, or some pieces might not break down at all in a standard composting cycle.
The Fix: Size Matters!
Chop, shred, or break down larger items into smaller, bite-sized pieces (around 1-2 inches). This increases the surface area, allowing microbes to access and break down the material more quickly and efficiently. So, instead of tossing whole carrots, chop them up. Tear up those large cardboard boxes. Break down those big leaves.
Tools to Aid Size Reduction:
- Garden shears or pruning snips
- Lawn mower (for grass clippings and leaves – just run over them a few times)
- Shredder (for paper, cardboard, and yard waste)
- A good old-fashioned knife and cutting board for kitchen scraps
Why this helps: Think of it like this: a whole loaf of bread takes longer to eat than sliced bread. The smaller the pieces, the faster they get “eaten” by the microbes!
Mistake 6: Forgetting About Temperature (for Hot Composting)
This mistake is more relevant if you’re aiming for “hot composting,” where the pile heats up significantly (130-160°F or 55-70°C). This high heat kills weed seeds and pathogens more effectively and speeds up decomposition considerably. If your pile isn’t heating up, you might have made one of the mistakes already discussed, like an imbalance of greens/browns, poor aeration, or incorrect moisture.
The Fix: Achieving the “Hot” in Hot Composting
For hot composting, you need a good balance of greens and browns, a decent pile size (at least 3x3x3 feet is ideal for retaining heat), consistent moisture, and regular turning (every few days to a week). The heat is generated by the microbial activity. If your pile isn’t heating up, check:
- Greens-to-Browns Ratio: Typically, you need a higher proportion of nitrogen (greens) for the initial heating phase.
- Pile Size: Small piles lose heat too quickly.
- Aeration: While heat builds, you still need oxygen. Turning is crucial.
- Moisture: Too dry and the microbes slow down; too wet and they can’t get enough oxygen.
Note: Cold composting (where the pile doesn’t heat up much) still works, it just takes longer and may not kill as many weed seeds or pathogens. So, don’t despair if your pile doesn’t get hot – it will still break down over time!
Mistake 7: Using the Wrong Type of Compost Bin or Pile Structure
While a simple pile in the corner of your yard can work, using a bin or structuring your pile properly can significantly improve aeration, moisture retention, and tidiness.
The Fix: Choose Your Composting Style Wisely
Consider these options:
Types of Compost Systems
| System Type | Pros | Cons | Best For |
|---|---|---|---|
| Open Pile | Simple, no cost, easy to add materials. | Can be messy, may attract pests, slower decomposition, needs more space. | Large yards, lots of yard waste. |
| Enclosed Bins (Plastic or Wood) | Tidy, retains heat and moisture well, deters pests. | Can be harder to aerate, limited size. | Smaller yards, urban/suburban settings. |
| Tumblers | Easy to turn/aerate, fast decomposition, pest-proof, contained. | Higher cost, limited capacity per batch, can get heavy when full. | Busy individuals, small spaces, quick compost needed. |
| Three-Bin System | Allows for continuous composting – one bin for fresh materials, one for active composting, one for curing. | Requires more space and DIY building skills. | Serious gardeners with high compost needs. |
For Beginners: An enclosed bin or a basic tumbler is often a great starting point. They help manage the materials and keep things tidy, which is great when you’re learning.
Importance of Aeration
Regardless of the system, ensure there’s airflow. Many bins have vents. If you’re building your own, leave gaps or use slatted sides. For open piles, the turning process provides aeration. For tumblers, the spinning integrates air. Even with enclosed bins, occasional stirring or adding a perforated pipe into the center can help.
The United States Environmental Protection Agency (EPA) offers excellent resources on composting, detailing different methods and their benefits. Check out their composting at home guide for more official advice.
Mistake 8: Impatience – Expecting Compost Too Soon
Composting is a natural process, and it takes time. Many beginners get discouraged when they don’t have finished compost in a couple of weeks. The truth is, depending on your methods, materials, and the effort you put in, compost can take anywhere from a few months to a year or more to be ready.
The Fix: Embrace the Wait and Learn to Recognize Finished Compost
Instead of watching the clock, focus on the signs of finished compost:
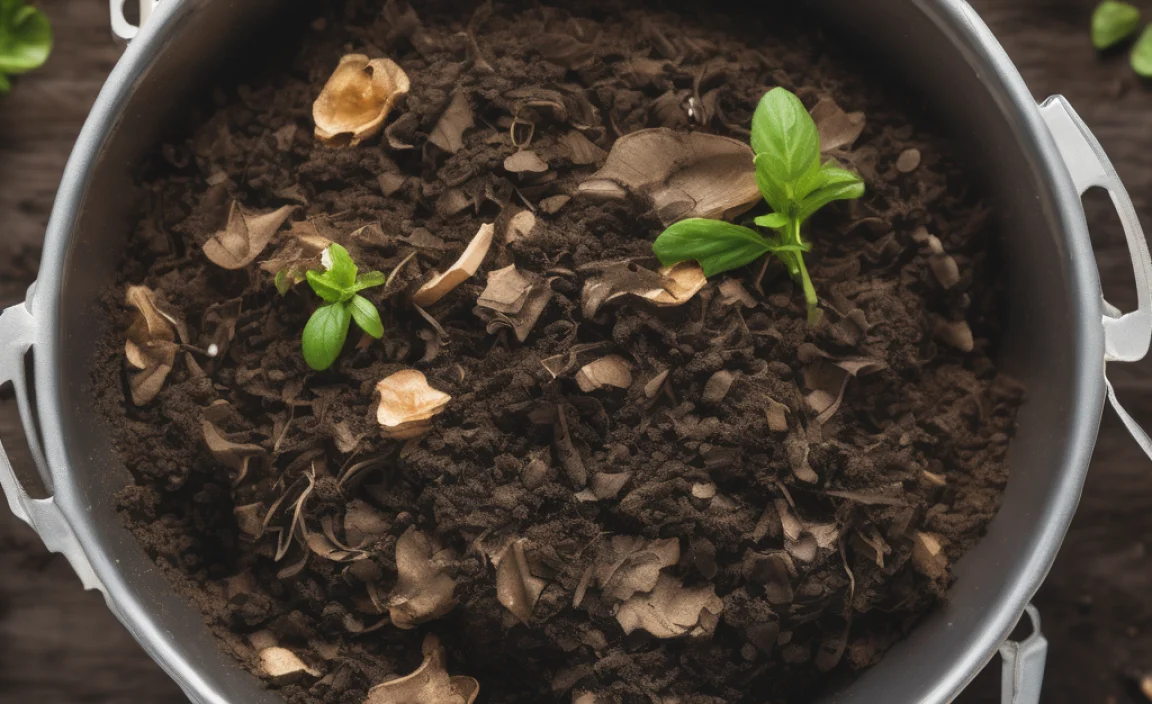
- Appearance: It should be dark brown or black, crumbly, and resemble rich soil or coffee grounds.
- Smell: It should have a pleasant, earthy aroma, like a forest floor after rain. No sour or ammonia smells!
- Texture: You shouldn’t be able to recognize the original materials (e.g., no identifiable leaves, veggie peels, etc.). Everything should be broken down.
- Temperature: Finished compost will be at ambient (outside) temperature.
Factors Affecting Speed:
- Hot Composting: Faster (1-3 months) if done meticulously with the right conditions.
- Cold Composting: Slower (6-12+ months) with less active management.
- Material Size: Smaller pieces break down faster.
- Aeration & Moisture: Well-managed piles compost faster.
Tip: While waiting for your main pile, consider a separate bin for curing compost. This lets the finished compost rest and mature without being disturbed by new additions.
Quick Benefits of Avoiding These Mistakes
By steering clear of these common pitfalls, you’re setting yourself up for:
- Faster Composting: Your pile will break down materials more efficiently.
- Less Odor: A well-balanced, aerated pile smells earthy, not foul.
- Fewer Pests: Avoiding food scraps like meat and dairy keeps unwanted visitors away.
- Better Quality Compost: You’ll end up with nutrient-rich, beneficial soil amendment.
- More Encouragement: Successful composting is rewarding and motivates you to continue!
Troubleshooting Quick Guide
Here’s a handy chart to quickly identify potential issues and solutions:
| Problem | Possible Cause | Solution |
|---|---|---|
| Smelly Pile (Ammonia/Rotten Eggs) | Too many greens; lack of air. | Add more browns; turn the pile thoroughly. |
| Pile is Dry and Not Decomposing | Too many browns; not enough moisture. | Add water; add more greens; mix well. |
| Pile is Wet and Slimy | Too many greens; too much moisture; lack of air. | Add more browns; ensure good drainage; turn the pile. |
| Attracting Pests (Rodents, Flies) | Improper materials added (meat, dairy, oils); pile too wet/exposed. | Remove forbidden items; maintain proper moisture |


I am passionate about home engineering. I specialize in designing, installing, and maintaining heating, ventilation, and air conditioning systems. My goal is to help people stay comfortable in their homes all year long.