Tired of your kitchen scraps piling up? Wondering how to turn that leftover food and yard waste into gardener’s gold without the yucky smells? You’re not alone! Many folks find composting a bit daunting, especially with all the different methods out there. But what if there was a way to speed things up and make it, well, smell good? Let’s dive into aerobic composting and discover how it can be a genius solution for your home and garden. We’ll break it down so you can start turning trash into treasure in no time!
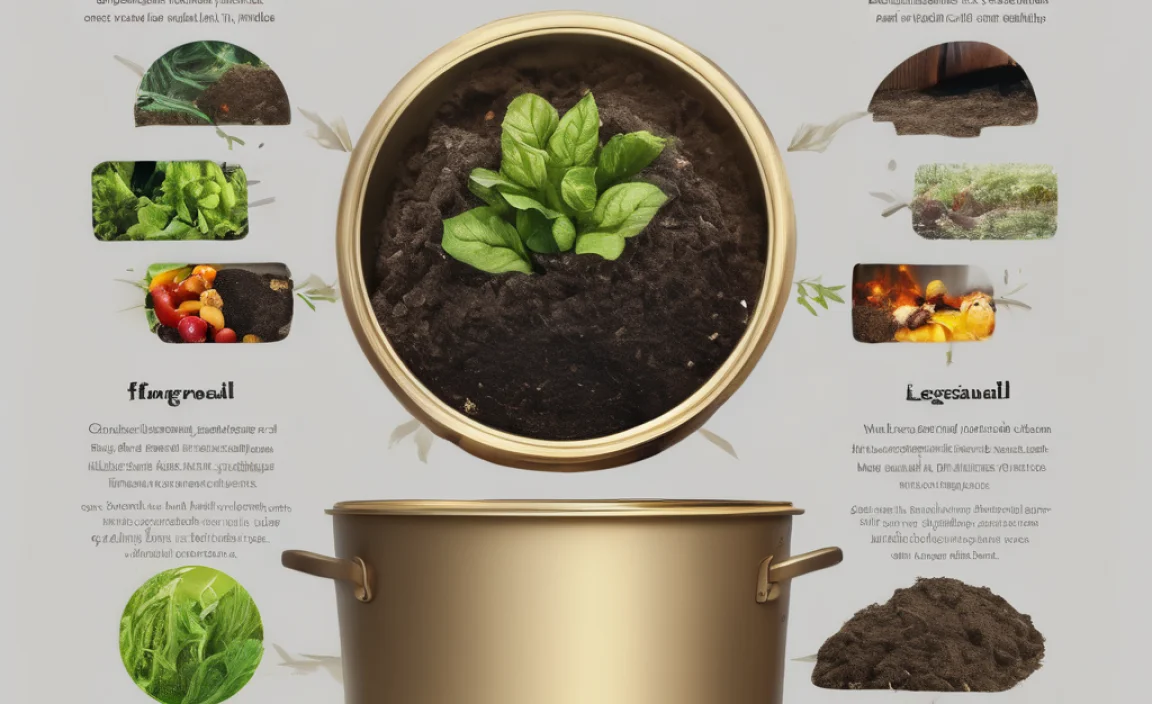
Aerobic Composting Review: Genius Insights for Speedy, Odor-Free Results
Hey there, fellow home improvers and garden enthusiasts! Troy D Harn here, your go-to guy for making DIY projects and home tasks simple and stress-free. Today, we’re tackling something super rewarding: composting. Specifically, we’re going to do an “aerobic composting review” to uncover why this method is a game-changer, especially for beginners. Forget all those complicated charts and scary jargon; we’re going to make this as easy as pie, or rather, as easy as compost!
Have you ever heard of composting and pictured a smelly, messy heap in the corner of your yard? I get it. It can seem intimidating. But aerobic composting is different. It’s all about giving those tiny composting helpers – the microbes – plenty of good, fresh air. And guess what? When they have lots of air and the right food, they work faster and, best of all, without that rotten egg smell that puts people off. This method is a truly genius insight for anyone wanting to create nutrient-rich soil for their plants without the fuss.
In this review, we’ll explore what aerobic composting is, why it’s so effective, the simple tools you’ll need, how to get started, and what to watch out for. By the end, you’ll have all the confidence and knowledge to start your own speedy, sweet-smelling compost!
What Exactly is Aerobic Composting?
Let’s break down the “aerobic” part. In simple terms, “aerobic” means “with air.” So, aerobic composting is a method where beneficial microorganisms, mostly bacteria, break down organic materials in the presence of oxygen. Think of it like this: these little helpers need to breathe to do their work efficiently. When they have plenty of air, they thrive, multiply, and gobble up your compostables much faster than they would in a stagnant environment. This process generates heat, which also helps speed things up and kill off weed seeds and pathogens.
Contrast this with anaerobic composting, which happens without much oxygen. Anaerobic composting can also break down organic matter, but it’s a much slower process and often produces those less-than-pleasant odors because different types of microbes are doing the work. For a quick, clean, and effective compost, aerobic is the way to go.
Why Aerobic Composting is a Genius Move
So, what makes this method so special? It’s a blend of speed, efficiency, and a remarkably pleasant user experience. If you’re looking for practical, reliable results without the typical composting drawbacks, aerobic is your answer.
Key Benefits Reviewed:
- Speed: Because the microbes have abundant oxygen, they work at a furious pace. Properly managed aerobic compost can be ready in as little as 4-6 weeks, compared to months or even a year for other methods.
- Odor Control: This is a big one! The aerobic process, especially when balanced correctly with carbon and nitrogen materials, produces very little to no foul odors. It should smell earthy and pleasant, like a forest floor after rain.
- Reduced Pests: The higher temperatures generated by active aerobic composting help to deter common pests like rodents and flies.
- High-Quality Compost: The quick breakdown under optimal conditions results in a nutrient-rich, stable compost that’s excellent for improving soil structure and fertility.
- Less Work (Eventually): While it requires initial attention, a well-established aerobic system often requires less turning and management than slower methods once it’s going.
The Essential Toolkit for Aerobic Composting
You don’t need a ton of fancy gadgets to start aerobic composting. The beauty is in its simplicity. Here’s what you’ll likely need:
Your Aerobic Compost Starter Kit:
- A Compost Bin: This is where the magic happens. You have options here:
- Open Piles: The simplest, no-cost option. Just dedicate a space (usually a corner of your yard). Needs more frequent turning to ensure aeration.
- Enclosed Bins (Stationary): These are common, often made of plastic or wood. They help retain heat and moisture and can look tidier. Many have lids and bases for good airflow.
- Tumblers: These are rotating drums. They make turning compost super easy – just give them a spin! They are great for speeding up the process and keeping pests out.
Ensure whatever you choose allows for good airflow. Look for bins with vents or slots.
- A Pitchfork or Compost Aerator Tool: Essential for turning and aerating your compost pile. An aerator tool is specifically designed to poke holes and lift materials without requiring you to turn the whole pile.
- A Garden Hose with a Spray Nozzle: Compost needs moisture, like a wrung-out sponge. You’ll need this to add water when it gets too dry.
- Kitchen Compost Caddy: A small container with a lid to collect your kitchen scraps before taking them out to the main compost bin. This is handy, reduces trips outside, and keeps your countertops clean.
- Gloves: For protecting your hands while handling materials.
- A Measuring Tool (Optional but helpful): Knowing your green-to-brown ratios makes things easier. A simple rake or shovel can help with this.
Getting Started: Your Step-by-Step Aerobic Composting Guide
Ready to get your hands dirty (but not too dirty)? Here’s how to set up and maintain your aerobic compost pile. It’s straightforward, and I’ll guide you through each step.
Step 1: Choose Your Location
Find a suitable spot for your compost bin or pile. Ideally, it should be:
- Conveniently located so you can easily add materials and turn the pile.
- Well-drained so it doesn’t become waterlogged.
- Partially shaded is often best. Too much direct sun can dry it out quickly, while full shade might keep it too cool and slow the process.
- Accessible by water (near a hose spigot).
Step 2: Gather Your “Greens” and “Browns”
This is the heart of composting – the recipe! You need a good balance of nitrogen-rich materials (“greens”) and carbon-rich materials (“browns”). A common recommendation is a ratio of about 1 part greens to 2-3 parts browns by volume, though this can be flexible. Getting this balance right is key to preventing odors and speeding up decomposition.
Common “Greens” (Nitrogen-Rich):
- Fruit and vegetable scraps
- Coffee grounds and tea bags
- Grass clippings (in thin layers to avoid matting)
- Plant trimmings (non-woody)
- Manure from herbivores (chicken, cow, horse – aged is best)
Common “Browns” (Carbon-Rich):
- Dry leaves
- Straw or hay
- Shredded newspaper or cardboard (avoid glossy paper or colored inks)
- Wood chips or sawdust (use sparingly)
- Small twigs and branches
What to Avoid: Meat, dairy products, oily foods, diseased plants, pet waste (from dogs and cats), and weeds that have gone to seed are generally best avoided as they can attract pests, create odors, or spread disease and weeds.
Step 3: Build Your Compost Pile (Layering is Key!)
Start building your pile from the bottom up.
- Base Layer: Begin with a coarse layer of bulky brown materials like twigs or straw. This helps with drainage and airflow from the bottom.
- Alternate Layers: Add alternating layers of greens and browns. Think of it like making a lasagna. A good starting point is a layer of greens, then a thicker layer of browns. Break up larger items to increase surface area.
- Moisten as You Go: Lightly water each layer as you build it. The goal is for the material to be as damp as a wrung-out sponge – not dripping wet, but not dry either.
- Finishing Layer: Cap your pile with a layer of browns to help retain moisture and discourage pests.
If using a compost tumbler, you’ll add materials as you go, aiming for a good mix of greens and browns inside the drum.
Step 4: Aerate and Turn Your Compost
This is where the “aerobic” magic really happens. To keep oxygen flowing, you need to turn your compost.
- For Open Piles/Bins: Aim to turn the pile every 1-2 weeks. Use your pitchfork or aerator tool to mix the outer layers into the center and the inner layers to the outside. This distributes moisture, oxygen, and heat.
- For Tumblers: Simply rotate the drum every few days or according to the manufacturer’s instructions. Tumblers make this step incredibly easy and efficient.
Troy’s Tip: Don’t be afraid to get in there with your pitchfork! Turning your compost is like giving it a good shake-up. It helps all those little microbes get to work much faster!
Step 5: Monitor Moisture Levels
Your compost needs to stay moist, but not soggy.
- Too Dry: If your pile feels dry and decomposition is slow, add water. You might need to turn it after watering to ensure the moisture penetrates evenly.
- Too Wet: If your pile is soggy and smells sour or ammoniac, it likely has too much moisture and not enough air. Add more dry brown materials and turn it thoroughly to introduce air and absorb excess moisture.
You can test the moisture by squeezing a handful of compost. If a few drops of water come out, it’s about right. If water streams out, it’s too wet. If it crumbles easily, it’s too dry.
Step 6: Watch for Magic (and When It’s Ready!)
As the process continues, your compost pile will heat up. This is a good sign! The material will start to break down, shrink in volume, and become darker and more crumbly. You’ll notice the original materials become less and less recognizable. The whole process can take anywhere from 4 weeks to 3 months, depending on the materials, the bin type, and how often you turn it.
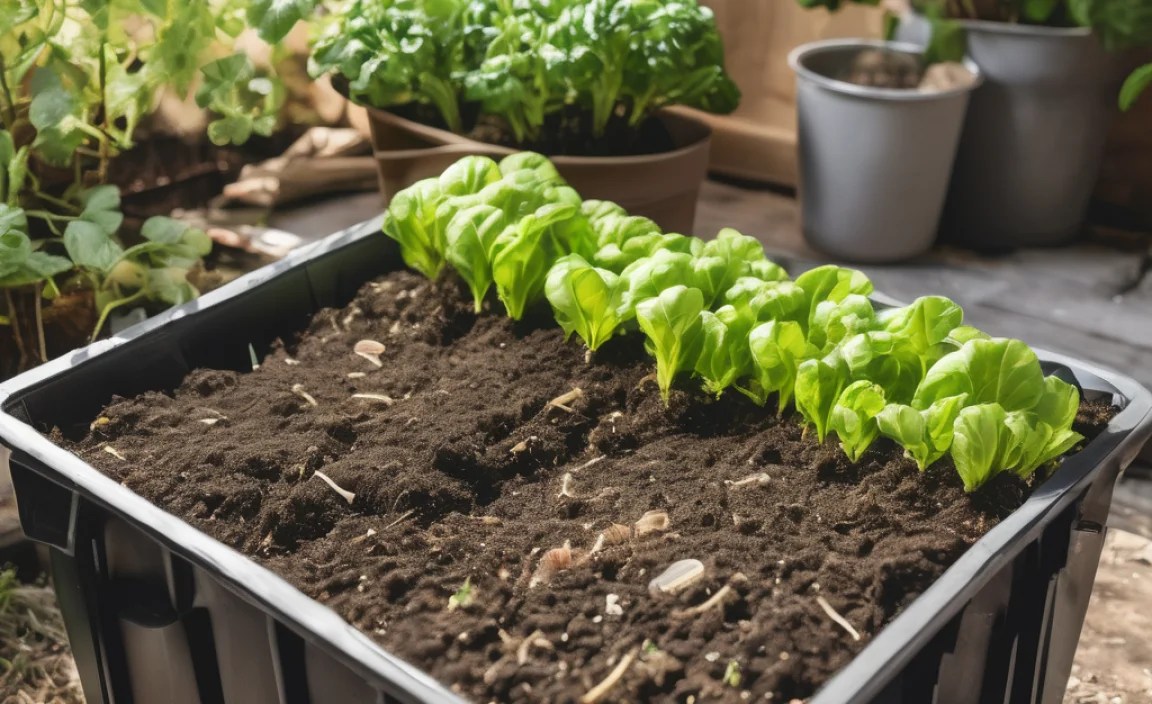
Finished compost will be dark, crumbly, and smell like rich soil. You won’t be able to identify the original ingredients. It’s ready to be used in your garden!
Troubleshooting Common Aerobic Composting Issues
Even with the best intentions, sometimes things don’t go perfectly. Here are a few common hiccups and how to fix them:
| Problem | Possible Cause | Solution |
|---|---|---|
| Smells Like Ammonia or Rotten Eggs | Too many “greens” (nitrogen) or not enough air (anaerobic conditions). | Add more “browns” (carbon-rich materials like dry leaves, shredded cardboard) and turn the pile thoroughly to aerate it. Ensure good airflow in your bin. |
| Pile Isn’t Heating Up | Too small, too dry, not enough “greens,” or not enough air. | Add more materials to increase volume. Check moisture and water if dry. Add more nitrogen-rich “greens.” Turn the pile to introduce air. Small piles may not heat up as much but will still compost. |
| Pile is Slimy and Soggy | Too much moisture, not enough “browns,” or poor drainage. | Add plenty of dry “browns” like shredded paper or leaves. Turn the pile vigorously to incorporate the browns and aerate. Ensure your bin has good drainage. |
| Attracting Pests (Flies, Rodents) | Exposed food scraps, or you’re adding forbidden items. | Bury fresh kitchen scraps deep within the pile or under a layer of browns. Ensure your bin has a secure lid or is managed properly. Do not add meat, dairy, or oily foods. The higher temperatures of active aerobic composting usually deter pests naturally. |
Making the Most of Your Precious Compost
Once your aerobic compost is ready, congratulations! You’ve created black gold for your garden. Here’s how to use it:
- Soil Amendment: Mix compost into your garden beds before planting. It improves soil structure, drainage, water retention, and provides essential nutrients. A common recommendation is to mix in 2-4 inches of compost into the top 6-8 inches of soil.
- Top Dressing: Spread a layer of compost around the base of established plants, shrubs, and trees. This feeds the soil and helps retain moisture.
- Mulch: Compost makes an excellent, nutrient-rich mulch.
- Potting Mix: Mix compost with other ingredients like perlite or vermiculite to create a superior potting mix for containers and hanging baskets.
For more detailed information on soil health and compost use, the USDA Natural Resources Conservation Service offers great resources on soil amendments and organic matter.
Is Aerobic Composting Right for You?
Based on our review, aerobic composting shines for a few key reasons. If you value:
- Speed: You want compost relatively quickly.
- Odor Control: You’re concerned about smells.
- Ease of Use: You prefer a straightforward, less messy process.
- Efficiency: You want to maximize nutrient output for your garden.
Then yes, aerobic composting is likely a genius fit for your home and gardening needs!
Conclusion: Your Journey to Genius Composting Starts Now!
There you have it! Aerobic composting isn’t some complex science experiment reserved for experts; it’s a practical, effective, and frankly, genius way to handle your organic waste and enrich your garden. By understanding the simple principles of providing air, moisture, and a balanced diet of greens and browns.
Frequently Asked Questions About Aerobic Composting
Q1: How long does it take for aerobic compost to be ready?
A: With proper management, including turning and maintaining the right moisture and green/brown balance, aerobic compost can be ready in as little as 4 to 6 weeks. However, it can also take up to 3 months, depending on the conditions and materials used. Tumbler composters and well-managed hot piles tend to be the fastest.
Q2: What are the main differences between aerobic and anaerobic composting?
A: Aerobic composting uses oxygen and beneficial microbes, leading to faster decomposition and an earthy smell. Anaerobic composting occurs without oxygen, is much slower, and often produces foul odors due to different types of microbes. For most home gardeners, aerobic is preferred for its speed and lack of smell.
Q3: Can I compost everything in my kitchen?
A: You can compost most fruit and vegetable scraps, coffee grounds, and tea bags. However, it’s best to avoid meat, dairy products, oily foods, and pet waste from cats and dogs, as these can attract pests, create odors, and potentially spread pathogens.
Q4: My compost pile smells bad. What’s wrong?
A: A foul smell usually indicates a lack of oxygen or too much nitrogen. Try adding more carbon-rich “brown” materials (like shredded paper or dry leaves) and turning the pile to improve airflow. Ensure your compost isn’t too wet.
Q5: How much turning or aerating does my compost really need?
A: For open piles or stationary bins, turning every 1-2 weeks is a good guideline. Tumblers are easier; just turn them every few days. The goal is to keep air circulating throughout the pile. If you notice smells or slow decomposition, it’s a sign you might need to turn it more.
Q6: Can I use grass clippings in my aerobic compost?
A: Yes, grass clippings are excellent “green” materials. However, add them in thin layers and mix them well with brown materials. Thick layers of grass can mat down, block airflow, and become slimy, leading to odors.

I am passionate about home engineering. I specialize in designing, installing, and maintaining heating, ventilation, and air conditioning systems. My goal is to help people stay comfortable in their homes all year long.