“`html
Ever look at your kitchen scraps and garden waste and think, “There has to be a better way than the bin?” You’re not alone! Many South Africans want to turn that waste into something useful, like rich soil for their gardens. It can seem a bit daunting, but it doesn’t have to be. We’ll break down aerobic composting step-by-step, making it super easy to get started. Get ready to transform your waste into garden gold!
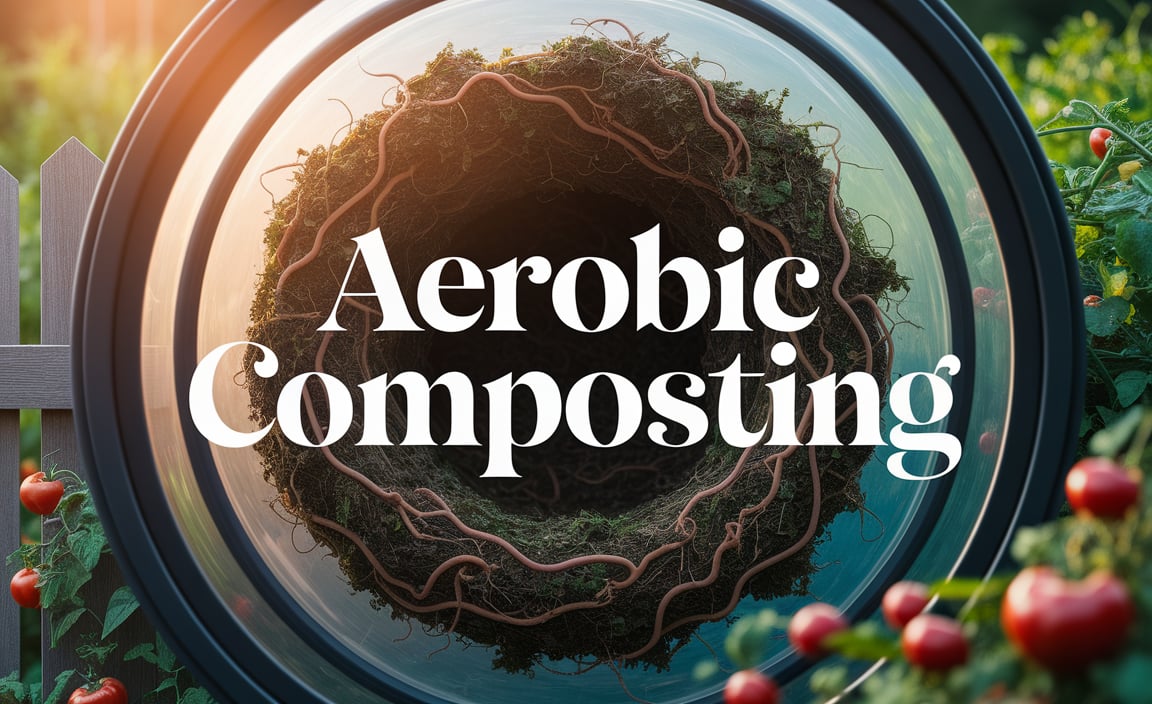
What Exactly is Aerobic Composting?
Let’s keep it simple. Aerobic composting is basically like giving tiny organisms (bacteria, fungi, and other helpers) a great party. These little guys love to munch on our organic waste – think fruit peels, veggie scraps, and grass clippings. The “aerobic” part just means they need air, or oxygen, to do their job. When they eat, they break down the waste, and voilà – you get compost! It’s a natural process, sped up by us humans.
Think of it like baking a cake. You need ingredients (your waste), a good environment (the compost bin with air and moisture), and time. The result? A delicious, nutrient-rich treat for your garden. Unlike some other composting methods, aerobic composting is generally faster and less likely to smell nasty, as long as it’s done right.
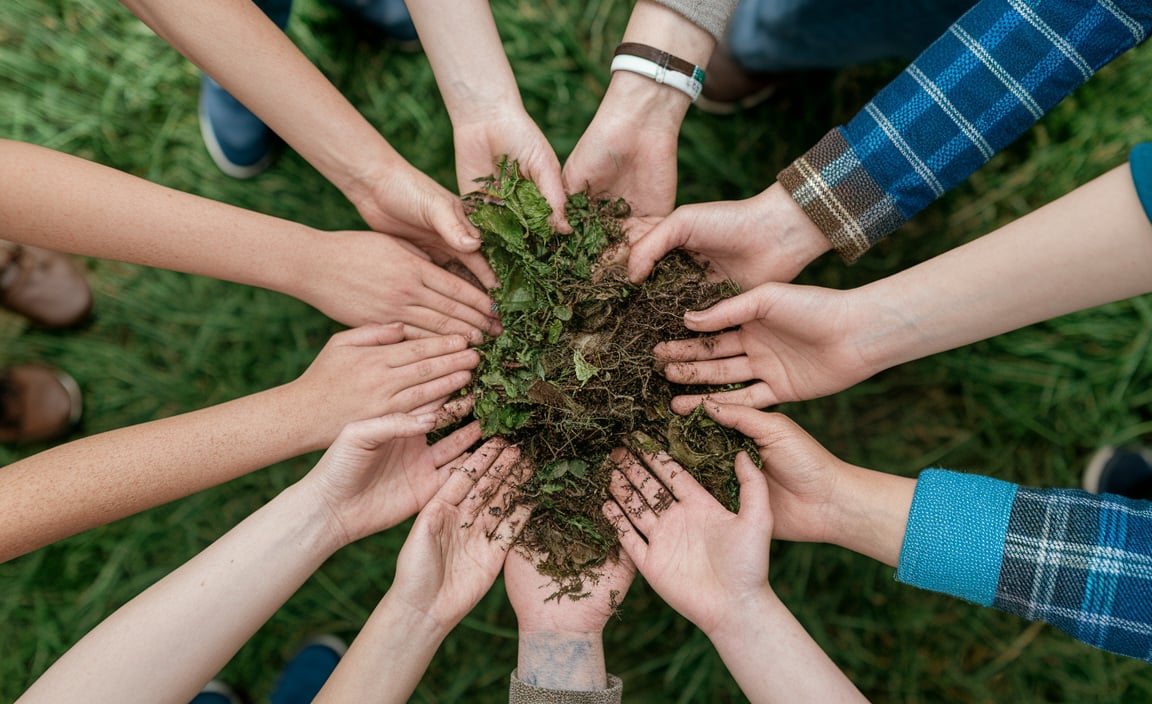
Why Aerobic Composting is Brilliant for South Africa
Why should you, a South African gardener (or aspiring gardener!), care about aerobic composting? Well, it’s a win-win-win:
- Reduces Waste: Our landfills are getting full. Composting a good chunk of your household waste is a fantastic way to lighten the load and be kinder to the environment.
- Creates Amazing Soil: Forget buying expensive fertilisers and soil conditioners. Homemade compost is packed with nutrients that will make your plants healthier and your garden bloom. It improves soil structure, helping it retain moisture – a big plus for our drier climates.
- Saves Money: Less waste going to landfill means lower refuse removal costs for some municipalities. Plus, you’re making your own valuable garden input for free!
- Boosts Local Biodiversity: Healthy soil teems with life. By composting, you’re encouraging beneficial microbes and organisms that contribute to a balanced garden ecosystem.
- Works Anywhere: Whether you have a sprawling garden in Cape Town or a small balcony in Durban, there’s an aerobic composting setup that can work for you.
Getting Started: Your Aerobic Composting Toolkit
You don’t need a lot of fancy gear to begin aerobic composting. Here’s what makes life easier:
Choosing Your Composting System
This is where you decide how you’ll be hosting that party for your little decomposer friends. There are a few popular options:
- Open Piles: The simplest method. You just pile your organic materials in a corner of your garden.
- Pros: Free, easy to start, can handle large volumes.
- Cons: Can look untidy, may attract pests if not managed well, takes longer to break down, can dry out quickly in our sun.
- Compost Bins/Tumblers: These are enclosed units, often made of plastic or wood. Tumblers are designed to be rotated, mixing the contents easily.
- Pros: Neater appearance, can deter pests, help retain moisture and heat, tumblers make turning easy.
- Cons: Can be an initial cost, some can be too small for large households, need to ensure good aeration.
For South African conditions, a bin or tumbler is often a great choice as it helps manage moisture and heat levels more effectively under our often strict weather patterns.
- Worm Farms (Vermicomposting): While technically a form of composting, worm farms use specific types of worms (like Red Wigglers) to break down food scraps. It’s a fantastic option for smaller spaces and produces high-quality compost (worm castings). We’re focusing on general aerobic composting here, but worm farms are worth looking into for apartment dwellers!You can find excellent resources on composting systems from organisations like the Western Cape Government’s Waste Management section, which often has local insights and initiatives.
Essential Tools
These aren’t strictly necessary, but they make the process much smoother:
- Fork or Shovel: For turning your compost pile.
- Watering Can or Hose: To keep your compost moist.
- Gloves: To keep your hands clean.
- A Pitchfork: Especially useful for aerating a larger pile.
- Optional: A Thermometer: To check the temperature of your compost, ensuring it’s hot enough to kill weed seeds and pathogens.
The Recipe for Great Compost: Greens and Browns
Think of composting like making a balanced meal. You need a good mix of “greens” (nitrogen-rich materials) and “browns” (carbon-rich materials). Getting this balance right is key to encouraging those happy decomposers and avoiding smelly problems.
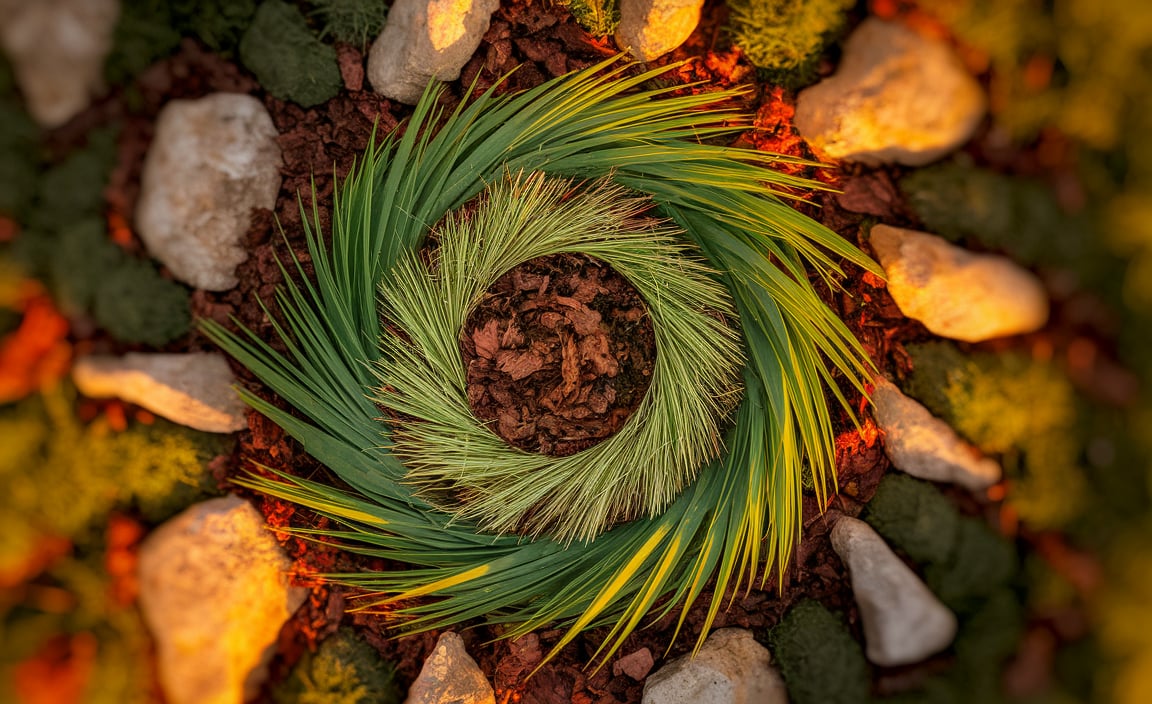
What are “Greens”? (Nitrogen-Rich)
These are typically moist, soft materials that provide nitrogen, which helps the microbes multiply and heat up the pile.
- Fruit and vegetable scraps (peels, cores, wilted lettuce)
- Grass clippings (in thin layers to avoid matting)
- Coffee grounds and tea bags (remove staples/plastic)
- Plant trimmings (fresh, green leaves)
- Eggshells (crushed)
- Manure from herbivores (cow, horse, chicken – essential if you can get it, but let it age first!)
What are “Browns”? (Carbon-Rich)
These are drier, bulkier materials that provide carbon, which gives the microbes energy and helps create air pockets in the pile.
- Dry leaves
- Straw and hay
- Wood chips and sawdust (use sparingly, particularly from treated wood)
- Shredded newspaper and cardboard (avoid glossy or coloured inks)
- Twigs and small branches (chopped up)
- Pine needles (use in moderation as they are acidic)
The Ideal Ratio
Aim for roughly two to three parts Browns to one part Greens by volume. This isn’t an exact science, and you’ll learn to eyeball it! Too many greens can make the pile wet and smelly; too many browns will slow down decomposition.
What NOT to Compost
Some things just don’t belong in a healthy compost pile. These can attract pests, spread diseases, or simply not break down properly.
- Meat, fish, and bones (attract pests and can smell)
- Dairy products (milk, cheese, yogurt – attract pests and smell)
- Oily or greasy foods
- Diseased plants or weeds that have gone to seed (unless your compost gets very hot, which is unlikely in a beginner setup)
- Pet waste (dog or cat faeces – contains pathogens)
- Chemically treated wood or ash from treated wood
- Coal or charcoal ash (can contain harmful substances)
- Weeds that have gone to seed (they might survive and re-infest your garden)
- Non-biodegradable materials (plastic, glass, metal)
Step-by-Step: Building Your Aerobic Compost Pile
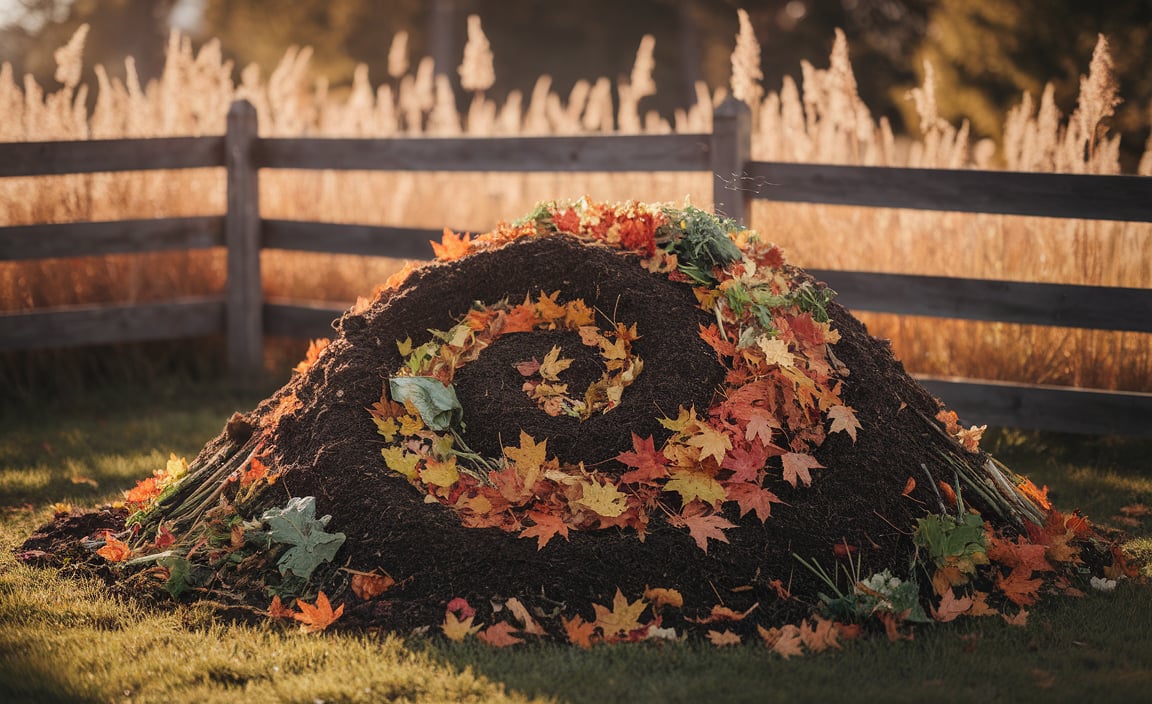
Ready to get your hands dirty (but not too dirty)? Follow these simple steps.
Step 1: Choose Your Location
Find a spot in your garden that is:
- Partially shaded (to prevent it from drying out too quickly in the sun)
- Well-drained (you don’t want it sitting in a puddle)
- Accessible for adding materials and turning
- Away from wooden structures if possible, to avoid moisture issues
Step 2: Start with a Layer of Browns
Begin your pile with a good layer of coarse brown material, like twigs or straw. This helps with aeration from the bottom up.
Step 3: Alternate Layers of Greens and Browns
Now, start adding your kitchen scraps (greens) and garden waste (browns). Think of it like making a layered cake or lasagne. Add a layer of greens, then cover it with a layer of browns. This helps balance the moisture and nitrogen/carbon, and it also deters pests. A good rule of thumb is to always finish with a layer of browns on top.
Step 4: Chop or Shred Materials
Smaller pieces break down much faster. Chop up large vegetable scraps, shred cardboard and newspaper, and break twigs into smaller bits. This increases the surface area for those microbes to feast on.
Step 5: Add Moisture
Your compost pile needs to be moist, like a wrung-out sponge. Not too wet, not too dry. If it feels dry, give it a good watering. If you’re adding a lot of dry brown material, you might need to add extra water.
Pro Tip for South Africa: In hot, dry periods common in many parts of our country, you’ll need to water more frequently. Covering your pile with a tarp or lid can help retain moisture.
Step 6: Aerate (Turn) Your Pile
This is where the “aerobic” part really comes in! Turning the pile mixes everything, introduces oxygen, and helps the microbes work efficiently. Aim to turn your compost pile every 1 to 4 weeks.
- Use a garden fork or shovel to mix the outer materials into the centre and the inner materials to the outside.
- If you’re using a tumbler, give it a few good spins every few days.
Turning also helps get the temperature up, which is great for faster composting and killing weed seeds and pathogens. If your pile starts smelling foul, it usually means it needs more air (turn it!) or it’s too wet.
Step 7: Wait and Monitor
Composting takes time. Depending on the materials, the temperature, and how often you turn it, your compost can be ready anywhere from 2 months to a year. You’ll know it’s ready when it’s dark, crumbly, smells earthy (like soil, not likerotting waste), and you can no longer recognise the original materials.
Watch for these signs:
- Heat: A healthy, active compost pile will heat up significantly in the centre.
- Moisture: It should feel moist but not soggy.
- Smell: It should smell earthy, not sour or ammonia-like.
Troubleshooting Common Composting Problems
Even with the best intentions, you might run into a few hiccups. Don’t worry! Most issues have simple solutions.
Problem: My Compost Smells Bad (Like Rotten Eggs or Ammonia)
- Cause: Too much nitrogen (greens) or not enough air. The pile is likely too wet and anaerobic (without oxygen).
- Solution: Turn the pile thoroughly to introduce air. Mix in more brown materials (dry leaves, straw, shredded cardboard) to absorb excess moisture and balance the carbon-to-nitrogen ratio.
Problem: My Compost Isn’t Heating Up or Breaking Down
- Cause: Not enough greens (nitrogen-rich materials), too dry, or not enough air.
- Solution: Add more green materials. Check moisture levels and water if needed. Turn the pile to introduce oxygen. Small compost piles often struggle to generate heat; a larger pile is more efficient.
Problem: My Compost Pile is Too Wet
Especially common during damp South African winter months or if you’ve added too many wet greens like fruit scraps.
- Cause: Too many wet green materials, not enough brown materials, or insufficient drainage.
- Solution: Turn the pile and mix in plenty of dry brown materials (shredded cardboard, dry leaves, sawdust). Ensure your bin has drainage holes or that your open pile isn’t creating a waterlogged area. You can also cover the pile during heavy rain.
Problem: My Compost Pile is Too Dry
A frequent issue in hot, arid regions of South Africa.

- Cause: Too many brown materials, hot weather, or a lack of watering.
- Solution: Water the pile thoroughly. Turn it to distribute the moisture evenly. Consider adding more green materials. Covering the pile with a tarp can help retain moisture.
Problem: Pests (Flies, Rodents) are a Problem
While aerobic composting at the right temperature discourages pests, sometimes they can still appear.
- Cause: Exposed food scraps, inclusion of meat/dairy/oils.
- Solution: Always bury kitchen scraps deep within the pile and cover them with a layer of browns. Ensure you’re not adding prohibited items like meat, dairy, or oily foods. A closed compost bin or tumbler is the best defence against pests.
Using Your Finished Compost
Once your compost is ready, it’s time to reap the rewards! It should be dark, crumbly, and smell earthy. You’ll barely recognise the original materials.
How to Use It:
- Soil Amendment: Mix it into your garden beds before planting to enrich the soil with nutrients and improve its structure. A layer of 2-4 inches is usually sufficient.
- Top Dressing: Spread a layer around existing plants to feed them and help retain moisture.
- Potting Mix: Mix it with other ingredients like coco coir, perlite, or sand to create a nutrient-rich potting mix for containers.
- Lawn Dressing: You can lightly rake compost into your lawn, especially before winter or spring growth.
You can sift your compost through a sieve or wire mesh to get a finer texture, especially if you’re using it for seedlings or potting mixes. The larger, unfinished bits can go back into your active compost pile.
Composting in Different South African Climates
South Africa has diverse climates, and this can affect your composting. Here are a few tips:
Hot, Dry Regions (e.g., Karoo, parts of Limpopo)
- Focus on Moisture: You’ll need to water your pile more often.
- Shade is Key: Position your pile or bin in a shaded spot.
- Covering Helps: Use a lid or tarp to retain moisture.
- Add Wetter Greens: Incorporate more fruit and vegetable scraps.
Temperate and Coastal Regions (e.g., Cape Town, Durban)
- Moisture Management: You might need to add water in dry spells, but you’ll also need to ensure good drainage in wetter periods.
- Turning is Crucial: Regular turning helps prevent the pile from becoming too waterlogged.
- Open Piles Can Work: If you manage moisture and turning well, open piles are feasible.
Humid Regions (e.g., Kruger Park area, parts of KZN)
- Aeration is Paramount: With high moisture, anaerobic conditions can set in quickly, leading to smells. Lots of turning and bulky brown materials are essential.
- Drying Out Browns: Stack your dry leaves and straw in a sunny spot to ensure they are properly dry before adding them to the pile.
No matter your climate, the principles of balancing greens and browns, ensuring moisture, and providing air remain the foundation of successful aerobic composting.
Frequently Asked Questions (FAQs)
| Question | Answer |
|---|---|
| How long does aerobic composting take? | It varies! With regular turning and a good mix of materials, you can have finished compost in 2-6 months. If you don’t turn it much, it could take up to a year. Tumblers often speed up the process. |
| Can I compost diseased plants? | It’s best to avoid it in a typical home compost system that doesn’t reliably reach high temperatures. Diseased plants can spread pathogens to your garden. |
| What is the difference between aerobic and anaerobic composting? | Aerobic composting requires oxygen and is generally faster, less smelly, and produces higher quality compost. Anaerobic composting happens without oxygen, is slower, and can produce unpleasant odours and potentially harmful by-products. |
| Why does my compost have fruit flies? | Fruit flies are |

I am passionate about home engineering. I specialize in designing, installing, and maintaining heating, ventilation, and air conditioning systems. My goal is to help people stay comfortable in their homes all year long.

