Got food scraps piling up? Wondering how to turn that kitchen waste into something useful for your garden, especially down under? It might seem complicated, but composting doesn’t have to be a headache. We’ll walk you through a simple method that works even if you don’t have heaps of space or time. Get ready to make your own garden gold!
Anaerobic Composting in Australia: Your Genius Essential Guide
G’day, garden enthusiasts! Troy D Harn here from TopChooser. If you’re looking to recycle your kitchen scraps and garden waste into amazing fertiliser for your Aussie garden, you’ve landed in the right spot. Composting is fantastic, but sometimes the traditional way (that’s aerobic composting, which needs air) can feel a bit… much. You might be thinking, “Do I really need a big pile and to turn it all the time?”
Well, what if I told you there’s a simpler way? It’s called anaerobic composting. And guess what? It can be a real game-changer, especially for Aussies who might have limited space, different weather conditions, or just want a bit of a shortcut. Don’t worry if you’re new to this; we’re going to break it all down, step-by-step. We’ll cover what it is, why it’s great, how to do it easily in Australia, and answer all your burning questions. Ready to get your compost on, the easy way?
What Exactly is Anaerobic Composting?
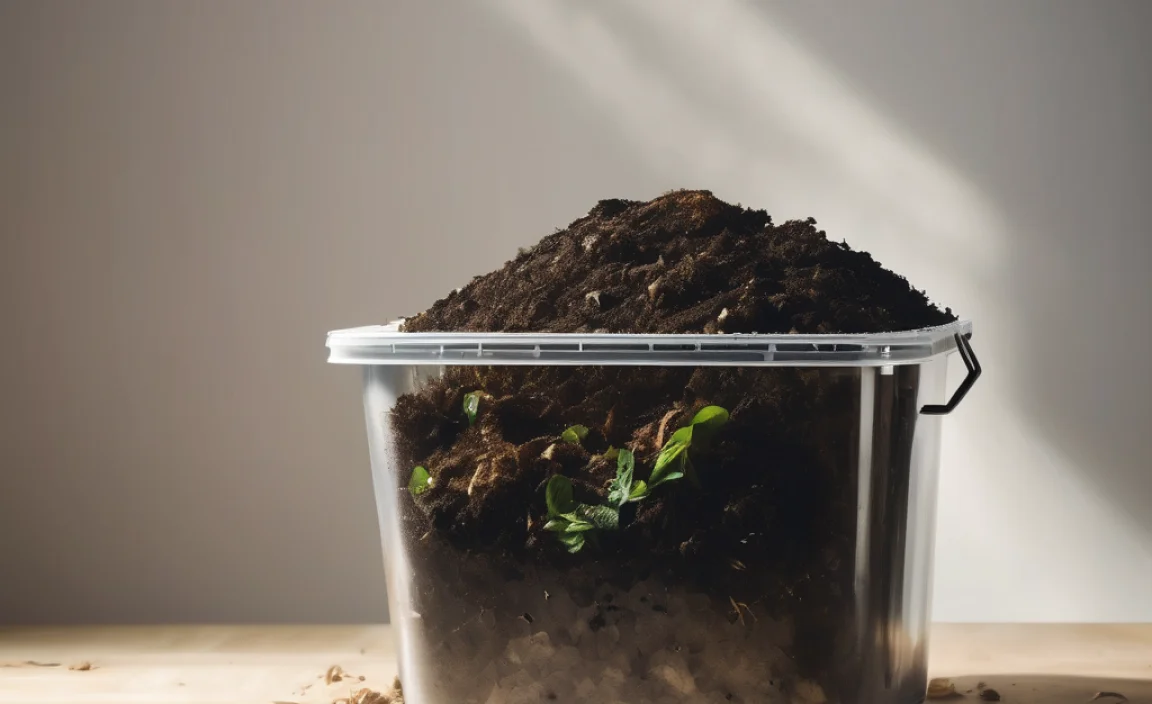
Let’s start with the basics. “Anaerobic” simply means “without air.” So, anaerobic composting is a process where microorganisms break down organic material in an environment that has little to no oxygen. This is different from the more common “aerobic” composting, which relies on oxygen-loving microbes (bugs!) to do the work.
Think of it like this: Aerobic composting is like a bustling, well-ventilated party where everyone gets to chat and dance. Anaerobic composting is more like a quiet gathering where different types of guests mingle and do their thing in a more contained space. Both get the job done, but they use different methods.
Why Choose Anaerobic Composting in Australia?
Now, you might be asking, “Why would I want to compost without air? Doesn’t that sound… yucky?” It’s a fair question! But anaerobic composting has some real advantages, especially for us here in Australia:
- Less Work, Less Turning: The biggest win? Anaerobic systems generally don’t require turning. This means less physical effort for you! Aerobic piles need regular turning to keep oxygen flowing, but anaerobic systems are designed to work in a low-oxygen state.
- Faster for Some Materials: Paradoxically, for certain types of waste, anaerobic decomposition can actually be faster than aerobic methods from start to finish.
- Handles Wet Waste Better: If your kitchen produces a lot of wet waste (like fruit peels and vegetable scraps), anaerobic systems can sometimes manage this moisture more effectively without becoming waterlogged and smelly.
- Good for Limited Spaces: Many anaerobic composting setups are contained units, which makes them ideal for smaller backyards or even balconies.
- Less Odour (When Done Right!): While the process itself can produce odours if unbalanced, a well-managed anaerobic system can be surprisingly odour-free, often better than a neglected aerobic pile.
- Reduced Greenhouse Gas Emissions (Potentially): While anaerobic digestion can produce methane (a greenhouse gas), in some controlled systems, this can be captured or managed. However, for home composting, the environmental benefits of diverting waste from landfill usually outweigh these concerns, especially with well-managed systems.
Understanding Anaerobic vs. Aerobic Composting
To really appreciate anaerobic composting, it helps to know how it compares to its air-loving cousin. Here’s a quick rundown:
| Feature | Anaerobic Composting | Aerobic Composting |
|---|---|---|
| Oxygen Levels | Low to none | With plenty of oxygen |
| Microbes Involved | Anaerobic bacteria | Aerobic bacteria, fungi, actinomycetes |
| Turning Required | Little to none | Regular turning needed |
| Speed | Can be faster for some materials, slower for others | Generally slower process but produces compost consistently |
| Moisture Management | Can handle wetter materials | Needs careful moisture balance to avoid waterlogging |
| Odour Potential | Can be strong if unbalanced; should be minimal if managed well | Should be earthy; strong ammonia smell indicates issues |
| Ideal for | Busy people, small spaces, wet waste | Larger gardens, active gardeners, diverse waste streams |
Common Anaerobic Composting Systems for Australians
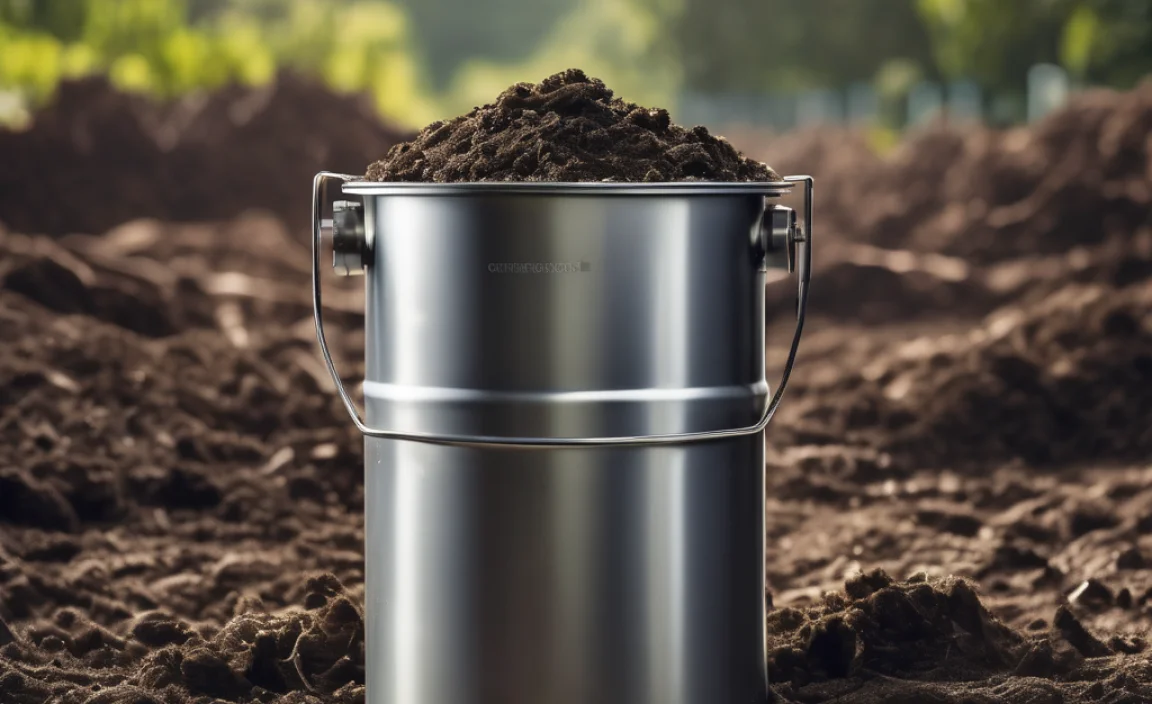
So, how do we actually do this anaerobic thing? The most common and beginner-friendly way is using a sealed container or system. Here are a few popular options:
1. The Bokashi Bin System
This is probably the most popular and accessible anaerobic method for home use. Bokashi isn’t traditional composting; it’s actually a form of fermentation. It uses a special mixture of effective microorganisms (EM) – a blend of lactic acid bacteria, yeasts, and actinomycetes – to pickle your food scraps.
How it works:
- You layer your kitchen scraps (yes, even meat and dairy!) in an airtight Bokashi bin.
- Between each layer, you sprinkle a dose of Bokashi bran, which contains those wonderful microbes.
- The microbes work in an anaerobic environment to ferment the waste, preserving it rather than letting it rot.
- As it ferments, a liquid (Bokashi tea) is produced. This liquid is collected from the tap at the bottom of the bin and is a fantastic liquid fertiliser for your plants (dilute it first!).
- Once the bin is full and sealed for about two weeks, the fermented waste needs to be buried in the garden or added to a traditional compost pile to finish breaking down. This final stage is where the aerobic microbes take over and turn the fermented material into rich soil.
Where to get it: Bokashi starter kits are widely available from online gardening stores, some hardware stores, and eco-friendly retailers across Australia. Check out places like Bokashi Australia for clear information and products.
2. Sealed Compost Bins (less common for pure anaerobic)
While most sealed compost bins aim for a balance, some can lean towards an anaerobic process if not managed correctly for airflow. These are often tumblers or enclosed plastic bins. If you have one of these and aren’t actively aerating it, you might be unintentionally creating a more anaerobic environment.
Important Note: These are generally designed for aerobic composting, and forcing them into an anaerobic state can lead to bad smells and sludge. If you have one, focus on the aerobic methods for best results, unless you are specifically trying to manage conditions towards anaerobic breakdown (which is trickier).
Setting Up Your Anaerobic Composting: The Bokashi Way
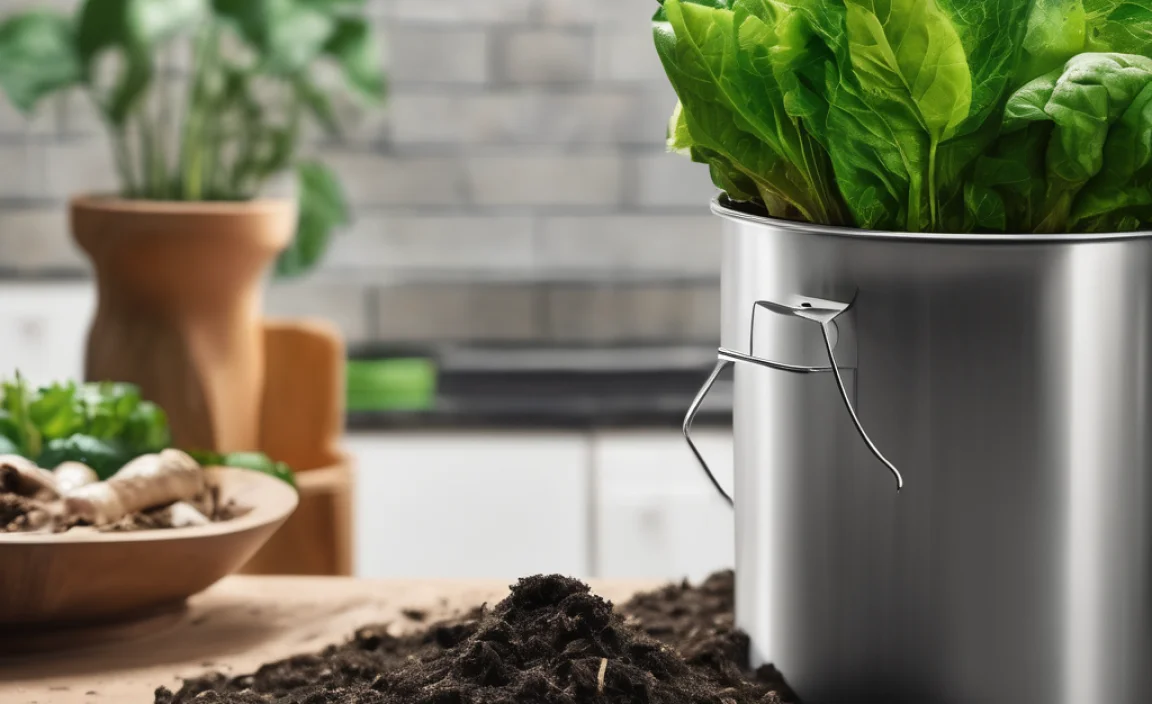
Let’s get practical. The Bokashi system is your best bet for easy anaerobic composting. Here’s what you’ll need and how to get started:
What You’ll Need:
- Bokashi Bin: You’ll need at least one, but two is better so you can have one fermenting while the other is being filled. They usually come with an airtight lid and a spigot for draining the liquid too.
- Bokashi Bran: This is the magic ingredient! You can buy it online easily.
- Kitchen Scraps: All your fruit and vegetable peels, coffee grounds, tea bags, eggshells, small pieces of meat and fish, dairy products (like cheese rinds), and even small bones. Remember to chop larger items into smaller pieces for faster fermentation.
- A Place to Bury/Add Finished Compost: This is crucial! The fermented Bokashi waste needs a final breakdown stage. You’ll need access to a garden bed, a traditional compost pile, or even large pots where you can bury it.
Step-by-Step Guide to Using Your Bokashi Bin:
- Start with a Layer of Bran: Sprinkle a tablespoon or two of Bokashi bran on the bottom of your clean bin.
- Add Your Scraps: Chop up your kitchen waste into small pieces (about 2-3 cm is good). Add a layer of scraps to the bin. Try not to put in huge amounts all at once; smaller, consistent additions are best.
- Sprinkle More Bran: Sprinkle a tablespoon or two of Bokashi bran evenly over the scraps. Make sure the scraps are completely covered by the bran. This is key to keeping it anaerobic.
- Press Down: Use a utensil (like a potato masher or a small piece of wood) to press down the scraps firmly. This removes air pockets and helps the microbes do their job.
- Seal the Lid: Close the airtight lid of the bin securely. This is vital to maintain anaerobic conditions.
- Repeat: Continue adding scraps, bran, and pressing down each day or whenever you add waste.
- Collect the “Tea”: Your bin will start producing a liquid – Bokashi tea. Remember to drain this liquid every couple of days by opening the spigot. This liquid is potent stuff! Dilute it with water (about 1 part Bokashi tea to 100 parts water) and use it as a fantastic liquid fertiliser for your plants, or even pour it down drains to help clean them.
- Ferment: Once the bin is full, seal it tightly and leave it to ferment for at least two weeks. You can start filling your second bin during this time.
- Bury or Blend: After the two-week fermentation period, the contents will look much the same but won’t smell rotten. They’ll have a mildly pickled or sweet smell. Take the fermented contents out and bury them about 15-20 cm deep in your garden beds, a large pot, or add them to an existing compost pile to finish breaking down. It will break down completely within another 2-4 weeks.
What You CAN and CAN’T Compost with Bokashi
Bokashi is pretty forgiving, which is why it’s so great. But there are a few guidelines:
What You CAN Compost (Pretty Much Everything Organic!):
- Fruit and vegetable scraps
- Meat, fish, and bones (small pieces)
- Dairy products (cheese, yogurt, milk-soaked bread)
- Coffee grounds and tea bags (remove staples if applicable)
- Eggshells
- Cooked leftovers
- Small amounts of garden waste (pruning, cut flowers)
- Pet faeces (from non-carnivorous pets, like rabbits or guinea pigs – avoid cat or dog waste due to pathogen concerns unless you’re very experienced and bury deeply!)
What to Avoid (or Use Sparingly):
- Large woody materials (these take too long to break down even in the final stage)
- Large quantities of liquids that aren’t part of the food waste (e.g., pouring in a whole jug of soup)
- Excessive amounts of paper or cardboard (while they can be added, true Bokashi works best on food waste. If you have a lot of paper, consider a separate aerobic compost bin or worm farm.)
- Inorganic materials like plastic, metal, glass.
Troubleshooting Common Anaerobic Composting Issues
Even though it’s simpler, sometimes things can crop up. Here are a few common issues and how to fix them:
Issue: Bad Smells (Rotten Egg/Ammonia Smell)
Why it happens: Too much air getting into the bin, not enough Bokashi bran was used, or the bin wasn’t sealed properly. Anaerobic decomposition should smell pickled or slightly sweet, not foul.
How to fix:
- Ensure the lid is sealed tightly.
- Add an extra sprinkle of Bokashi bran to the surface.
- Press down the waste more firmly to remove air.
- Make sure you’re draining the Bokashi tea regularly.
Issue: No (or very little) Bokashi Tea Produced
Why it happens: The waste might be too dry. This can happen if you’re adding a lot of dry materials like coffee grounds or very dry scraps.
How to fix:
- Add slightly wetter food scraps next time.
- If using mostly dry materials, you can add a tiny splash of water to the bin when you add your bran.
Issue: Mold Growing on Top
Why it happens: This is usually brown or white mould and is often okay as it’s part of the fermentation. However, if it’s a particularly unpleasant, fuzzy green or black mould, it might indicate too much air or an imbalance.
How to fix:
- Ensure you’re pressing down the waste firmly.
- Add a good layer of Bokashi bran on top.
- Check the seal on your lid.
- If it’s just the typical white/grey furry stuff, it’s usually a sign the microbes are working!
Issue: Fermented Waste Not Breaking Down When Buried
Why it happens: The weather is too cold, the burial location is too wet, or the material was not fully fermented.
How to fix:
- Ensure the material has had at least two weeks to ferment.
- Bury it in a well-drained spot.
- If it’s winter, it might take longer to break down, especially in cooler parts of Australia. You can also add it to a hot compost pile to speed things up.
Benefits of Using Your Homemade Compost
Once your Bokashi-fermented material has finished breaking down in the soil, you’ll have a fantastic compost that’s rich in beneficial microbes and nutrients. Using this in your garden offers:
- Improved Soil Structure: Compost helps bind sandy soils and loosen clay soils, making it easier for plant roots to grow.
- Better Water Retention: Compost acts like a sponge, holding moisture in the soil, which is a huge plus for our often dry Aussie conditions.
- Nutrient Supply: It slowly releases essential nutrients that plants need to thrive, reducing the need for artificial fertilisers.
- Healthier Plants: Soil teeming with beneficial microbes helps plants fight off diseases and pests naturally.
- Waste Reduction: You’re diverting valuable organic waste from landfill, which reduces methane gas production in landfill sites and saves our planet.
It’s a win-win for your garden and the environment!
Frequently Asked Questions (FAQs)
Here are some quick answers to common questions beginner composters have about anaerobic methods in Australia.
Q1: Is anaerobic composting smelly?
A: A well-managed anaerobic system, like Bokashi, should smell pickled, tangy, or slightly sweet, not like rotten eggs or sewage. If it smells bad, it often indicates too much air or an imbalance.
Q2: Can I compost meat and dairy with anaerobic composting?
A: Yes, Bokashi systems are excellent for composting meat, fish, bones, and dairy products, which are often problematic or discouraged in traditional aerobic composting.
Q3: How long does it take to get finished compost?
A: With Bokashi, you have ‘fermented’ material in about two weeks. This then needs to be buried or added to another compost system to break down fully, which takes another 2-4 weeks. So, roughly 4-6 weeks from start to finish for usable compost.
Q4: Do I need a special bin for anaerobic composting?
A: For beginners, a Bokashi bin is highly recommended as it’s designed to be airtight and collect the fermented liquid. While some sealed bins can become anaerobic, it’s harder to control. For dedicated anaerobic composting, Bokashi is the go-to.
Q5: What do I do with the Bokashi tea?
A: Bokashi tea is a nutrient-rich liquid fertiliser. Dilute it with water (around 1:100 ratio – one part tea to one hundred parts water) and use it to water your plants. You can also pour undiluted tea down drains to help clean and freshen them.
.lwrp.link-whisper-related-posts{
margin-top: 40px;
margin-bottom: 30px;
}
.lwrp .lwrp-title{
}.lwrp .lwrp-description{
}
.lwrp .lwrp-list-container{
}
.lwrp .lwrp-list-multi-container{
display: flex;
}
.lwrp .lwrp-list-double{
width: 48%;
}
.lwrp .lwrp-list-triple{
width: 32%;
}
.lwrp .lwrp-list-row-container{
display: flex;
justify-content: space-between;
}
.lwrp .lwrp-list-row-container .lwrp-list-item{
width: calc(25% – 20px);
}
.lwrp .lwrp-list-item:not(.lwrp-no-posts-message-item){
max-width: 150px;
}
.lwrp .lwrp-list-item img{
max-width: 100%;
height: auto;
object-fit: cover;
aspect-ratio: 1 / 1;
}
.lwrp .lwrp-list-item.lwrp-empty-list-item{
background: initial !important;
}
.lwrp .lwrp-list-item .lwrp-list-link .lwrp-list-link-title-text,
.lwrp .lwrp-list-item .lwrp-list-no-posts-message{
}@media screen and (max-width: 480px) {
.lwrp.link-whisper-related-posts{
}
.lwrp .lwrp-title{
}.lwrp .lwrp-description{
}
.lwrp .lwrp-list-multi-container{
flex-direction: column;
}
.lwrp .lwrp-list-multi-container ul.lwrp-list{
margin-top: 0px;
margin-bottom: 0px;
padding-top: 0px;
padding-bottom: 0px;
}
.lwrp .lwrp-list-double,
.lwrp .lwrp-list-triple{
width: 100%;
}
.lwrp .lwrp-list-row-container{
justify-content: initial;
flex-direction: column;
}
.lwrp .lwrp-list-row-container .lwrp-list-item{
width: 100%;
}
.lwrp .lwrp-list-item:not(.lwrp-no-posts-message-item){
max-width: initial;
}
.lwrp .lwrp-list-item .lwrp-list-link .lwrp-list-link-title-text,
.lwrp .lwrp-list-item .lwrp-list-no-posts-message{
};
}

I am passionate about home engineering. I specialize in designing, installing, and maintaining heating, ventilation, and air conditioning systems. My goal is to help people stay comfortable in their homes all year long.
