Tired of food scraps piling up? Wondering how to turn that kitchen waste into garden gold without the usual earthy smell? You’ve come to the right place! Anaerobic composting might sound a bit technical, but it’s a super practical way to compost, especially if you have limited space or aren’t a fan of the typical open-air compost pile. We’re going to walk through it together, step-by-step, so you can get started composting the easy way. Let’s dig in!
Your Quick Guide to Anaerobic Composting
Anaerobic composting is a method where organic materials break down without oxygen. This is different from traditional composting, which relies on air. It’s often done in a sealed container, like a bin or a tumbler. The end product is a nutrient-rich material, though it might take a little longer and requires a slightly different approach. It’s a great option for smaller spaces and can be less prone to pests when managed properly.
What You Need to Know
- Oxygen-Free Breakdown: Microbes that don’t need air do the work.
- Sealed Container: Usually a specialized bin or a repurposed sealed barrel.
- Slower Process: Can take longer than aerobic composting.
- Potential for Odor: If not managed correctly, it can smell unpleasant.
- Nutrient-Rich Output: Produces valuable compost for your garden.
Why Choose Anaerobic Composting?
So, why would you pick this oxygen-free method? Well, there are a few good reasons. For starters, if you live in an apartment or a home with a tiny yard, aerobic composting (the kind with open piles) might not be practical. Anaerobic composting can be done in a compact bin. Also, some people find the process a bit more hands-off because you don’t have to turn the pile as often. It can also be faster in certain conditions because the warmer temperatures that can develop in a sealed bin speed up decomposition. Plus, when done right, it can be quite efficient at breaking down food scraps even though it’s a different process.
Pros and Cons of Anaerobic Composting
Like any method, it has its upsides and downsides. Let’s break them down so you can make an informed decision:
| Pros | Cons |
|---|---|
| Good for small spaces/apartments. | Can produce unpleasant odors if not balanced wetness. |
| Less turning required. | Can be slower than well-managed aerobic composting. |
| Can be efficient, especially with warmer temperatures. | Requires a well-sealed container. |
| Potentially less attractive to pests (when sealed). | The finished compost may contain pathogens if temperatures aren’t high enough, so it’s best used on non-edible plants. |
| Can break down a wider variety of food waste, including some tougher items. | Incorrect moisture levels can lead to very foul smells. |
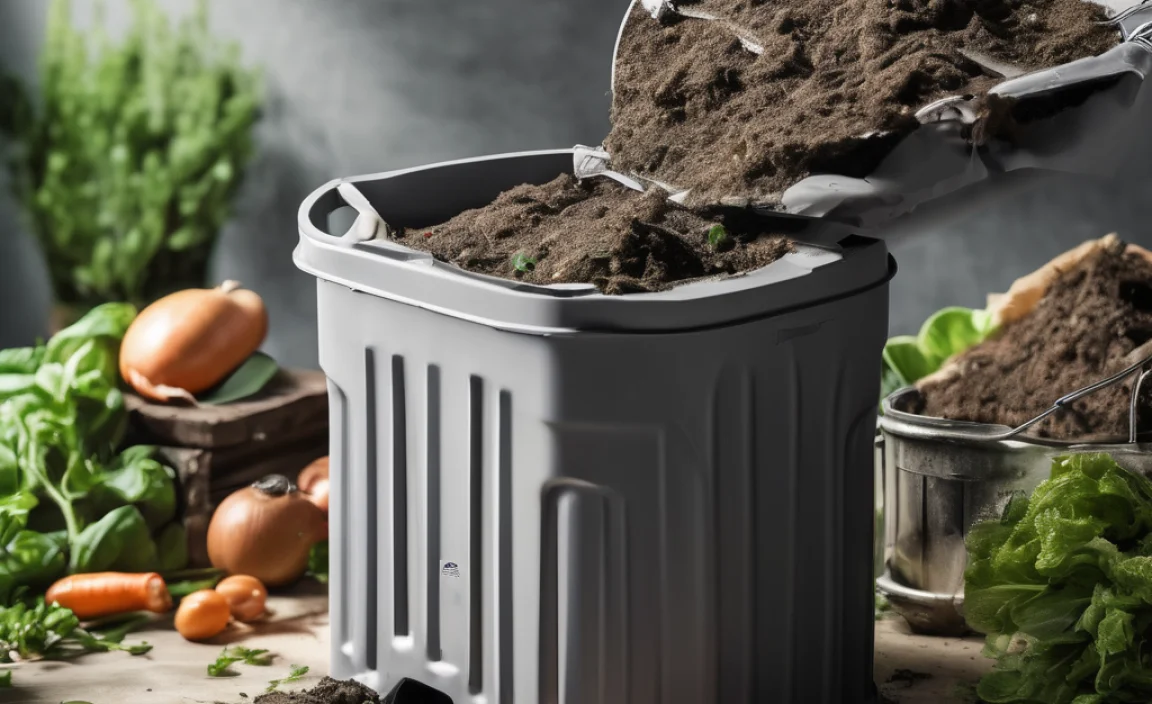
Essential Materials for Anaerobic Composting
Before you start, let’s gather what you’ll need. The most important piece of equipment is a container that can be sealed tightly. You don’t need anything super fancy, but it needs to keep air out. Think about what you’ll be adding to the bin too – we need a good mix of “greens” and “browns” for successful composting, even without air.
Your Composting Toolkit:
- The Container: This is key. You can buy specialized anaerobic composters or use a large, food-grade plastic barrel or sturdy bin with a tight-fitting lid. Look for something that can hold at least 20 gallons. If you’re repurposing something, make sure it’s clean and doesn’t have any residues from previous contents that could harm the composting process.
- Greens: These are nitrogen-rich materials. Think kitchen scraps like fruit and vegetable peels, coffee grounds, tea bags, and grass clippings. These provide the “fuel” for the microbes.
- Browns: These are carbon-rich materials. Examples include dry leaves, shredded newspaper (avoid glossy paper!), cardboard, straw, or small twigs. Browns add bulk and help with structure, and prevent the bin from becoming too wet and compacted.
- Water: Composting material needs to be moist, like a wrung-out sponge. Too dry, and the process slows to a crawl; too wet, and it can get stinky and anaerobic in a bad way.
- Optional Items: A small shovel or trowel for scooping, gloves for handling materials, and perhaps a compost thermometer if you want to monitor the temperature (though it’s not strictly necessary for beginner anaerobic setups).
Anaerobic Composting Step-by-Step
Ready to get your compost bin ready to work? Follow these simple steps. We’ll focus on getting the balance right, which is super important for anaerobic composting.
Step 1: Prepare Your Container
If you’re using a new bin, check the manufacturer’s instructions. If you’re repurposing a barrel or bin, make sure it’s thoroughly cleaned. If it’s a barrel, consider adding a tap near the bottom to drain off any excess liquid (this liquid, also called leachate, is a potent fertilizer, but be cautious if you haven’t reached a safe composting temperature). Seal the lid as tightly as possible. You want to keep air out.
Step 2: Start with a Base Layer
Begin with a layer of “browns” at the bottom. This could be shredded cardboard, dry leaves, or straw. This layer helps with drainage and aeration within the bin itself before it seals. Aim for about 4-6 inches of material.
Step 3: Add Your Greens and Browns
Now, start adding your kitchen scraps (greens) and more carbon materials (browns). The general idea is to maintain a good ratio. A common guideline for anaerobic composting is about a 2:1 or 3:1 ratio of browns to greens by volume. This is crucial because without oxygen, an excess of greens can lead to a sour, stinky mess.
- Add Greens: Chop up larger food scraps like melon rinds or corn cobs to help them break down faster. Burying the kitchen scraps within the browns helps to minimize odors and prevent pests.
- Add Browns: Layer in shredded newspaper, dry leaves, or straw on top of or mixed with your greens. This is your chance to keep that carbon-to-nitrogen ratio in check.
Step 4: Ensure Proper Moisture
This is where many beginners stumble. Your compost should be about as damp as a wrung-out sponge. If you squeeze a handful, only a drop or two of water should come out. If it’s too dry, the microbes won’t be active. If it’s too wet, it can become a swampy, smelly environment. Add a little water if it’s too dry, or more browns if it’s too wet. You might need to add water more often in dry climates.
For tips on moisture control in composting, the Environmental Protection Agency (EPA) provides excellent resources on the principles of composting, which are applicable even for anaerobic methods when understanding moisture balance.
Step 5: Seal It Up and Wait
Once you’ve added your materials and are happy with the moisture level, seal the container tightly. Now, step back and let the microbes do their work. Unlike aerobic composting, you don’t need to turn this pile very often, if at all. Some systems recommend a light shake or tilt every few weeks, but the goal is to keep it oxygen-free.
Step 6: Monitor and Maintain
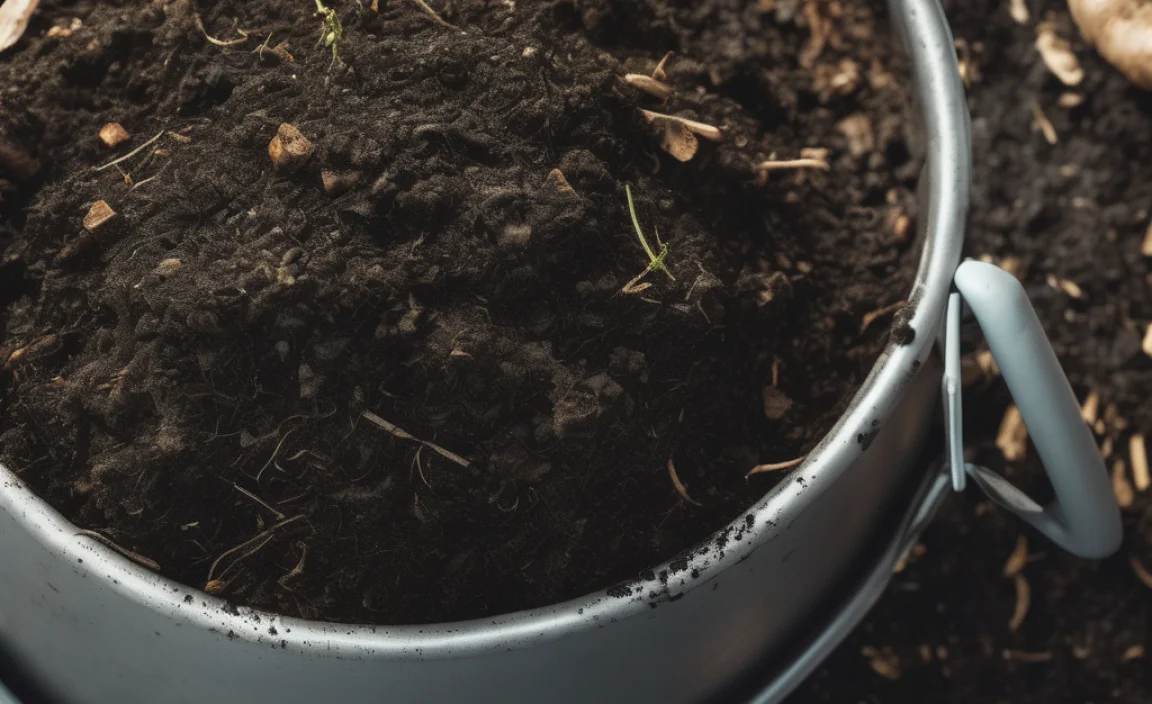
Keep an eye (and nose!) on your compost. If it starts to smell really foul, like rotten eggs, it’s likely too wet and/or has too much nitrogen. Open the bin briefly, add more browns, and mix what you can to help aerate it slightly before resealing. If there’s no smell and things seem slow, it might be too dry; add a bit of water. The process can take anywhere from a couple of months to six months or more, depending on the materials, temperature, and batch size.
Step 7: Harvesting Your Compost
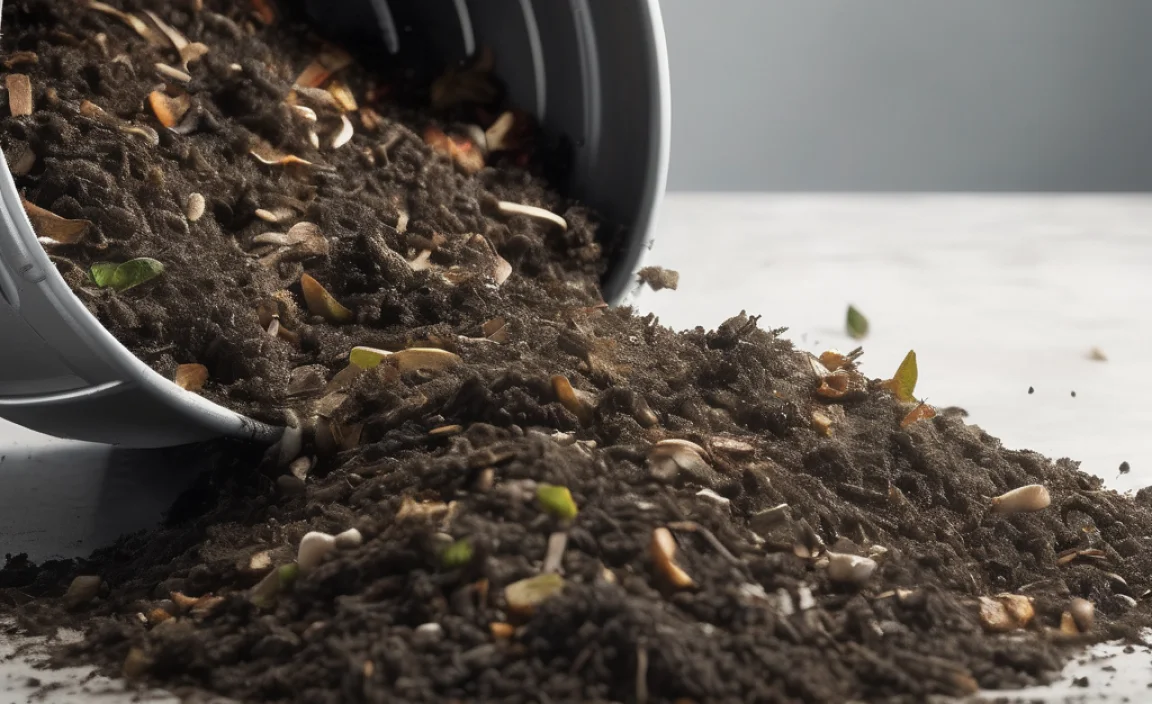
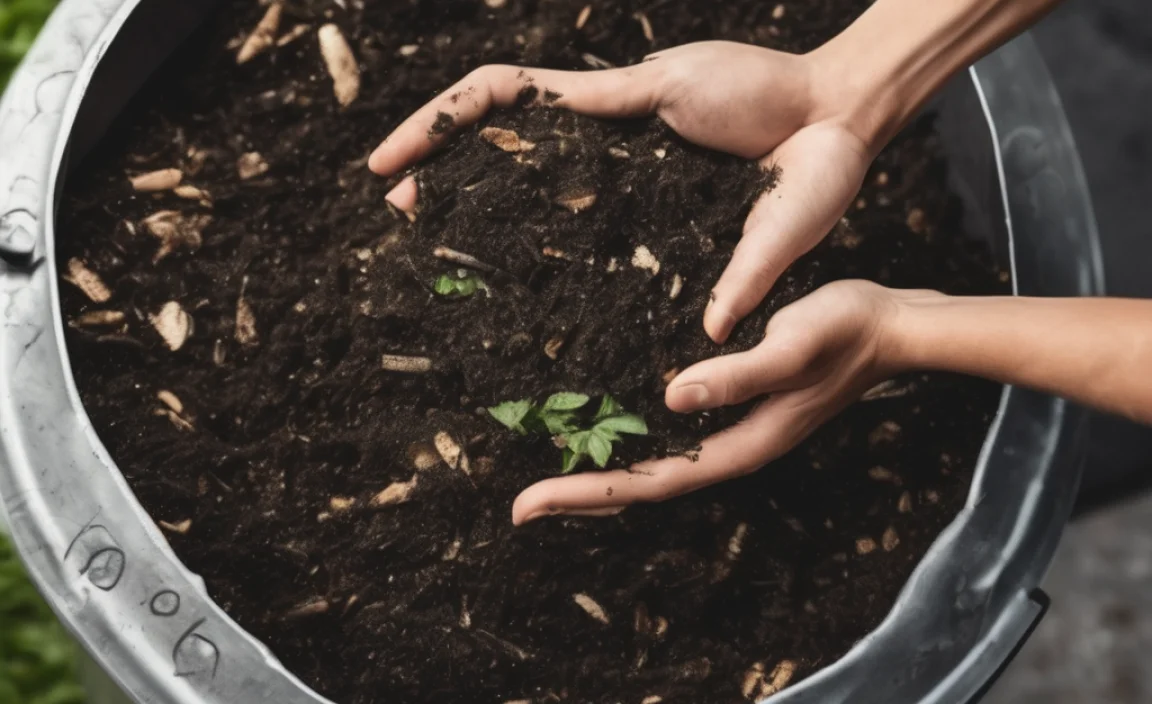
When the material is dark, crumbly, and has an earthy smell (not foul!), it’s ready. It’s important to note that because anaerobic decomposition doesn’t always reach high temperatures, some pathogens and weed seeds might survive. Therefore, it’s generally recommended to use compost from anaerobic methods on non-edible plants, ornamental gardens, or lawns, rather than directly on vegetable gardens where you’ll be eating the produce.
You can usually tell it’s ready when you can no longer identify the original materials. Carefully scoop out the finished compost from the bottom if your bin has a dispenser tray, or empty the whole bin if needed. You can give it a final screening if you want a finer texture.
What to Compost and What to Avoid
Getting the balance right is key to successful anaerobic composting. Here’s a quick rundown of what works best and what to steer clear of.
Compostable “Greens” (Nitrogen-Rich):
- Fruit and vegetable scraps
- Coffee grounds and paper filters
- Tea bags (remove staples)
- Grass clippings (in moderation, as they can mat down)
- Plant trimmings (non-woody)
- Eggshells (crushed)
Compostable “Browns” (Carbon-Rich):
- Dry leaves (great filler!)
- Shredded newspaper (black and white ink only)
- Shredded plain cardboard
- Straw or hay
- Sawdust (from untreated wood, in moderation)
- Paper towels and napkins (not greasy ones)
What to Avoid:
- Meat, fish, and bones (can attract pests and create odors)
- Dairy products (same reasons as meat)
- Oily or greasy foods
- Diseased plants
- Weeds that have gone to seed (though some higher-temperature anaerobic methods might kill them)
- Pet waste (dog or cat feces)
- Treated wood or charcoal ashes
- Glossy or coated papers
Troubleshooting Common Anaerobic Composting Issues
Even with the best intentions, sometimes things don’t go perfectly. Here are a few common problems and how to fix them.
Problem: It Smells Really Bad
Cause: Likely too much “green” material has been added, or it’s too wet. This creates an overly acidic and anaerobic environment.
Solution: Add more “brown” materials like dry leaves, shredded paper, or cardboard. If it’s swampy, try to mix in plenty of browns to absorb excess moisture. Aerating slightly by mixing may help, but try to reseal quickly.
Problem: The Compost Isn’t Breaking Down
Cause: It’s probably too dry. The microbes need moisture to work their magic.
Solution: Add some water. A good test is the “wrung-out sponge” feel. Add water to moisten the dry materials and reseal.
Related Posts


I am passionate about home engineering. I specialize in designing, installing, and maintaining heating, ventilation, and air conditioning systems. My goal is to help people stay comfortable in their homes all year long.