Hey there, fellow home improvers! Ever look at your kitchen scraps and garden waste and think, “There’s gotta be a better way than the landfill?” You’re not alone! It’s a common puzzle for homeowners and renters wanting to be a bit greener. But don’t worry, figuring out what to do with all that organic stuff is simpler than you think. We’re putting a fun spin on it today, looking at how your backyard can turn “waste” into valuable “black gold” for your garden. Stick around as we break down how to set up your own backyard composting system without any fuss. You’ll be amazed at what nature can do!
Composting: The Backyard’s Best Friend (and Your Garden’s!)
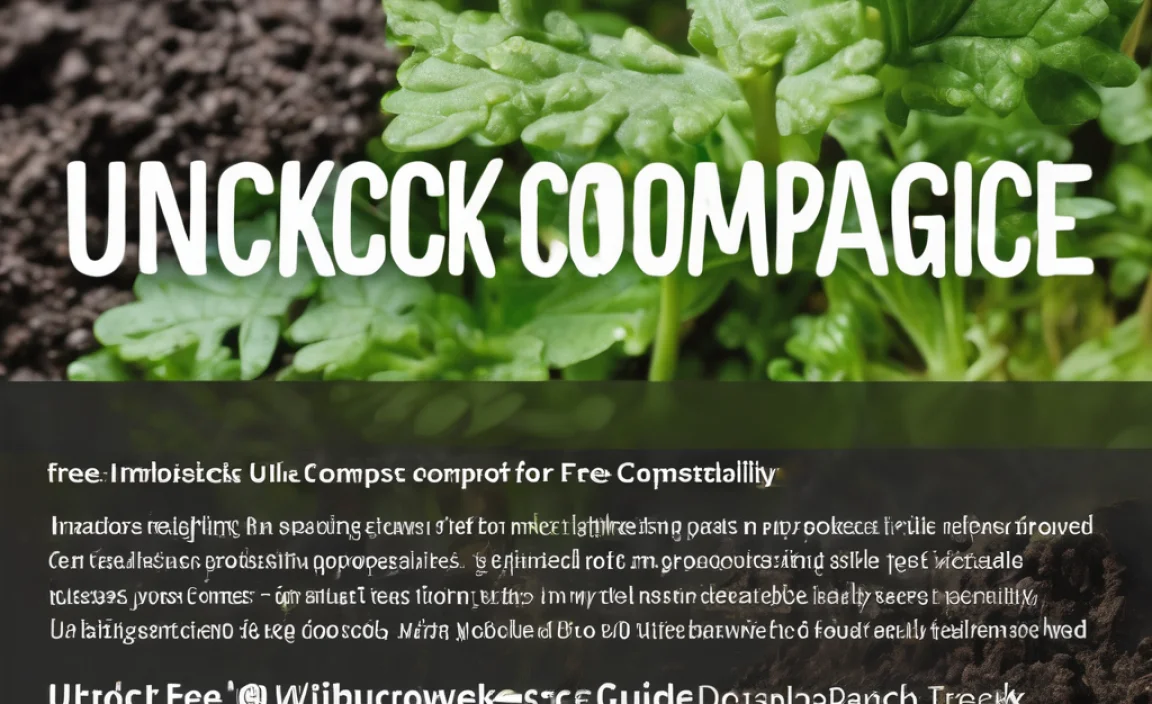
So, what are “backyard composting pets,” really? It’s a fun way to think about the helpful critters and processes that do the heavy lifting in your compost bin. Think of them as your voluntary cleanup crew! They break down all those fruit peels, coffee grounds, and yard clippings into nutrient-rich compost. This isn’t just about reducing trash; it’s about creating incredible food for your plants. Healthy soil means healthier, happier flowers, veggies, and lawn. And the best part? It’s super achievable for anyone, no matter your experience level.
Why Go “Pet” Composting in Your Backyard?
Think of your backyard compost bin as a miniature ecosystem. It’s a living, breathing system that works tirelessly to recycle organic materials. When you set up a backyard compost system, you’re not just getting rid of waste; you’re actively participating in a natural cycle that benefits your garden and the environment. These “composting pets” are essential for this all-important process. They’re often microscopic or small enough not to be noticed, but their impact is huge!
The Undeniable Benefits of Backyard Composting
Let’s break down why setting up this system is a brilliant move for your home and garden:
- Reduces Landfill Waste: A huge portion of household waste is compostable. Keeping it out of landfills means less methane gas (a potent greenhouse gas) is produced.
- Creates Nutrient-Rich Soil Amendment: Compost, often called “black gold” by gardeners, is packed with nutrients that plants crave. It improves soil structure, drainage, and water retention.
- Saves Money: You’ll buy fewer fertilizers and soil conditioners for your garden.
- Enhances Garden Health: Plants grown in compost-enriched soil are generally healthier, more resilient to pests and diseases, and produce better yields.
- Environmentally Friendly: It’s a natural, sustainable way to manage waste and improve your local environment.
- Educational Opportunity: It’s a fantastic learn-by-doing project for families, teaching kids about nature and decomposition.
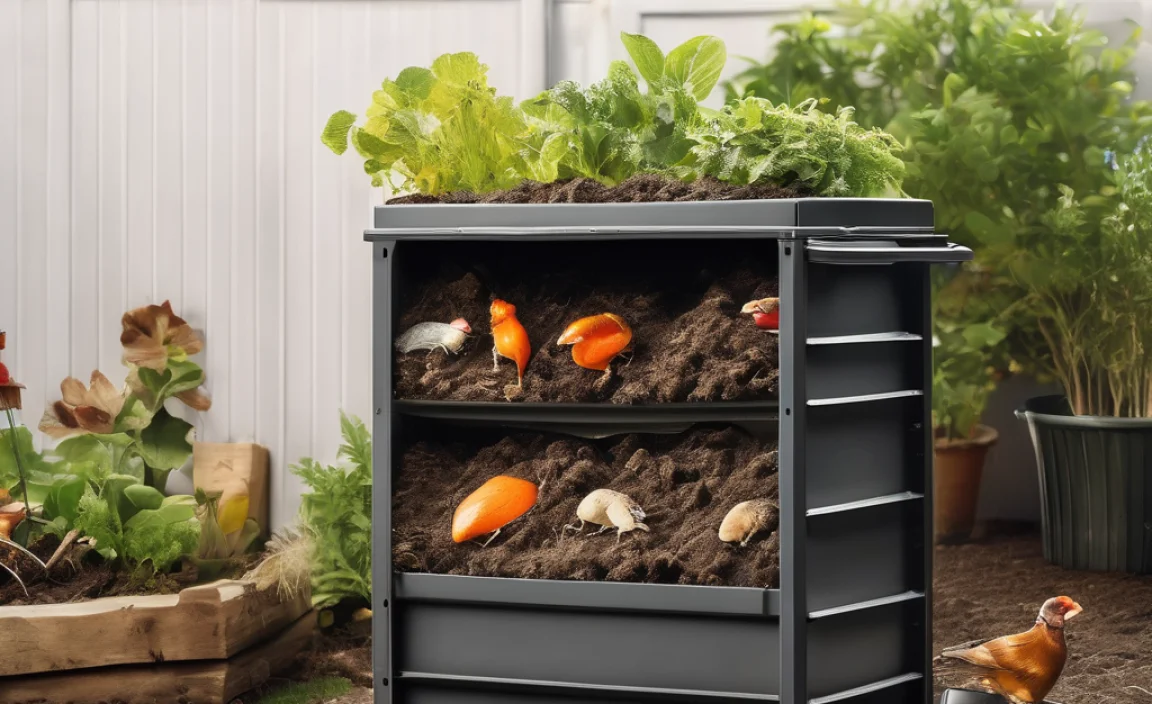
Understanding Your “Compost Crew”: The Essential Microbes and Critters
When we talk about “backyard composting pets,” we’re referring to the incredible community of organisms and elements that make composting happen. They aren’t like furry friends you can pet, but they are vital to the process. The star players are:
- Bacteria: These are the primary workers in the initial stages of decomposition. They break down sugars and starches in fresh organic matter. You can’t see them, but they are incredibly numerous and work fast, especially in the right conditions (warmth, moisture, and a good mix of materials).
- Actinomycetes: These are a type of bacteria that look like fungi. They’re responsible for breaking down tougher materials like woody stems and straw, and they give compost its pleasant, earthy smell.
- Fungi (including Molds): Fungi are excellent at breaking down tough, fibrous materials like leaves and twigs. They play a crucial role in the later stages of decomposition.
- Protozoa: These single-celled organisms eat bacteria, helping to regulate their populations and further break down organic compounds.
- Nematodes: microscopic roundworms that also consume bacteria and other organic matter.
- Larger Invertebrates (The visible helpers):
- Earthworms: Especially red wigglers (Eisenia fetida) if you’re doing vermicomposting (composting with worms), or regular garden earthworms that are attracted to a well-managed pile. They tunnel through the compost, aerating it and consuming organic matter, leaving behind nutrient-rich castings.
- Mites: Various types of mites help break down materials. Some are beneficial, while others might indicate imbalances.
- Springtails: Tiny, wingless insects that are excellent decomposers, especially of fungi.
- Sowbugs and Isopods: These small crustaceans help break down decaying plant matter.
- Centipedes and Millipedes: While they can be predators of other beneficial organisms, they also contribute to breaking down larger pieces of organic material.
The key to a thriving compost ecosystem is maintaining the right balance of moisture, air, and “food” (your organic scraps). When these conditions are met, your compost pile becomes a bustling metropolis of decomposition!
Choosing Your Backyard Composting Method

There are a few popular ways to set up backyard composting, each with its own pros and cons. The best one for you depends on your space, how much material you generate, and how quickly you want compost.
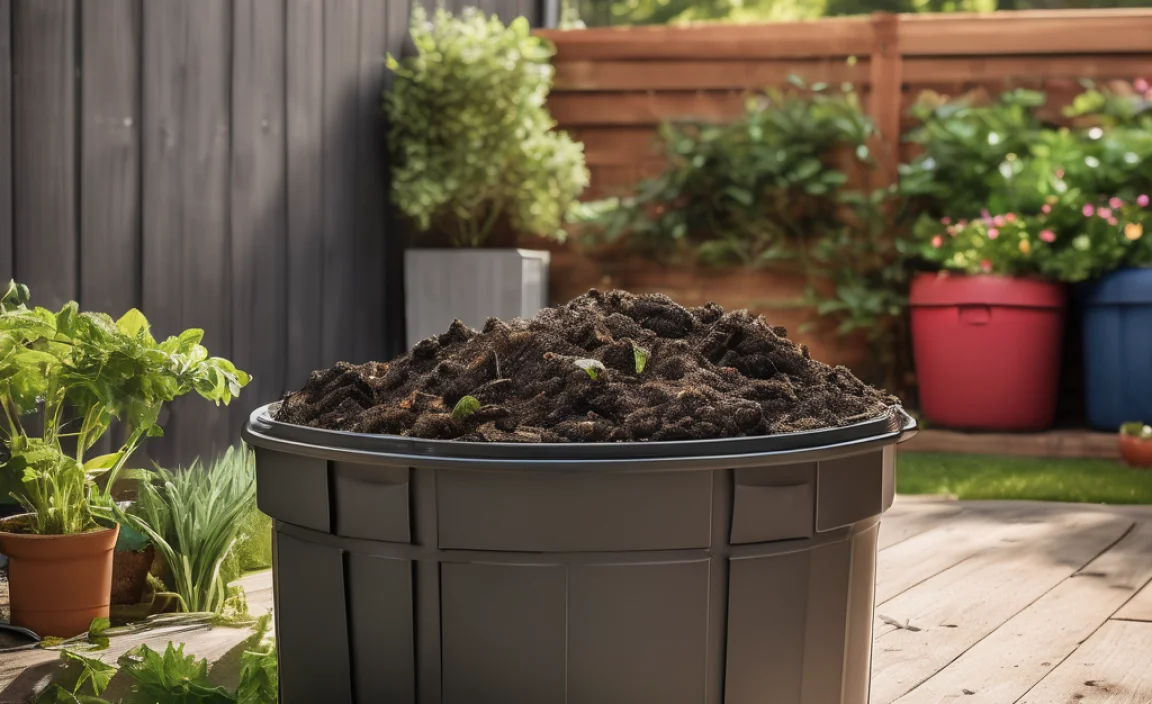
Option 1: The Classic Compost Bin/Pile
This is the most common method. It involves layering your organic materials in a designated spot in your yard or in a store-bought or homemade bin. Airflow and turning are key here.
Pros:
- Simple to start
- Can handle large volumes of material
- Relatively low cost to set up (especially if you build your own bin)
- Works well for yard waste as well as kitchen scraps
Cons:
- Can take longer to produce finished compost (a few months to a year)
- Requires some physical effort for turning
- Can attract pests if not managed properly
- Appearance might not be for everyone if it’s just an open pile
Option 2: Tumbler Composter
These are enclosed drums that rotate, making it easy to mix and aerate the compost. They often speed up the composting process.
Pros:
- Easier to turn and aerate
- Enclosed design helps deter pests and retain heat
- Can produce compost more quickly than an open pile
- Neater appearance
Cons:
- Higher upfront cost
- Limited capacity compared to larger bins or piles
- Can be heavy to turn when full
- May require more moisture management
Option 3: Vermicomposting (Worm Composting)
This method uses specific types of composting worms (like red wigglers) to break down kitchen scraps in a contained environment, usually a worm bin. It’s often done indoors or on a balcony but can also be adapted for a backyard.
Pros:
- Produces very nutrient-rich compost (worm castings)
- Can be done in smaller spaces
- Faster than traditional composting for kitchen scraps
- Relatively odorless when managed correctly
Cons:
- Requires special composting worms (not regular garden earthworms)
- Limited to certain types of food scraps (no meat, dairy, oily foods)
- Temperature sensitive; worms can die if it’s too hot or too cold
- Can be intimidating for beginners to manage the worm ecosystem
For general backyard composting, the classic bin or pile is usually the most straightforward for beginners. If you’re looking for a faster process and don’t mind the investment, a tumbler can be a great choice. Let’s focus on getting a traditional compost pile or bin set up, as it’s the most accessible.
Setting Up Your Backyard Compost Station: A Step-by-Step Guide

Ready to get your backyard composting adventure started? It’s easier than you think! We’ll focus on setting up a traditional compost bin or pile, which is the most common and versatile approach.
Step 1: Choose the Right Location
Finding the perfect spot is key to a happy compost pile. You want a place that
- Is Convenient: Not too far from your kitchen or garden, so you’ll actually use it.
- Has Good Drainage: You don’t want your pile sitting in a puddle.
- Gets Some Sun (but not too much): A little sun helps heat the pile, but full, blazing sun all day can dry it out too quickly, especially in hotter climates. Partial shade is often ideal.
- Is Easy to Access: You’ll need space to add materials and turn the compost.
Aim for a spot directly on the soil. Worms and microbes from the ground will naturally migrate up into your compost pile. If you’re concerned about aesthetics or keeping pests completely out, you can use a bin with a solid base, but direct contact with the earth is beneficial.
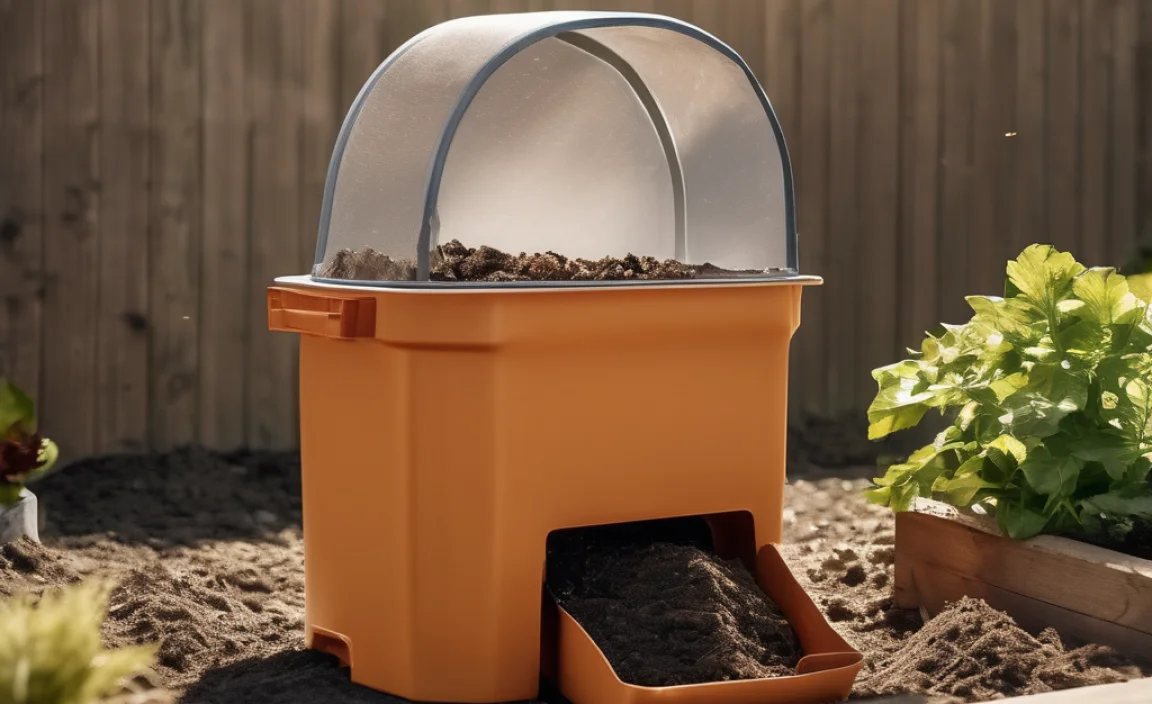
Step 2: Select Your Compost Bin (or Go Bin-Free!)
You have a few options here:
- DIY Bin: You can build a simple bin from scrap wood, pallets, or wire mesh. This is a budget-friendly and customizable option. Look for plans online; many use simple construction techniques anyone can follow. The important thing is to allow for airflow.
- Purchased Bin: Many garden centers offer plastic or wooden compost bins. Some are sleek and enclosed, others are simple stationary bins. Look for one that has good ventilation.
- Open Pile: Yes, you can just start piling materials in a designated corner of your yard! This is the simplest method but can look messy and may take longer to break down. It’s best if you have plenty of yard waste to create larger piles.
For beginners, a purchased bin or a simple DIY pallet bin is a great starting point. They contain the materials and look tidy.
Step 3: Gather Your Tools and Materials
You don’t need much to get started. Here’s a basic checklist:
- Compost Bin or Designated Area
- Pitchfork or Garden Fork: Essential for turning the compost to ensure aeration.
- Garden Hose with Water Source: Moisture is crucial for the decomposition process.
- Kitchen Scrap Collection Container: A small bin with a lid for your kitchen counter.
- Gloves: For handling materials.
- Shovel: Helpful for moving finished compost.
Step 4: Start Layering Your “Greens” and “Browns”
This is the core of successful composting. You need a good balance of nitrogen-rich materials (“greens”) and carbon-rich materials (“browns”). Think of it like a recipe!
What are “Greens” (Nitrogen-Rich)?
These items are typically moist and break down quickly, providing nitrogen for the microbes.
- Fruit and vegetable scraps
- Coffee grounds and tea bags
- Grass clippings (add in thin layers to avoid matting)
- Plant trimmings (non-woody)
- Eggshells (crushed)
- Manure from herbivores (cows, horses, rabbits, chickens)
What are “Browns” (Carbon-Rich)?
These items are drier and bulkier, providing carbon and helping to aerate the pile.
- Dry leaves
- Straw or hay
- Shredded newspaper or cardboard (avoid glossy ink)
- Wood chips or sawdust (use sparingly, as they break down slowly)
- Twigs and small branches (chopped up)
The Ideal Ratio
Aim for a ratio of roughly 2 to 3 parts Browns to 1 part Greens by volume. This might sound complicated, but essentially, you want to add more dry, bulky brown materials than wet, nitrogen-rich green materials. Too many greens can make your compost slimy and smelly; too many browns will slow down decomposition.
Building Your First Layers:
- Start with a base layer of coarse browns: A few inches of twigs or straw at the bottom helps with airflow.
- Add a layer of greens: Sprinkle some kitchen scraps or grass clippings.
- Cover with a thicker layer of browns: This is important to prevent odors and deter pests. Shredded newspaper, dry leaves, or straw work well.
- Add a little water: Lightly moisten each layer as you go. The goal is for the compost to be as damp as a wrung-out sponge.
Continue alternating layers of greens and browns, always finishing with a layer of Browns on top. Chop or shred larger items to speed up decomposition.
What NOT to Compost
To keep your compost healthy and pest-free, avoid adding:
- Meat, fish, and bones
- Dairy products (cheese, yogurt, milk)
- Oily or greasy foods
- Diseased plants
- Weeds that have gone to seed
- Pet waste from carnivores (dogs, cats)
- Treated wood or sawdust from treated wood
- Inorganic materials (plastic, metal, glass)
- Coal ash or charcoal briquettes
Adding these items can attract unwanted pests, create foul odors, or introduce pathogens and chemicals into your compost.
Step 5: Manage Your Compost Pile
Once your compost station is set up, you need to give it a little attention to help your “compost crew” thrive.
Watering:
Your compost pile should feel like a damp, wrung-out sponge. If it’s too dry, decomposition slows to a crawl. If it’s too wet, it can become anaerobic (lacking oxygen) and smelly. Check the moisture level regularly, especially during dry or hot weather. Add water when it feels dry. If it’s too wet, add more Browns and turn it.
Aeration (Turning):
This is where your pitchfork comes in! Turning incorporates oxygen into the pile, which is vital for aerobic (oxygen-loving) bacteria, the fastest decomposers. Aim to turn your pile every 1-2 weeks. Dig from the outside and turn it into the center. Don’t worry if your first turns seem messy; it gets easier.
If using a tumbler, simply rotate it every few days. If you have an open pile, turning is essential. If you have a stationary bin, you might need to use a compost aerator tool or still dig it with a fork.
Temperature:
An active compost pile will heat up in the center as the bacteria work. This heat is good—it helps kill weed seeds and pathogens. If your pile isn’t heating up, it might be too dry, lack nitrogen (greens), or not have enough volume. Try adding some greens or water, and give it a turn.
Step 6: Knowing When Your Compost is Ready
Patience is a virtue when composting! Fully composted material, often called “humus” or “black gold,” is dark, crumbly, and smells earthy (like a forest floor). You shouldn’t be able to recognize the original materials you put in. This process can take anywhere from 2 months to a year, depending on the materials, temperature, moisture, and how often you turn it.
To use your compost:
- Screening: You can screen it through a ¼-inch mesh to remove any uncomposted larger bits before spreading.
- Application: Mix it into garden beds, use it as a top dressing for lawns, or add it to potting mixes.
Troubleshooting Common Composting Issues
Even with the best intentions, compost piles can encounter a few snags. Don’t get discouraged! Most problems have simple solutions.
Issue: Bad Odors (Ammonia or Rotten Egg Smell)
- Cause: Too much nitrogen (greens) or not enough air (anaerobic conditions).
- Solution: Add a generous amount of brown materials (leaves, shredded paper, straw). Turn the pile thoroughly to introduce air. Ensure good drainage.
Issue: The Pile Isn’t Heating Up
- Cause: Pile is too small, too dry, or lacks nitrogen.
- Solution: Make the pile larger. Add more green materials (kitchen scraps, grass clippings). Moisten the pile thoroughly. Turn it to mix everything.
Issue: The Pile is Too Dry
- Cause: Hot weather, poor cover, or not enough watering.
- Solution: Water the pile thoroughly. Cover it with a tarp during very hot periods. Add more green materials, which are moisture-rich.
Issue: Pests (Flies, Mice, Raccoons)
- Cause: Exposed food scraps
.lwrp.link-whisper-related-posts{
margin-top: 40px;
margin-bottom: 30px;
}
.lwrp .lwrp-title{}.lwrp .lwrp-description{
}
.lwrp .lwrp-list-container{
}
.lwrp .lwrp-list-multi-container{
display: flex;
}
.lwrp .lwrp-list-double{
width: 48%;
}
.lwrp .lwrp-list-triple{
width: 32%;
}
.lwrp .lwrp-list-row-container{
display: flex;
justify-content: space-between;
}
.lwrp .lwrp-list-row-container .lwrp-list-item{
width: calc(25% – 20px);
}
.lwrp .lwrp-list-item:not(.lwrp-no-posts-message-item){max-width: 150px;
}
.lwrp .lwrp-list-item img{
max-width: 100%;
height: auto;
object-fit: cover;
aspect-ratio: 1 / 1;
}
.lwrp .lwrp-list-item.lwrp-empty-list-item{
background: initial !important;
}
.lwrp .lwrp-list-item .lwrp-list-link .lwrp-list-link-title-text,
.lwrp .lwrp-list-item .lwrp-list-no-posts-message{}@media screen and (max-width: 480px) {
.lwrp.link-whisper-related-posts{}
.lwrp .lwrp-title{}.lwrp .lwrp-description{
}
.lwrp .lwrp-list-multi-container{
flex-direction: column;
}
.lwrp .lwrp-list-multi-container ul.lwrp-list{
margin-top: 0px;
margin-bottom: 0px;
padding-top: 0px;
padding-bottom: 0px;
}
.lwrp .lwrp-list-double,
.lwrp .lwrp-list-triple{
width: 100%;
}
.lwrp .lwrp-list-row-container{
justify-content: initial;
flex-direction: column;
}
.lwrp .lwrp-list-row-container .lwrp-list-item{
width: 100%;
}
.lwrp .lwrp-list-item:not(.lwrp-no-posts-message-item){max-width: initial;
}
.lwrp .lwrp-list-item .lwrp-list-link .lwrp-list-link-title-text,
.lwrp .lwrp-list-item .lwrp-list-no-posts-message{};
}

I am passionate about home engineering. I specialize in designing, installing, and maintaining heating, ventilation, and air conditioning systems. My goal is to help people stay comfortable in their homes all year long.