Hey there! Looking for an air compressor that can handle a good range of DIY tasks without taking up your whole garage? You’ve landed in the right spot! A 20-gallon air compressor is like the sweet spot for many home workshops – powerful enough for bigger jobs, yet still manageable. But wading through all the options can feel like trying to decipher a cryptic instruction manual. Don’t worry, I’m here to break it all down for you in a way that makes sense.
We’ll walk through everything you need to know to pick out the perfect 20-gallon air compressor for your projects. We’ll cover what to look for, how to compare them, and what makes one a better choice than another. Get ready to get your DIY game on!
Friendly, supportive, and approachable — like a helpful friend who knows tech.
Simple and clear — avoid heavy technical jargon, use plain everyday words.
Encouraging and confidence-building — reassure readers that they can solve their problem or make the right choice.
Practical and trustworthy — focus on safe, reliable, and easy-to-follow solutions.
Engaging and relatable — mix expert knowledge with real-world usability.
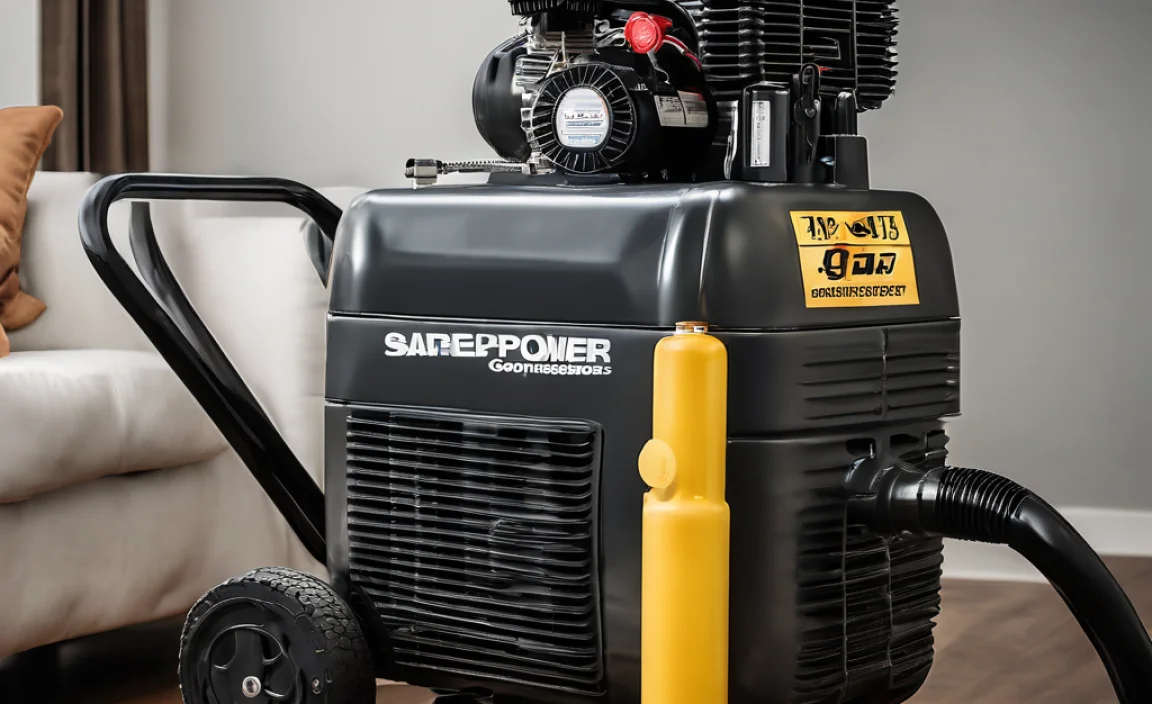
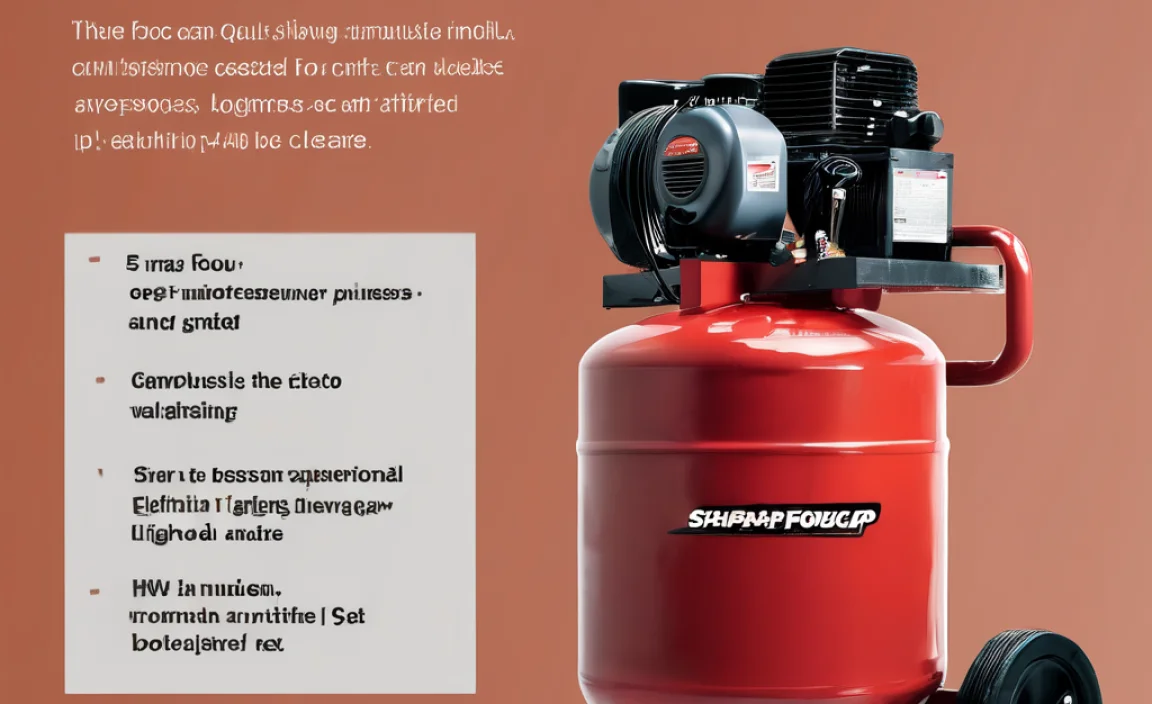
Why a 20-Gallon Air Compressor Might Be Your Perfect Match
So, why 20 gallons? It’s a size that strikes a fantastic balance for many home DIYers. Smaller compressors might not have enough oomph or run time for tasks like painting or running larger tools. Bigger, stationary compressors can be overkill and take up a ton of space. A 20-gallon model often offers a good mix of portability (some are on wheels!) and capacity.
Think about the tools you’ll be using. Air compressors are essentially the power source for many pneumatic tools, giving them the force to do their job. A 20-gallon tank means you’ll have a reserve of compressed air. This is super important because it allows your compressor’s motor to rest and cool down between cycles, extending its life and preventing annoying interruptions when you’re in the middle of a project.
It’s ideal for tasks like:
- Running smaller nail guns and staplers for trim work or upholstery.
- Inflating tires on cars, bikes, and other recreational gear.
- Powering basic air tools like impact wrenches for car maintenance.
- Light-duty airbrushing or dusting.
- Blowing away sawdust and debris from your workspace.
If your needs go beyond these or involve heavy-duty industrial use, you might need to look at larger or more specialized compressors. But for the vast majority of home garage and workshop warriors, a 20-gallon is a strong contender.
Key Features to Consider: What Really Matters?
When you start looking at 20-gallon air compressors, you’ll see a lot of specs. It can get a bit dizzying, but focus on these key aspects, and you’ll be well on your way to making a smart choice.
1. Horsepower (HP) and Cubic Feet per Minute (CFM)
These two are often mentioned together and are crucial indicators of performance.
- Horsepower (HP): This is like the engine size of your air compressor. More horsepower generally means more power to compress air. For a 20-gallon model, you’ll typically see them ranging from 1.5 HP to around 3 HP.
- Cubic Feet per Minute (CFM): This is arguably more important than HP. CFM tells you how much air the compressor can deliver at a certain pressure. You’ll often see it listed as CFM @ 90 PSI (pounds per square inch). Why 90 PSI? Because that’s a common pressure for many air tools.
Pro Tip: Always check the CFM rating at 90 PSI for the tools you plan to use. If your tool requires 4 CFM @ 90 PSI, you’ll want a compressor that can deliver at least that, preferably a bit more, to ensure your tool runs efficiently and the compressor isn’t constantly strained. A good rule of thumb is to find a compressor that offers at least 1.5 to 2 times the CFM your most demanding tool requires.
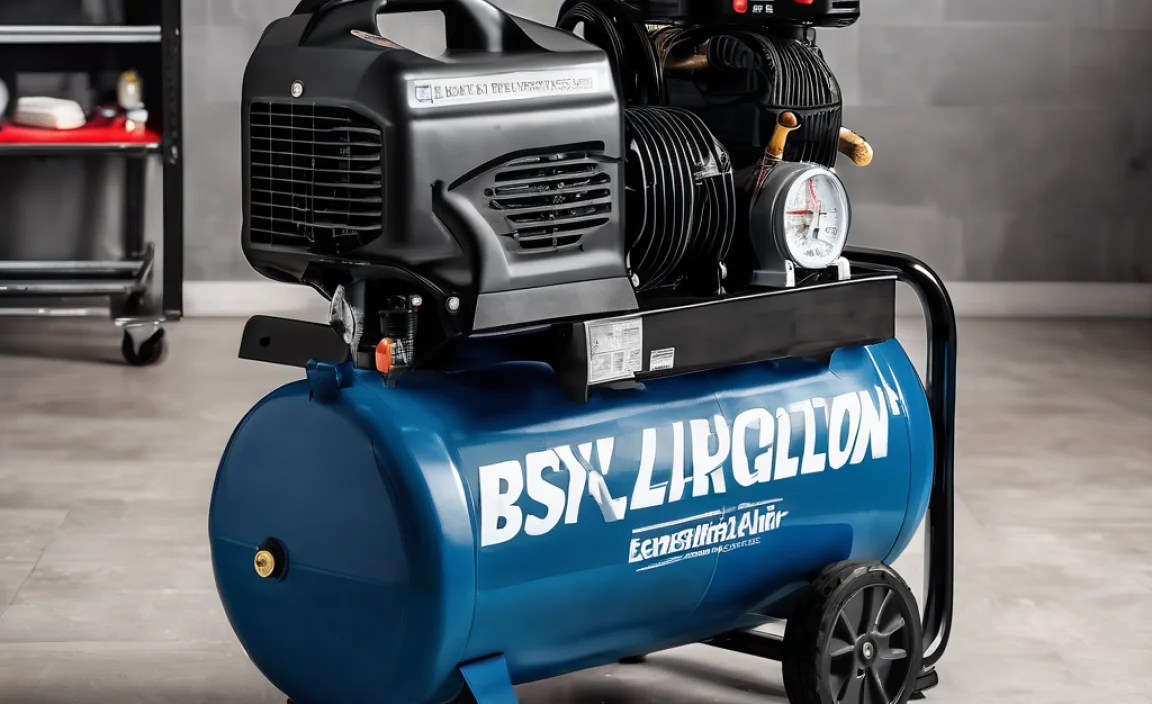
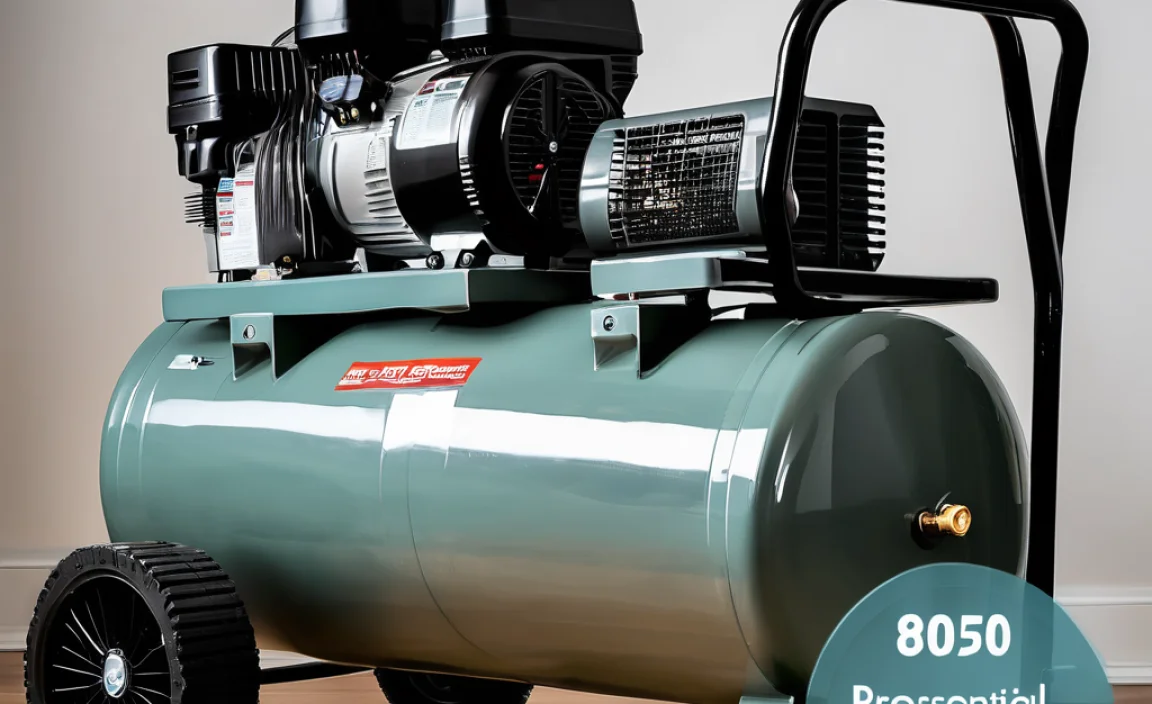
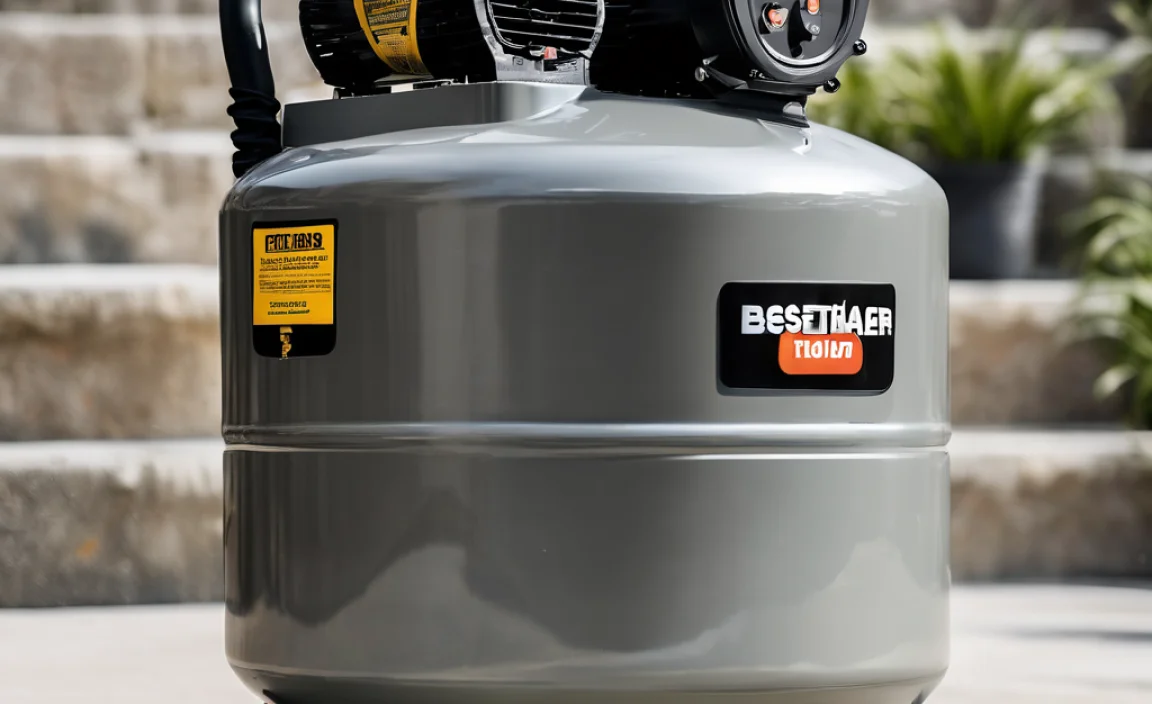
2. Tank Size and Type
You already know you want 20 gallons, but there are a couple of things to note:
- Tank Material: Most tanks are made of steel.
- Tank Configuration: Some 20-gallon compressors are vertical (tall and slim), which saves floor space, while others are horizontal. If space is tight, a vertical design is often a winner.
- Drain Valve: Essential for maintenance! You need to drain condensation regularly. Look for an easy-to-access drain valve, preferably a ball valve type which is easier to operate than a simple petcock.
3. PSI (Pounds per Square Inch)
PSI refers to the maximum pressure the compressor can store. Most air tools operate efficiently between 70-100 PSI. A 20-gallon compressor will typically max out around 125-175 PSI. This is more than sufficient for most home DIY applications. Higher PSI means more stored energy, but CFM is still the primary factor for tool performance.
4. Oil-Lubricated vs. Oil-Free
This is a big decision that impacts maintenance and longevity:
- Oil-Lubricated: These compressors generally run quieter, last longer, and are more durable. They require regular oil checks and changes, just like a car engine. If you plan on using your compressor frequently or for extended periods, this is often the preferred choice for reliability.
- Oil-Free: These are lighter, require less maintenance (no oil to check or change!), and are often less expensive. However, they tend to be noisier and may not last as long as their oil-lubed counterparts, especially under heavy use. They are great for occasional, light-duty tasks.
5. Portability and Noise Level
Portability: Many 20-gallon compressors come with wheels and handles, making them easier to move around your workshop or yard. If you need to take it to different areas, confirm it’s designed for easy transport. Some are quite heavy, so check the weight too!
Noise Level: Compressors can be LOUD. If you or your neighbors are sensitive to noise, look for models that advertise lower decibel (dB) ratings. Oil-lubricated models are often quieter than oil-free ones. Some manufacturers offer “quiet” or “silent” models, though these can sometimes come with a higher price tag.
6. Duty Cycle
The duty cycle tells you how long the compressor can run continuously before needing to cool down. For example, a 50% duty cycle means it can run for 5 minutes out of a 10-minute period. Home users generally don’t need a 100% duty cycle unless they’re doing very prolonged, continuous work. For most DIY projects, a 50% duty cycle is perfectly adequate.
7. Power Source & Electrical Requirements
Most 20-gallon compressors run on standard household electricity. Check the voltage (110V/120V is common) and amperage requirements. You’ll want to ensure your home’s circuits can handle the load. Some larger or more powerful models might require a 240V circuit, which would necessitate an electrician to install. Always verify what your workshop or garage outlets can support.
Top Picks: Best 20 Gallon Air Compressors for Home DIY
While brands and models can change, here are some types of 20-gallon air compressors that consistently get good reviews for home DIYers. These are representatives and you should always check the latest specs and reviews before buying!
| Brand/Model Type | Key Features | Best For | Considerations |
|---|---|---|---|
| Quincy QT-54C (or similar industrial-grade) | Oil-lubricated, Cast iron pump, High CFM, Durable | Heavy-duty DIY, frequent use, long-term investment | Higher cost, can be heavy, potential 240V requirement for true industrial models |
| Rolair JC10 (or similar professional/portable) | Oil-lubed, Lighter weight for its class, Low noise, Good CFM | Mobile workshops, DIYers who value quieter operation and quality | Mid-to-high price range, may have smaller motor than heavy industrial |
| Campbell Hausfeld (e.g., FP2050) | Often oil-free options, typically more affordable, decent CFM | Occasional DIY, tire inflation, light nailing/stapling | Can be noisier, longevity may be less than oil-lubed |
| DeWalt (Various 20-gal models) | Known for durability, often good CFM ratings, reliable | Versatile home use, good balance of performance and build quality | Price can vary; check specific model for oil/oil-free and portability |
| California Air Tools (Various 20-gal models) | Often advertised as “ultra quiet,” oil-free, lightweight | Apartment dwellers, noise-sensitive environments, portability | “Quiet” models can still produce noise; confirm CFM meets tool needs |
Remember, this table just gives you an idea. Always dive into the specifics of a model you’re interested in. Check reviews on retail sites and dedicated tool forums.
Essential Air Tools for Your 20-Gallon Compressor
Okay, you’ve got your compressor. Now what can you actually do with it? Here are some common air tools that pair nicely with a 20-gallon tank. The key here is to match the tool’s CFM requirements to your compressor’s output at 90 PSI.
- Nail Guns/Staplers: From brad nailers for trim to framing nailers for larger projects, these are workhorses. They typically have low CFM requirements, making them perfect for most 20-gallon compressors.
- Impact Wrenches: Great for automotive work like changing tires or tackling rusty bolts. Smaller impact wrenches can run on lower CFM, while higher-torque models need more.
- Air Die Grinder: Useful for grinding, cutting, or polishing metal. CFM needs can vary significantly, so check the specific grinder.
- Sanders (Orbital, Palm): For smoothing surfaces. These can be a bit more demanding on CFM, especially for longer sanding sessions.
- Tire Inflator Gauge: A must-have! Easy to use and essential for maintaining proper tire pressure. These use very little air.
- Blow Gun: Perfect for clearing sawdust, debris from tight spots, or even drying surfaces. Uses minimal air.
- Paint Sprayer (HVLP): High Volume Low Pressure (HVLP) sprayers are more efficient and use less air than conventional spray guns. A 20-gallon compressor can often handle basic HVLP painting, especially for smaller projects or touch-ups.
You can find detailed information on tool requirements from manufacturers and on resources like Family Handyman’s comprehensive guide to air compressor sizing.”
Setting Up and Maintaining Your Compressor for Longevity
Getting your compressor ready to go and keeping it in shape is simple if you know a few key things. It’s not complicated, and a little effort goes a long way!
Initial Setup: What to Do First
When your new 20-gallon air compressor arrives, don’t just plug it in and go!
- Read the Manual: I know, I know, it’s tempting to skip this. But seriously, every compressor is slightly different. The manual has safety warnings and setup instructions specific to your model.
- Check Oil (if applicable): If you bought an oil-lubricated model, this is critical. The manual will tell you the type and amount of oil needed. Double-check the fill level before your first use.
- Inspect for Damage: Give it a quick look-over for any dings or loose connections incurred during shipping.
- Connect Air Hose: Use a good quality air hose rated for the pressure your compressor can deliver. Ensure connections are snug.
- Prime the Pump (if required): Some compressors have a specific procedure for the first start-up.
- Test Run: Plug it in and let it run for a few minutes. Listen for any odd noises. Let it fill the tank and shut off automatically. Then, test the pressure release valve to make sure it works.
Regular Maintenance: Keep It Running Smoothly
These are the essential steps to keep your compressor happy and working well for years:
- Drain the Tank: ALWAYS! After every use (or at least daily), open the drain valve at the bottom of the tank to release any condensed moisture. Water in the tank can cause rust and damage the tank over time. Water can also get into your tools and cause them to malfunction or seize up.
- Check Oil Levels (Oil-Lubricated Models): Check the oil level regularly, usually before each use or every few hours of operation. Top up if necessary.
- Change Oil (Oil-Lubricated Models): Follow the manufacturer’s recommendation for oil changes – typically every few hundred hours of use or annually, whichever comes first. Use the correct type of oil recommended by the manufacturer.
- Clean the Air Filter: The air intake filter prevents dust and debris from entering the pump. Check it regularly and clean or replace it as needed. A clogged filter reduces performance and strains the motor.
- Inspect Hoses and Fittings: Periodically check your air hoses and fittings for cracks, leaks, or damage. Replace any worn parts promptly.
- Keep it Clean: Wipe down your compressor to keep dust and grime from accumulating, which can help with cooling and prevent buildup around ventilation areas.
For more in-depth maintenance guides, the U.S. Department of Energy has extensive resources on compressed air systems, many of which apply to smaller units.
Troubleshooting Common Issues
Even with good maintenance, you might run into a snag. Here are a few common problems and what to do:
- Compressor won’t turn on:
- Check if it’s plugged in and the outlet has power (test with another device).
- Ensure the pressure switch isn’t stuck in the off position.
- Check for tripped circuit breakers.
- Some compressors have thermal overload protectors that trip if the motor overheats; let it cool down before trying again.
- Compressor runs constantly and won’t shut off:
- The pressure switch might be faulty.
- There could be a leak in the tank or air line.
- The unloader valve (which releases pressure to allow the motor to start easily) might not be working correctly.
- Not enough air pressure or CFM:
- Drain the tank – moisture can interfere with performance.
- Check and clean or replace the air filter.
- Inspect hoses and fittings for leaks.
- Ensure the tank has filled to its maximum pressure.
- Verify that your tool’s CFM requirement isn’t exceeding the compressor’s output.
- Compressor is excessively noisy:
- For oil-free models, this can be normal.
- Check if any guards or panels are loose.
- For oil-lubricated models, check the oil level.
- Listen for unusual rattling or grinding which could indicate a serious pump issue.
For more detailed troubleshooting, always refer to your owner’s manual. If you’re uncomfortable, don’t hesitate to contact the manufacturer’s customer support or a qualified technician.
Frequently Asked Questions (FAQ)
Here are some quick answers to common questions about 20-gallon air compressors:
Q1: How much CFM do I need for a 20-gallon air compressor?
A1: For general DIY, aim for at least 4-5 CFM @ 90 PSI. Check the CFM requirements of your most demanding tool and choose a compressor that exceeds it.
Related Posts


I am passionate about home engineering. I specialize in designing, installing, and maintaining heating, ventilation, and air conditioning systems. My goal is to help people stay comfortable in their homes all year long.