Hey there! Looking to power up your DIY projects with more oomph? Sometimes, the tools you already have just don’t cut it for those bigger jobs. That’s where a good air compressor comes in. But choosing the right one can feel like a puzzle, especially when you’re starting out. Don’t sweat it! We’re going to break down the “best 240V 21 gallon air compressor” so you can finally tackle those tasks with confidence. Let’s get you set up for success!
Why a 240V 21 Gallon Air Compressor Might Be Your New Best Friend
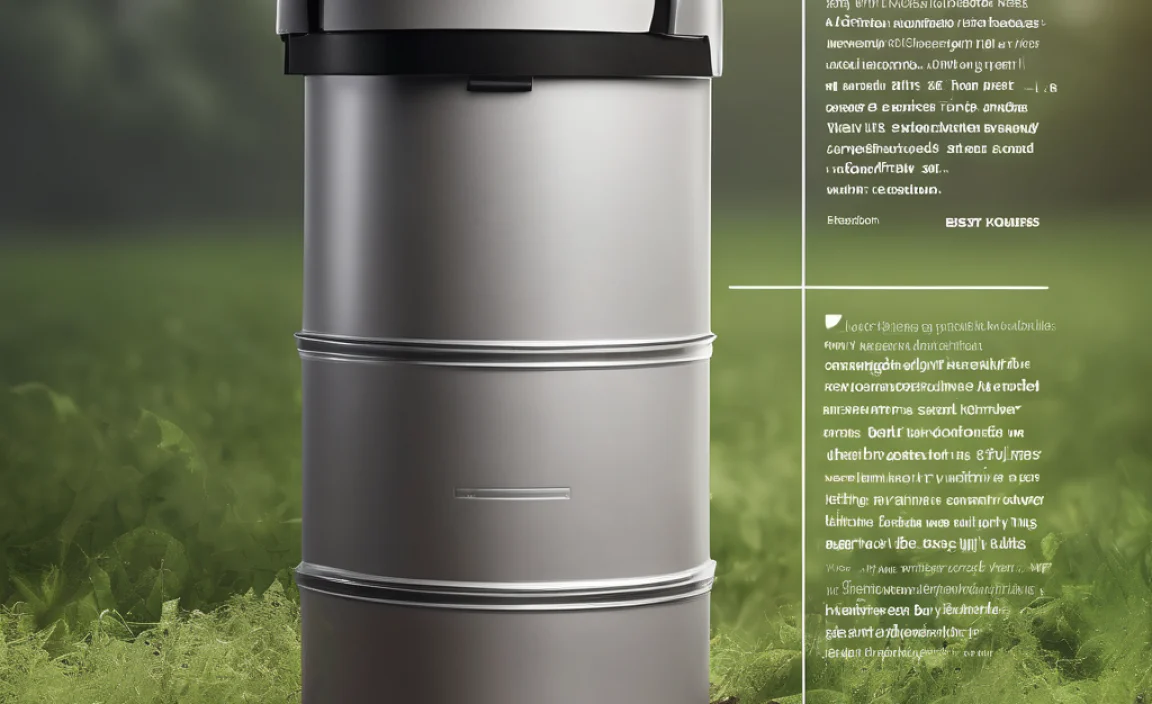
So, you’ve been eyeing those cool air-powered tools – nail guns, sanders, impact wrenches – and wondering how to make them work for you. A good air compressor is the heart of pretty much any pneumatic tool setup. For serious DIYers, hobbyists, and even small automotive shops, a 240V 21-gallon air compressor strikes a fantastic balance. It offers enough power and storage to run demanding tools without constantly kicking on, but it’s not so massive that it takes over your entire garage. It’s that sweet spot that makes those bigger projects feel achievable.
Why 240V? This is where things get interesting. Standard household outlets are usually 120V. While many smaller compressors run on this, a 240V compressor packs a much bigger punch. It draws more power, which means it can deliver more compressed air (measured in Cubic Feet per Minute, or CFM) at a higher pressure (Pounds per Square Inch, or PSI). This is crucial for tools that are air-hungry, like die grinders, some larger sanders, or even spray guns for painting.
And the 21-gallon tank? Think of this as the air reservoir. A larger tank means the compressor motor doesn’t have to run as often. Instead, you can use the air stored in the tank to power your tools. For a 21-gallon tank, this translates to longer run times for your air tools before the compressor needs to re-pressurize the tank. This is a game-changer when you’re in the middle of a project and don’t want interruptions.
Who Needs This Kind of Power?
- The Weekend Warrior: If you’re constantly tinkering in the garage, doing car maintenance, or building furniture, a 240V 21-gallon compressor is a serious upgrade.
- The DIY Renovator: Tackling a home renovation? Think sanding drywall, air-nailing trim, or even a quick paint job. This compressor can handle it.
- The Hobbyist: From scale modeling to woodworking, if your hobby involves precise, air-powered tools, this compressor provides the consistent flow you need.
- Light Commercial Use: Small automotive repair shops, custom fabricators, or even woodworkers who need a reliable workhorse will find this size to be a great fit.
Common Frustrations Solved by a 240V 21 Gallon Unit
Ever been painting and the sprayer starts spitting because the pressure drops? Or perhaps you’re trying to use an impact wrench, and it just doesn’t have the torque to loosen a stubborn bolt? These are classic signs that your current air setup isn’t keeping up. A 240V 21-gallon compressor is designed to eliminate these headaches by providing a steady, robust supply of compressed air.
Another common issue is noise. While all compressors make noise, those that have to run constantly to keep up with demand can be particularly disruptive. Larger tanks and more powerful motors often mean the compressor cycles less frequently, leading to a more bearable noise level over time. Plus, many of these units are designed with quieter operation in mind.
Key Features to Look For: What Makes a “Best” Compressor?
When you’re hunting for the “best 240V 21 gallon air compressor,” not all are created equal. Here’s what savvy buyers look for:
1. Horsepower (HP) and Amps
This tells you how much power the motor has. For a 240V 21-gallon unit, you’ll typically see a range from 2 to 5 HP. More HP generally means more power to drive the pump and generate CFM. Amperage (Amps) is also important because it relates to how much electrical current the compressor draws. This is important for ensuring your electrical circuit can handle it. A higher HP unit will usually have a higher amperage draw.
2. Cubic Feet per Minute (CFM)
This is arguably the MOST important spec. CFM measures how much air the compressor can deliver. Tools have CFM requirements. You need a compressor that can output at least as much CFM as your most demanding tool at the required PSI. A 21-gallon tank is great, but if the compressor can’t generate enough CFM, the tank will empty quickly. For a 240V 21-gallon unit, look for CFM ratings around 4.0 to 7.0 CFM @ 90 PSI. This range is usually sufficient for most common DIY and semi-pro applications.
Pro Tip: Always check the CFM rating at 90 PSI, as this is a standard benchmark. Some manufacturers might list CFM at a lower PSI (like 40 PSI), which looks better but isn’t as useful for real-world tool performance. Check the Engineering ToolBox for a general idea of air consumption for various tools.
3. Tank Size and Orientation
We’ve established that 21 gallons is a popular size for this category. It’s a good balance between air storage and physical footprint. Tank orientation – vertical or horizontal – matters for space. Vertical tanks take up less floor space, which is great for crowded garages.
4. Pump Type: Oil-Lubricated vs. Oil-Free
- Oil-Lubricated: These pumps generally run cooler, last longer, and are often quieter. They require regular oil checks and changes. This is usually the preferred type for heavier use and longevity.
- Oil-Free: These are lighter, require less maintenance (no oil to check or change), and are often more portable. However, they can be louder, run hotter, and might not last as long under continuous heavy use.
For a 240V 21-gallon model, most serious users opt for an oil-lubricated pump for maximum durability and performance.
5. Maximum PSI
This is the maximum pressure the compressor can build and store. Most 240V compressors in this size range will go up to 125-175 PSI. Higher PSI means the tank can hold more air, and you have more reserve pressure. Again, check your tools’ requirements, but 150 PSI is a common and effective maximum for this class.
6. Durability and Build Quality
Look for cast iron cylinders, sturdy housings, and good-quality regulators and gauges. Brands with a solid reputation for reliability are a good bet. Check reviews for common failure points or build issues.
7. Portability (Wheels and Handles)
Even though it’s a 21-gallon unit, it will have some weight. Good quality wheels and well-placed handles make it much easier to move around your workshop or garage. Some are designed to be more stationary, while others are built for regular relocation.
Top Picks: The Best 240V 21 Gallon Air Compressors
While “best” can be subjective and depends on specific needs, here are some highly-regarded models and brands that consistently perform well in the 240V 21-gallon category. These are known for their power, durability, and value.
It’s important to note that availability and pricing can vary. Always check the latest specifications when you’re ready to buy.
Table: Featured 240V 21 Gallon Air Compressors (Spotlight)
| Brand & Model (Example) | HP (Approx.) | CFM @ 90 PSI (Approx.) | Max PSI | Pump Type | Key Features / Notes |
|---|---|---|---|---|---|
| Senco PCBN62 | 2.5 | 5.7 | 150 | Oil-Lubricated | Very quiet operation for its class, durable cast iron pump, good for trim work and framing. |
| Industrial Air M2820-T4H | 3.7 | 6.2 | 175 | Oil-Lubricated | Powerful, high CFM, robust build, excellent for continuous use and demanding tools. |
| Campbell Hausfeld FP2020 | 3.5 | 6.0 | 160 | Oil-Lubricated | Reliable all-rounder, good for auto repair, inflating, and air tool use. Known for durability. |
| DeWalt DXCMLA2247024 | 3.3 | 6.2 | 175 | Oil-Lubricated | Cast iron, oil-lubricated pump for longevity, quiet operation, efficient motor. |
Disclaimer: These are example models. Always verify the latest specs and features from the manufacturer or retailer at the time of purchase.
What You’ll Need for Setup
Beyond the compressor itself, you’ll need a few things to get it running safely and to connect your tools:
- 240V Power Outlet: This is non-negotiable. You’ll need a dedicated 240V circuit from your electrical panel. If you don’t have one, you’ll need to hire a qualified electrician. For safety and code compliance, it’s always best to have a professional handle this. Standards like those from the National Fire Protection Association (NFPA) govern electrical installations.
- Air Hose: Make sure it’s rated for the PSI your compressor outputs. For a 21-gallon, 240V unit, you’ll likely need a hose rated for at least 150 PSI. Consider the length you’ll need for your workspace.
- Fittings and Couplers: Standard fittings (like ¼-inch NPT) allow you to connect your air hose to the compressor and your tools.
- Air Filter: Most compressors come with a basic intake filter, but consider upgrading if you plan on painting or need very clean air.
- Air Tools: This is what it’s all for! Nail guns, impact wrenches, sanders, grinders, inflators, etc.
- Oil (if oil-lubricated): Use the type of oil recommended by the manufacturer.
- Eye Protection and Hearing Protection: Always essential when working with power tools and compressed air.
Setting Up Your Best 240V 21 Gallon Air Compressor: Step-by-Step
Getting your new compressor ready to go is pretty straightforward. Just follow these steps:
Step 1: Choose the Right Location
Your compressor needs a clean, dry, and well-ventilated area. Avoid placing it in a dusty corner or where it will be exposed to moisture. Ensure there’s enough space around it for airflow, as the motor and pump generate heat. If you plan on running high-demand tools, consider the length of your air hose and how it will reach your work area without being a tripping hazard.
Step 2: Electrical Connection (Crucial Safety Step!)
Verify your electrical system. If you don’t already have a 240V outlet installed, you MUST hire a qualified electrician to run a new circuit. Attempting to wire this yourself without proper knowledge can be extremely dangerous and can lead to fire, damage to the compressor, or serious electrical shock. The outlet should be on a breaker dedicated to the compressor.
Connect the Plug: Once the outlet is properly installed, simply plug in your compressor. Ensure the power switch on the compressor is in the “off” position before plugging it in.
Step 3: Add Oil (If Applicable)
If your compressor has an oil-lubricated pump, locate the oil fill port. Most compressors will come with a small amount of oil or require you to purchase a specific type. Fill the reservoir to the indicated level on the dipstick or sight glass. Do NOT overfill or underfill. Check your owner’s manual for the exact procedure and oil type.
Step 4: Initial Start-Up and Break-In
Read your owner’s manual thoroughly before the first run! Most compressors have an initial break-in procedure. This typically involves running the compressor for a set amount of time (e.g., 15-30 minutes) without any air tools attached. This allows the pump and piston rings to seat properly, ensuring longevity and optimal performance.
- Turn the power switch to the “on” position.
- The motor should start, and the compressor will begin filling the tank.
- Listen for any unusual noises.
- Allow it to run through its cycle, reaching maximum pressure and shutting off automatically.
- Let it cool slightly, then repeat the run-off cycle once or twice as recommended in the manual.
Step 5: Connect Your Air Hose and Tools
Once the break-in is complete:
- Turn off the compressor.
- Attach your air hose to the compressor’s outlet fitting using the appropriate quick-connect coupler. Ensure it’s a secure fit.
- Attach your air tool to the other end of the air hose.
- Turn on the compressor. It will begin filling the tank.
- As the tank fills, monitor the pressure gauge. Once it reaches your desired working pressure (or the compressor’s cut-off pressure), the motor will stop.
- Some compressors have an adjustable regulator. You’ll use this to set the pressure for your specific tool. Most tools have the required PSI printed on them or in their manual.
- Open the trigger on your air tool slowly to test its function and ensure the compressor maintains pressure.
Maintaining Your Air Compressor for Longevity
A little bit of maintenance goes a long way in keeping your “best 240V 21 gallon air compressor” running smoothly for years.
Regular Checks (Daily/Before Each Use)
- Drain the Tank: This is the most critical maintenance step. Water condensation naturally builds up in the tank. Use the drain valve at the bottom of the tank to release this moisture before each use or at the end of each day’s work. This prevents rust from forming inside the tank, which can cause damage and contaminate your air supply.
- Check Oil Level (Oil-Lubricated Units): Ensure the oil is between the minimum and maximum marks.
- Inspect the Air Filter: Make sure it’s clean and not clogged. A dirty filter reduces performance.
Periodic Maintenance (Weekly/Monthly/As per Manual)
- Change the Oil: For oil-lubricated compressors, change the oil according to the manufacturer’s recommendations (e.g., every 500-1000 hours of run time, or annually). Use the correct type of oil.
- Clean or Replace Air Filter: Depending on the type, you might be able to clean it, or it may need replacement.
- Inspect Belts (If Belt-Driven): Check for wear and proper tension.
- Check Pressure Switch and Safety Valve: Ensure they are functioning correctly. Never tamper with the safety valve.
Long-Term Storage
If you need to store the compressor for an extended period (e.g., over winter):
- Drain the tank completely.
- Run the compressor briefly to remove as much residual air and moisture as possible.
- If it’s an oil-lubricated model, consider draining and refilling with fresh oil for storage to prevent moisture contamination.
- Store in a dry, protected area.
Frequently Asked Questions (FAQ)
Q1: Can I plug a 240V compressor into a 120V outlet?
A: Absolutely not. A 240V appliance requires a 240V power source. Trying to plug it into 120V will not work and could damage the compressor. You need a dedicated.

I am passionate about home engineering. I specialize in designing, installing, and maintaining heating, ventilation, and air conditioning systems. My goal is to help people stay comfortable in their homes all year long.