Hey there, eco-minded friends! 🌱 Are you looking to cut down on kitchen waste but think composting is too complicated or expensive? Maybe you’ve heard of Bokashi composting and thought it sounded fancy, then figured it’s probably not budget-friendly.
Well, I’m here to tell you that’s absolutely not the case! I’m Troy D Harn from TopChooser, and I love finding smart, simple ways to make sustainable living easy and accessible for everyone. Bokashi composting can be incredibly affordable, and I’m going to show you exactly how to do it without breaking the bank. Get ready to transform your food scraps into garden gold, the easy way!
Bokashi Composting Affordable: Your Genius Budget Solution
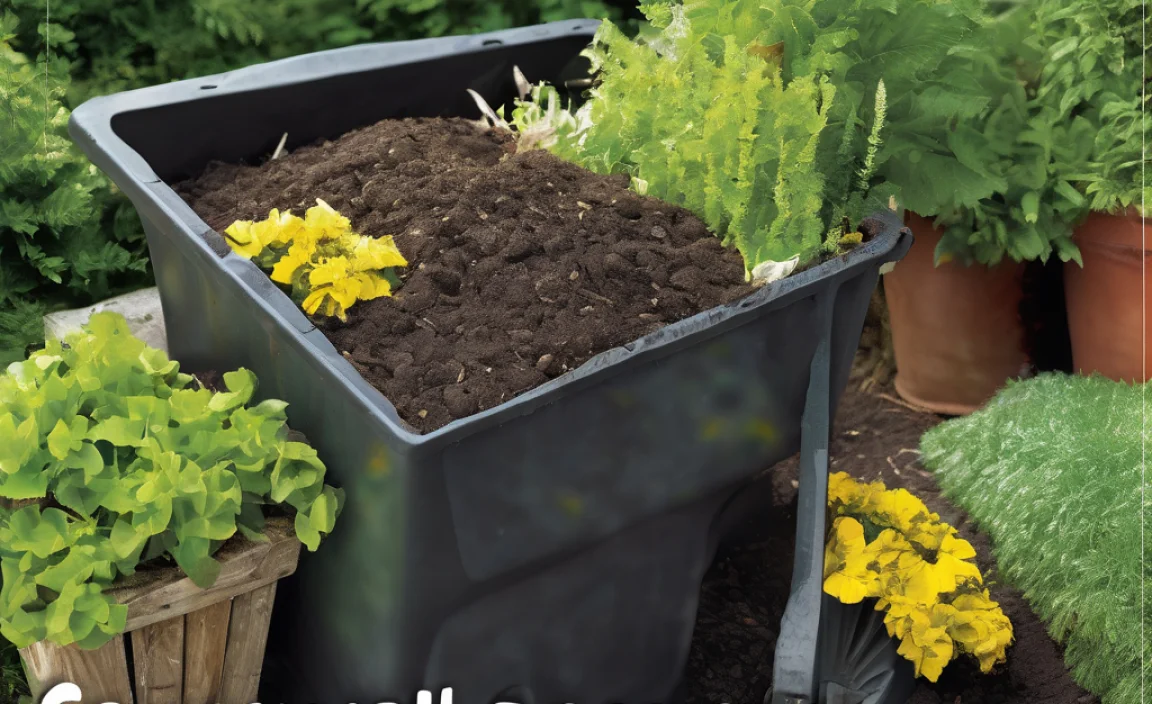
Composting is fantastic for your garden and the planet. It turns kitchen scraps and yard waste into nutrient-rich fertilizer, reducing landfill waste and saving you money on store-bought soil amendments. But let’s be honest, sometimes the upfront cost of composting bins or the space required can feel like a barrier. That’s where Bokashi composting shines! It’s an anaerobic fermentation process (meaning it happens without air) that can be done in a small, contained space, making it perfect for apartments, balconies, or small yards. And the best part? You can totally DIY a Bokashi system on a shoestring budget. Let’s dive into how you can get started!
What Exactly is Bokashi Composting?
Think of Bokashi as a pre-composting or pickling process for your food waste. Instead of letting organic matter break down through the action of microbes (like in traditional composting), Bokashi uses a special blend of beneficial microorganisms, typically lactic acid bacteria and yeasts, to ferment your food scraps. These microbes work their magic in an airtight container, breaking down much of your food waste into a nutrient-rich, soil-like material. It’s faster than traditional composting and doesn’t produce the typical odors associated with decomposition because it’s anaerobic.
Two key components make Bokashi happen:
- An Airtight Container: This is where the magic (and fermentation) occurs.
- Bokashi Bran: This is the sprinkle that ignites the fermentation process with those helpful microbes.
Why Bokashi is a Budget-Friendly Choice
The main draw of Bokashi for budgeteers is its simplicity and the ability to DIY many of the components. Traditional composting systems can sometimes require purchasing specialized bins, tumblers, or large amounts of carbon-rich “brown” materials. Bokashi, however, often uses readily available or inexpensive materials.
Here’s why it’s a genius budget solution:
- Inexpensive Storage: You don’t need fancy bins.
- DIY Friendly: Many parts can be made at home.
- Minimal Space: Perfect for small spaces, meaning no need to invest in a large outdoor setup.
- Reduces Waste Costs: Less trash means potential savings on waste disposal fees (if applicable).
- Creates Valuable Output: The end product (Bokashi tea and fermented solids) is excellent for your plants, saving you money on fertilizers.
DIY Bokashi System: The Affordable Path
The heart of any Bokashi system is the container. You need something that can be sealed tightly to keep air out. Forget expensive specialized Bokashi bins; a DIY approach is super effective and way cheaper.
Your Budget-Friendly Bokashi Container Options
The goal is an airtight bucket. Here are a few super affordable ways to achieve this:
- The Two-Bucket System: This is hands-down the most popular and cost-effective DIY method.
- What you need: Two 5-gallon buckets (food-grade if possible, but any sturdy ones will do) with lids, a drill with a 1/4 to 1/2 inch drill bit, and optionally, some small pieces of screen or mesh.
- How to set it up:
- Take one bucket and drill several holes in the bottom. These holes allow the “Bokashi tea” (a liquid byproduct) to drain to the bottom bucket.
- If you want to prevent food scraps from falling through, you can hot-glue or secure a piece of screen or mesh over these holes from the inside.
- Place this drilled bucket inside the second, solid bucket.
- The solid bucket acts as a reservoir for the Bokashi tea. Make sure the lid fits tightly on the top, drilled bucket.
- Yoga Mat or Old Foam Pad Hack: If you’re using a single-bucket system and want to ensure a really good seal on the lid, cut a circle out of an old yoga mat or thick foam pad to fit snugly inside the lid. Place the lid on the bucket, then put the foam insert on top of that to really press down and create an airtight seal. This is a neat trick to enhance the seal on any container!
- Repurposed Food-Grade Buckets: Keep an eye out for buckets from bakeries, delis, or restaurants. Often, they’ll give away food-grade plastic buckets with lids for free or for a very small fee. Clean them thoroughly!
The Essential Ingredient: Bokashi Bran
This is where you might think the cost goes up, but there are affordable ways to get your hands on Bokashi bran, or even make your own!
Budget-Friendly Bokashi Bran Sources:
- Online Retailers: While you can find Bokashi bran online, prices can vary. Look for sellers offering larger quantities for a better per-pound price. Buying from smaller, independent sellers can sometimes be cheaper than big box stores.
- Local Gardening Groups/Co-ops: Sometimes, local gardening clubs or permaculture groups will buy Bokashi bran in bulk and offer it at a reduced price to members. It’s always worth checking!
- DIY Bokashi Bran (The Ultimate Budget Hack): This requires a little more effort but can save you a lot of money long-term. You’ll need:
- A Base Material: Wheat bran, rice bran, or even sawdust (hardwood sawdust is best) are good options. You can often get these very cheaply from feed stores or lumber mills.
- Effective Microorganisms+ (EM+): This is the trickiest part for DIY. You can purchase a small bottle of concentrated EM+ liquid online. A little goes a long way.
- Molasses (or sugar): A small amount of unsulfured molasses or even regular sugar feeds the microbes.
- Water: To get the right moisture level.
Basic DIY Bokashi Bran Method:
- In a large container, mix your bran (or other base material) with a small amount of molasses dissolved in water.
- Add your concentrated EM+ liquid.
- Mix thoroughly. The goal moisture level is like a wrung-out sponge – damp, but not dripping.
- Store this mixture in a breathable container (like a fabric bag or a loosely covered bin) in a slightly warm, dark place for about 1-2 weeks to allow the microbes to multiply.
- Once it smells earthy and slightly sour (not rotten), it’s ready! Spread it out to dry slightly so it’s easier to handle and store. Then, you can use it just like store-bought Bokashi bran.
For a more in-depth guide on DIY Bokashi bran, check out resources from institutions like ATTRA (National Sustainable Agriculture Information Service), which offers extensive knowledge on sustainable practices, including the use of Effective Microorganisms.
Quick Summary Table: DIY vs. Store-Bought Bokashi Bran
Here’s a quick look at the cost trade-offs.
| Feature | DIY Bokashi Bran | Store-Bought Bokashi Bran |
|---|---|---|
| Initial Cost | Low (cost of base materials, small EM+ bottle) | Moderate to High (depending on brand and quantity) |
| Time Investment | High (preparation, fermentation time) | None (ready to use) |
| Long-Term Cost | Very Low | Higher (recurring purchase necessary) |
| Availability | Requires effort to source/make | Easily available online or in gardening stores |
| Control | Full control over ingredients | Relies on manufacturer’s formula |
How to Use Your Affordable Bokashi System
Now that you have your DIY buckets and your budget-friendly bran, it’s time to get composting! Using the system is incredibly simple.
Step-by-Step Guide to Bokashi Composting
- Add Food Scraps: Start by adding a layer of your food scraps to the bottom of your inner bucket. Almost all food waste can be Bokashi’d, including meat, dairy, and oily foods – things that are typically difficult for traditional compost. Chop larger items into smaller pieces for faster fermentation.
- Sprinkle with Bran: Sprinkle a generous tablespoon or two of your Bokashi bran over the food scraps. Make sure to get it into all the nooks and crannies. This is what kick-starts the fermentation.
- Press Down: Gently press down on the food scraps. This helps to remove air pockets and ensures the bran can work its magic. Using a small plate or a clean, flat object works well.
- Seal the Lid: Place the lid tightly on the bucket. The goal is to keep as much air out as possible.
- Repeat: Continue adding food scraps, sprinkling bran, pressing down, and sealing the lid each time you add to the bucket.
- Drain the Bokashi Tea: Every 2-3 days, or whenever you notice liquid accumulating at the bottom, drain the Bokashi tea from the tap (if your bucket has one) or by carefully tilting the inner bucket over the outer one. This liquid is a potent fertilizer! Dilute it with water (about 1:100 ratio – a splash in a watering can) and use it to feed your houseplants or garden plants. Don’t let the liquid sit for too long, as anaerobic conditions can lead to bad smells.
- Fermentation Time: Once the inner bucket is full, do not open it for at least 2 weeks. This allows the fermentation process to complete fully. You can start filling a second bucket during this fermentation period.
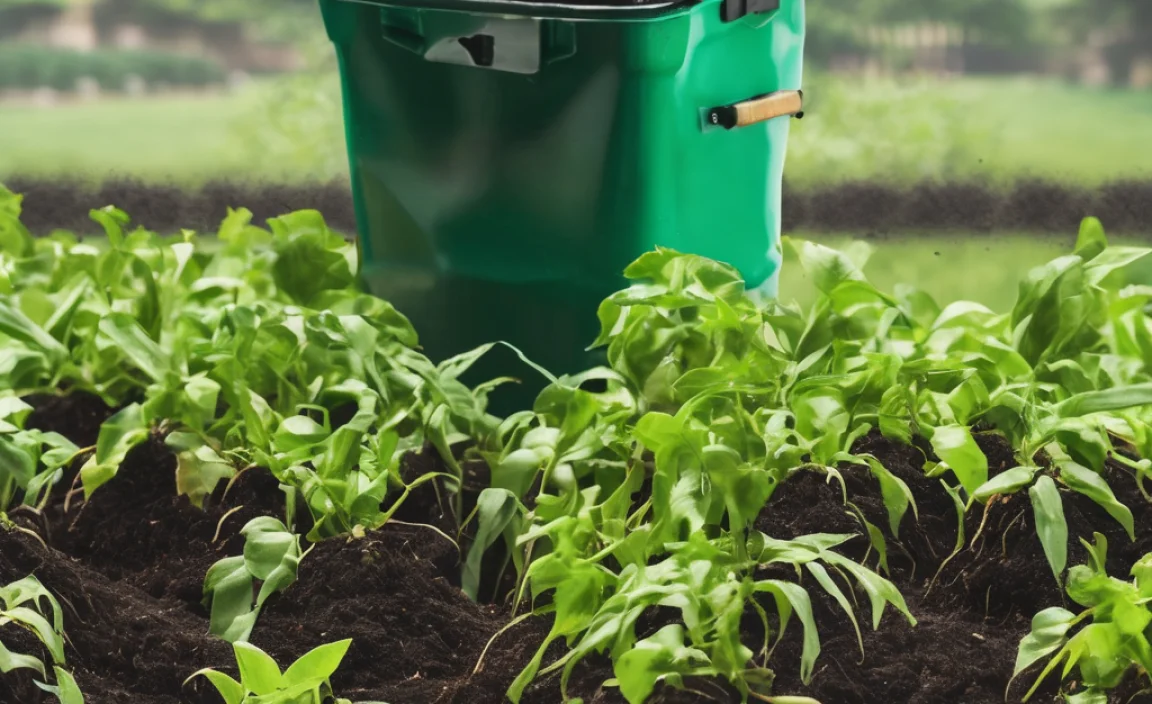
- Bury the Solids: After the 2-week fermentation period, you’ll have a bucket full of fermented, pickled food waste. This material is not yet finished compost. It needs to be incorporated into the soil to complete the decomposition phase. Dig a trench in your garden, bury the fermented solids about 6-8 inches deep, cover with soil, and let it sit for another 2-4 weeks. It will break down rapidly in the soil, enriching it. You can also add it to a traditional compost pile to speed up the process.
What Can You Bokashi?
The beauty of Bokashi is its versatility with food waste. Unlike traditional composting, you can ferment:
- Fruits and vegetables scraps
- Meat, fish, and bones
- Dairy products (cheese, yogurt)
- Cooked grains and pastas
- Coffee grounds and tea leaves
- Oils and grease (in moderation)
- Eggshells
- Diseased plant matter (though some avoid this to be safe)
It’s crucial to chop larger items into smaller pieces. This increases the surface area for the microbes to work on, leading to faster and more complete fermentation. For instance, a whole apple core will ferment slower than a chopped-up apple core.
What to Avoid Bokashi-ing
While Bokashi handles a lot, there are a few things that are best left out:
- Large amounts of woody material: Think thick branches or lawn clippings. These are better suited for traditional composting.
- Non-food items: Plastics, metals, glass, etc.
- Paper and cardboard: While some sources say small amounts are okay, they can absorb too much liquid and inhibit fermentation. Better to compost these traditionally.
- Pet waste: Unless you are fully committed to a specialized composting system for pet waste, it’s best avoided due to potential pathogens.
Bokashi Tea: Liquid Gold for Your Garden
Don’t ever pour your Bokashi tea down the drain! It’s a potent liquid fertilizer packed with nutrients and beneficial microbes. It’s sometimes called “Bokashi leachate” or “Bokashi juice.” If it smells foul (like rotten eggs), it means air got into the system, or the tea sat too long. In that case, it’s best to discard it on the soil, not on plants.
How to Use Bokashi Tea:
- Dilute it: Always dilute the tea before using it on plants. A common and safe ratio is 1 part Bokashi tea to 100 parts water (e.g., 10ml of tea in 1 liter of water). For very robust plants, you might go up to 1:50.
- Feed your plants: Use it for watering houseplants, seedlings, vegetable gardens, and flower beds. It promotes healthier growth and better soil structure.
- Use it fresh: Ideally, use the drained tea within a day or two for maximum benefit.
Troubleshooting Your Budget Bokashi Setup
Even with a simple system, you might run into a few hiccups. Here’s how to fix common Bokashi issues:
Bokashi Smells Bad
This is the most common concern for beginners. A properly working Bokashi system should smell earthy or pickly, not rotten. If it smells foul (like rotten eggs or strong ammonia), here’s why and how to fix it:
- Too much liquid: Ensure you’re draining the Bokashi tea regularly. If the solids become waterlogged, anaerobic decomposition can turn into putrefaction.
- Not enough bran: Make sure you’re using enough Bokashi bran with each layer of food scraps. The bran is crucial for maintaining the correct microbial balance.
- Air getting in: Double-check that your lid is sealing tightly. Any air entering the system can allow undesirable microbes to thrive.
- The solution: If this happens, add more Bokashi bran, press down firmly, and ensure the lid is sealed. You may have to ‘reset’ the batch by adding more bran and allowing it to ferment for a longer period.
My Bokashi Solids Aren’t Breaking Down
The Bokashi process ferments, it doesn’t fully decompose. The solids will look much like they went in, just softer and pickled. The breakdown happens after you bury them in the soil or add them to a compost pile.
The fix: This isn’t usually a problem, but ensure you’ve given the solids at least 2 weeks to ferment in the sealed bucket before burying them. Burying them in active soil rich in microorganisms will encourage rapid breakdown.
Mold Forming on Top
A bit of white mold can be okay, as it’s part of the fermentation process. However, if you see large amounts of colorful mold (green, black, pink) or fuzzy white mold that smells off, it’s a sign of an imbalance, likely from too much air or not enough bran.
The solution: Add more Bokashi bran, press down firmly to remove air pockets, and ensure the lid is sealed properly. You might also need to bury the contents sooner if the smell turns foul.
Is Bokashi Composting Truly Affordable? Let’s Break It Down.
Let’s get real about the costs. When we talk about “affordable,” we mean minimizing upfront investment and ongoing expenses. Here’s a cost comparison to illustrate.
Cost Comparison: Traditional vs. Bokashi Composting (Budget Focus)
| Item | DIY Bokashi (Estimated Cost) | Budget Traditional Compost Bin (Estimated Cost) | Store-Bought Bokashi Kit (Estimated Cost) |
|---|---|---|---|
| Container | $5 – $15 (for 2 buckets) | $30 – $100 (for a basic bin or tumbler) | $50 – $150 (for specialized Bokashi bins) |
| Activator/Bran | $5 – $20 (initially for EM+, then very little for DIY bran) | $0 – $10 (often uses yard waste or free kitchen scraps) | $10 – $30 per bag (ongoing cost) |
| Tools (Drill for DIY) | Already owned or borrowed ($0) | Likely owned ($0) | None ($0) |
| Space Required | Very Small (balcony, under sink) | Medium to Large (yard) | Very Small (balcony, under sink) |
| Ongoing Maintenance | Low (draining tea, adding scraps) | Medium (turning, adding browns) | Low (adding scraps, draining tea) |
| Total Initial Investment | $10 – $35 | $30 – $100+ | $60 – $280+ |
| Ongoing Costs | Very Low (DIY bran is pennies) | Low (if using free materials) | Moderate (need to buy bran regularly) |
As you can see, the DIY Bokashi system offers the lowest barrier to entry in terms of initial cost and ongoing expenses. This makes it an incredibly attractive option for anyone on a tight budget or with limited space.
Tips for Maximizing Your Bokashi Savings
Beyond the initial setup, here are ways to keep your Bokashi journey super affordable:
- Collect Your Own Bokashi Bran Ingredients: As mentioned earlier, sourcing bran and molasses from feed stores or bulk suppliers is much cheaper.
- Share with Friends: If you make your own Bokashi bran, you can easily make enough to share with neighbors or friends, splitting the cost and effort.
- Use the Bokashi Tea Diligently: Don’t let that nutrient-rich liquid go to waste! It’s free plant food that would otherwise cost money to buy.
- Reduce Food Waste Generally: The more efficiently you use your food, the less you’ll have to compost, meaning you might need to buy less bran over time.
- Repurpose Containers: Always look for free or cheap food-grade buckets before buying new ones.
- Invest in a Longer-Lasting EM+ bottle: While it’s an upfront cost, a concentrated bottle of EM+ will last for many batches of DIY bran, significantly reducing your long-term expenditure.
Conclusion: Smart Composting That Saves You Money
There you have it! Bokashi composting doesn’t have to be expensive or complicated. By utilizing simple DIY buckets and opting for budget-friendly or homemade Bokashi bran, you can implement a highly effective waste reduction and soil-enriching system for next to nothing. It’s a fantastic way to contribute to a healthier planet, reduce your household waste, and create incredibly fertile “food” for your garden, all while being kind to your wallet.
So, don’t let the perceived cost or complexity hold you back. Grab a couple of buckets, get your hands on some Bokashi bran, and start transforming your kitchen scraps into garden gold. You’ll be amazed at how simple and rewarding affordable Bokashi composting can be. Happy composting, everyone!
Frequently Asked Questions about Affordable Bokashi
Here are some common questions beginners have when starting with an affordable Bokashi setup.
Can I really use any old plastic bucket?
Yes, for the most part! As long as it’s sturdy and you can get a relatively airtight seal with the lid, it’s perfect for DIY Bokashi. If possible, opt for food-grade buckets, but if not, just ensure they are thoroughly cleaned before use. The key is containing the anaerobic fermentation process.
How much Bokashi bran do I need to use?
A good rule of thumb is to sprinkle about 1-2 tablespoons of Bokashi bran for every inch of food scraps you add to your bucket. Make sure to cover the scraps evenly. Don’t be shy with the bran; it’s what makes the process work!
What happens if my Bokashi pail smells really bad?
A foul smell usually indicates that air has gotten into the pail, or there’s too much liquid. Always ensure your lid is sealed tightly. Also, drain the Bokashi tea regularly. If it smells truly awful, you might need to add extra bran and let it ferment a bit longer in its sealed container before burying.
Do I need to chop everything into tiny pieces?
While chopping larger items into smaller pieces (about 1-2 inches) helps speed up the fermentation and subsequent breakdown process, it’s not an absolute requirement for everything. However, for things like large fruit rinds, bones, or thick vegetable cores, chopping them makes the process more efficient.
How long does the fermented Bokashi material need to sit in the garden?
After you bury the fermented solids in your garden soil, it’s best to let them sit undisturbed for at least 2 to 4 weeks. This allows the microorganisms in the soil to fully break down the fermented material into nutrient-rich compost, ready for your plants.
Can I just throw the fermented Bokashi solids directly onto my plants?
No, it’s not recommended. The fermented solids are acidic and still contain organic matter that needs to be broken down further. Burying them in the soil or adding them to an active compost pile ensures they decompose properly and don’t harm your plants.

I am passionate about home engineering. I specialize in designing, installing, and maintaining heating, ventilation, and air conditioning systems. My goal is to help people stay comfortable in their homes all year long.