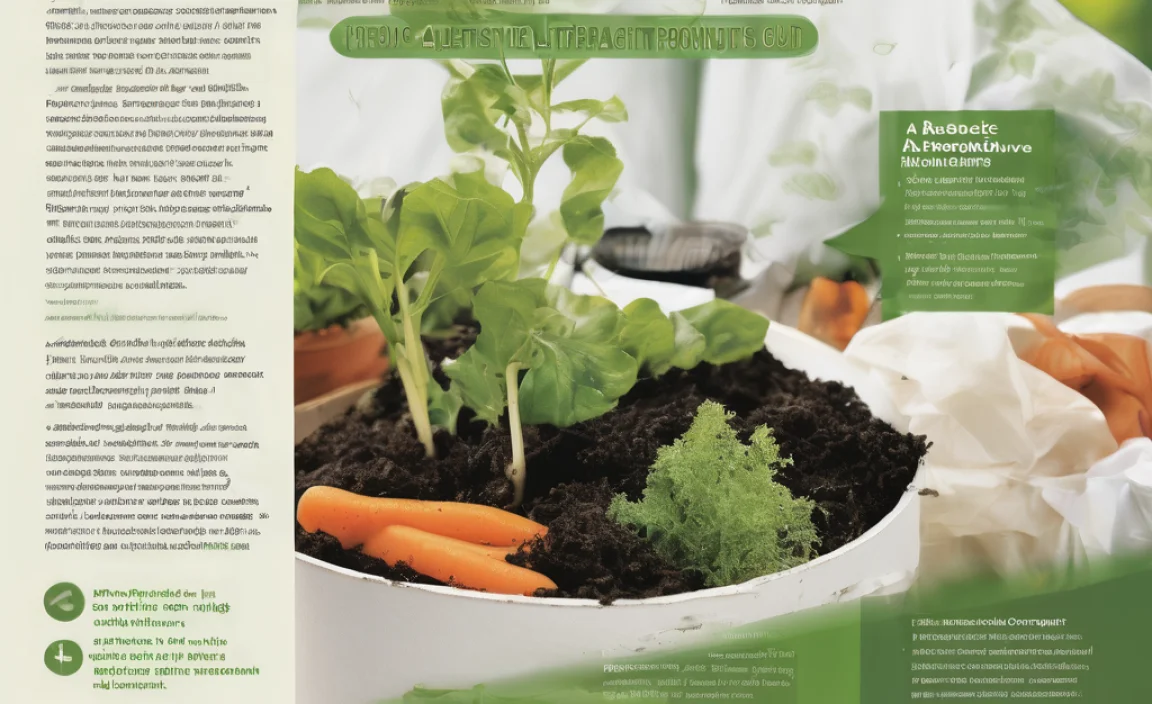
Hey there! Ever feel like you’re drowning in kitchen scraps but don’t have enough space or time for traditional composting? It’s a common pickle for us home improvers and garden enthusiasts. But what if I told you there’s a super simple, almost mess-free way to turn that waste into garden gold? We’re talking about Bokashi composting. Stick around, and I’ll show you exactly how this genius, effortless method works. You’ll be composting like a pro in no time!
Bokashi Composting DIY: Your Genius Effortless Method
As Troy Harn from TopChooser, I get it. You want to do your bit for the planet and boost your garden’s health, but the idea of a big, smelly compost bin can be a turn-off. Maybe you live in an apartment, or perhaps you just fancy a cleaner, quicker way. That’s where Bokashi comes in. It’s not exactly traditional composting; it’s more like a pickling process for your food waste.
This method uses anaerobic fermentation (that means without air!) to break down food scraps. The best part? You can compost things like meat, dairy, and oily foods that you usually can’t or shouldn’t put in a regular compost pile. Plus, you get a fantastic liquid fertilizer along the way. Ready to get your hands dirty (but not too dirty!)? Let’s dive into this awesome DIY project.
What is Bokashi Composting Anyway?
Bokashi is a Japanese word that means “fermented organic matter.” Unlike hot composting, which relies on air and heat to break down materials with the help of aerobic microbes, Bokashi uses a cocktail of beneficial bacteria (usually lactic acid bacteria and yeasts) to ferment your food waste in a sealed container. Think of it as pickling your food scraps.
This fermentation process doesn’t actually “compost” the waste into finished soil in the bin itself. Instead, it pre-treats the waste, making it easier to break down later and killing off pathogens. The end result is a nutrient-rich, acidic material that’s perfect for burying in your garden or adding to a traditional compost pile to speed up decomposition.
Why Bokashi is the Effortless Choice

So, why is this method often called “genius” and “effortless”? Let’s break down the advantages:
- Speed: While the fermentation takes about two weeks, the whole process, from adding scraps to burying the result, is much quicker than traditional methods.
- Odor-Free: Because it’s an anaerobic process, there are no nasty smells. In fact, it often smells pleasantly sour, like a pickle or yogurt.
- Space-Saving: You only need two airtight buckets, making it ideal for small spaces like apartments, balconies, or kitchens.
- Versatility: You can compost almost all kitchen waste, including meat, fish, dairy, and oily foods, which are usually big no-nos for traditional compost.
- Dual Output: You get “Bokashi tea” (the liquid that drains off) which is an excellent liquid fertilizer for your plants, and the fermented solids that break down rapidly when buried.
- Simplicity: The process is straightforward with minimal physical effort. No turning or managing moisture levels like in hot composting.
Getting Started: What You’ll Need for DIY Bokashi
The beauty of Bokashi composting is that you don’t need a lot of fancy equipment. You can even build your own Bokashi system with readily available items.
The Core Components:
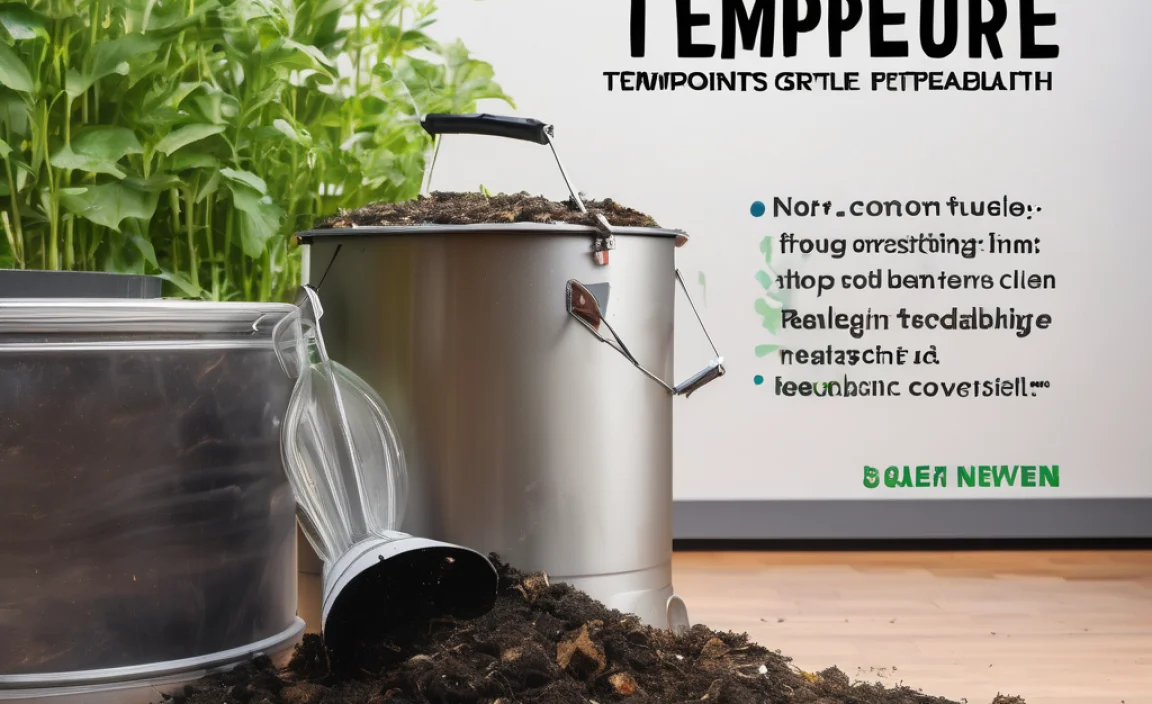
- Bokashi Bins: You’ll need two airtight containers with lids. These are typically 5-gallon buckets. One will be the active bin where you add scraps, and the other will be for the fermented material to rest. You can buy specialized Bokashi bins, or you can easily DIY them.
- A Spigot/Tap: This is essential for draining the “Bokashi tea” from the bottom of the active bin.
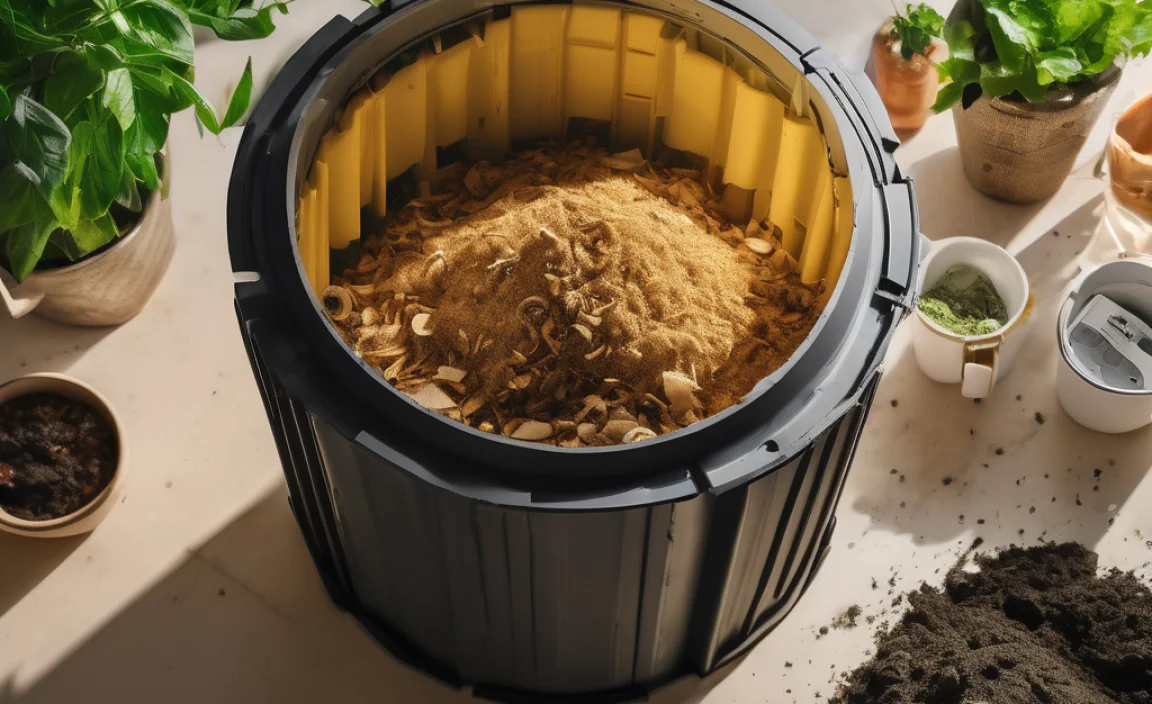
- Bokashi Bran/Inoculant: This is the magic ingredient! It’s a carrier material (like rice bran or sawdust) that has been inoculated with beneficial microorganisms, primarily Effective Microorganisms (EM). You can buy this online or at garden supply stores.
- Airtight Lids: Crucial to keep the air out and the fermentation going.
DIY Bokashi Bin Construction – It’s Easy!
Let’s make our own Bokashi bins. This is where the DIY really shines, saving you money and giving you that satisfying “I made this!” feeling.
Materials:
- Two food-grade plastic 5-gallon buckets with tight-fitting lids.
- One spigot or tap (usually available at hardware stores for about $5-$10).
- A drill with a drill bit suitable for the spigot’s thread size and a smaller bit (around 1/4 inch).
- Optional: A drill bit for drainage holes.
Steps to Build Your Bokashi Bin:
- Prepare the First Bucket (Active Bin): This bucket will hold your food scraps and needs a tap for draining the liquid.
- Install the Spigot: About 2-3 inches from the bottom of the bucket, drill a hole appropriately sized for your spigot. Follow the instructions that come with your spigot for installation. Make sure it’s snug and doesn’t leak. Some spigots come with rubber gaskets to help seal the deal.
- Add Drainage (Optional but Recommended): While the spigot handles the bulk of the liquid, a few small drainage holes drilled in the very bottom of the bucket can help ensure excess liquid doesn’t pool. However, if you get a good seal on your spigot, you might skip this to maintain an anaerobic environment more easily. Many DIYers simply rely on the spigot.
- Place the Lid: Ensure the lid fits tightly.
- Prepare the Second Bucket (Resting Bin): This bucket doesn’t need a spigot. Its purpose is to hold the fermented material after it’s removed from the first bucket, or to rest the active bin on top if you have a very active liquid output. Some people use this second bucket to collect the drained liquid if their spigot isn’t perfectly leak-proof or if they want to use the liquid immediately.
- The Inner Bucket Strategy (Advanced DIY): For a super-efficient Bokashi system, you can drill many small holes (1/4 inch) in the bottom of a third bucket (or use a second bucket for this). This “filter bucket” sits inside your active bin, on top of the spigot. When you add the Bokashi bran and scraps, the solids go into the filter bucket, and the liquids drain through the holes down to the spigot. This helps keep the spigot area clear and ensures better fermentation.
Important Tools & Materials Recap
Before you start, double-check you have everything. This list is from the perspective of building and using the system.
| Item | Purpose | Notes |
|---|---|---|
| 2 x 5-gallon buckets with airtight lids | Container for fermenting waste (one active, one for resting/collection) | Food-grade plastic is ideal. Ensure lids seal well. |
| 1 x Spigot/Tap | To drain liquid (Bokashi tea) | Hardware stores are a good source. |
| Drill and drill bits | For installing the spigot and drainage holes | Size depends on spigot threading and desired hole size. |
| Bokashi Bran/Inoculant | Introduces beneficial microbes for fermentation | Available online or at some garden centers. Store in a cool, dry place. |
| Kitchen utensils (e.g., small knife, cutting board, small shovel/scoop) | For preparing and adding scraps | Everyday kitchen tools are fine. |
| Gloves (optional) | For a tidier process | Disposable or reusable work gloves. |
The Step-by-Step Bokashi Process: Effortless Composting in Action

Now for the fun part! Using your DIY Bokashi system is incredibly simple. You’ll be layering scraps and inoculant, letting it ferment, and then burying it.
Step 1: Start with the Bokashi Bran
Open your active Bokashi bin (the one with the spigot). Sprinkle a layer of Bokashi bran—about 1-2 tablespoons—on the bottom of the empty bucket. This helps get the fermentation process started.
Step 2: Add Your Kitchen Scraps
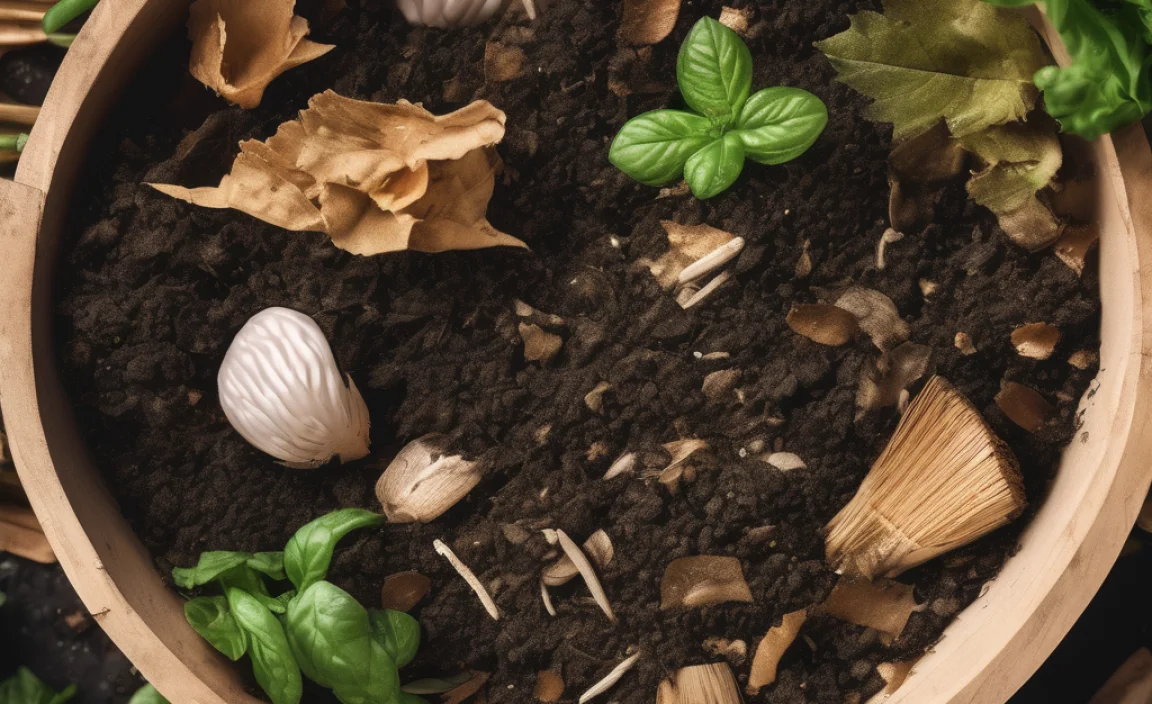
Chop up your food scraps into smaller pieces. This isn’t strictly necessary, but smaller pieces ferment faster and more evenly. You can add almost anything from your kitchen:
- Fruit and vegetable scraps
- Coffee grounds and tea bags
- Cooked and uncooked meat, fish, and bones
- Dairy products (cheese, yogurt, milk)
- Cooked grains and bread
- Eggshells
- Diseased plants (though some people are cautious here)
What NOT to add: While Bokashi is versatile, it’s best to avoid things that are too woody, large bones that won’t break down, or excessive amounts of liquids like oils or water (unless it’s part of the food item, like in soup). Also, avoid non-food items like plastic or metal.
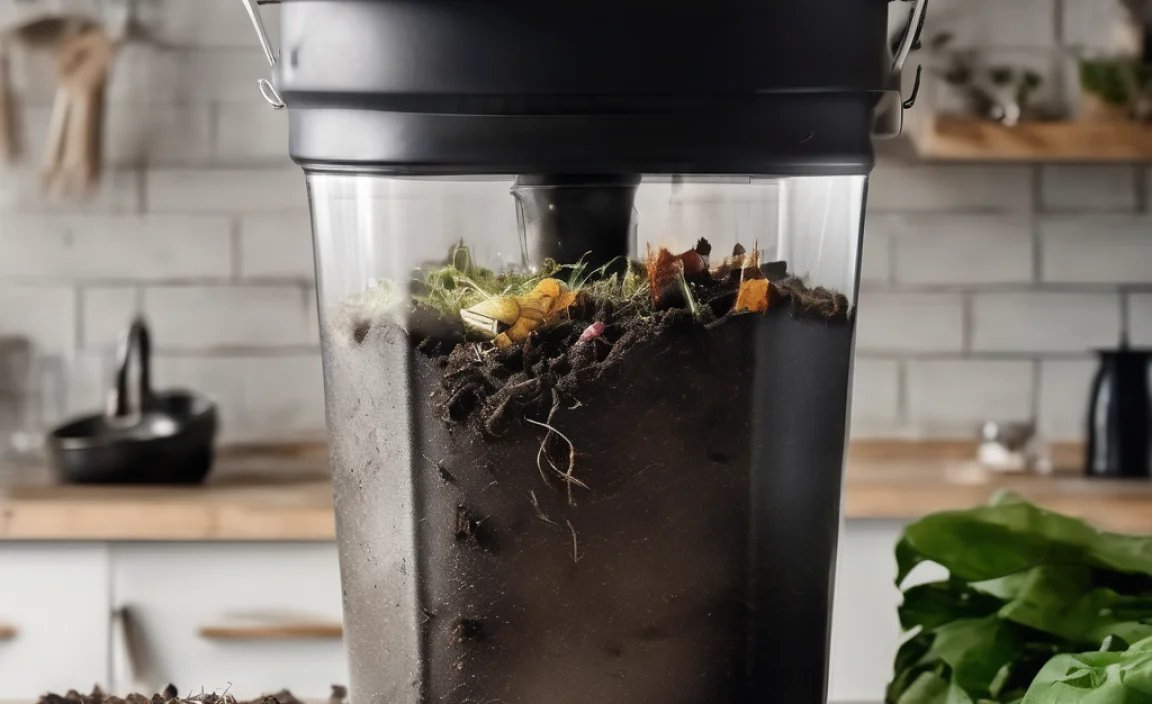
Place your chopped scraps into the bucket. Aim for a layer no more than 2-3 inches deep.
To learn more about what can and can’t go into compost in general, the Environmental Protection Agency (EPA) offers great resources on composting basics and best practices.
Step 3: Sprinkle More Bokashi Bran
After adding your scraps, sprinkle another generous layer of Bokashi bran over them. You want enough bran to lightly coat the surface of the food scraps. This is crucial for proper fermentation. A good rule of thumb is about 1-2 tablespoons of bran per cup of food scraps, or simply ensure the scraps are lightly covered.
Step 4: Press Down the Scraps
Use a potato masher, a fist, or a clean tool to press down the layers of scraps and bran firmly. The goal here is to remove as much air as possible from the bucket. You want to create an anaerobic environment for the microbes to work their magic.
Step 5: Seal the Bin
Place the airtight lid securely on the bucket. Ensure it’s sealed tightly to prevent air from entering. If your lid is a bit loose, you can place a plastic bag over the top of the bucket before putting the lid on, or weigh the lid down with something heavy.
Step 6: Repeat the Process
Continue this layering process (scraps, bran, press, seal) every time you add new kitchen waste. Once one bucket is full, or you’ve added waste for a couple of weeks, it’s time for it to ferment.
Step 7: Fermentation Time (The Resting Period)
Once a bucket is full, or you’ve added waste over a period of about two weeks, seal it and place it in a warm, dark spot to ferment. Do not open it for two weeks. During this time, the microbes will work on the waste, pickling it into a fermented state. It will likely smell sour, like pickles or vinegar – this is normal and a good sign!
While the first bucket is fermenting, you can start filling your second bucket using the same process.
Step 8: Drain the Bokashi Tea
Throughout the filling and fermentation process, a liquid called “Bokashi tea” will collect at the bottom of the active bin. This liquid is rich in nutrients. You’ll need to drain it regularly by opening the spigot. Do this every 1-3 days, depending on how much liquid is produced.
- Dilution is Key: Never use the Bokashi tea undiluted. It’s very potent! Dilute it with water at a ratio of 1:100 (1 part tea to 100 parts water) for watering plants. A general guideline is a capful of tea in a gallon of water.
- Uses for Bokashi Tea: It’s a fantastic liquid fertilizer for your garden plants, houseplants, or even diluted and poured down drains to help with odor and keep pipes clear.
- What if no tea is produced? Don’t worry too much. It depends on the moisture content of your food scraps. If it’s dry, you might add a tiny bit of water (a few tablespoons) to help activate the microbes.
Step 9: Bury the Fermented Waste
After the two-week fermentation period, the contents of your full bucket are ready to be buried. You have a couple of options:
- Directly in the Garden: Dig a hole in your garden bed or a large planter, about 8-12 inches deep. Place the fermented Bokashi waste in the hole, cover it with soil, and let it rest for 2-3 weeks before planting directly on top. This allows the material to further break down into the soil.
- Add to a Compost Pile: If you have a traditional compost pile or bin, you can add the fermented Bokashi material to it. It will significantly speed up the decomposition process of your existing compost.
- In a Potted Plant (with caution): You can add it to a large planter, burying it beneath the soil surface and letting it sit for a couple of weeks before planting. This avoids direct contact with plant roots while it’s still acidic.
As you can see, the “effortless” comes from the minimal physical work involved. The Bokashi microbes do all the hard work of breaking down the food.
Troubleshooting Common Bokashi Issues
Even with this simple method, sometimes things don’t go perfectly. Here are a few common hiccups and how to fix them.
| Problem | Possible Cause | Solution |
|---|---|---|
| Bad odors (rotten, sulfuric smell) | Too much air getting in; not enough Bokashi bran; bin is too wet. | Ensure lid is sealed tightly. Add more bran, ensuring all scraps are covered. Drain liquid more frequently. If very wet, add more dry bran or shredded paper. |
| Mold growth (other than white/faint colored mold, which is normal) | Too much air, especially if bin isn’t full. | Press down scraps firmly to remove air. If bin is only half full, consider adding some shredded newspaper or coco coir to fill the space and absorb moisture. |
| No Bokashi tea being produced | Food scraps were too dry; not enough moisture. | Add a few tablespoons of water to the bin to help activate the microbes. |
| Pests (fruit flies, etc.) | Lid not sealed properly; food scraps exposed. | Ensure lid is airtight. Press scraps down firmly. If adding scraps, try to bury them under a fresh layer of bran. |
| Fermented material is still recognizable after two weeks | Too cold during fermentation; not enough bran; scraps were too large. | Try to keep the bin in a warmer spot (between 60-80°F or 15-27°C). Ensure an adequate amount of bran was used. Chop scraps smaller next time. The material will still break down when buried, just maybe a bit slower. |
The Genius of Bokashi: Beyond Kitchen Scraps
The real genius of Bokashi extends beyond just reducing landfill waste. It’s about creating a closed-loop system for your home and garden. The consistent supply of nutrient-rich Bokashi tea can dramatically improve plant growth. According to studies from institutions like Oregon State University Extension, fermented organic matter can introduce beneficial microbes to your soil, improving its structure and health.
By using Bokashi, you’re not only diverting waste but also actively enriching your soil with essential nutrients. This leads to healthier, more resilient plants and ultimately, a more sustainable gardening practice. Plus, the anaerobic fermentation process ensures that pathogens are neutralized, making the end product safer and easier to handle than some other composting methods.
Frequently Asked Questions About Bokashi Composting
Here are some common questions beginners have about getting started with Bokashi.
.lwrp.link-whisper-related-posts{
margin-top: 40px;
margin-bottom: 30px;
}
.lwrp .lwrp-title{
}.lwrp .lwrp-description{
}
.lwrp .lwrp-list-container{
}
.lwrp .lwrp-list-multi-container{
display: flex;
}
.lwrp .lwrp-list-double{
width: 48%;
}
.lwrp .lwrp-list-triple{
width: 32%;
}
.lwrp .lwrp-list-row-container{
display: flex;
justify-content: space-between;
}
.lwrp .lwrp-list-row-container .lwrp-list-item{
width: calc(25% – 20px);
}
.lwrp .lwrp-list-item:not(.lwrp-no-posts-message-item){
max-width: 150px;
}
.lwrp .lwrp-list-item img{
max-width: 100%;
height: auto;
object-fit: cover;
aspect-ratio: 1 / 1;
}
.lwrp .lwrp-list-item.lwrp-empty-list-item{
background: initial !important;
}
.lwrp .lwrp-list-item .lwrp-list-link .lwrp-list-link-title-text,
.lwrp .lwrp-list-item .lwrp-list-no-posts-message{
}@media screen and (max-width: 480px) {
.lwrp.link-whisper-related-posts{
}
.lwrp .lwrp-title{
}.lwrp .lwrp-description{
}
.lwrp .lwrp-list-multi-container{
flex-direction: column;
}
.lwrp .lwrp-list-multi-container ul.lwrp-list{
margin-top: 0px;
margin-bottom: 0px;
padding-top: 0px;
padding-bottom: 0px;
}
.lwrp .lwrp-list-double,
.lwrp .lwrp-list-triple{
width: 100%;
}
.lwrp .lwrp-list-row-container{
justify-content: initial;
flex-direction: column;
}
.lwrp .lwrp-list-row-container .lwrp-list-item{
width: 100%;
}
.lwrp .lwrp-list-item:not(.lwrp-no-posts-message-item){
max-width: initial;
}
.lwrp .lwrp-list-item .lwrp-list-link .lwrp-list-link-title-text,
.lwrp .lwrp-list-item .lwrp-list-no-posts-message{
};
}

I am passionate about home engineering. I specialize in designing, installing, and maintaining heating, ventilation, and air conditioning systems. My goal is to help people stay comfortable in their homes all year long.