Composting can feel like a puzzle, right? You want to do your part and turn kitchen scraps into garden gold, but it seems complicated. Maybe you’ve heard of different ways to compost, and bokashi is one that’s caught your eye. It sounds a bit unusual, but it’s actually a super simple and effective method. We’re going to break down everything you need to know about bokashi composting, step-by-step. You’ll be on your way to reducing waste and boosting your soil in no time!
Bokashi Composting Methods: Your Effortless Guide to Kitchen Waste Transformation
Hey there, folks! Troy D Harn here from TopChooser, ready to help you tackle another home and garden project with ease. Today, we’re diving into the wonderfully unique world of bokashi composting. If you’re looking for a way to handle food scraps without the usual smell or the need for a big outdoor bin, bokashi might just be your new best friend. It’s faster, it works indoors, and it’s surprisingly simple once you get the hang of it. Let’s make composting easy, together!
What Exactly is Bokashi Composting?
So, what’s the deal with bokashi? Unlike traditional composting that relies on oxygen and microbes to break down organic matter (think turning leaves and grass clippings into rich soil), bokashi uses a process called anaerobic fermentation. This means it happens without air. It’s a bit like pickling your food scraps!
The magic ingredient in bokashi is a special bran or sawdust inoculated with Effective Microorganisms (EM™). These beneficial microbes get to work on your food waste, pickling it and preventing the stinky, rotten stuff from happening. This makes it a fantastic option for apartment dwellers or anyone with limited outdoor space. Plus, it can handle things that traditional compost piles often can’t, like dairy products and meat!
Why Choose Bokashi? The Top Benefits
Before we jump into the how-to, let’s chat about why bokashi composting is such a smart choice for many households. It’s not just different; it’s often better for specific needs.
- Handles All Food Scraps: Yes, really! This includes meat, fish, dairy, and oily foods that can often cause problems in a regular compost bin.
- Odor-Free Process: Because it’s anaerobic (no air) and uses beneficial microbes, bokashi bins don’t smell bad. You might notice a slightly sweet, sour, or earthy fermented smell, but it’s nothing unpleasant.
- Compact & Indoor-Friendly: Bokashi bins are small, sealed containers, perfect for keeping under your kitchen sink or on a balcony.
- Fast Fermentation: The initial pickling process is quick, usually taking about two weeks.
- Produces Nutrient-Rich “Tea”: The liquid that drains from the bin is a potent fertilizer for your plants.
- Reduced Landfill Waste: You’ll divert a significant amount of food waste from your trash bin.
Bokashi Composting Methods: What You’ll Need
Getting started with bokashi is straightforward. You don’t need a lot of fancy equipment. Here’s a rundown of the essentials:
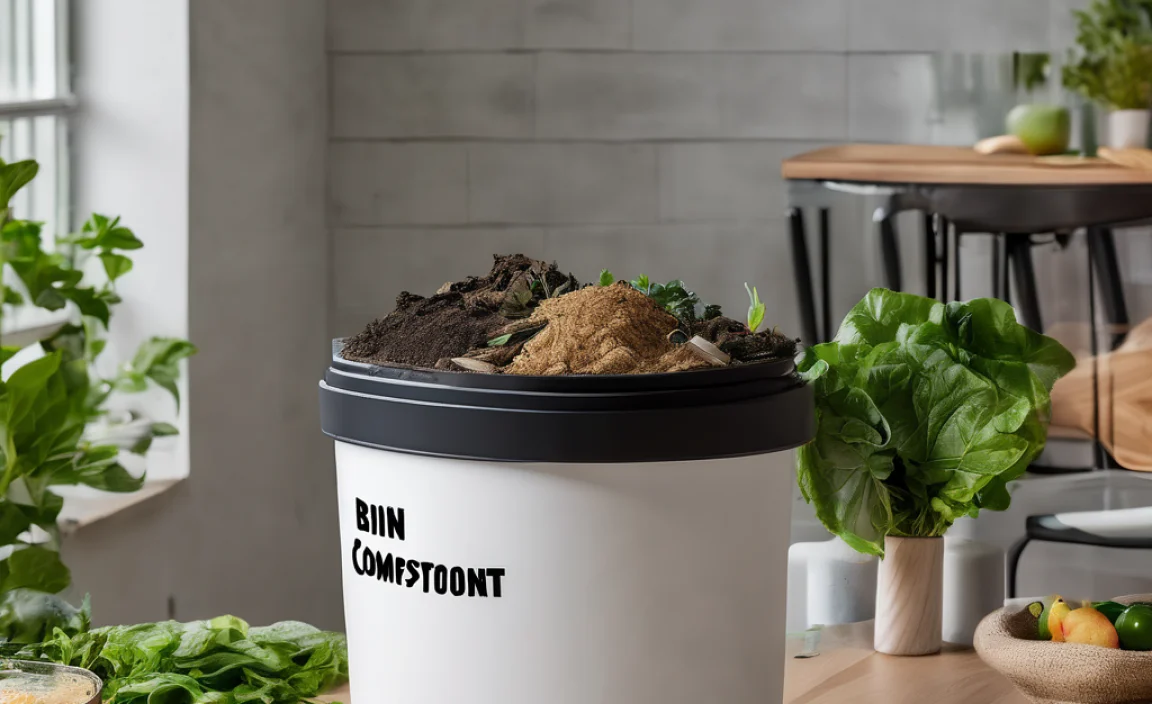
The Bokashi Bin System
This is the heart of your operation. A typical bokashi system consists of two main parts:
- Outer Bucket: This is a sturdy, airtight container, usually made of plastic. It should have a lid that seals well.
- Inner Bucket/Strainer: This bucket sits inside the outer bucket and has holes in the bottom. It acts as a strainer to catch solids and allow the liquid to drain through.
- Spigot (Optional but Recommended): Many systems come with a tap at the bottom of the outer bucket. This makes it super easy to drain off the liquid.
You can buy bokashi bin kits online or at garden supply stores. They usually come in sets, so you can have one bin “working” while the other is being filled.
Bokashi Bran (EM™ Inoculant)
This is the special ingredient! Bokashi bran is bran (like wheat or rice bran) that has been sprayed with a liquid culture of Effective Microorganisms. These microbes are the key to the fermentation process. You’ll sprinkle this bran over your food scraps each time you add to the bin. You can buy this online or make your own if you’re feeling adventurous (though store-bought is much easier for beginners!).
Your Food Scraps!
As mentioned, bokashi is very forgiving. Here’s a list of what you can generally add:
- Vegetable peels and scraps
- Fruit scraps
- Coffee grounds and tea bags
- Cooked food scraps (rice, pasta, bread)
- Meat, fish, and bones
- Dairy products (cheese, yogurt)
- Eggshells (though they break down slower)
What to avoid (or use sparingly): While bokashi can handle most things, very large amounts of liquid (like soup) can make the mixture too wet. Also, aim to chop up large items to help them break down faster.
How to Bokashi Compost: A Step-by-Step Guide
Ready to get your hands “dirty” (but not really!)? Here’s how to use your bokashi bin.
Step 1: Prepare Your Bin
Make sure your bokashi bin is clean. If it has a spigot, ensure it’s closed. Place the inner, strained bucket inside the outer bucket.
Step 2: Add Your First Layer of Scraps
Start by adding your food scraps to the inner bucket. It’s best to chop up larger items into smaller pieces (about 1-2 inches). This helps the microbes work more efficiently.
Step 3: Sprinkle with Bokashi Bran
Once you have a layer of scraps, sprinkle a tablespoon or two of bokashi bran evenly over the top. Don’t be shy – this is what kickstarts the fermentation!
Step 4: Press Down the Scraps
Gently press down the scraps. This helps remove air pockets and ensures good contact between the scraps and the bran. You can use a small tamper, a cup, or even your hands (clean ones, of course).
Step 5: Seal the Lid Tightly
Close the lid of the bokashi bin firmly. The key to bokashi is keeping it airtight. This stops oxygen from getting in, which allows the anaerobic fermentation process to happen correctly.
Step 6: Repeat with New Scraps
Each time you have new food scraps, repeat steps 2 through 5. Add your scraps, sprinkle with bran, press down, and seal the lid. Continue filling the bin.
Step 7: Drain the Bokashi “Tea”
After a few days, you’ll notice liquid collecting at the bottom of the outer bucket. This is your bokashi “tea” or leachate. It’s packed with nutrients! Open the spigot and drain this liquid into a container. You’ll need to do this every few days. If you don’t have a spigot, you’ll need to carefully lift the inner bucket and pour out the liquid.
Fertilizer Tip: Do NOT use the bokashi tea straight on your plants. It’s highly concentrated! Dilute it with water at a ratio of 1:100 (1 part tea to 100 parts water). It makes a fantastic liquid fertilizer for houseplants, vegetables, and flowers. You can also pour it down drains to help keep them clear of buildup!
Step 8: Once the Bin is Full, Let it Ferment
Once your bin is full, stop adding scraps. Ensure the lid is sealed tightly, and let it sit in a warm-ish spot (room temperature is fine) for about two weeks. This is the fermentation period. The microbes will continue their work, pickling the contents.
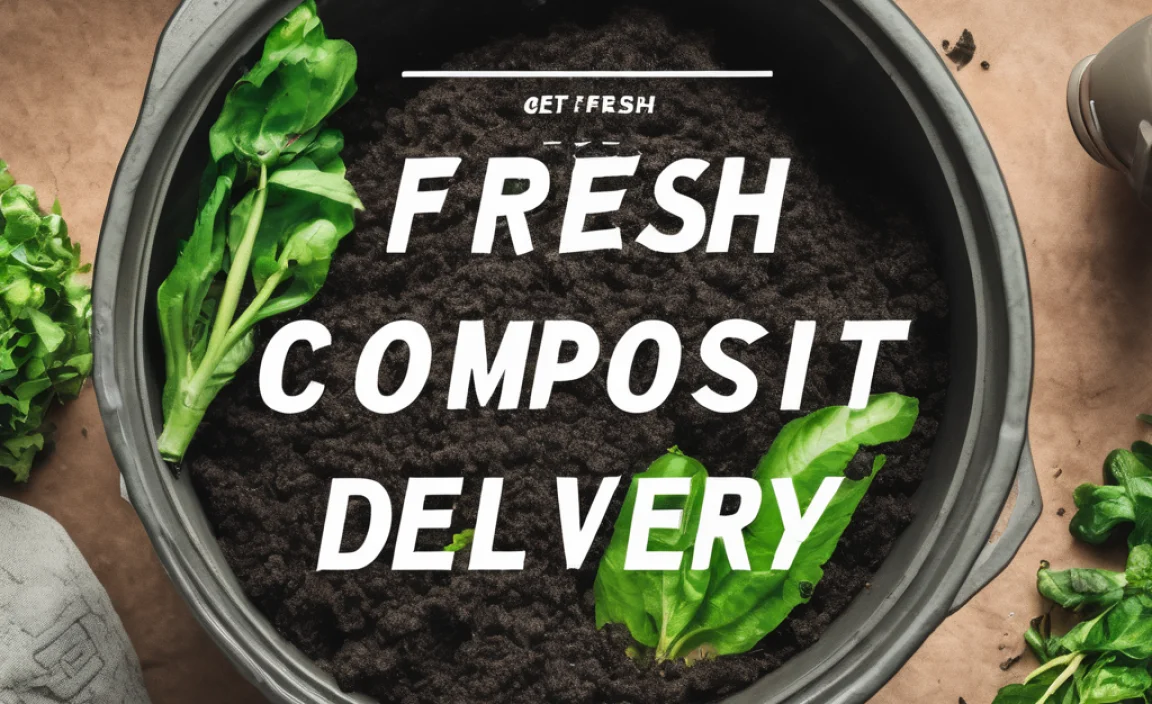
Step 9: Bury or Add to Compost Pile
After the two weeks of fermentation, your bokashi material is ready for the next stage. It won’t look like traditional compost; it will be pickled. You have a few options:
- Bury it: Dig a trench in your garden about 6-12 inches deep and bury the fermented bokashi material. Cover it completely with soil. It will break down into the soil within another 2-4 weeks. This is a great option if you don’t have a traditional compost pile.
- Add to a Compost Pile: You can add the fermented material to an existing hot compost pile or a worm bin. It will break down quickly as it’s already partially decomposed. This enriches your compost even further.
- Add to a Fabric Compost Bin: If you use a fabric compost bin, you can sometimes add it directly.
Important Note: The bokashi material is not yet finished compost. It needs to be buried or added to another composting system to fully break down into usable soil. You can’t just spread the fermented material directly onto your garden beds as is.
Advanced Bokashi Techniques & Tips
Once you’ve mastered the basics, here are a few extra tips to make your bokashi process even smoother.
Using Multiple Bins
Most bokashi users find it essential to have at least two bins. While one bin is fermenting (those two weeks after it’s full), you can fill the second bin. This way, you always have a bin ready to receive scraps and a continuous cycle of waste processing.
Troubleshooting Common Bokashi Issues
Even with a simple system, you might run into a snag or two. Here are some common problems and solutions:
| Problem | Possible Cause | Solution |
|---|---|---|
| Foul Odors (Rotten Egg Smell) | Too much liquid (anaerobic rot instead of fermentation), not enough bran, or bin is not airtight. | Drain liquid more frequently. Ensure you’re using enough bokashi bran. Check lid seal and make sure it’s truly airtight. |
| Mold Growth (Unpleasant, Fuzzy Mold) | Bin not airtight, too much air exposure, or not enough bran. | Check lid seal. Ensure you’re pressing down scraps to remove air. Increase bokashi bran. A little white mold is okay, but very fuzzy, dark, or slimy mold is usually a sign something is off. |
| No “Tea” Producing | Not enough moist food scraps, or the bin isn’t sealed well and is drying out. | Add slightly moist food scraps. Ensure the lid is airtight. Sometimes adding a wet paper towel to the top layer can help. |
| Slow Fermentation / Material Still Looks Fresh After 2 Weeks | Bin too cold, not enough bran, or scraps were too dry. | Move the bin to a warmer location (room temperature is ideal). Ensure adequate bran use. Add slightly moister scraps if the material is very dry. |
Temperature Matters
Bokashi microbes thrive in moderate temperatures, ideally between 60°F and 80°F (15°C to 27°C). If your bin is in a very cold garage or a freezing outdoor spot, fermentation will slow down significantly. In very hot conditions, it might ferment too quickly or develop unpleasant odors.
What If I Run Out of Bokashi Bran?
If you run out of bran mid-fill, continue adding scraps and pressing them down. Then, when you seal the bin to ferment, sprinkle a generous amount of the bran on top of the last layer. It might not be as perfectly inoculated, but the fermentation should still occur.
Bokashi vs. Other Composting Methods
It’s helpful to see how bokashi stacks up against other popular composting methods. While all aim to reduce waste and create valuable soil amendments, they each have their unique strengths and weaknesses.
| Feature | Bokashi Composting | Traditional Hot Composting | Vermicomposting (Worm Bin) | Trench Composting |
|---|---|---|---|---|
| Process | Anaerobic (no air) fermentation using microbes | Aerobic (with air) decomposition using microbes and heat | Decomposition by earthworms | Burial of scraps in the ground |
| What it Accepts | All food scraps, meat, dairy, oils | Greens (kitchen scraps) & Browns (yard waste); avoid meat, dairy, oils | Most food scraps (no meat, dairy, oily foods, citrus in large amounts) | All food scraps, yard waste; avoid meat, dairy, oily foods |
| Speed | Fast fermentation (2 weeks), then slower breakdown after burial/addition | Relatively fast (1-3 months) for finished compost | Moderate speed (2-4 months), depends on worm population and conditions | Slow breakdown (months) |
| Space Required | Small bin, good for indoors/balconies | Requires outdoor space, larger bin or pile | Small bin, good for indoors/balconies | No bin needed, requires garden space |
| Smell | Slightly sweet/sour fermented smell | Can smell if not managed properly (ammonia, rotten eggs) | Earthy, not unpleasant when managed well | Odorless when buried properly |
| Output | Fermented material (needs further breakdown), liquid fertilizer | Finished compost | Worm castings (excellent fertilizer) | Soil enrichment |
| Ease for Beginners | Very Easy (once you have the system and bran) | Moderate (can be tricky to balance greens/browns/moisture) | Easy to Moderate (requires managing worms) | Very Easy |
As you can see, bokashi stands out for its ability to handle almost any food scrap type in a compact, odorless system. While it requires an extra step after fermentation, its beginner-friendliness and versatility are major advantages.
The Future of Your Garden: Using Bokashi Outputs
Once your fermented bokashi material has broken down in the soil or your compost pile, you’ll have rich, dark compost ready to nourish your plants. This is the ultimate reward!
The bokashi tea, when diluted correctly, can be used as a liquid fertilizer. It’s packed with beneficial microbes and nutrients that can give your plants a real boost. You can feed it to your vegetables, flowers, herbs, and houseplants. It’s like giving them a healthy, probiotic drink!
You can learn more about composting and its benefits from resources like the U.S. Environmental Protection Agency (EPA), which provides excellent guidance on reducing waste. Understanding how these microbial processes work can make the whole gardening and composting journey even more rewarding.
Frequently Asked Questions About Bokashi Composting
Here are some quick answers to common questions beginners have about bokashi.
Q1: Do I really need to buy special bokashi bran?
A: Yes, for the bokashi process to work correctly, you need the bran inoculated with Effective Microorganisms (EM™). Regular bran won’t have the necessary microbes to ferment your food scraps properly. You can find it online or at many gardening or composting supply stores.
Q2: Can I compost with animals in my house? Will it smell?
A: Bokashi is actually ideal for homes with pets! Because it seals tightly and ferments rather than rots, it minimizes odors. You’ll get a slightly sweet or earthy fermented smell when you open it, not a foul garbage smell, so it’s perfectly fine to keep in your kitchen, even with curious pets around.
Q3: How long does the fermented bokashi material take to fully break down after I bury it?
A: After the 2-week fermentation in the bin, the pickled material needs about another 2 to 4 weeks to fully decompose when buried in the ground or added to a compost pile. So, you’re looking at roughly 4 to 6 weeks from adding scraps to your bin to having usable compost.

I am passionate about home engineering. I specialize in designing, installing, and maintaining heating, ventilation, and air conditioning systems. My goal is to help people stay comfortable in their homes all year long.