**Quick Summary:** Installing a brushed nickel soap dispenser in your kitchen sink is easier than you think! You’ll need a drill, a screwdriver, and a few minutes. Simply locate the pre-existing hole or drill a new one, slide the dispenser’s nozzle through, and secure it from underneath. Fill it with soap, and you’re good to go! A brushed nickel finish adds a sleek, modern touch to your kitchen.
Is your kitchen sink looking a little cluttered? A brushed nickel soap dispenser can add a touch of elegance and free up counter space. Many find the standard soap bottles unsightly and bulky, but don’t worry! Installing a soap dispenser is a simple DIY project that anyone can tackle. You don’t need to be a plumbing expert.
This guide will walk you through each step, from choosing the right dispenser to getting it installed perfectly. We’ll cover everything you need to know to achieve a clean and organized kitchen sink area. Ready to get started? Let’s dive in!
Why Choose a Brushed Nickel Soap Dispenser?
Before we jump into the how-to, let’s talk about why brushed nickel is a fantastic choice for your kitchen. It’s more than just a pretty finish!
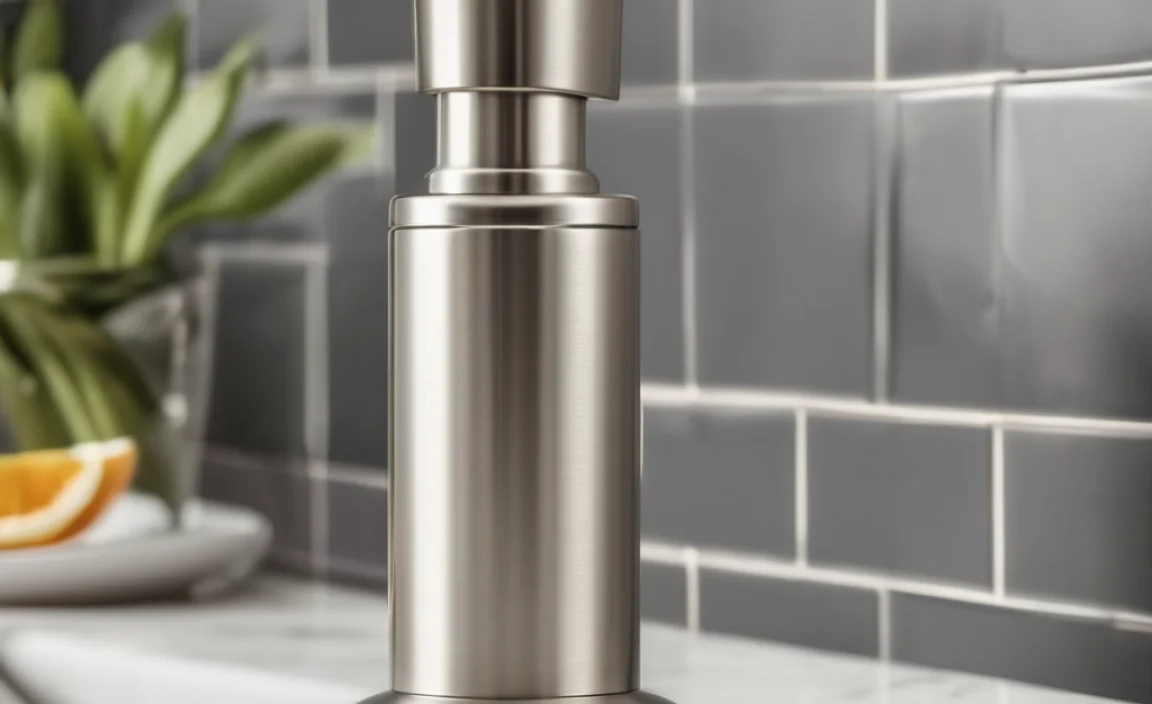
- Aesthetic Appeal: Brushed nickel offers a warm, subtle metallic look that complements a variety of kitchen styles. It’s modern without being too flashy.
- Durability: This finish is known for its resistance to scratches, water spots, and fingerprints. This means less cleaning and a longer lifespan.
- Versatility: Brushed nickel pairs well with stainless steel appliances, granite countertops, and various cabinet colors. It seamlessly integrates into your existing décor.
- Easy to Clean: A simple wipe with a damp cloth is usually all it takes to keep brushed nickel looking its best.
Tools and Materials You’ll Need

Gathering your tools and materials ahead of time will make the installation process smooth and efficient. Here’s what you’ll need:
- Brushed Nickel Soap Dispenser: Choose one that fits your sink’s thickness and aesthetic.
- Drill (if needed): Only necessary if your sink doesn’t have a pre-drilled hole.
- Drill Bits (if needed): Select a metal-drilling bit that matches the dispenser’s nozzle diameter.
- Screwdriver: Usually a Phillips head, to tighten the mounting hardware.
- Adjustable Wrench: May be needed for tightening certain types of nuts.
- Measuring Tape: To accurately measure and center the dispenser.
- Safety Glasses: Protect your eyes from debris while drilling.
- Clean Cloth: For wiping up any spills or messes.
- Plumber’s Putty (optional): To create a watertight seal.
Step-by-Step Installation Guide
Now, let’s get to the heart of the matter: installing your brushed nickel soap dispenser. Follow these steps carefully, and you’ll have a stylish and functional addition to your kitchen in no time!
Step 1: Prepare Your Sink Area
Clear the area around your sink. Remove any items that might get in the way, such as dishes, sponges, or other accessories. This will give you plenty of room to work and prevent accidental spills or damage.
Step 2: Check for a Pre-Drilled Hole
Many sinks come with a pre-drilled hole specifically for soap dispensers or other accessories. Look for a capped hole near the faucet. If you find one, remove the cap. If not, proceed to Step 3.
Step 3: Drill a Hole (If Necessary)
If your sink doesn’t have a pre-drilled hole, you’ll need to create one. This step requires caution, so take your time and follow these instructions carefully:
- Mark the Spot: Use a measuring tape to find the center of where you want to place the dispenser. Mark the spot with a permanent marker.
- Create a Pilot Hole: Use a center punch to create a small indentation at the marked spot. This will help guide the drill bit and prevent it from wandering.
- Choose the Right Drill Bit: Select a metal-drilling bit that matches the diameter of the soap dispenser’s nozzle. Start with a smaller bit to create a pilot hole, then gradually increase the size.
- Drill Slowly and Steadily: Put on your safety glasses. Place the drill bit on the pilot hole and begin drilling at a slow, steady speed. Apply gentle pressure and let the drill do the work. Avoid forcing the drill, as this can damage the sink.
- Deburr the Hole: Once you’ve drilled through the sink, use a deburring tool or a larger drill bit to smooth the edges of the hole. This will prevent any sharp edges from cutting the dispenser’s nozzle or your fingers.
Step 4: Insert the Soap Dispenser
Now that you have a hole, it’s time to insert the soap dispenser. Here’s how:
- Apply Plumber’s Putty (Optional): If you want to create a watertight seal, apply a small amount of plumber’s putty around the base of the dispenser’s nozzle.
- Insert the Nozzle: Carefully slide the dispenser’s nozzle through the hole from above the sink.
- Secure from Below: Reach under the sink and attach the mounting hardware according to the manufacturer’s instructions. This usually involves tightening a nut or screwing on a bracket.
- Tighten Securely: Use a screwdriver or adjustable wrench to tighten the mounting hardware until the dispenser is firmly in place. Be careful not to overtighten, as this could damage the sink or the dispenser.
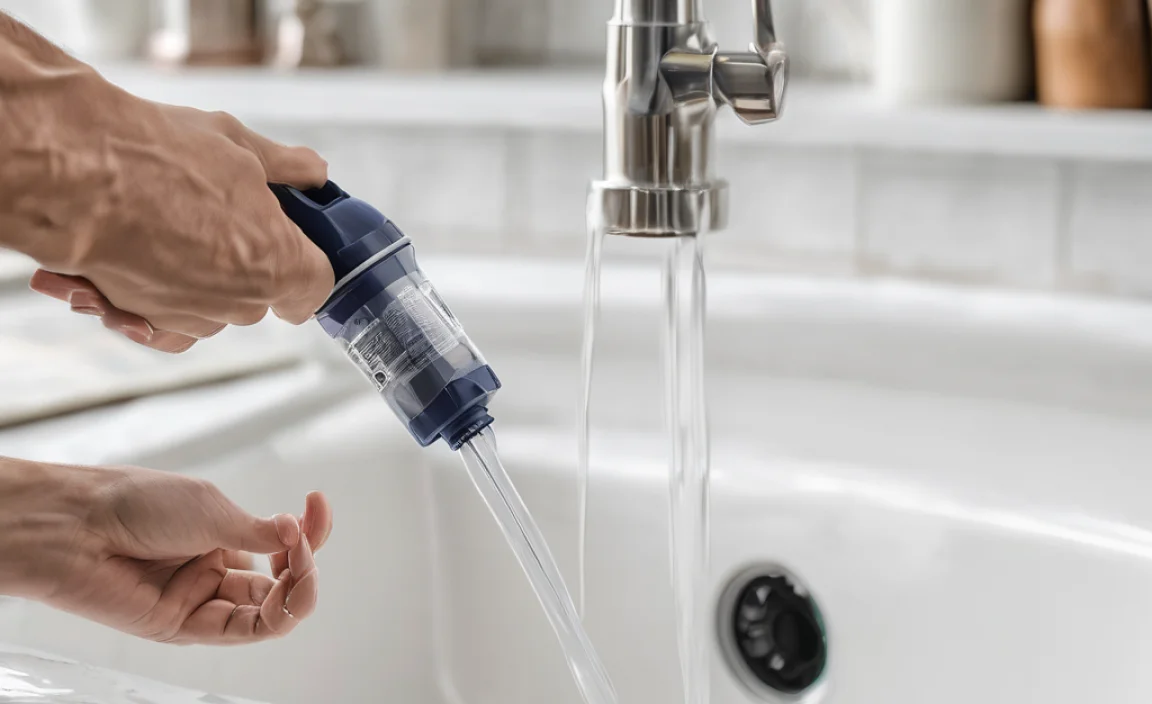
Step 5: Connect the Soap Reservoir
Most soap dispensers come with a separate reservoir that holds the soap. Here’s how to connect it:
- Attach the Hose: Connect the hose from the dispenser’s nozzle to the reservoir. Make sure the connection is secure to prevent leaks.
- Fill the Reservoir: Fill the reservoir with your favorite liquid soap. Avoid using soaps with abrasive particles, as they can damage the dispenser.
- Test the Dispenser: Pump the dispenser a few times to prime it and ensure that soap is dispensed properly.
Step 6: Clean Up
Once you’ve installed the soap dispenser and tested it, it’s time to clean up. Wipe up any spills or messes with a clean cloth. Dispose of any drilling debris or packaging materials. Admire your handiwork!
Troubleshooting Common Issues
Even with careful installation, you might encounter a few hiccups along the way. Here are some common issues and how to fix them:
| Issue | Possible Cause | Solution |
|---|---|---|
| Dispenser Leaks | Loose connections, worn-out seals | Tighten connections, replace seals |
| Soap Doesn’t Dispense | Air lock, clogged nozzle | Prime the dispenser, clean the nozzle |
| Dispenser is Wobbly | Loose mounting hardware | Tighten mounting hardware |
| Rusting | Low-quality materials or improper cleaning | Clean with appropriate products, replace with higher-quality dispenser |
Maintaining Your Brushed Nickel Soap Dispenser
To keep your brushed nickel soap dispenser looking its best and functioning properly, follow these maintenance tips:
- Clean Regularly: Wipe down the dispenser with a damp cloth regularly to remove soap residue and water spots.
- Avoid Abrasive Cleaners: Don’t use abrasive cleaners or scouring pads, as they can scratch the finish.
- Use Mild Soap: Clean with mild dish soap and water.
- Check for Leaks: Periodically check for leaks and tighten connections as needed.
- Refill Properly: When refilling the soap reservoir, avoid overfilling it, as this can cause leaks.
Choosing the Right Soap
The type of soap you use can also affect the performance and longevity of your dispenser. Here are some tips for choosing the right soap:
- Avoid Abrasive Soaps: Don’t use soaps with abrasive particles, as they can damage the dispenser’s internal components.
- Use Liquid Soap: Liquid soaps are generally best for soap dispensers. Avoid using bar soaps or powdered soaps.
- Consider Viscosity: Thicker soaps may be more difficult to dispense. If you’re using a thick soap, you may need to dilute it with a little water.
- Check Compatibility: Some soap dispensers are designed for specific types of soap. Check the manufacturer’s instructions to ensure that the soap you’re using is compatible.
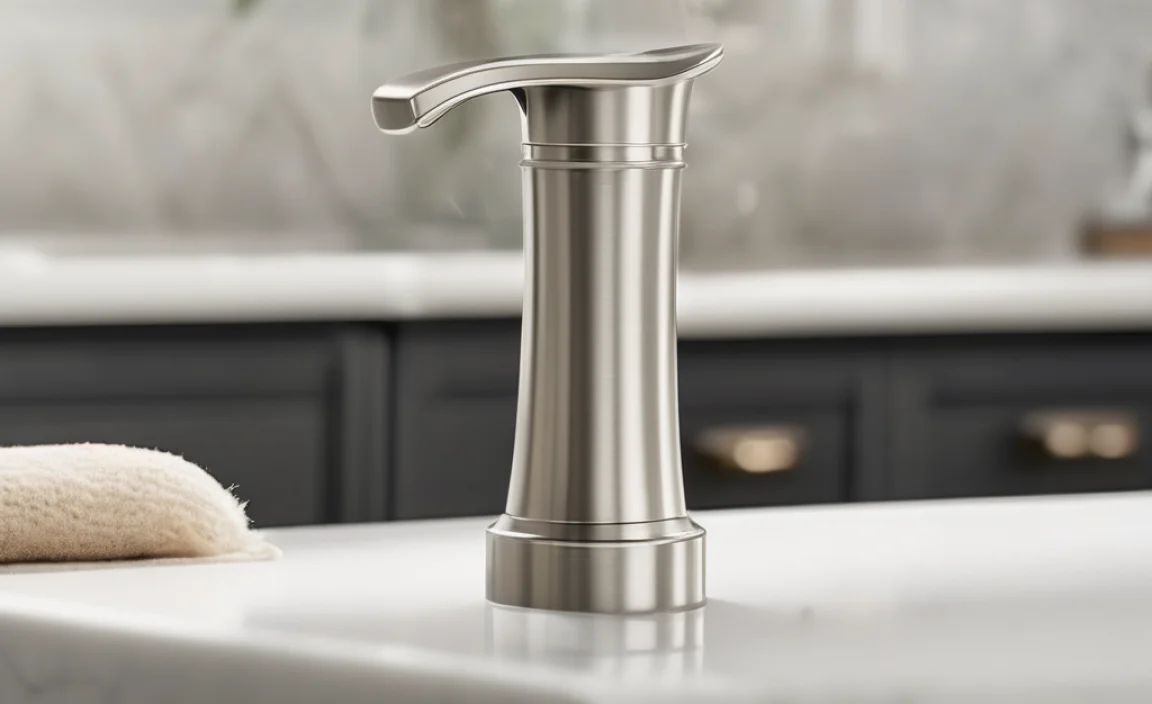
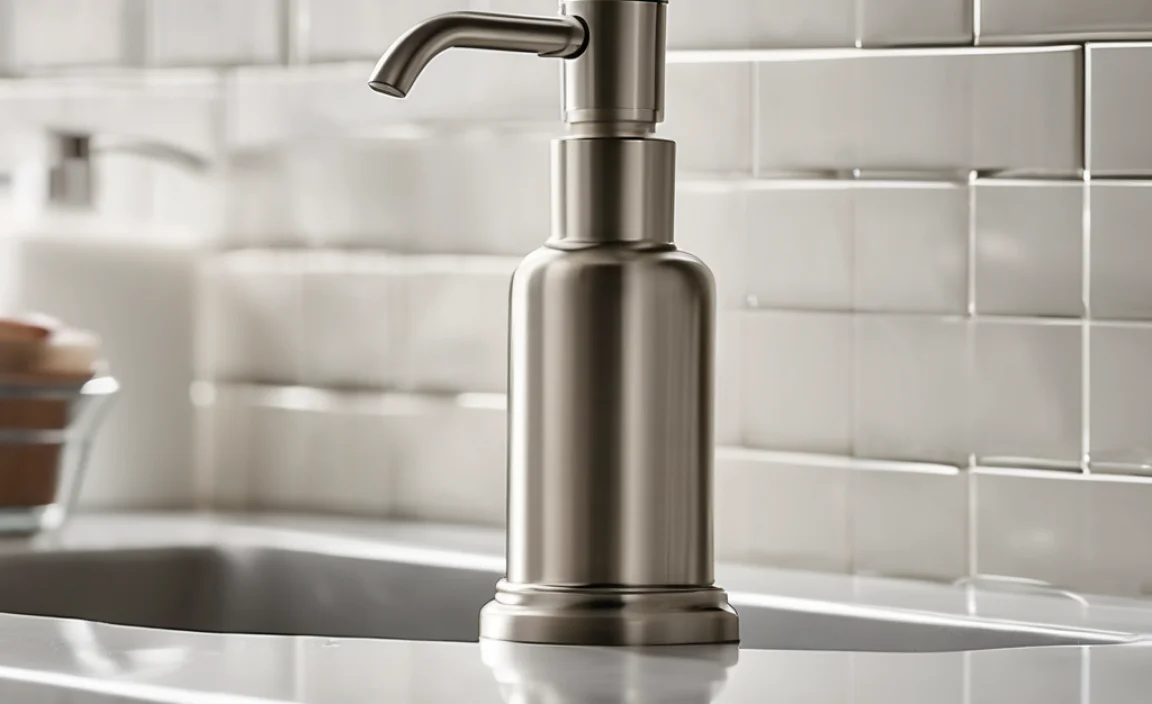
Brushed Nickel Soap Dispenser Styles
Brushed nickel soap dispensers come in a variety of styles to suit different kitchen aesthetics. Here are a few popular options:
- Traditional: These dispensers often feature ornate designs and curved spouts.
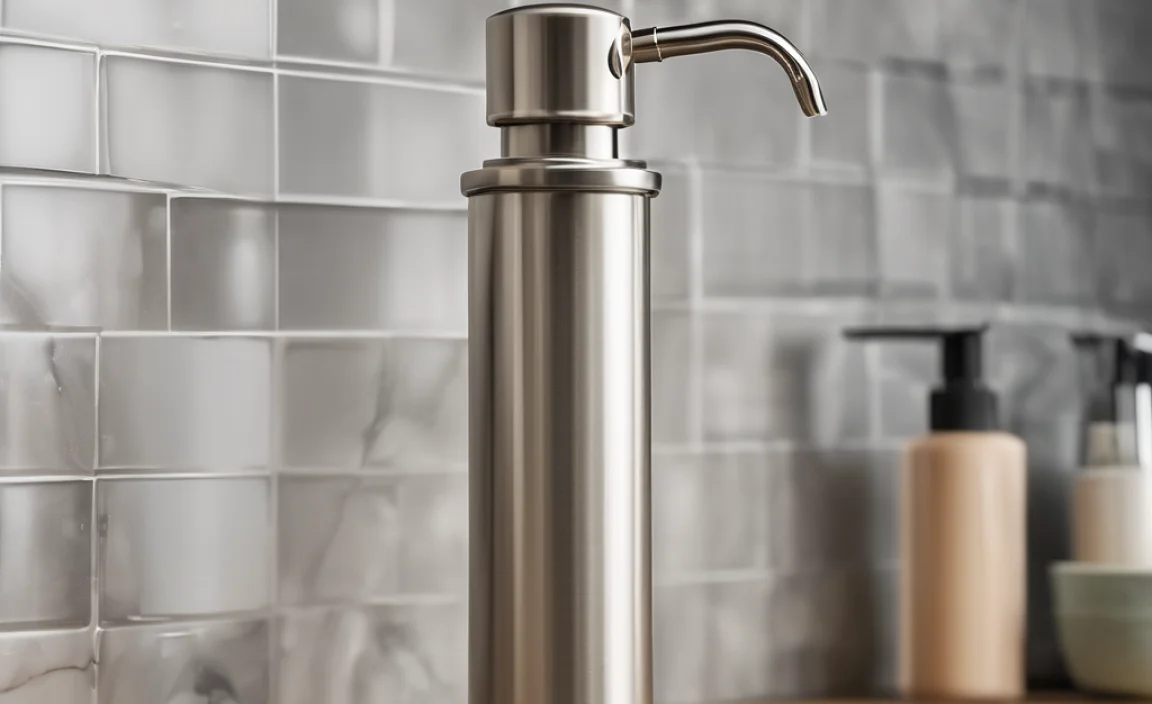
- Modern: Modern dispensers typically have sleek, minimalist designs with clean lines.
- Transitional: Transitional dispensers blend elements of both traditional and modern styles.
- Foaming: Foaming soap dispensers mix liquid soap with air to create a foamy lather. These dispensers can help you save on soap.
- Touchless: Touchless soap dispensers use sensors to dispense soap automatically. These dispensers are hygienic and convenient.
Comparing Different Brands
With so many brands offering brushed nickel soap dispensers, it can be tough to choose the right one. Here’s a comparison of some popular brands:
| Brand | Pros | Cons |
|---|---|---|
| Delta | Durable, stylish designs, good warranty | Can be expensive |
| Moen | Wide variety of styles, reliable performance | Some models may require professional installation |
| Kraus | Affordable, modern designs, easy to install | May not be as durable as higher-end brands |
| Simplehuman | Touchless options, high-quality materials | Expensive |
Cost Considerations
The cost of a brushed nickel soap dispenser can vary depending on the brand, style, and features. Here’s a general overview of what you can expect to pay:
- Basic Dispensers: $20-$40
- Mid-Range Dispensers: $40-$80
- High-End Dispensers: $80-$150+
Keep in mind that the cost of installation may also be a factor if you’re not comfortable doing it yourself. Hiring a plumber to install a soap dispenser can cost anywhere from $50 to $150, depending on your location and the complexity of the installation.
Benefits of a Soap Dispenser
Still on the fence? Here’s a quick recap of the benefits of adding a soap dispenser to your kitchen sink:
- Reduced Clutter: Eliminates the need for bulky soap bottles on your countertop.
- Improved Hygiene: Touchless dispensers reduce the spread of germs.
- Enhanced Aesthetics: Adds a touch of elegance and sophistication to your kitchen.
- Cost Savings: Foaming dispensers can help you save on soap.
- Convenience: Easy to refill and use.
Alternatives to Brushed Nickel
While brushed nickel is a popular choice, it’s not the only option. Here are some other finishes to consider:
- Chrome: A classic, shiny finish that’s easy to clean.
- Matte Black: A modern, bold finish that adds a touch of drama.
- Stainless Steel: A durable, versatile finish that complements stainless steel appliances.
- Oil-Rubbed Bronze: A warm, rustic finish that adds a touch of old-world charm.
- Gold: A luxurious, eye-catching finish that makes a statement.
Additional Tips and Tricks
Here are a few extra tips to help you get the most out of your brushed nickel soap dispenser:
- Use a Funnel: When refilling the soap reservoir, use a funnel to prevent spills.
- Label the Reservoir: Label the reservoir with the type of soap you’re using to avoid confusion.
- Consider a Matching Faucet: For a cohesive look, choose a faucet with a matching brushed nickel finish.
- Read Reviews: Before purchasing a soap dispenser, read online reviews to get an idea of its quality and performance.
FAQ
What if my sink is too thick for the dispenser?
If your sink is too thick, you may need to purchase an extension kit or a dispenser with a longer nozzle. Check the manufacturer’s specifications to ensure compatibility.
How do I clean a clogged soap dispenser?
To clean a clogged soap dispenser, remove the nozzle and soak it in warm, soapy water. Use a small brush or pin to remove any debris. You can also flush the dispenser with warm water.
Can I use hand sanitizer in a soap dispenser?
While you can technically use hand sanitizer in a soap dispenser, it’s not recommended. Hand sanitizer can be thicker than liquid soap and may clog the dispenser. It’s best to use a soap dispenser specifically designed for hand sanitizer.
How often should I refill the soap dispenser?
The frequency of refills depends on how often you use the dispenser and the size of the reservoir. Check the reservoir regularly and refill it when it’s about half full.
What kind of drill bit should I use for a stainless steel sink?
When drilling into stainless steel, use a high-speed steel (HSS) drill bit with a titanium coating. Start with a small pilot hole and gradually increase the size.
How do I prevent the dispenser from leaking?
To prevent leaks, make sure all connections are tight and that the seals are in good condition. You can also use plumber’s putty to create a watertight seal around the base of the dispenser.
Can I install a soap dispenser in a granite countertop?
Yes, you can install a soap dispenser in a granite countertop. However, drilling into granite requires special tools and expertise. It’s best to hire a professional to avoid damaging the countertop. A diamond core drill bit is recommended for drilling through granite.
Conclusion
Installing a brushed nickel soap dispenser is a simple and rewarding DIY project that can transform your kitchen sink area. By following these steps and tips, you can easily add a touch of elegance and functionality to your kitchen. Don’t be intimidated – with the right tools and a little patience, you’ll have a beautiful and practical addition to your home in no time. Enjoy your clutter-free countertop and the convenience of having soap readily available!