Feeling overwhelmed by food scraps and yard waste piling up? Thinking about how to help the planet right from your own home? You’re not alone! Many of us want to do our part for the environment, but sometimes it feels complicated. Composting is a fantastic way to cut down on waste and create amazing food for your garden. This guide will break it down nice and easy, showing you simple, budget-friendly composting solutions that tackle climate change head-on. Let’s turn that “waste” into wonderful garden gold!
Climate Change Composting Solutions: Your Genius Guide to a Greener Yard (and Planet!)
Hey there! Troy D Harn here, your friendly guide to making your home and garden projects totally achievable. We’re going to dive into something super rewarding today: composting, and how it’s a secret weapon against climate change. Think of it as your personal eco-superpower, right in your backyard (or even on your balcony!).
When food scraps and yard waste end up in landfills, they don’t just disappear. They decompose without air, releasing methane – a greenhouse gas that’s way more potent than carbon dioxide over the short term. Yikes! But by composting, we redirect those organic materials, letting them break down naturally and turn into a nutrient-rich soil amendment that your plants will absolutely love. It’s a win-win: less landfill waste, less methane, and healthier plants. Pretty neat, right?
We’ll cover everything you need to know, from understanding the basics to picking the perfect composting method for your lifestyle. No fancy jargon, just practical steps to get you composting like a pro. Ready to get your hands a little dirty for a great cause?
Why Composting is a Superhero for Climate Change
Let’s chat about why tossing your apple cores and coffee grounds into a compost bin is more impactful than you might think. It’s all connected to fighting climate change. Here’s the lowdown:
- Reduces Methane Emissions: As mentioned, organic waste in landfills creates methane. Composting allows this waste to break down aerobically (with air), drastically cutting down on methane production. The U.S. Environmental Protection Agency (EPA) highlights that landfills are a significant source of methane.
- Enriches Soil Health: Compost is pure garden gold! It improves soil structure, water retention, and adds essential nutrients. Healthier soil means healthier plants, which can absorb more carbon dioxide from the atmosphere.
- Reduces Reliance on Chemical Fertilizers: Making your own compost means you won’t need to buy synthetic fertilizers, which often have a large carbon footprint associated with their production and transportation.
- Decreases Waste Transport: When you compost at home, you’re diverting organic waste from the garbage trucks that haul it to distant landfills. This means less fuel burned and fewer emissions from transportation.
- Improves Water Management: Compost helps soil absorb and retain water better, reducing runoff that can carry pollutants into waterways and lessening the need for artificial irrigation, which often relies on energy.
Getting Started: The Composting Essentials
Before we jump into the different methods, let’s talk about what makes compost happen. Think of it like baking a cake – you need the right ingredients and the right conditions.
The “Greens” and “Browns” (Your Ingredient List!)
Composting works best when you have a good balance of nitrogen-rich materials (the “greens”) and carbon-rich materials (the “browns”). Too much of one, and your compost might get slimy or smelly. Aim for a ratio of roughly one part greens to two or three parts browns. Don’t worry too much about perfection; it’s more about getting a good mix over time.
| Greens (Nitrogen-Rich) | Browns (Carbon-Rich) |
|---|---|
| Fruit and vegetable scraps | Dry leaves |
| Coffee grounds and tea bags | Shredded newspaper and cardboard (non-glossy) |
| Grass clippings (use sparingly, can mat down) | Straw or hay |
| Plant trimmings (non-diseased) | Wood chips or sawdust (small amounts) |
| Eggshells (crushed) | Dried plant stalks |
What NOT to Compost (The “Do Not Enter” List)
To avoid attracting pests and creating unpleasant odors, steer clear of these items:
- Meat, fish, and bones
- Dairy products (cheese, yogurt, milk)
- Oily or greasy foods
- Diseased plants
- Weeds that have gone to seed
- Pet waste (dog or cat feces)
- Chemically treated wood or yard waste
- Glossy or coated papers
When in doubt, it’s usually best to leave it out. Many municipalities offer specific guidance on what can and cannot be composted through their green waste programs, often available on their websites.
The Magic Ingredients: Air, Water, and Microbes
Composting relies on three key things working together:
- Microorganisms: Tiny bacteria, fungi, and other organisms do the heavy lifting, breaking down the organic matter.
- Air (Oxygen): These beneficial microbes need oxygen to thrive. This is why turning or aerating your compost pile is important.
- Moisture: Your compost pile should be about as damp as a wrung-out sponge – not soggy, not dry.
Choosing Your Composting Solution: Find Your Perfect Fit
The best composting method for you depends on your space, budget, and how much time you have. Let’s explore some popular and effective options!
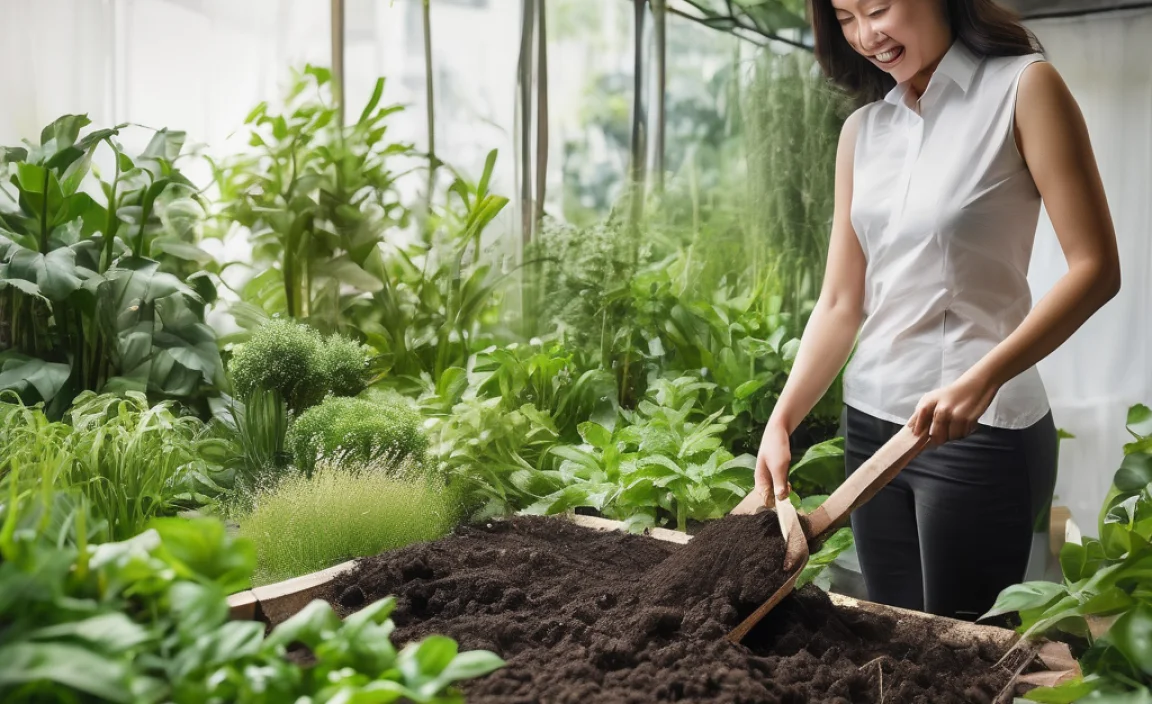
1. The Basic Backyard Compost Pile/Bin
This is the classic for a reason! It’s straightforward and works for most homes with a yard.
- What it is: A simple pile of organic materials, or a bin made from wood, wire mesh, or plastic to contain it.
- Pros:
- Inexpensive to start (you can even make your own bin).
- Can handle large volumes of yard waste.
- Relatively simple to manage.
- Cons:
- Requires some yard space.
- Can take longer to break down if not managed well.
- May not be suitable for very small yards or apartments.
- Needs regular turning to speed up decomposition.
How to set it up:
- Choose a spot: Pick a level, well-drained area in your yard that gets some sun (helps heat it up) but isn’t constantly in scorching sun (dry it out too fast). A partially shaded spot is often ideal.
- Build your bin (optional): You can buy a compost bin at most garden centers, or build one using wooden pallets, wire mesh, or even just by creating a large heap. Make sure it’s at least 3 feet by 3 feet by 3 feet for optimal decomposition.
- Start layering: Begin with a layer of “browns” (like dry leaves or small twigs) for aeration at the bottom. Then, add your “greens” (kitchen scraps, grass clippings) and “browns” in alternating layers. Always finish with a layer of browns on top to deter pests and odors.
- Add water: Moisten each layer as you add it.
- Aerate: Every week or two, turn the pile with a pitchfork or compost aerator. This mixes the materials and introduces oxygen, speeding up the process.
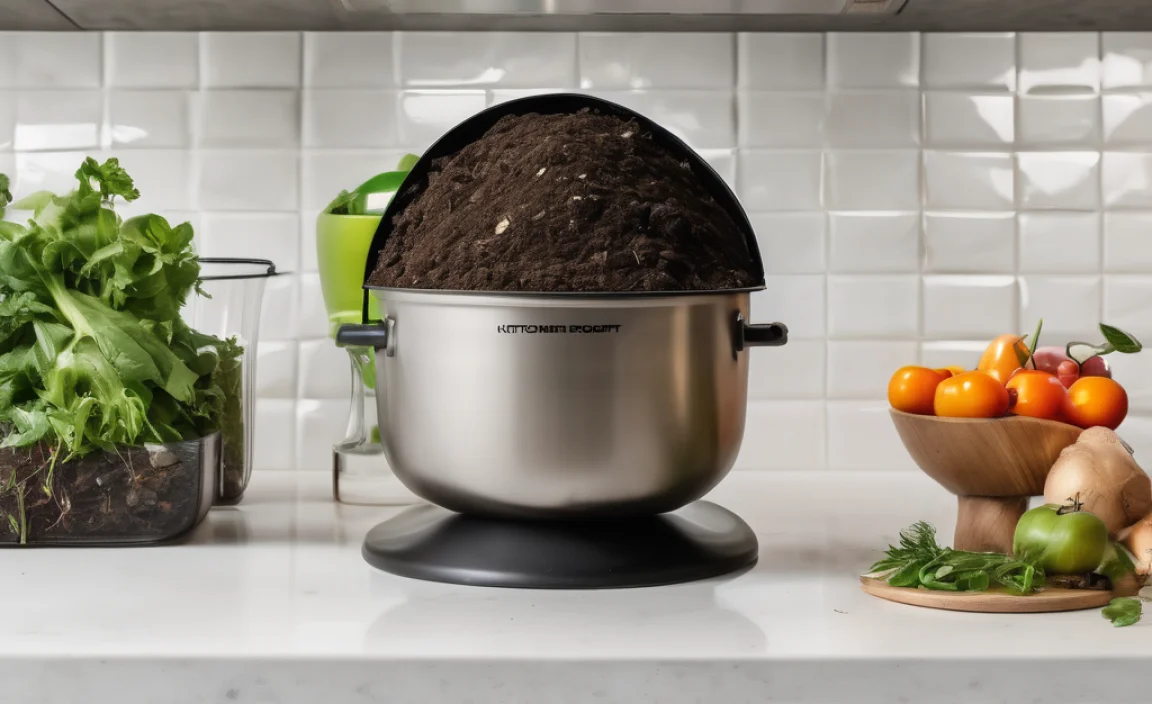
2. Tumbler Composter
These are freestanding bins that rotate, making turning a breeze!
- What it is: A sealed barrel or tank mounted on an axis, allowing you to turn the contents easily by hand.
- Pros:
- Fast composting (often ready in 4-8 weeks).
- Enclosed design deters pests and contains odors.
- Requires minimal physical effort for turning.
- Great for smaller yards or patios.
- Cons:
- Can be more expensive upfront than a basic bin.
- Capacity might be smaller than a large pile.
- Need to ensure a good mix of greens and browns; adding too much at once can be an issue.
How to use it:
- Assembly: Most tumblers require some assembly. Follow the manufacturer’s instructions.
- Add ingredients: Add your kitchen scraps (“greens”) and yard waste (“browns”) as you accumulate them. Chop larger items to help them break down faster.
- Tumble regularly: Aim to tumble the compost every few days, or at least once a week. This mixes everything and aerates it.
- Monitor moisture: Compost should be damp, like a wrung-out sponge. If it’s too dry, add a little water. If it’s too wet, add more browns.
3. Worm Composting (Vermicomposting)
This is a fantastic option for apartment dwellers or anyone with very limited space. Red wiggler worms do the work for you!
- What it is: Using special composting worms (like red wigglers, not earthworms!) in a bin to break down food scraps.
- Pros:
- Perfect for small spaces, apartments, or indoors.
- Produces nutrient-rich worm castings (worm poop!), which is an excellent fertilizer.
- Relatively odor-free when managed properly.
- Quick turnaround for food scraps.
- Cons:
- Requires specific types of worms.
- Can’t handle large volumes of yard waste.
- Sensitive to temperature extremes.
- Needs careful attention to food types and moisture levels.
How to get started:
- Get a bin: You can buy a worm composting bin or make one by using opaque plastic storage bins with ventilation holes. Drill several small holes in the lid and drainage holes in the bottom.
- Add bedding: Start with a moist bedding material like shredded newspaper, cardboard, or coconut coir (coir is a popular choice for its moisture retention). It should be damp but not dripping.
- Introduce the worms: Purchase red wiggler worms from a reputable supplier. Gently place them on top of the bedding in the bin. They will burrow down on their own.
- Feed them: Start by feeding them small amounts of food scraps (e.g., vegetable peels, coffee grounds, tea bags). Bury the food under the bedding to prevent odors and pests. Avoid citrus, onions, garlic, and meat/dairy products.
- Harvest castings: After a few months, you’ll have rich worm castings to harvest and use as fertilizer. You’ll also get “worm tea,” a liquid fertilizer, which can be diluted and used on plants.
For more detailed guidance on vermicomposting, the Planet Natural website offers a comprehensive guide.
4. Bokashi Composting
This is a unique pre-composting method that ferments kitchen scraps, even meat and dairy, indoors.
- What it is: An anaerobic (without air) fermentation process using a special inoculated bran sprinkled on food scraps in an airtight container.
- Pros:
- Can handle meat, dairy, and oily foods.
- Compact systems suitable for indoors or small spaces.
- Produces a nutrient-rich liquid fertilizer (“Bokashi tea”).
- Fast processing of scraps into a fermentable material.
- Cons:
- Requires purchasing a Bokashi bran inoculant.
- The fermented material needs to be buried in soil or added to a traditional compost pile to fully break down (it’s not finished compost yet).
- Can have a slightly sour smell during fermentation.
How it works:
- Get a Bokashi bucket: These are usually airtight buckets with a spigot at the bottom.
- Add scraps and bran: Add your food scraps (including meat and dairy) to the bucket. Sprinkle a healthy amount of Bokashi bran over the scraps.
- Compact and seal: Push down the scraps to remove air pockets, add more bran if needed, and close the airtight lid securely.
- Drain the liquid: Over time, a liquid will collect at the bottom. Drain this “Bokashi tea” every few days via the spigot. Dilute this liquid with water (about 1:100 ratio) and use it as a potent plant fertilizer.
- Bury the fermented material: Once the bucket is full, let it sit for two weeks to ferment. Then, dig the fermented scraps into your garden soil or add them to a regular compost bin. They will break down fully in a few more weeks.
Tips for Successful Composting
No matter which method you choose, a few general tips will help you succeed:
- Chop it Up: Smaller pieces break down much faster. Chop your kitchen scraps and garden waste into smaller bits before adding them.
- Balance is Key: Remember the greens and browns! If your compost smells like ammonia, you likely have too many greens. Add more browns. If it’s too dry and slow, add more greens and moisture.
- Keep it Moist: Your compost pile should feel like a wrung-out sponge. If it’s too dry, it won’t decompose. If it’s too wet, it can get stinky and anaerobic.
- Aerate Regularly: Turning your compost pile (with a pitchfork, aerator, or tumbler) introduces oxygen, which speeds up decomposition and prevents that sour smell.
- Be Patient: Composting takes time! Depending on the method, temperature, and how actively you manage it, it can take anywhere from a few weeks to several months to get finished compost.
- What “Finished” Compost Looks Like: It will be dark, crumbly, smell earthy, and you won’t be able to recognize the original materials.
Troubleshooting Common Composting Problems
Even with the best intentions, you might run into a snag. Here are a few common issues and how to fix them:
1. Bad Smells (Ammonia or Rotten Egg Smell)
- Cause: Too much nitrogen (greens), not enough air, or too wet.
- Solution:
- Add more carbon-rich “browns” (leaves, shredded paper).
- Turn the pile to aerate it.
- If it’s soggy, add more browns and turn to absorb excess moisture.
2. Pests (Flies, Rodents)
- Cause: Exposed food scraps, or inappropriate items being added.
- Solution:
- Always cover fresh food scraps with a layer of browns.
- Ensure your bin is properly enclosed or that your pile is turned regularly.
- Avoid adding meat, dairy, or oily foods (unless using Bokashi).
- A well-managed compost pile is less attractive to pests than a garbage can.
3. Slow Decomposition
- Cause: Not enough moisture, not enough greens (nitrogen), pieces are too large, or not enough aeration.
- Solution:
- Add water if it’s dry.
- Add more nitrogen-rich “greens.”
- Chop materials into smaller pieces.
- Turn the pile more frequently.
4. Compost is Too Wet
- Cause: Too many wet greens, too much rain if uncovered, or poor drainage.
- Solution:
- Add a generous amount of dry “browns” (like shredded cardboard or dry leaves).
- Turn the pile to help it dry out and aerate.
- Ensure your bin has drainage or that your pile isn’t sitting in a puddle. Consider a lid for uncovered piles.
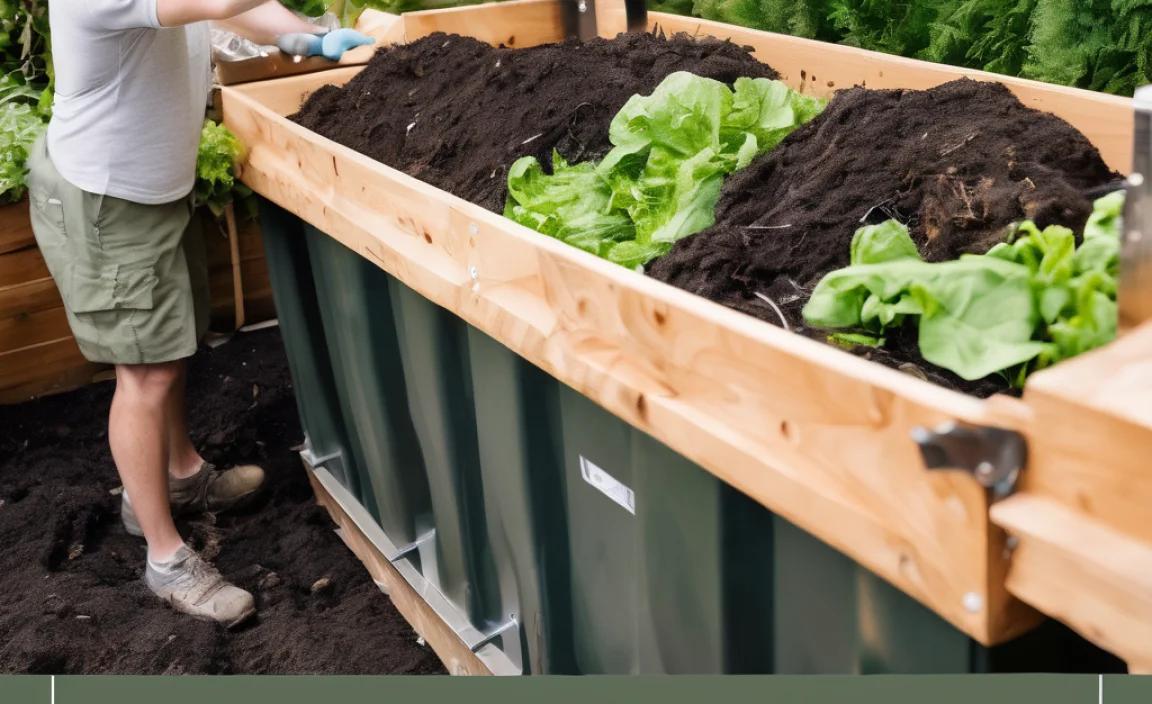
Using Your Finished Compost
Once your compost is dark, crumbly, and smells like fresh earth, it’s ready to use! This “black gold” is incredibly versatile:
- Soil Amendment: Mix compost into garden beds or potting soil to improve its structure, fertility, and water-holding capacity. Aim for about 2-4 inches mixed into the top 6-8 inches of soil.
- Top Dressing: Spread a thin layer of compost around trees, shrubs, and perennial plants.
- Lawn Care: Rake a thin layer of sifted compost over your lawn in the spring or fall to enrich the soil.
- Potting Mix: Mix compost with other ingredients like perlite and peat moss to create a rich potting mix for containers.
Using compost in your garden is one of the most direct ways to close the loop on organic waste and contribute to a healthier ecosystem. For scientifically backed benefits of compost, the UC Davis Compost Education Program provides excellent resources.
Closing the Loop: Your Composting Journey
Composting is more than just a way to manage waste; it’s a powerful act of stewardship for our planet. By diverting organic materials from landfills, you’re directly reducing greenhouse gas emissions and creating a valuable resource that nourishes our soil. Whether you choose to build a rugged pile in your yard, spin a tumbler, fill a worm bin, or ferment with Bokashi, the effort you put in makes a real difference.
Remember, this isn’t about achieving perfection overnight. It’s about starting with simple steps, learning as you go, and celebrating the small victories. Turning your kitchen scraps into nutrient-rich compost is a tangible way to connect with nature, improve your garden, and contribute to a healthier, more sustainable future. So, grab those coffee grounds, those fallen leaves, and get composting! Your garden, and the planet, will thank you.
Frequently Asked Questions (FAQ)
Question: What’s the quickest way to start composting?
Answer: For speed and minimal effort, a tumbler composter is often the fastest, especially if you keep it well-aerated and moist. If you have space, a hot compost pile (which is actively managed with frequent turning and a good balance of greens and browns) can also be quite quick.
Question: Can I compost in a small apartment?
Answer: Absolutely! Worm composting (vermicomposting) is perfect for apartments as it requires minimal space and can even be done indoors. Bokashi composting is another excellent indoor option that handles a wider range of food scraps.
Question: How much space do I really need for a compost bin?
Answer: For a traditional backyard pile or bin, a minimum size of 3 feet x 3 feet x 3 feet (1 cubic yard) is recommended for efficient decomposition. However, smaller bins and tumblers work for less space, and worm bins take up even less room, akin to a storage tote.
Question: Do I have to buy special tools?
Answer: Not necessarily! For a basic pile, a pitchfork or sturdy garden fork is useful for turning. For tumblers, they are usually self-contained. Worm bins can be DIY. You can often find compost bins secondhand or even make one from recycled materials.
Question: What if my compost smells bad?
Answer: Bad smells usually mean an imbalance. Ammonia smells indicate too many “greens” (nitrogen-rich materials), while a rotten egg smell means it’s too wet and not getting enough air. Adding more “browns” and turning the pile usually fixes this.
Question: How do I know when compost is ready to use?
Answer: Finished compost is dark brown or black, crumbly, and smells earthy like a forest floor. You shouldn’t be able to recognize the original food scraps or yard waste.

I am passionate about home engineering. I specialize in designing, installing, and maintaining heating, ventilation, and air conditioning systems. My goal is to help people stay comfortable in their homes all year long.