Ever look at your kitchen scraps and yard waste and think, “There’s gotta be a better way than tossing this in the trash”? You’re not alone! Lots of us want to be greener and save a little money, but composting can seem complicated. Don’t sweat it! Cold composting DIY is a super simple, low-effort way to turn that waste into amazing garden food. We’ll walk you through it, step by step. Ready to give your garden the best food and reduce landfill waste? Let’s dive in!
TopChooser Presents: Cold Composting DIY – Your Easy-Peasy Guide

Hey everyone, Troy D Harn here from TopChooser! You know me, I love making DIY projects and home-improvement tasks feel totally doable. Today, we’re tackling something really rewarding: cold composting DIY. If you’ve ever thought composting required a lot of turning, special equipment, or a science degree, think again! Cold composting is the ultimate “set it and forget it” method for turning your kitchen scraps and yard trimmings into nutrient-rich compost for your garden. It’s eco-smart, wallet-friendly, and surprisingly simple for beginners.
Why is it so great? Well, imagine reducing your household waste by up to 30% while creating a free, natural fertilizer that makes your plants happier and healthier. That’s the power of composting! This guide will show you exactly how to set up your own cold compost system, what to put in it (and what to avoid!), and how to know when your “black gold” is ready. No complicated machinery, no constant work – just a steady, natural process that benefits your garden and the planet.
We’ll cover everything you need to know:
- What exactly is cold composting?
- The simple tools you’ll need (spoiler: you probably have most of them already!).
- Choosing the perfect spot for your compost bin.
- What goes in, what stays out – a clear breakdown.
- How to layer your materials for best results.
- What to expect as it breaks down (and why you don’t need to poke it constantly!).
- How to harvest your finished compost.
Let’s get started on this incredibly rewarding journey. By the end of this, you’ll have the confidence and knowledge to start your very own successful cold compost system!
What Exactly is Cold Composting DIY?
So, what’s the big deal with “cold” composting? It might sound a little odd, but it’s actually the most natural way decomposition happens. Unlike “hot” composting, which involves actively managing temperature and moisture to speed up the process (think of a chef actively cooking), cold composting is more like letting nature do its thing. Microorganisms, fungi, and bacteria slowly break down organic materials over a longer period.
The key difference is that a cold compost pile doesn’t heat up significantly in the middle. This means you don’t need to turn it regularly, or worry as much about getting the “green” and “brown” ratios perfectly balanced from the start. It’s a much more hands-off approach. While it takes longer to produce finished compost (anywhere from 6 months to 2 years, depending on your materials and climate), it requires significantly less effort. For busy folks or beginners who want to jump into composting without a steep learning curve, cold composting is a dream come true!
Why Choose Cold Composting? The Perks You’ll Love
Opting for a cold composting DIY project comes with a whole heap of benefits. It’s not just about being Earth-friendly (though it’s fantastic for that too!). It’s about making your gardening life easier and more productive.
Eco-Smart Benefits:
- Reduces Landfill Waste: Kitchen scraps, grass clippings, leaves – all that stuff you usually throw away? It gets a new life, keeping it out of landfills where it just rots and produces methane gas.
- Creates Nutrient-Rich Soil: Say goodbye to expensive fertilizers! Your finished compost, often called “black gold,” is packed with essential nutrients that your plants will drink right up.
- Improves Soil Structure: Compost helps sandy soil retain moisture and helps clay soil drain better. It makes your soil healthier and happier all around.
- Conserves Water: Healthy soil enriched with compost holds moisture better, meaning you’ll need to water your garden less often.
DIY & Lifestyle Benefits:
- Low Effort, High Reward: This is the ultimate “set it and forget it” method. No need for constant turning or monitoring.
- Beginner-Friendly: No special skills or advanced knowledge required. If you can collect scraps, you can cold compost.
- Cost-Effective: You’re turning waste into valuable garden amendments for free!
- Flexible: You can start small and add to your pile as you go.
- Pest Reduction (Often): Well-managed compost piles deter pests. While cold piles might take longer, the decomposition process still makes materials less appealing to pests over time compared to just leaving them out.
Getting Started: Your Cold Composting Toolkit
One of the best things about cold composting is that you don’t need fancy gadgets. You can get started with things you might already have around the house or can easily pick up affordably.
The Essentials:
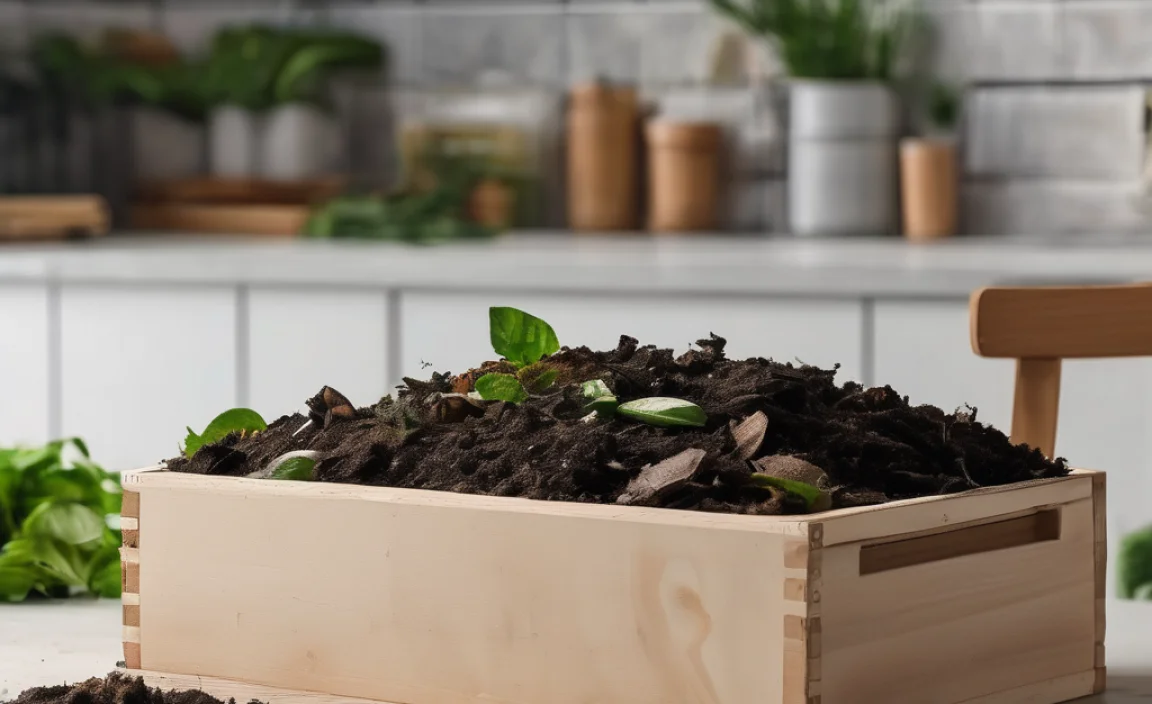
- A Compost Bin or Pile Area: This is where the magic happens! We’ll explore options below.
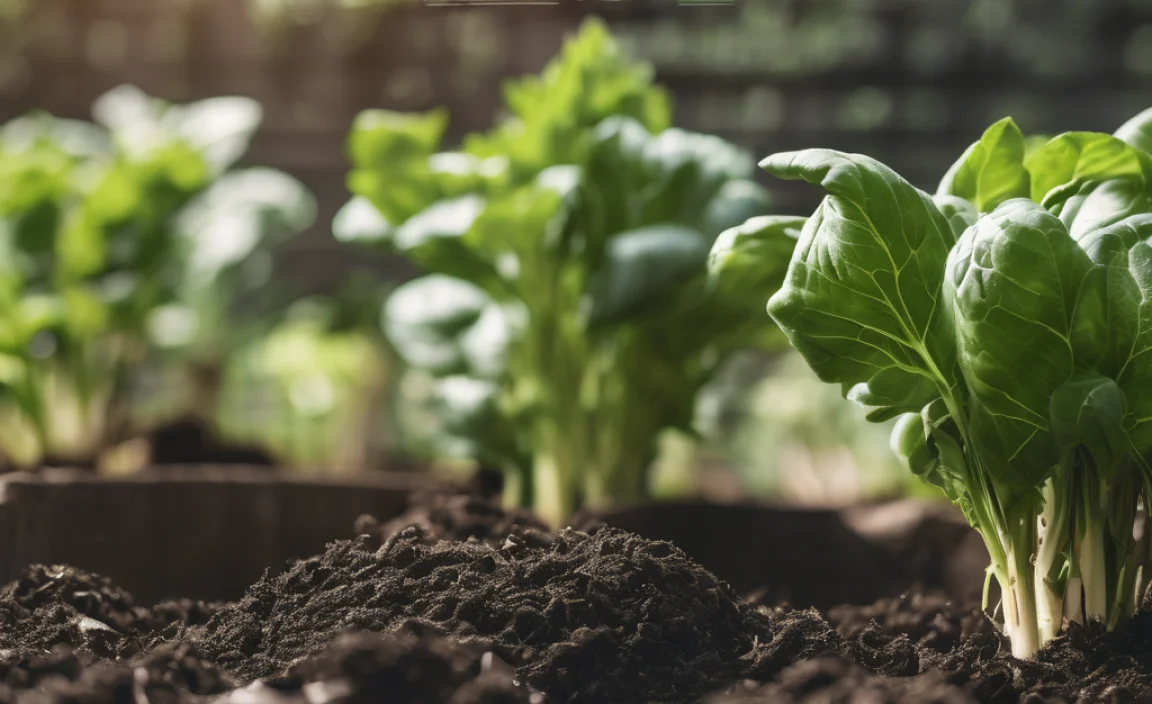
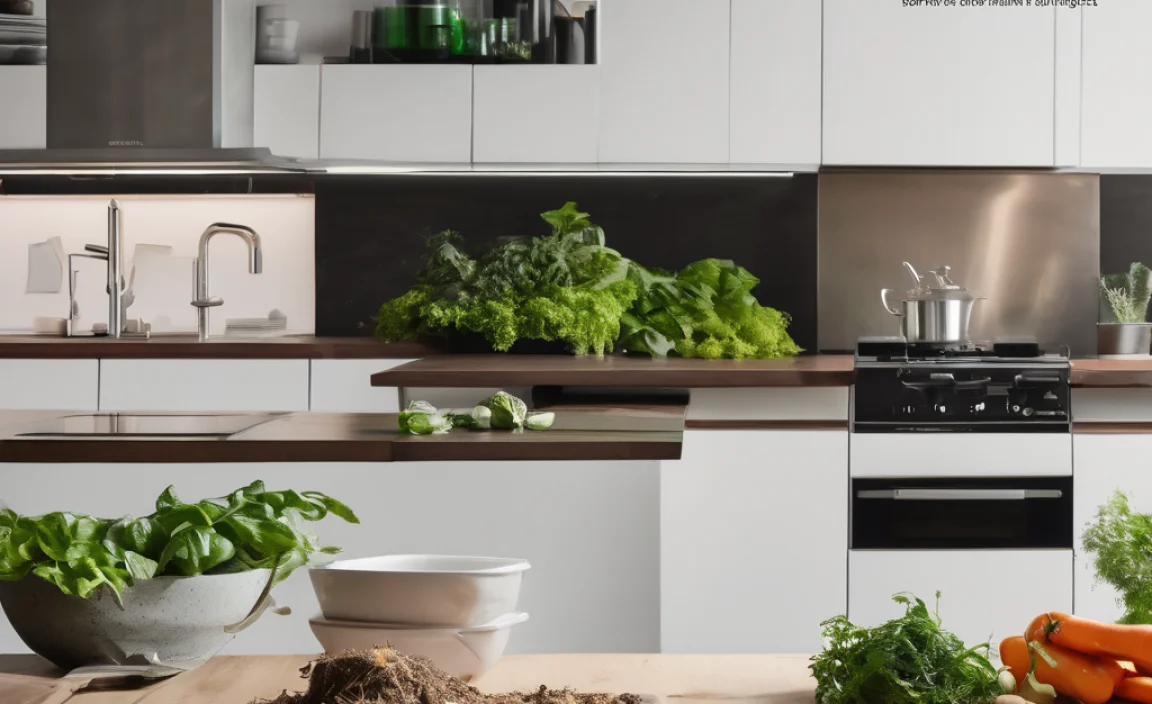
- Kitchen Scraps: Fruit peels, vegetable trimmings, coffee grounds, tea bags, eggshells.
- Yard Waste: Dried leaves, grass clippings, small twigs, shredded newspaper or cardboard.
- Water Source: A hose or watering can to keep things moist.
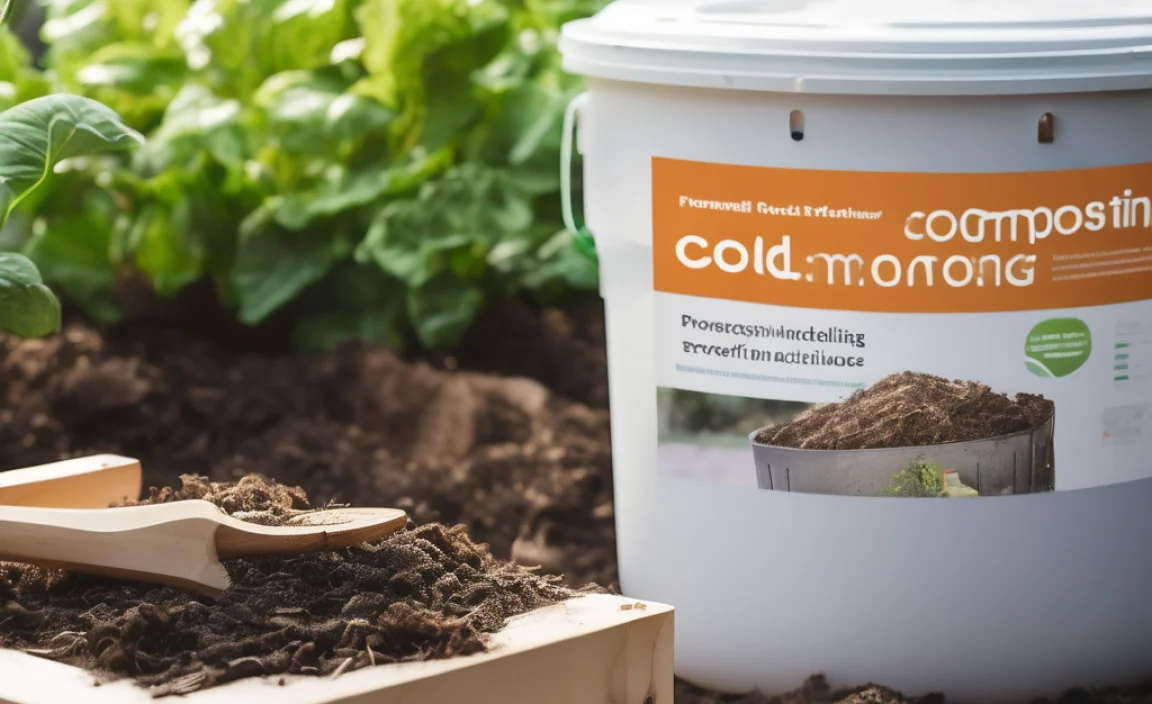
Compost Bin Options:
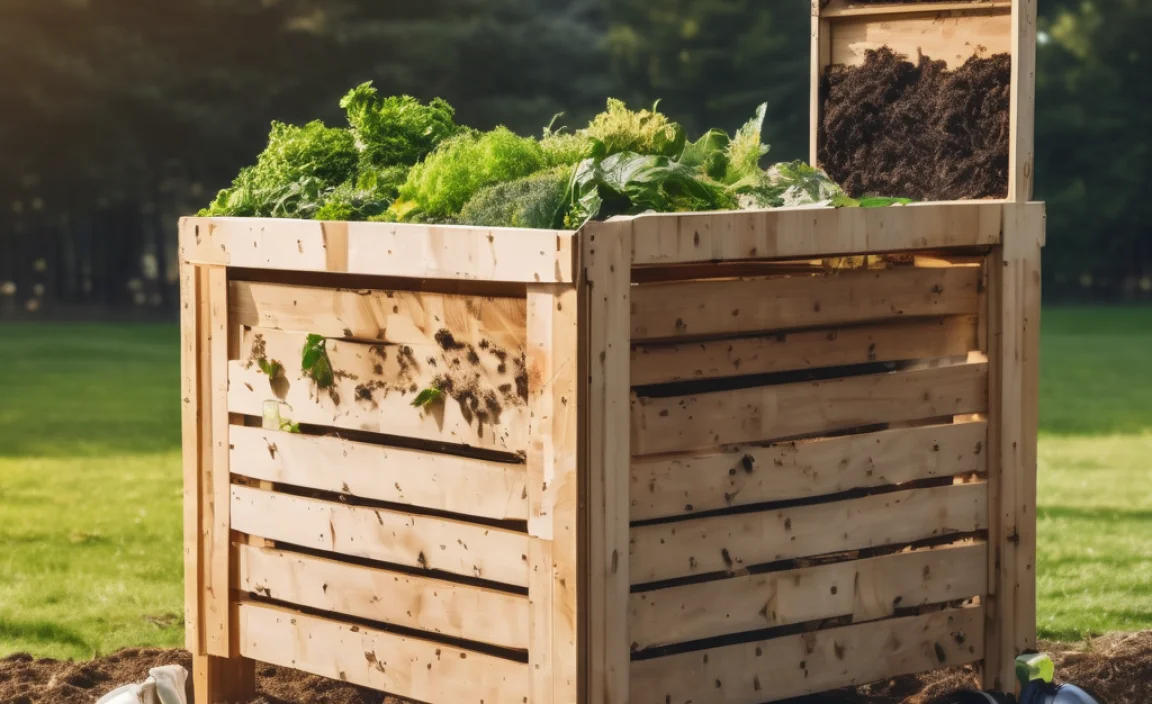
- DIY Wooden Bin: Use scrap lumber or pallets to build a simple structure. This is a great option if you have basic woodworking skills. For example, you can create a three-sided bin with an open front for easy access. Find inspiration and simple plans on resources like this U.S. Forest Service publication on composting (see Chapter 15 for basic bin designs).
- Wire Mesh Bin: Easily create a cylinder shape using chicken wire or hardware cloth. It’s inexpensive and allows for good airflow.
- Pre-made Compost Bins: Available at most garden centers, these can be plastic tumblers (though tumblers are better for hot composting) or static bins. For cold composting, a simple, stationary bin is perfect.
- A Simple Pile: Honestly, you can just start a pile in a designated corner of your yard! It might not be as tidy, but it works. Just make sure it’s in a spot where you can easily add materials and eventually access the finished compost.
Helpful Tools (But Not Strictly Necessary):
- Pitchfork or Garden Fork: Useful for turning materials if you decide to at some point, or for fluffing up the pile.
- Shovel: For moving finished compost.
- Garden Gloves: To keep your hands clean.
- Watering Can or Hose Nozzle: For adding moisture.
See? Nothing too crazy! The most important thing is a designated space for your compost.
Choosing the Perfect Spot for Your Cold Compost Pile
Where you put your compost bin or pile can make a difference, but don’t overthink it for cold composting. The goal is a convenient, functional spot that works with nature.
Key Considerations:
- Accessibility: You’ll be adding to this regularly, so make sure it’s easy to get to from your kitchen and garden.
- Drainage: Choose a spot that doesn’t get waterlogged. You want the pile to be moist, not soggy. A level spot is best. If your yard tends to be wet, consider building your bin on a layer of gravel or a few bricks to lift it off the ground.
- Sunlight/Shade: Some sun is good, as it can help warm the pile slightly and encourage decomposition. Too much intense, hot sun can dry it out too quickly. Partial shade is often ideal, but a full sun or full shade location will still work for cold composting – it might just affect the speed slightly.
- Proximity to Neighbors: While a well-managed compost pile shouldn’t smell bad, it’s polite to keep it a reasonable distance from property lines or outdoor living areas.
- Water Access: Being near a water spigot or hose bib is super handy for keeping your compost pile at the right moisture level.
A good rule of thumb is to place it at the back of your garden or a less visible corner of your yard that’s still easy for you to access. If you’re using a bin, ensure there’s enough space around it for air circulation.
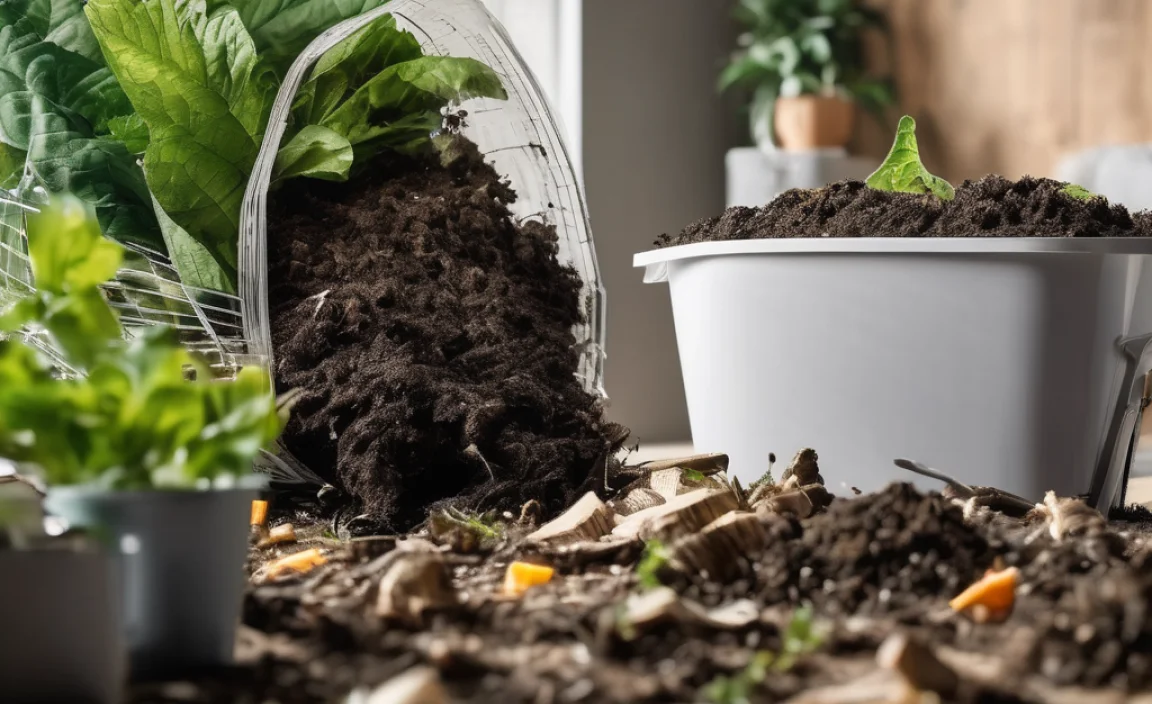
What Goes In and What Stays Out: The Green & Brown Guide
This is where people sometimes get confused, but for cold composting, it’s pretty forgiving. The basic idea is to balance “greens” (nitrogen-rich, wet materials) and “browns” (carbon-rich, dry materials). Think of greens as the “fuel” and browns as the “air” or “structure” for your compost.
The “Greens” (Nitrogen-Rich):
These materials tend to be moist and break down quickly. They provide nitrogen, which is essential for the microorganisms doing the work.
- Fruit and vegetable scraps (peels, cores, rinds)
- Coffee grounds and paper filters
- Tea bags (staples removed if metal)
- Grass clippings (add in thin layers to prevent matting)
- Plant trimmings (non-diseased)
- Manure from herbivores (chicken, rabbit, cow, horse – NOT dog or cat)
- Seaweed
The “Browns” (Carbon-Rich):
These materials are drier and provide carbon, adding air pockets and structure to your compost pile. They help absorb excess moisture and prevent smells.
- Dry leaves
- Straw and hay
- Shredded newspaper (avoid glossy pages)
- Shredded cardboard (non-coated, tape removed)
- Wood chips or sawdust (use sparingly, especially from treated wood)
- Pine needles
- Dryer lint (from natural fibers like cotton)
- Egg cartons (torn up)
What to Leave OUT (The “No-Nos”):
These items can attract pests, smell bad, or contain pathogens that you don’t want in your compost or garden.
- Meat, bones, and dairy products: Attract pests and smell.
- Oily or greasy foods: Can slow decomposition and smell.
- Diseased plants: Can spread diseases to your garden.
- Weeds that have gone to seed: Seeds might survive the composting process and sprout in your garden.
- Pet waste (dog, cat feces): Can contain harmful pathogens.
- Coal or charcoal ash: Can contain harmful substances.
- Treated wood: Contains chemicals.
- Glossy or colored paper/cardboard: May contain plastics or heavy metals.
- Synthetic materials: They will not break down.
A good general ratio to aim for is roughly 2-3 parts “browns” to 1 part “greens” by volume. But don’t stress! For cold composting, as long as you’re mostly adding greens from your kitchen and browns from your yard, nature will eventually sort it out.
Layering Your Cold Compost Pile: The Simple Science
While you don’t need to be a master chef with precise measurements, a little bit of layering can help your cold compost pile break down more efficiently and with fewer issues. Think of it like building a lasagna!
Here’s a basic layering strategy:
- Start with a Base Layer: Begin with a 4-6 inch layer of coarse “brown” materials at the bottom. This could be twigs, straw, or shredded cardboard. This helps with drainage and airflow from the start.
- Add a “Green” Layer: Sprinkle on a layer of your kitchen scraps or fresh grass clippings. Aim for about 2-4 inches.
- Follow with a “Brown” Layer: Cover the greens with a layer of dry leaves, shredded newspaper, or straw. Make this layer a bit thicker, perhaps 4-6 inches. This is crucial for absorbing moisture and preventing odors.
- Repeat: Continue alternating layers of greens and browns. Try to finish with a brown layer on top. Ideally, for every 2-3 inches of green material, add 4-6 inches of brown material.
- Moisten as You Go: After adding each layer, lightly sprinkle it with water. The pile should be as damp as a wrung-out sponge – moist, but not dripping wet.
What if My Layers Get Mixed Up?
Don’t worry! If you’re just tossing things into a bin or pile, the layers might not stay distinct. The most important thing for cold composting is simply getting a mix of greens and browns into the pile. The organisms will eventually find their way to what they need to decompose. Adding a good amount of browns when you can will always help balance things out.
You can also use a handy chart to visualize good material pairings:
| Type of Material | Examples | Approximate Carbon-to-Nitrogen Ratio (C:N) | Role in Compost |
|---|---|---|---|
| Browns (Carbon-Rich) | Dry leaves, straw, shredded newspaper, cardboard, wood chips | High (e.g., 25-80:1) | Provide energy for microbes, add bulk and aeration, absorb moisture, prevent odors. |
| Greens (Nitrogen-Rich) | Fruit & vegetable scraps, coffee grounds, grass clippings, manure | Low (e.g., 10-25:1) | Provide protein and nitrogen for microbial growth, heat generation (in hot composting). |
Remember, for cold composting, perfect ratios are less important than consistent additions and moisture management. The microbes will work their magic over time!
The Long, Slow (and Easy!) Decomposition Process
This is where cold composting really shines for the time-strapped DIYer. You’ve built your pile, added your layers, and now… you wait. The decomposition process in a cold compost pile happens much slower than in a hot pile, and it’s largely driven by mesophilic microorganisms (those that thrive at moderate temperatures) and fungi.
What to Expect:
- Initial Settling: You might notice the pile settling a bit as moisture distributes and materials begin to break down.
- No Dramatic Heating: Unlike hot composting, you won’t see dramatic temperature spikes in the center of your pile. It will likely remain close to ambient temperature.
- Gradual Breakdown: Over weeks and months, the materials will slowly shrink and become less recognizable. Leaves will decompose, paper will break down, and scraps will disappear.
- Moisture is Key: Even without turning, you need to maintain moisture. Check your pile every week or two. If it feels dry, add some water. If it looks very wet and a bit slimy, add more dry brown materials to absorb excess moisture. Covering it partially with a tarp during very wet periods can help, but ensure some air can still get in.
- Occasional Turning (Optional): While not required for cold composting, turning the pile once or twice a year with a pitchfork can help further aerate it and speed up the process a little. If you see any signs of anaerobic decomposition (foul smells), turning can help.
Signs of Trouble (and How to Fix Them):
Cold compost isn’t usually a breeding ground for problems, but here are a few things to watch out for:
- Bad Odors (Rotten Egg or Ammonia Smell): This usually means your pile is too wet and/or has too many greens, leading to anaerobic conditions (lack of air). Solution: Add lots of dry brown materials (leaves, shredded cardboard) and turn the pile if possible to aerate it.
- Pests (Rats, Raccoons): If you’re attracting critters, you’re likely adding meat, dairy, or oily foods. Stick strictly to the “no-nos” list. Burying kitchen scraps deep within the pile, covered by browns, can also help. Some bins have covers that help deter pests.
- Pile Isn’t Breaking Down: This could mean it’s too dry, or there’s not enough nitrogen (greens). Solution: Add water if it’s dry. If it’s consistently dry and slow, try adding more green materials or a layer of compost starter (though not necessary).
The beauty of cold composting is its patience. It works with natural rhythms, so don’t get discouraged if it’s not a fast transformation. The microorganisms are diligent workers!
Harvesting Your Black Gold: When and How

I am passionate about home engineering. I specialize in designing, installing, and maintaining heating, ventilation, and air conditioning systems. My goal is to help people stay comfortable in their homes all year long.