Ever felt overwhelmed by composting jargon? You’re not alone! Many of us want to turn kitchen scraps and yard waste into garden gold, but the process can seem complicated. If you’re looking for a simple, low-effort way to compost, and maybe even learn about it easily online, you’ve come to the right place. We’ll break down cold composting without the fuss. Get ready to transform your waste one easy step at a time!
Cold Composting Online: Your Genius Guide
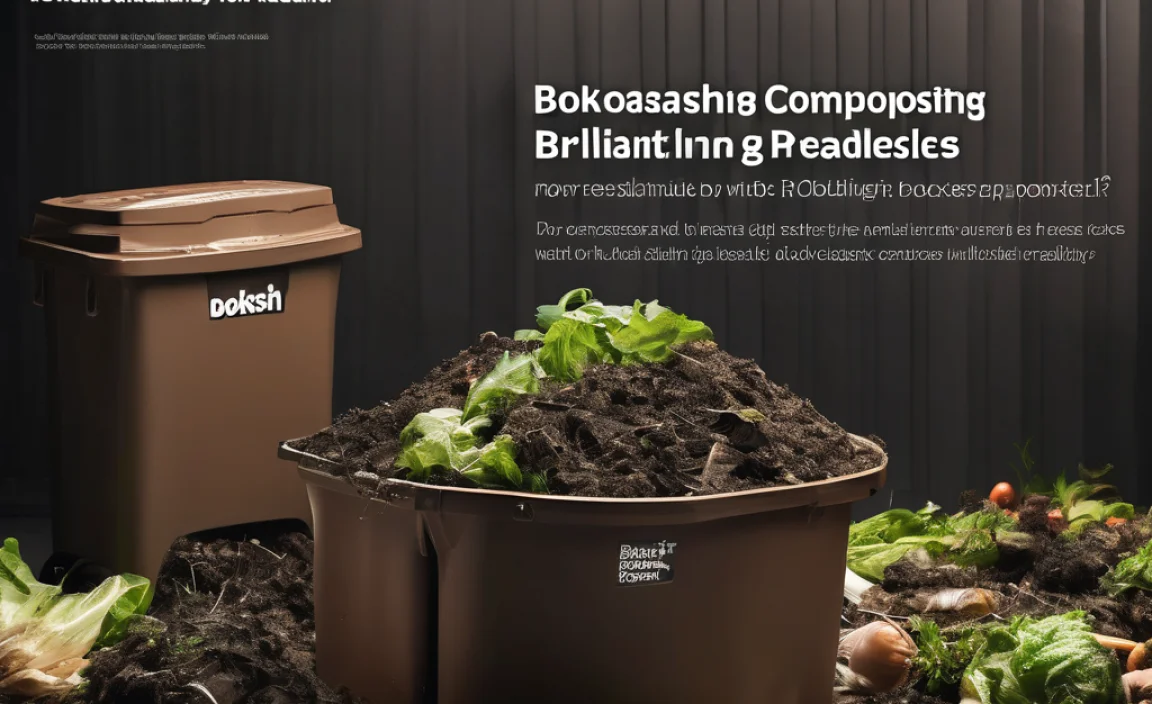
Hey there, fellow home improvers and garden enthusiasts! Troy D Harn here from TopChooser, and I’m excited to dive into a composting method that’s perfect for beginners and busy folks alike: cold composting. Think of it as the “set it and forget it” approach to turning your everyday waste into nutrient-rich soil for your plants. No fancy turning, no complicated calculations – just simple, natural decomposition happening right in your own backyard (or even on your balcony!).
Why cold composting? Because it’s forgiving. Unlike “hot composting,” which requires precise temperatures and frequent attention, cold composting takes its sweet time. It’s a fantastic way to reduce landfill waste without demanding too much of your time or energy. And these days, there’s a whole world of information waiting for you online to help you master this simple skill. Let’s explore how you can learn all about cold composting from your screen and then put it into practice.
What Exactly is Cold Composting?
So, what’s the deal with “cold composting”? In simple terms, it’s a way to compost without actively managing the pile’s temperature or frequently turning it. You simply add your organic materials (we’ll get to what those are) into a designated bin or pile, and nature does the rest. Microorganisms, fungi, and insects will eventually break down the materials over a longer period, often six months to a year, sometimes even longer.
Think of it like a slow cooker for your yard waste! It doesn’t get super hot in the middle, so the decomposition process is much slower. This makes it incredibly low-maintenance. You don’t have to worry about getting the “greens” and “browns” in perfect balance right away, or the constant flipping that hot composting requires. It’s a patient person’s compost, and it works!
Why Choose Cold Composting? The Perks!
Cold composting isn’t just easy; it’s got some serious advantages, especially for those of us who might not have endless hours to dedicate to our compost piles.
- Effortless: The biggest win! You add materials, and that’s mostly it. No need for constant turning or temperature monitoring.
- Reduces Waste: It’s a fantastic way to divert food scraps, yard trimmings, and other organic materials from landfills, helping the environment.
- Nutrient-Rich Soil: Over time, you’ll end up with a lovely, dark, crumbly compost that your garden will absolutely love. It improves soil structure, water retention, and provides essential nutrients.
- Cost-Effective: You can often start with materials you already have, like an old trash bin or a simple pile.
- No Pests (if done right): While some worry about pests, a well-managed cold compost pile, especially one with a lid or buried food scraps, can deter them effectively.
- Patience Rewarded: If you’re not in a rush for compost immediately, this method is ideal. The end result is still high-quality!
Learning Cold Composting Online: Your Digital Toolkit
The internet is an incredible resource for learning almost anything, and composting is no exception. You can find a wealth of free, easy-to-understand information to guide you. Here’s how to leverage online resources:
Keywords to Use for Your Online Searches
When you type into that search bar, know what to look for! Using the right phrases can bring up exactly the beginner-friendly content you need. Try these:
- “Cold composting for beginners”
- “Easy compost bin setup”
- “What can I compost without turning?”
- “Low-maintenance composting techniques”
- “Balcony composting no turning”
- “Cold compost recipe”
- “Understanding compost greens and browns”
Reputable Websites and Resources
Look for information from trusted sources. These often have a foundation in science, research, or practical community experience. Here are a few types of sites that are usually goldmines:
- University Extension Offices: Many universities offer agricultural or environmental extension programs. Their websites are packed with research-backed gardening and composting advice. For example, Michigan State University Extension offers excellent guides.
- Government Environmental Agencies: The EPA and similar organizations often provide straightforward guides on waste reduction and composting. Their goal is to inform the public.
- Reputable Gardening Blogs and Forums: Look for established gardening websites or forums that have been around for a while and have active communities. They offer real-user experiences and tips.
- Master Gardener Programs: Many regions have Master Gardener programs, often associated with local extension offices. Their volunteers are trained to provide excellent, practical advice.
Visual Learning: Videos and Infographics
Sometimes, seeing is believing! YouTube is a fantastic place to watch people build compost bins, add materials, and explain concepts. Search for terms like:
- “How to start cold composting video”
- “DIY compost bin tutorial”
- “Compost layers explained visually”
Infographics can also be a quick and easy way to digest information, often found on Pinterest or gardening blogs. They break down complex ideas into easy-to-understand visuals.
What You Need to Get Started with Cold Composting
The beauty of cold composting is its simplicity. You don’t need a lot of specialized equipment. Here’s a breakdown of what you might consider:
The Compost Container (or lack thereof!)
You have a few options for where your compost will live:
- A Simple Pile: The most basic method! Designate a corner of your yard and start piling your organic materials there. This works best if you have plenty of space.
- A Wire or Pallet Bin: You can create a simple enclosure using wire mesh or even re-purposed wooden pallets. This helps contain the pile and keeps it looking tidier. Many DIY tutorials are available online for these.
- A Purchased Compost Bin: Many gardening stores sell various types of compost bins, from simple enclosed plastic bins to tumbling composters. For cold composting, a basic, stationary bin with good airflow is usually sufficient. Some bins have lids to help retain moisture and deter pests.
- Other Containers: Some people have had success using old trash cans (with holes drilled for aeration), large plastic storage totes, or even an old laundry hamper.
Your Organic Materials: The “Greens” and “Browns”
Composting relies on a mix of “green” materials (nitrogen-rich) and “brown” materials (carbon-rich). While cold composting is forgiving, a good mix will help the process along. Aiming for a rough balance is ideal, but don’t stress about perfection.
Browns (Carbon-Rich)
These provide energy for the microorganisms. They also add bulk and create air pockets.
- Dry leaves
- Straw or hay
- Shredded cardboard (plain, no glossy print)
- Shredded newspaper (avoid glossy inserts)
- Small twigs and branches
- Sawdust (from untreated wood)
- Pine needles
- Eggshells (crushed)
Greens (Nitrogen-Rich)
These provide protein and moisture for the microorganisms.
- Fruit and vegetable scraps
- Coffee grounds and tea bags
- Grass clippings (add in thin layers to avoid matting)
- Plant trimmings (non-diseased)
- Manure (from herbivores like chickens, cows, horses – avoid pet waste)
- Seaweed
A Pitchfork or Shovel (Optional, but helpful)
While cold composting doesn’t require frequent turning, having a pitchfork or shovel can be useful for moving materials around if needed, or for mixing in new additions to the center of the pile rather than just on top.
A Water Source
Your compost pile needs moisture to decompose. It should feel like a wrung-out sponge – damp, but not soaking wet. You’ll need a hose or watering can.
Step-by-Step: Building Your Cold Compost Pile
Ready to get your hands dirty (figuratively, if you prefer!)? Here’s how to start your cold compost pile:
Step 1: Choose Your Location
Find a spot for your compost pile or bin. Ideally, choose a place that is:
- Convenient to access from your kitchen and garden.
- Well-drained, so it doesn’t get waterlogged.
- Partially shaded is good; full sun can dry it out too quickly, and full shade might keep it too wet.
- On bare earth if possible. This allows worms and beneficial microorganisms to enter the pile from the soil below.
Step 2: Start with a Base Layer (Browns!)
Begin by putting a layer of coarse “brown” materials at the bottom. This could be straw, small twigs, or shredded cardboard. This helps with aeration and drainage, preventing the pile from becoming a slimy mess.
Step 3: Add Your First Mix of Greens and Browns
Now, start adding your kitchen scraps (greens) and yard waste (browns). A good rule of thumb is to try and add roughly equal parts by volume over time. If you add a big batch of grass clippings (greens), try to mix in some shredded leaves or newspaper (browns) to balance it out.
Important Tip: Burying fresh kitchen scraps (like fruit peels and vegetable ends) in the center of your pile helps deter pests and reduce odors. Cover them with a layer of brown material.
Step 4: Layering is Key (But Don’t Overthink It!)
Continue adding your materials. While not as critical as hot composting, creating layers can help. For instance:
- A layer of kitchen scraps.
- A layer of grass clippings.
- A layer of dry leaves or shredded paper.
- A layer of twigs.
Then, repeat. When you add new kitchen scraps, try to mix them in with some brown materials or bury them.
Step 5: Keep it Damp
Check the moisture level periodically. If the pile feels dry, water it. If it seems too wet (and perhaps smelly), add more dry brown materials like shredded cardboard or dry leaves to absorb the excess moisture and improve airflow.
Step 6: Let Nature Do Its Work
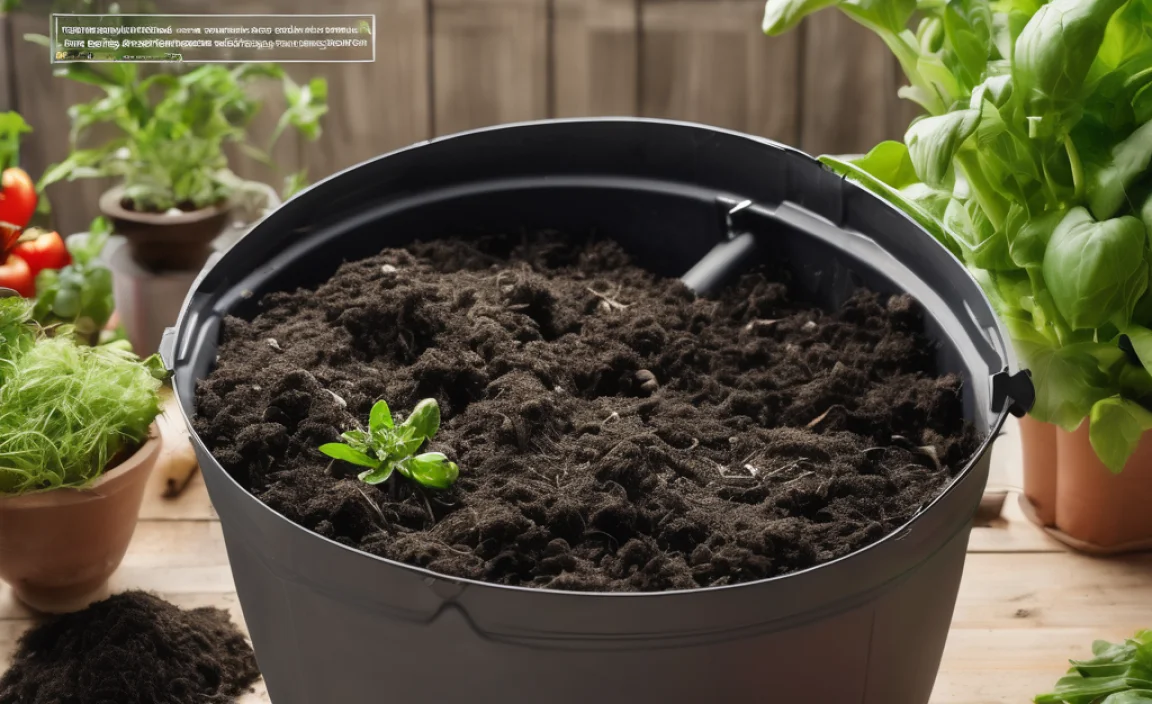
This is the “cold” part! You don’t need to turn the pile. Just keep adding materials as they become available. Over time, particularly in the core of the pile, decomposition will begin. You’ll notice the material at the bottom of the pile starting to break down and darken.
Step 7: Harvesting Your Compost
Your compost will be ready when it’s dark, crumbly, and smells earthy – like a forest floor. This can take anywhere from six months to over a year, depending on your climate, the materials you added, and the size of your pile. You can harvest compost from the bottom of the pile, leaving the less-decomposed material on top to continue breaking down.
What NOT to Compost
To ensure a healthy and safe compost pile, and to avoid attracting pests or spreading disease, there are certain items you should keep out:
| Items to Avoid | Why? |
|---|---|
| Meat, fish, and bones | Can attract pests and create foul odors. |
| Dairy products (milk, cheese, yogurt) | Can attract pests and create odors. |
| Oils, fats, and grease | Can slow decomposition and attract pests. |
| Diseased plants or weeds that have gone to seed | You risk spreading diseases or unwanted weeds to your garden. |
| Pet waste (dog, cat feces) | Can contain pathogens harmful to humans. |
| Treated wood or sawdust | Contains chemicals that are not good for your garden. |
| Glossy or coated paper/cardboard | May contain plastics or chemicals that don’t break down well. |
| Coal or charcoal ash | Can contain harmful substances. |
Cold Composting vs. Hot Composting: A Quick Comparison
It’s helpful to see how cold composting stacks up against its more energetic sibling, hot composting. This table highlights the key differences:
| Feature | Cold Composting | Hot Composting |
|---|---|---|
| Speed of Decomposition | Slow (6 months to 2+ years) | Fast (4-8 weeks) |
| Effort Required | Very low (minimal turning) | High (frequent turning & monitoring) |
| Temperature | Ambient (cool to lukewarm) | High (130-160°F or 55-70°C) |
| Materials | More forgiving with ratios; can add most kitchen/yard waste. | Requires precise “green” and “brown” ratios for heat generation. |
| Pest Control | Can attract pests if not managed carefully (bury food scraps). | High heat usually kills weed seeds and pathogens; deters pests. |
| Ideal For | Beginners, busy people, patience seekers. | Those who want compost quickly, have time for management. |
| Learning Curve | Very easy | Moderate to difficult |
Troubleshooting Common Cold Composting Issues
Even with the “easy” method, you might run into a snag. Here’s how to fix common problems:
- Bad Odor (like rotten eggs or ammonia):Cause: Too many “greens” (nitrogen) or the pile is too wet and compacted, leading to anaerobic (oxygen-less) conditions.
Solution: Add plenty of “brown” materials (like shredded paper, dry leaves, or straw) to absorb moisture and improve airflow. If it’s really compacted, try to gently fluff it with a pitchfork.
- Pile is Dry and Not Decomposing:Cause: Not enough moisture. Microorganisms need water to thrive.
Solution: Water the pile thoroughly. Try to mix the water in, especially if you added a lot of brown material. Aim for the consistency of a wrung-out sponge.
- Attracting Pests (rodents, flies):Cause: Exposed food scraps, or appealing materials like meat/dairy (which should be avoided).
Solution: Ensure food scraps are always buried in the center of the pile and covered with a layer of brown material. Avoid adding meat, dairy, and greasy foods. Consider a compost bin with a lid.
- Decomposition is Too Slow:Cause: Not enough nitrogen (“greens”), or the pile is too small. Very cold weather can also significantly slow things down.
Solution: Add more nitrogen-rich materials like grass clippings, coffee grounds, or kitchen scraps. Chop or shred larger items to increase their surface area. Piles that are at least 3x3x3 feet tend to work best. Patience is key with cold composting!
Conclusion
And there you have it! Cold composting is a genuinely accessible, eco-friendly way to manage your organic waste and create incredible benefits for your garden. By leveraging online resources, you can easily learn the ropes at your own pace, without feeling overwhelmed. Remember, the key is simplicity and patience. Start with a bin or a corner of your yard, add your greens and browns, keep it a little damp, and let nature work its magic over time.
Don’t be afraid to explore those online guides, watch a few videos, and get a feel for what works best for your situation. The satisfaction of turning kitchen scraps into garden superfood is well worth the minimal effort involved. Happy composting, and happy gardening!
Frequently Asked Questions About Cold Composting Online
Here are some common questions beginners have when learning about cold composting, especially with online resources.
Q1: How do I know if the compost is ready to use?
A: Your compost is ready when it looks dark brown, crumbly, and smells earthy, like fresh soil. You shouldn’t be able to identify the original materials you put in.
Q2: Can I compost coffee grounds and tea bags?
A: Yes! Coffee grounds and most tea bags (especially unbleached ones) are considered “greens” and are great additions to your compost pile. Just make sure to remove any staples from tea bags.
Q3: I live in an apartment. Can I still do cold composting?
A: Absolutely! You can use a smaller, enclosed bin system on a balcony or even indoors if you use a specialized worm bin (vermicomposting, which is a bit different but also low-effort) or a small tumbling composter. Search for “balcony composting” or “small space composting” online for specific guides.
Q4: Do grass clippings cause problems in cold composting?
A: Grass clippings are excellent “greens,” but it’s best to add them in thin layers. If you dump a thick layer of wet grass clippings, they can mat together and become dense, preventing airflow and potentially causing odors. Mix them with brown materials or let them dry slightly first.
Q5: How much “brown” material do I really need compared to “green”?
A: For cold composting, aiming for about a 2:1 or 3:1 ratio of browns to greens by volume is a good general guideline, but don’t stress if it’s not perfect. If your pile starts smelling, it likely needs more browns. If it’s dry and inactive, it might need more greens or moisture.
Q6: Will cold composting take up too much space in my yard?
A: It depends on the bin or pile size, but a typical compost bin or pile can be as small as 3 feet by 3 feet. A simple pile can be larger for more capacity. Many solutions are designed for smaller yards or even patios.

I am passionate about home engineering. I specialize in designing, installing, and maintaining heating, ventilation, and air conditioning systems. My goal is to help people stay comfortable in their homes all year long.