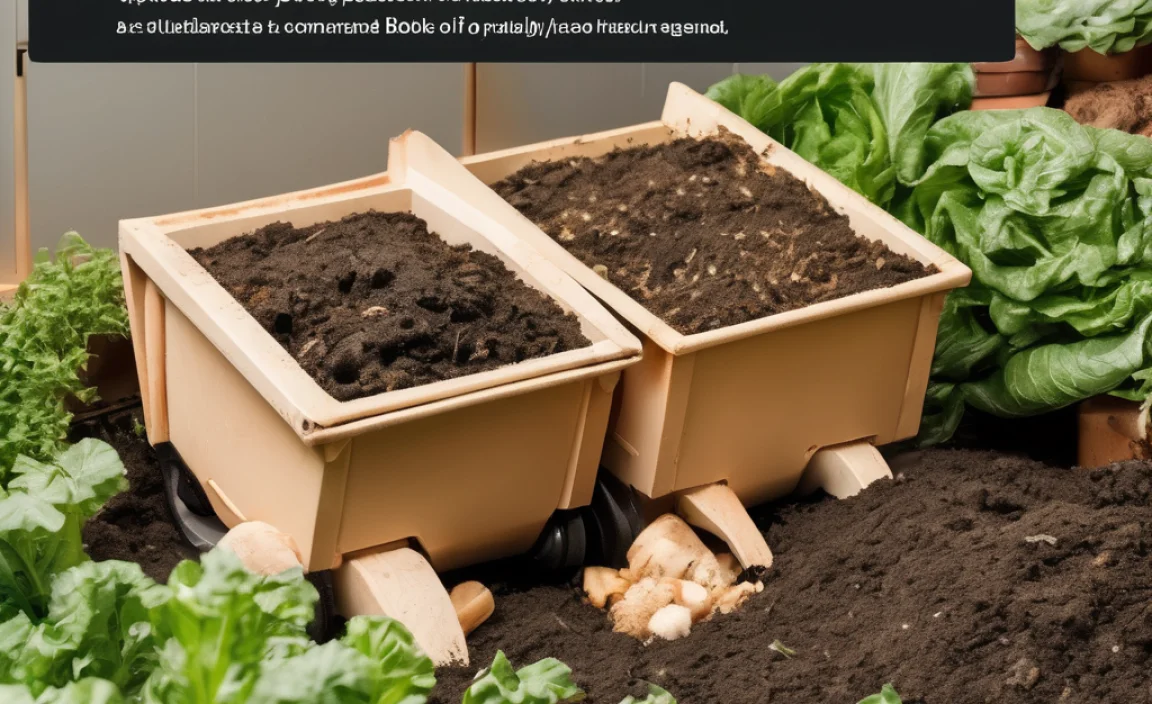
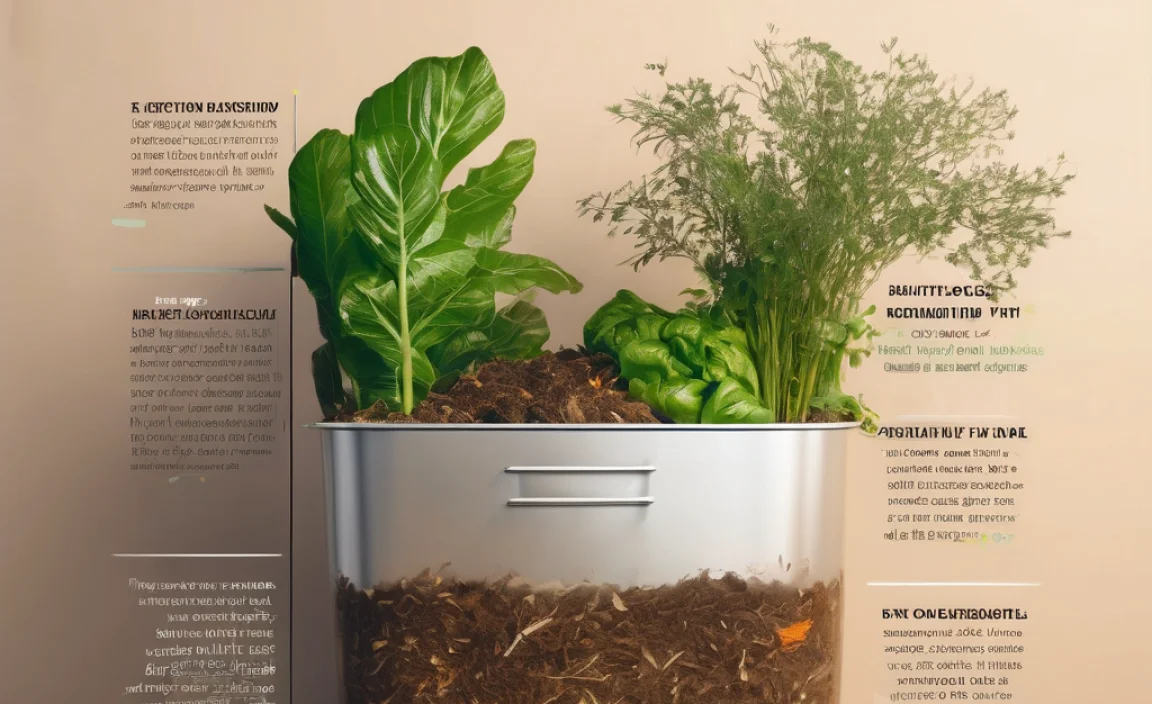
Ever wonder how long that pile of kitchen scraps and yard waste in the corner will actually take to turn into black gold? It’s a common question for anyone starting their composting journey. Many folks expect it to happen magically overnight, only to be a bit disappointed when that pile stays stubbornly… well, a pile! Don’t worry, we’ve all been there. This guide will break down exactly what ‘cold composting time’ means, what affects it, and how you can speed things up without losing sleep. Let’s dig in!
Cold Composting Time: How Long Until You Get Rich, Dark Compost?
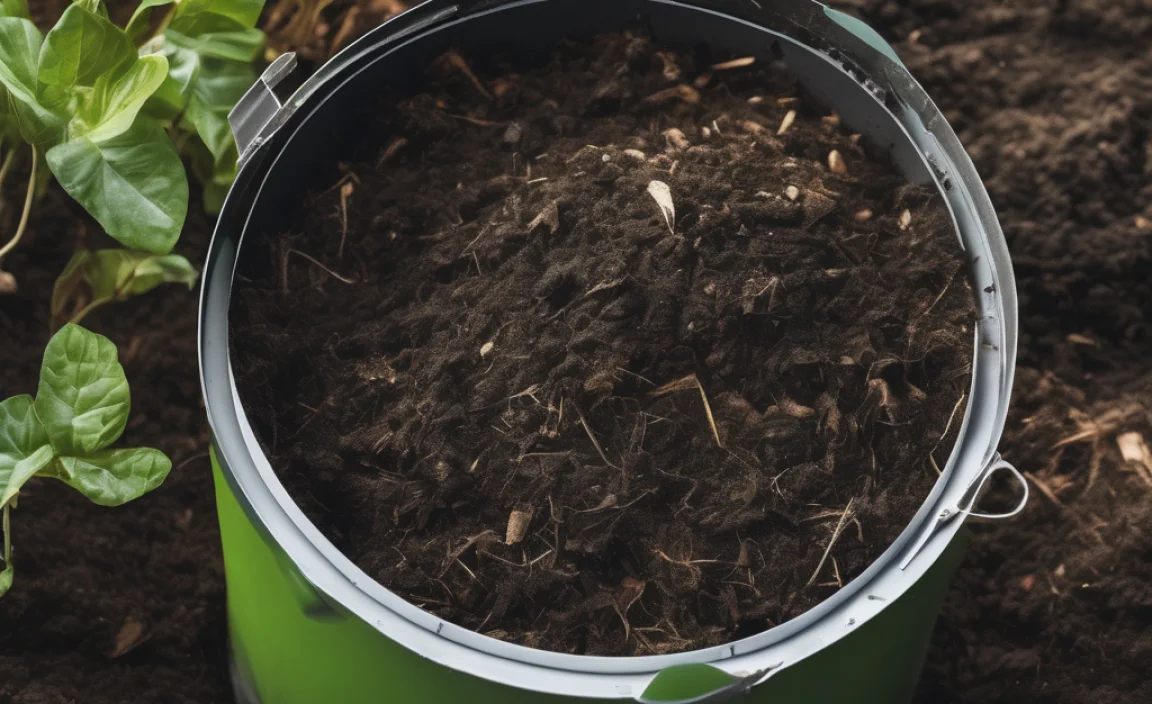
Hey everyone, Troy D Harn here from TopChooser! You’ve decided to take the plunge into composting, which is fantastic! You’re saving waste, helping the planet, and getting nutrient-rich soil for your garden. But then comes the big question: how long does this whole thing take? Specifically, when you’re cold composting, what’s the timeframe we’re looking at? It can feel like a mystery, but the truth is, there are some key factors that influence the “cold composting time.” We’re going to break it all down so you know exactly what to expect and how to get your compost ready sooner rather than later.
What Exactly is Cold Composting?
First things first, let’s make sure we’re on the same page. Cold composting, also known as passive composting, is the simplest method. You basically just pile your organic materials together and… let them be. There’s no active management like turning the pile regularly, and you’re not aiming for the high temperatures that “hot composting” achieves. It’s a slower process that relies on natural decomposition by microbes, fungi, and invertebrates over time. It’s perfect for busy folks, beginners, or anyone who wants a low-effort way to manage waste.
The main “pro” of cold composting is its ease. You toss stuff in, and nature does the rest. The main “con” is that it takes a lot longer. While hot composting can yield finished compost in as little as 4-8 weeks, cold composting typically takes anywhere from 6 months to 2 years, or even longer, depending on several variables we’ll explore next.
The Big Factors Affecting Cold Composting Time
So, you’ve got your pile ready to go. What makes one cold compost pile break down in 6 months and another take 18 months? It’s not magic; it’s science (the simple kind!). Here are the main players:
Material Type (Greens vs. Browns): This is probably the most crucial element. A good mix is key!
Particle Size: Smaller pieces break down faster.
Moisture Content: Not too wet, not too dry!
Aeration (or lack thereof): Air helps the microorganisms.
Pile Size and Location: Bigger can be better, and where it sits matters.
Ambient Temperature: It slows down when it’s cold outside.
Let’s unpack these one by one.
Material Type: The “Greens” and “Browns” Dance
Composting relies on a balance of nitrogen-rich materials (the “greens”) and carbon-rich materials (the “browns”). Microorganisms need both to thrive and break down your organic matter. Think of it like feeding them a balanced meal!
“Greens” (Nitrogen-Rich): These are generally wet, fresh materials that provide the nitrogen needed for microbial growth. They often have a “green” color, hence the name.
Fruit and vegetable scraps
Coffee grounds and tea bags
Grass clippings (in moderation, can get matted)
Plant trimmings
Manure from herbivores (cows, horses, rabbits, chickens)
“Browns” (Carbon-Rich): These are drier, bulkier materials that provide the carbon for energy. They’re often brown or woody.
Dry leaves
Shredded newspaper or cardboard (avoid glossy paper)
Straw or hay
Wood chips or sawdust (in moderation, takes longer to break down)
Twigs and small branches
Paper towel tubes
The Ideal Ratio: For efficient decomposition, even in cold composting, aim for a ratio of about 2 to 3 parts browns to 1 part greens by volume. This ratio ensures the microorganisms have enough carbon food and nitrogen to multiply. Too many greens can lead to a slimy, smelly pile. Too many browns will make the decomposition process incredibly slow.
For a more in-depth look at what goes into your compost bin, check out this helpful guide from the U.S. Environmental Protection Agency (EPA).
Particle Size: Chop It Up!
Think about it: a whole apple will take way longer to decompose than an apple that’s been chopped into small pieces. The same goes for your compost pile. Microorganisms can only work on the surfaces of the organic matter they can access. The smaller the pieces you add, the more surface area is exposed, and the faster decomposition can occur.
How to Make It Smaller:
Kitchen Scraps: Chop up large items like melon rinds or avocado pits.
Yard Waste: Shred leaves with a mower, chop up twigs and small branches, or use a chipper/shredder if you have one.
Cardboard/Paper: Tear or cut into small pieces.
Breaking materials down into pieces that are roughly 1-2 inches in size will significantly speed up the cold composting process. It’s a little more work upfront, but it pays off in the end with quicker compost.
Moisture Content: The Goldilocks Zone
Microorganisms need water to live and work. Your compost pile should be consistently moist, like a wrung-out sponge. If it’s too dry, decomposition grinds to a halt. If it’s too wet, it can become anaerobic (lack of oxygen) and develop foul odors, and the beneficial microbes might struggle.
How to Check and Adjust:
The Squeeze Test: Grab a handful of compost material. If you can squeeze out a few drops of water, it’s probably just right. If water streams out, it’s too wet. If it crumbles apart and feels dry, it needs more water.
Adding Water: If your pile is too dry, use a hose or watering can to moisten it. It’s best to do this when you add new materials or if you’re turning the pile (even for cold composting, a stir every few months can help).
Addressing Too Much Moisture: If your pile is too wet, try adding more dry “brown” materials like shredded cardboard, leaves, or straw. You might also need to poke some holes in the pile to improve aeration and allow excess moisture to escape. Covering the pile partly can also help prevent it from getting waterlogged during heavy rain.
Aeration: Giving Microbes Room to Breathe
The microorganisms that break down organic matter generally need oxygen to do their best work. This is crucial for hot composting, but even in cold composting, some air circulation is beneficial. A densely packed, soggy pile will decompose very slowly and can turn anaerobic, leading to stinky byproducts like methane and hydrogen sulfide.
How to Improve Aeration in Cold Composting:
Avoid Over-Compacting: Don’t stomp down the materials too much.
Layering: Alternate layers of greens and browns. Some bulky browns (like twigs or straw) can help create air pockets.
Occasional Stirring: Even if you’re not actively turning, giving the pile a quick poke with a pitchfork or stick every month or two can help.
Using Aerated Bins: Some compost bins have built-in ventilation holes.
While you won’t be turning your cold compost pile weekly, a little attention to air pockets can prevent it from becoming a stagnant, smelly mess.
Pile Size and Location: Think Big and Strategic
Size Matters: For effective decomposition to start and maintain some level of warmth (even passive warmth), a compost pile ideally needs to be at least 3 feet by 3 feet by 3 feet (about 1 cubic yard). Smaller piles lose heat more quickly to the surrounding environment and dry out faster. Larger piles insulate themselves better, which helps the decomposition process along.
Location, Location, Location:
Sun vs. Shade: A spot that gets some sun is often beneficial, especially in cooler climates. It helps warm the pile. However, too much direct, hot sun can dry it out quickly. A partly shaded spot with good drainage is often ideal.
Drainage: Ensure the area where you build your pile has good drainage. You don’t want water pooling around the base, which can lead to sogginess and anaerobic conditions.
Accessibility: Place your pile where it’s easy to add materials and, if you choose to, to access it later for turning or harvesting.
Consider placing your cold compost bin or pile near your garden, where you’ll eventually want to use the finished compost. This saves you hauling it long distances.
Ambient Temperature: The Seasonal Slowdown
Decomposition is a biological process, and, like many biological processes, it’s temperature-dependent. Microorganisms work much faster when the weather is warm. During the cold winter months, the decomposition in a cold compost pile will slow down considerably, almost to a standstill.
What this means for cold composting time:
If you start a cold compost pile in the spring or summer, you’re likely to see quicker results in the first year than if you started in the fall or winter.
A pile started in late fall might seem inactive all winter and then “wake up” in spring.
The total “cold composting time” often includes a dormant winter period. So, a pile started in spring might be “ready” the following spring, even if it took 12 months.
Putting It All Together: Achieving “Proven Essential Speed”
So, how do we put all these pieces together to achieve the fastest possible cold composting time without resorting to active management? It comes down to optimizing the factors we’ve discussed. Think of “proven essential speed” as maximizing efficiency within the cold composting framework.
Here’s a breakdown of what that looks like:
Balanced Ingredients: Prioritize a good mix of greens and browns (roughly 1:2 to 1:3 ratio by volume). This fuels the microorganisms properly.
Mince Your Materials: Break everything down as finely as you can before adding it to the pile. Smaller particles = more surface area = faster breakdown.
Maintain Ideal Moisture: Keep the pile consistently damp like a wrung-out sponge. Add water or dry browns as needed.
Encourage Airflow: Don’t compact materials too tightly. Incorporate some larger, bulky brown materials to create air pockets. Give it an occasional poke.
Build a Sufficiently Sized Pile: Aim for at least 3x3x3 feet. This helps the pile insulate itself and retain some warmth.
Choose a Strategic Location: A partly shaded spot with good drainage is usually best. Access to sun can help, but avoid extreme drying.
By consistently applying these tips, you’re not turning it into hot composting, but you are creating the best possible environment for the cold composting process to work its magic as efficiently as possible. You’re essentially reducing the variables that would slow it down unnecessarily.
Cold Composting Time: What to Actually Expect
Given all the factors, it’s tough to give a single number for “cold composting time.” However, if you’re following best practices for cold composting:
Minimum Time: 6-9 months (achieved with a good mix, fine particle size, optimal moisture, and warm weather)
Typical Time: 12-18 months (very common for most backyard piles)
Maximum Time: 2 years or more (if the mix is unbalanced, materials are large, or it experiences prolonged cold/dry spells)
It’s important to be patient! Cold composting is a marathon, not a sprint. The great thing is that you can keep adding materials to your cold compost pile as you generate them. The older material at the bottom will continue to break down, while fresh material is added to the top.
When is it “Ready”? Signs of Finished Compost
How do you know when that pile is actually ready to use? You’ll be looking for a few key indicators:
Appearance: It should look dark brown, crumbly, and uniform. You shouldn’t be able to easily identify the original materials (no recognizable banana peels or cardboard pieces).
Smell: It should smell earthy and pleasant, like a forest floor after rain. If it smells sour, ammonia-like, or rotten, it’s not ready.
Texture: It should be loose and friable, not slimy or clumpy.
Temperature: A finished compost pile will be at ambient temperature, meaning it’s no longer generating its own heat.
You might have to fish around in your pile to find the finished compost, as different parts will break down at different rates. The material at the bottom and sides is usually the most mature.
Troubleshooting Common Cold Composting Issues
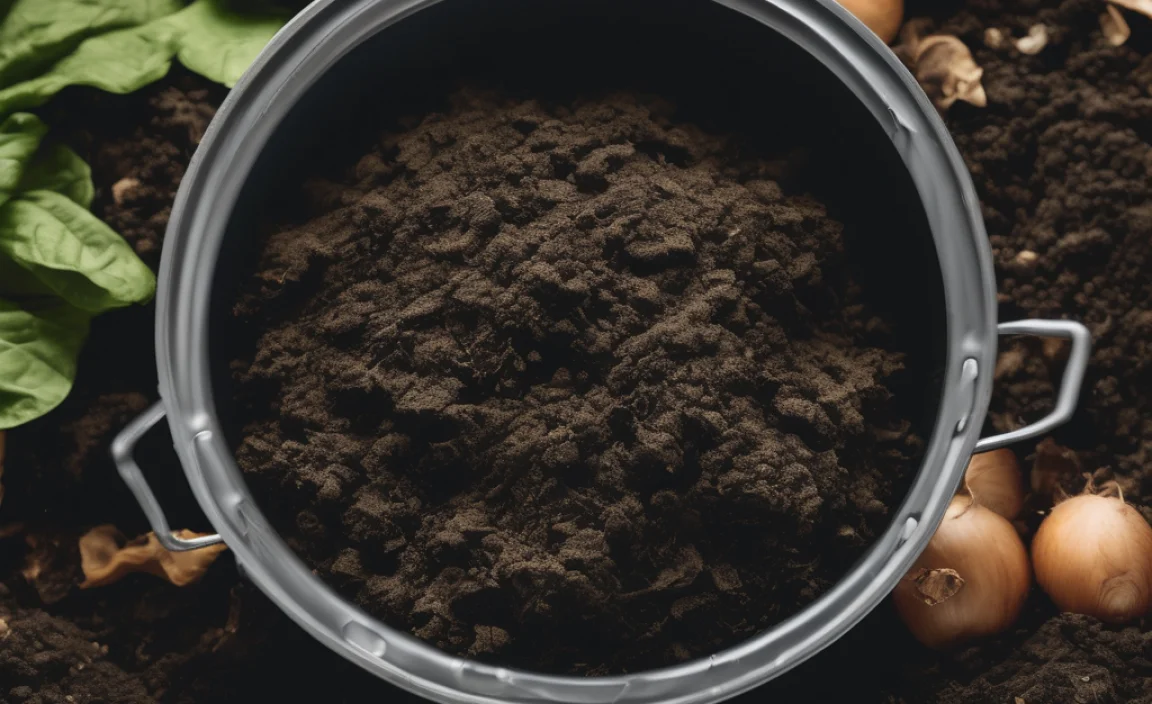
Even with the best intentions, you might run into a snag. Here are a few common issues and how to fix them:
Issue: The Pile Smells Bad (Ammonia or Rotten Eggs)
Cause: Too much nitrogen (“greens”) or poor aeration (anaerobic conditions).
Solution: Add a generous amount of carbon-rich “browns” like shredded cardboard, dry leaves, or straw. Try to gently aerate the pile by poking holes in it with a pitchfork or stick. Ensure it’s not too wet.
Issue: The Pile Isn’t Breaking Down (or is doing so very slowly)
Cause: Too dry, not enough nitrogen (“greens”), or particle size is too large.
Solution: Check moisture. If dry, add water and mix. If you suspect too many browns, add some nitrogen-rich materials like coffee grounds or grass clippings. Chop up larger materials if possible. If the pile is too small, consider adding more materials to increase its mass.
Issue: The Pile Attracts Pests
Cause: Exposed food scraps, meat/dairy products, or an open pile.
Solution: Ensure you’re burying food scraps deep within the pile, especially if you have a bin with an open top. Avoid adding meat, dairy, oils, or pet waste (from cats/dogs), as these are more likely to attract pests and can take longer to break down. Using a compost bin with a lid can help deter unwanted visitors. For more on pest-proof composting, this resource from The Old Farmer’s Almanac offers great insights.
Cold Composting vs. Hot Composting: A Quick Comparison
To really appreciate the “time” aspect of cold composting, it helps to see how it stacks up against its faster cousin.
Feature Cold Composting Hot Composting
Time to Finish 6 months to 2+ years 4 weeks to 4 months
Effort Required Minimal (passive, low management) Moderate to High (requires regular turning, monitoring temperature, balancing materials carefully)
Temperature Ambient or slightly warm 130-160°F (54-71°C) required for pathogen and weed seed kill
Pile Size Goal Minimum 3x3x3 ft recommended for insulation
Minimum
.lwrp.link-whisper-related-posts{
margin-top: 40px;
margin-bottom: 30px;
}
.lwrp .lwrp-title{
}.lwrp .lwrp-description{
}
.lwrp .lwrp-list-container{
}
.lwrp .lwrp-list-multi-container{
display: flex;
}
.lwrp .lwrp-list-double{
width: 48%;
}
.lwrp .lwrp-list-triple{
width: 32%;
}
.lwrp .lwrp-list-row-container{
display: flex;
justify-content: space-between;
}
.lwrp .lwrp-list-row-container .lwrp-list-item{
width: calc(25% – 20px);
}
.lwrp .lwrp-list-item:not(.lwrp-no-posts-message-item){
max-width: 150px;
}
.lwrp .lwrp-list-item img{
max-width: 100%;
height: auto;
object-fit: cover;
aspect-ratio: 1 / 1;
}
.lwrp .lwrp-list-item.lwrp-empty-list-item{
background: initial !important;
}
.lwrp .lwrp-list-item .lwrp-list-link .lwrp-list-link-title-text,
.lwrp .lwrp-list-item .lwrp-list-no-posts-message{
}@media screen and (max-width: 480px) {
.lwrp.link-whisper-related-posts{
}
.lwrp .lwrp-title{
}.lwrp .lwrp-description{
}
.lwrp .lwrp-list-multi-container{
flex-direction: column;
}
.lwrp .lwrp-list-multi-container ul.lwrp-list{
margin-top: 0px;
margin-bottom: 0px;
padding-top: 0px;
padding-bottom: 0px;
}
.lwrp .lwrp-list-double,
.lwrp .lwrp-list-triple{
width: 100%;
}
.lwrp .lwrp-list-row-container{
justify-content: initial;
flex-direction: column;
}
.lwrp .lwrp-list-row-container .lwrp-list-item{
width: 100%;
}
.lwrp .lwrp-list-item:not(.lwrp-no-posts-message-item){
max-width: initial;
}
.lwrp .lwrp-list-item .lwrp-list-link .lwrp-list-link-title-text,
.lwrp .lwrp-list-item .lwrp-list-no-posts-message{
};
}

I am passionate about home engineering. I specialize in designing, installing, and maintaining heating, ventilation, and air conditioning systems. My goal is to help people stay comfortable in their homes all year long.

