Welcome, fellow DIYers and garden enthusiasts! Ever looked at your kitchen scraps and yard waste and wondered if composting is for you? Maybe you’ve heard about “hot composting” and “cold composting” and felt a little overwhelmed by the choices. Don’t worry, I’m Troy D Harn from TopChooser, and I’m here to break it all down. We’ll look at the costs, the effort, and what really makes each method tick, so you can pick the perfect compost plan for your home and budget. Ready to turn trash into garden gold without breaking the bank?
So, What’s the Big Deal with Composting?
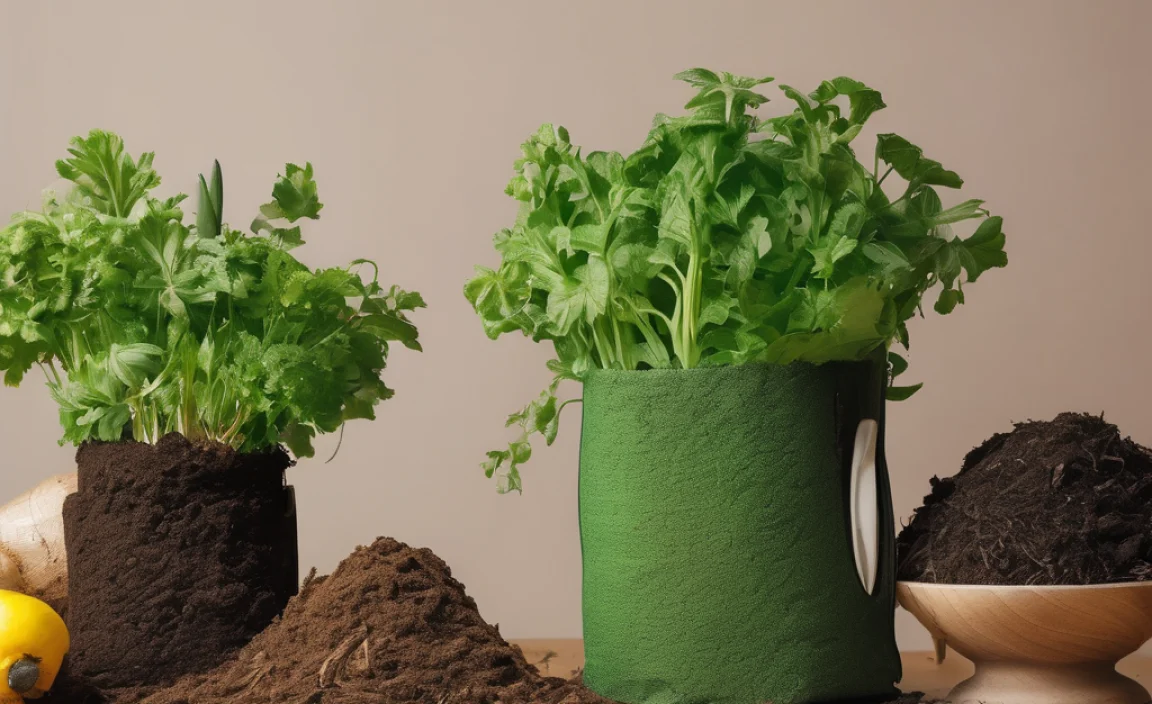
Composting is basically nature’s way of recycling. You take organic materials – think fruit peels, coffee grounds, grass clippings, and leaves – and let them break down into a rich, soil-like material called compost. This stuff is pure gold for your garden! It improves soil structure, helps retain moisture, and gives your plants a nutrient boost, all while reducing landfill waste. It’s a win-win for your garden and the planet.
The main difference between “hot” and “cold” composting comes down to speed and effort. Think of it like baking a cake versus letting it sit out – one is fast and requires attention, the other is slow and requires patience.
Cold Composting: The Chill & Easy Approach
Cold composting, also known as passive composting, is the simplest method out there. You basically just pile your organic materials together and let nature do its thing. It requires very little effort on your part. You don’t need to turn it regularly, control the temperature, or worry too much about the perfect “green-to-brown” ratio. It’s perfect for those who are new to composting, have limited time, or don’t need compost in a hurry.
How Cold Composting Works
In cold composting, microorganisms (like bacteria and fungi) and larger organisms (like worms and insects) slowly break down the organic matter. Because it’s not actively managed to speed up decomposition, it can take anywhere from six months to two years to get finished compost. It’s a set-it-and-forget-it kind of deal.
Cold Composting: The Cost Breakdown
The beauty of cold composting is its affordability. Often, you don’t need to buy a thing! You can simply start a pile in a corner of your yard. However, if you prefer a neater setup or want to contain your compost, here are some options:
- No Bin: Absolutely free! Just designate a spot in your yard for your compost pile.
- DIY Bin: You can build a simple bin using scrap lumber, wire mesh, or even old pallets. This can cost anywhere from $0 (if you have free materials) to $50-$100 for new lumber and hardware.
- Purchased Bin: Basic plastic compost bins can range from $50 to $150. Tumbler bins, which make turning easier, can be more expensive, typically $100-$300. For cold composting, a basic, stationary bin is perfectly fine.
Cost Summary for Cold Composting:
| Setup Option | Estimated Cost | Notes |
|---|---|---|
| No Bin (Open Pile) | $0 | Requires space, can look untidy. |
| DIY Bin (Pallets/Scrap Wood) | $0 – $50 | Depends on material availability. |
| Basic Purchased Bin | $50 – $150 | Offers containment and a tidier look. |
As you can see, the initial investment for cold composting can be minimal, making it incredibly budget-friendly.
Pros of Cold Composting
- Low Effort: Requires very little active management.
- Cost-Effective: Can be done for free or with a minimal upfront cost.
- Simple: No need to monitor temperature or moisture levels closely.
- Handles All Materials: You can throw in tougher materials that might take longer to break down.
Cons of Cold Composting
- Slow Decomposition: Takes a long time to produce finished compost.
- Potential for Pests: If not managed well, open piles can attract unwanted visitors.
- Can Look Untidy: An open pile isn’t always the most aesthetically pleasing.
- Weed Seeds/Pathogens: May not get hot enough to kill all weed seeds or pathogens.
Hot Composting: The Speedy, Active Approach
Hot composting, also known as thermophilic composting, is a much more active process. It aims to create a compost pile that heats up significantly – often to 130-160°F (55-70°C). This high heat speeds up decomposition dramatically, killing weed seeds and pathogens, and can produce finished compost in as little as 4-8 weeks! It requires more attention – turning the pile, managing moisture, and balancing “green” (nitrogen-rich) and “brown” (carbon-rich) materials.
How Hot Composting Works
The high temperatures in hot composting are generated by a specific balance of microorganisms that thrive in warm environments. When you have the right mix of carbon-rich (“browns” like dry leaves, shredded cardboard) and nitrogen-rich (“greens” like grass clippings, food scraps), and sufficient moisture and aeration (oxygen), these microbes go into overdrive. Turning the pile regularly provides oxygen and mixes the materials, maintaining the high temperature and accelerating the breakdown process. For more on the science behind composting, the EPA provides excellent resources on composting fundamentals.
Hot Composting: The Cost Breakdown
While hot composting can be done with just a pile, achieving and maintaining the ideal conditions often benefits from specific equipment or a more structured setup. Here’s what you might consider:
- Basic Bin/Containment: Similar to cold composting, you’ll need a bin to help manage the pile and retain heat. A simple DIY bin ($0-$100) can work, but often, a more enclosed bin or a dedicated compost tumbler makes managing a hot pile easier.
- Compost Thermometer: Essential for monitoring the pile’s internal temperature. These typically cost $15-$30.
- Compost Aerator/Turner: A tool designed to help turn and aerate the pile without excessive physical labor. These can range from $30 to $70.
- Purchased Tumbler Bins: While more expensive initially ($100-$300), tumblers can significantly simplify the turning process needed for hot composting, making it more manageable for beginners.
Cost Summary for Hot Composting:
| Setup Option | Estimated Cost | Notes |
|---|---|---|
| DIY Bin + Tools | $45 – $200 | Includes basic bin materials, thermometer, and aerator. |
| Basic Purchased Composter + Tools | $65 – $180 | A simple stationary bin, thermometer, and aerator. |
| Compost Tumbler + Tools | $120 – $370 | Tumbler for easier turning, plus thermometer/aerator (optional for tumblers). |
The initial cost for hot composting is generally higher due to the need for tools and potentially a more effective containment system.
Pros of Hot Composting
- Fast Decomposition: Produces compost in weeks, not months or years.
- Kills Weeds and Pathogens: High temperatures sterilize the compost.
- Less Odor: When done correctly, a hot pile tends to have less odor than a cold pile.
- More Control: You can influence the speed and quality of the compost.
Cons of Hot Composting
- More Effort: Requires regular turning, moisture monitoring, and balancing materials.
- Higher Initial Cost: May involve purchasing tools or a specialized bin.
- Steeper Learning Curve: More factors to manage for success.
- Requires More Materials: Needs a good balance of greens and browns to get started and maintain heat.
Cold vs. Hot Composting: Direct Cost Comparison
Let’s put the costs side-by-side to make it super clear. The biggest difference for “cost” isn’t just the initial setup, but also the time and potential need for extra materials to manage each process effectively.
Initial Setup Costs:
| Composting Type | Lowest Cost (DIY/No Bin) | Mid-Range Cost (Basic Purchased) | Higher End Cost (Tumbler/Features) |
|---|---|---|---|
| Cold Composting | $0 | $50 – $150 | $100 – $300 (for a large, well-built bin) |
| Hot Composting | $45 (DIY bin + basic tools) | $65 – $180 (Purchased bin + basic tools) | $120 – $370 (Tumbler + basic tools) |
As you can see from the table, cold composting has a significantly lower barrier to entry in terms of cost. You can literally start for free. Hot composting, while still affordable in the grand scheme of gardening, usually requires at least a small investment in tools like a thermometer and an aerator, or a more robust bin.
Ongoing Costs (Typically Minimal for Both):
For both methods, ongoing costs are usually very low. You aren’t buying anything to create compost. The “cost” comes in the form of:
- Water: You’ll need to water your compost pile if it gets too dry. This is usually minimal and can be done with a hose or watering can. Both methods need moisture, but hot composting is more sensitive to drying out.
- Tools/Supplies: If you opt for a tumbler or a more robust bin, these are upfront costs. For tools like thermometers or aerators, these are one-time purchases.
- “Brown” Materials: Sometimes, you might need to purchase nitrogen-rich “green” materials (e.g., manure from a local farm) or carbon-rich “brown” materials (e.g., bags of leaves in the fall if you don’t have enough). This is usually not a significant cost and often can be sourced for free.
In terms of ongoing expenses, neither method is particularly costly. The true “cost” often comes down to your time and effort, which is where the two methods diverge significantly.
What Goes In? Understanding Greens and Browns
Whether you’re composting hot or cold, understanding “greens” and “browns” is key. This is the fuel for your compost pile!
- Greens (Nitrogen-Rich): These materials are usually moist and break down quickly. They provide the nitrogen that microbes need to multiply.
- Fruit and vegetable scraps
- Coffee grounds and tea bags
- Grass clippings
- Plant trimmings (fresh)
- Manure (from herbivores like cows, horses, rabbits)
- Browns (Carbon-Rich): These materials are usually dry and provide the carbon for energy and bulk. They also help with aeration.
- Dry leaves
- Shredded newspaper or cardboard (non-glossy)
- Straw or hay
- Wood chips or sawdust (in moderation)
- Twigs and small branches
A good rule of thumb for a balanced pile is about 2 parts Browns to 1 part Greens by volume, especially for hot composting. For cold composting, the balance is less critical but still helps with decomposition and odor. You can learn more about ideal compost ratios from university extensions, such as NC State Extension’s guide to what to compost.
Choosing Your Compost Bin: DIY vs. Store-Bought
Deciding between building your own bin or buying one often comes down to your budget, available tools, and how much time you want to spend. Both have their pros and cons financially.
DIY Composting Bins
- Cost Savings: The biggest advantage. Using reclaimed wood, old pallets, or wire fencing can make this nearly free.
- Customization: You can build a bin to fit your specific space and needs.
- Time Investment: Requires tools and some basic DIY skills.
- Durability: Can vary greatly depending on materials and construction quality.
Store-Bought Composting Bins
- Convenience: Ready to assemble or use right out of the box.
- Aesthetics: Usually designed to look neater in a yard.
- Specific Features: Options like tumblers are designed for ease of use.
- Cost: Generally more expensive than DIY options.
- Material Limitations: You get what you get; less customization.
For the budget-conscious, a DIY approach for either cold or hot composting is incredibly appealing. For hot composting, a well-built DIY bin needs to be able to hold heat, so consider insulating it or using denser materials.
Is Hot Composting Worth the Extra Cost and Effort for Beginners?
This is the million-dollar question, right? For absolute beginners or those with very little time, cold composting is usually the best place to start. It’s forgiving and won’t frustrate you with complicated steps.
However, if you’re a hands-on person and want to see results faster, and you don’t mind a bit of initial investment and learning, hot composting can be very rewarding. The quicker turnaround means you get usable compost sooner, which can be great for an active garden. Plus, the high temperatures are a nice perk for killing off unwanted seeds.
Think about your priorities:
- Speed: If you need compost fast, hot composting is the way to go.
- Effort: If you want to set-and-forget, cold composting wins.
- Budget: Cold composting is cheaper to start.
- Space: Both can be adapted, but a contained bin is usually better for neatness and managing heat.
- Garden Size: Larger gardens and more food/yard waste will naturally lend themselves to larger compost systems, whether hot or cold.
Often, people start with cold composting to get a feel for it. Then, as they get more involved, they might upgrade to a hot composting system or a tumbler. There’s no single “right” way – just the right way for you right now.
Tips for Getting Started on a Budget
No matter which method you choose, here are some tips to keep your composting costs low:
- Source Materials for Free: Ask neighbors or friends for their dry leaves in the fall, or collect grass clippings from them. Wood chips can often be found for free from local arborists.
- DIY Everything: Build your own bin. Use your own tools.
- Start Small: Don’t feel like you need a giant compost system right away. A small pile or a basic bin is fine for most households.
- Borrow or Buy Used Tools: If you need a pitchfork or shovel for turning, see if you can borrow one or find a good deal at a yard sale or on local selling apps.
- Patience is Free: Cold composting is the ultimate budget-friendly option because it relies entirely on time and natural processes.
Can You Speed Up Cold Composting Without Going Fully Hot?
Yes! While it’s not “hot composting,” a few simple actions can boost the speed of a cold pile without requiring strict temperature management or constant turning:
- Chop Materials Small: Smaller pieces have more surface area for microbes to work on, speeding up decomposition.
- Add Water: Keep the pile consistently moist, like a wrung-out sponge.
- Turn Occasionally: Even one or two turns a month will add oxygen and mix materials, which helps significantly.
-

I am passionate about home engineering. I specialize in designing, installing, and maintaining heating, ventilation, and air conditioning systems. My goal is to help people stay comfortable in their homes all year long.