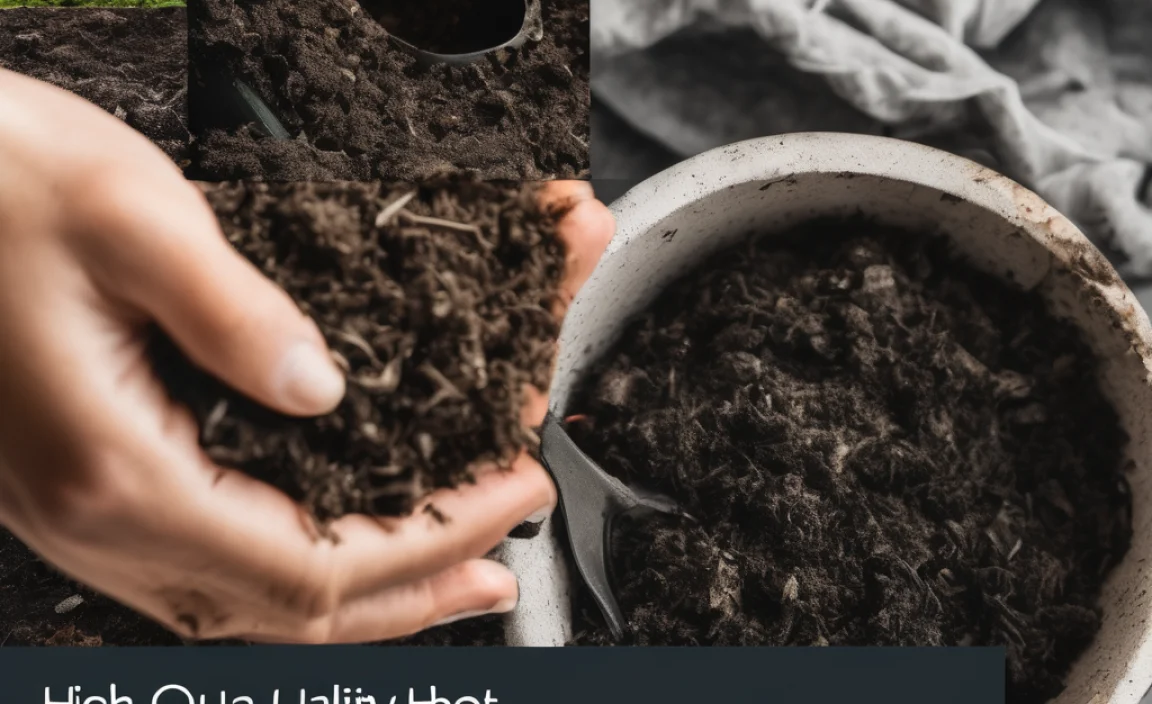
Hey there, composting pals! Ever feel a little lost trying to figure out how to turn your kitchen scraps and yard waste into garden gold? You’re not alone! Many of us jump into composting with the best intentions, but sometimes, our piles don’t quite cooperate. From picky microbes to smelly situations, it’s easy to make a few blunders. But don’t worry! I’m here to help you navigate the common pitfalls of both cold and hot composting. We’ll break down exactly what can go wrong and, more importantly, how to fix it. Get ready to turn those composting woes into garden wins!
Cold Vs Hot Composting Mistakes: Essential Tips
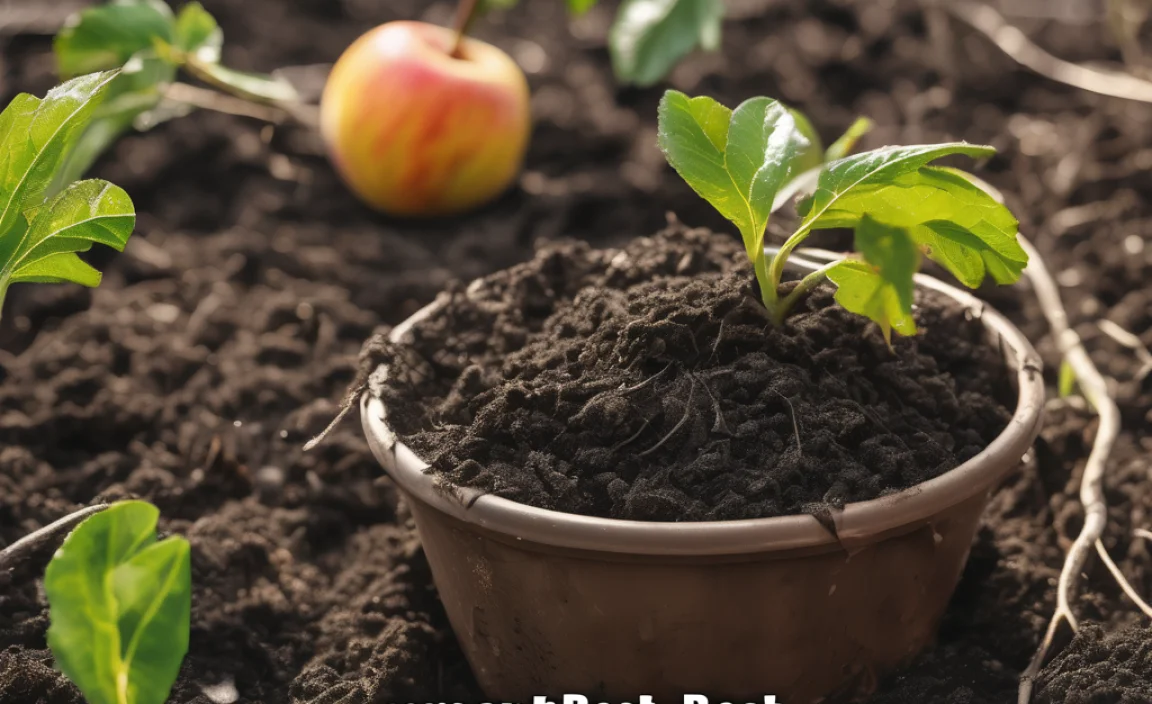
Composting is an amazing way to reduce waste and create nutrient-rich soil for your garden. It’s like nature’s recycling program! But sometimes, even with the best efforts, your compost pile might not live up to expectations. The most common reasons for this are usually tied to how you’re composting – specifically, whether you’re aiming for a “cold” or “hot” compost pile, and what mistakes you might be making along the way. Understanding these differences and avoiding common blunders is key to achieving that perfect, earthy compost.
Let’s break down the two main composting styles and the mistakes beginners often make, so you can get back to making fantastic compost for your plants.
Understanding Cold and Hot Composting

Before we dive into mistakes, let’s get a handle on what cold and hot composting actually are. They’re not about the temperature of your garden shed, but rather the temperature the compost pile reaches as it breaks down.
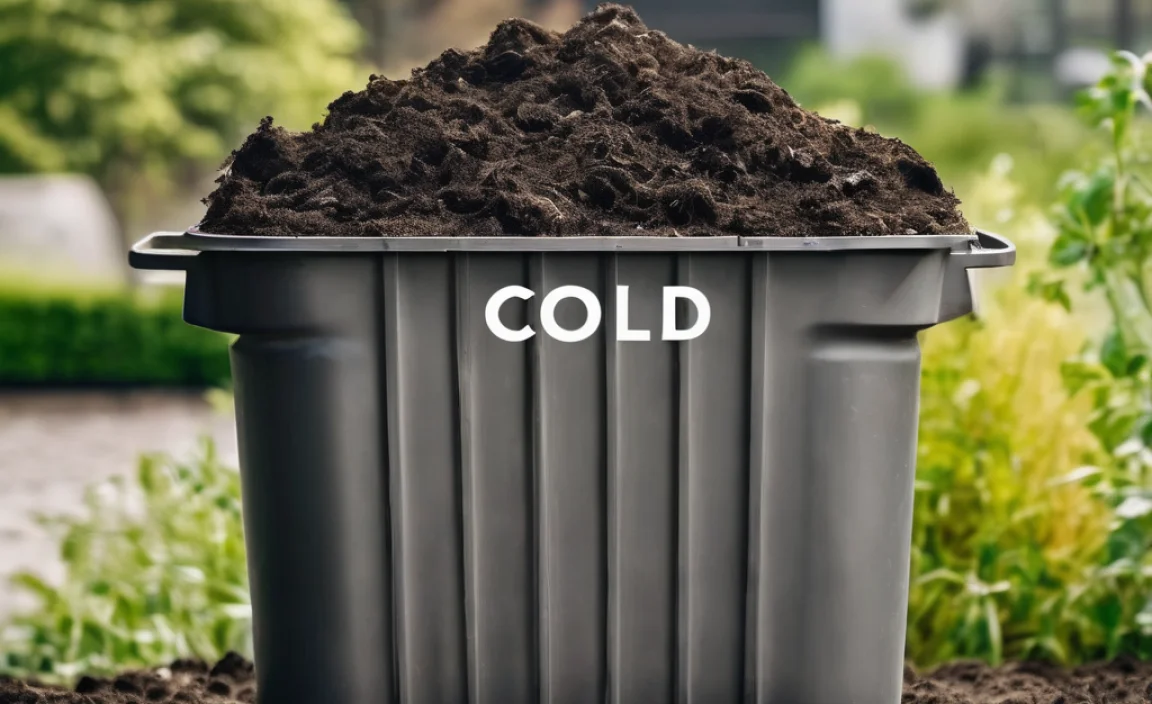
Cold Composting (Passive Composting)
Think of cold composting as the “set it and forget it” method. You simply add your organic materials to a bin or pile, and nature does most of the work, albeit slowly. Microorganisms and decomposers (like worms and fungi) break down the materials at ambient temperatures. This method is super low-effort, but it takes a long time – often 6 months to a year or even longer – and might not kill weed seeds or pathogens.
Hot Composting (Active Composting)
Hot composting is a more involved process. It aims to create an environment where thermophilic (heat-loving) microorganisms thrive. These microbes work quickly, generating high temperatures within the pile (130-160°F or 54-71°C). This heat helps break down materials much faster, typically in 1-3 months, and also kills weed seeds and most common plant diseases. It requires careful balancing of ingredients and regular turning.
Common Cold Composting Mistakes
Cold composting is forgiving, but some common mistakes can still slow things down or prevent your pile from breaking down properly.
Mistake 1: Adding Too Much of One Thing (Imbalanced Greens and Browns)
Even in cold composting, the balance of “greens” (nitrogen-rich materials) and “browns” (carbon-rich materials) matters. If you add too many greens, your pile can become slimy, wet, and smelly. Too many browns, and the decomposition process will be incredibly slow, almost like a science project you forgot about.
- The Fix: Aim for roughly a 2:1 or 3:1 ratio of browns to greens by volume. Think of browns as the dry, bulky stuff that provides air and carbon, and greens as the moist, nutrient-rich stuff that feeds the microbes.
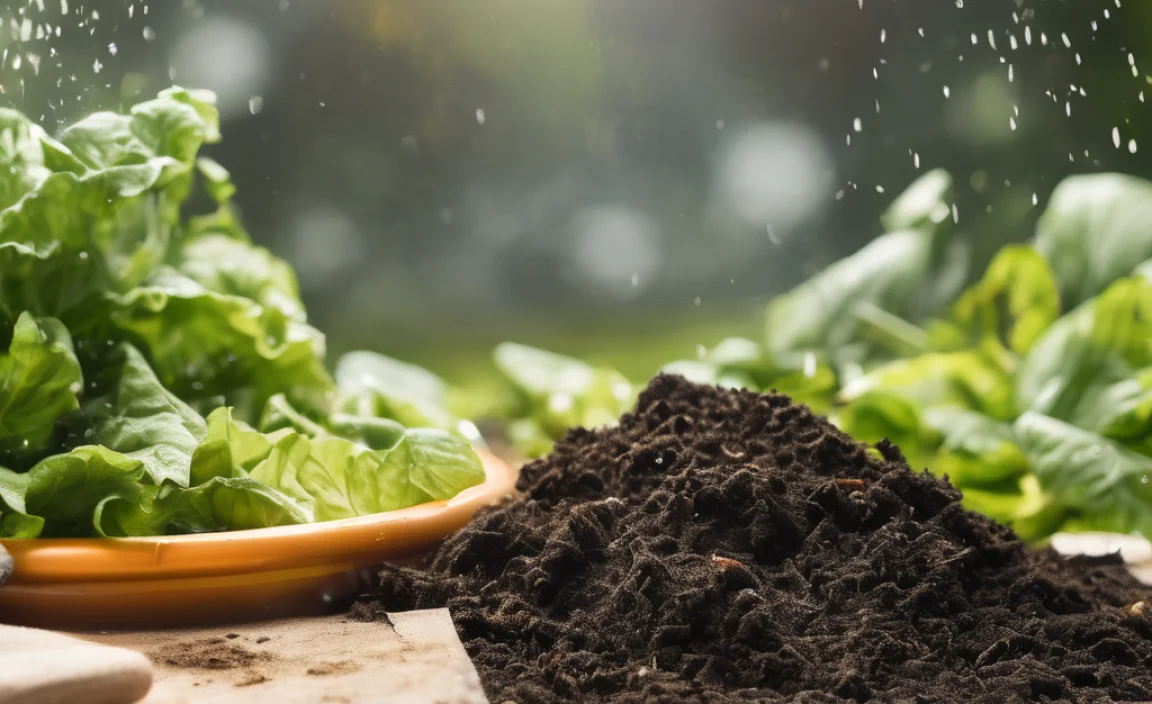
- Greens include: Fruit and vegetable scraps, coffee grounds, tea bags, grass clippings (in thin layers), fresh plant trimmings.
- Browns include: Dry leaves, straw, shredded newspaper and cardboard, twigs, wood chips, sawdust (in moderation).
Mistake 2: Pile Not Getting Enough Moisture (or Too Much)
Microorganisms need moisture to do their work. If your cold compost pile is too dry, decomposition will grind to a halt. On the flip side, a soggy pile can become anaerobic (lacking oxygen) and start to stink.
- The Fix: Your compost pile should feel like a wrung-out sponge – moist, but not dripping.
- If too dry: Water the pile thoroughly, especially when adding new materials. You can cover it with a tarp to help retain moisture.
- If too wet: Add more dry brown materials, like shredded cardboard or dry leaves, and turn the pile to aerate it. Ensure good drainage if using a bin.
Mistake 3: Adding Materials That Resist Decomposition
While cold composting is patient, some materials are just too tough for the slow process to handle effectively without specific treatment.
- What to avoid (or process differently):
- Large, woody branches (chop or shred them first)
- Diseased plants (though cold composting might not kill pathogens anyway)
- Weeds that have gone to seed (they’ll likely sprout when you use the compost)
- Meat, dairy, and oily foods (can attract pests and create odors)
- Pet waste from carnivores (can harbor pathogens)
- Chemically treated yard waste
Mistake 4: Not Aerating Enough (Even in Cold Composting)
Even without active heating, microbes need oxygen. If materials get too compacted, they can become anaerobic, leading to slow decomposition and foul odors.
The Fix: While you don’t need to turn a cold compost pile regularly, occasionally poking holes with a pitchfork or even a quick turn every few months can help introduce air and speed things up a bit.
Common Hot Composting Mistakes
Hot composting is designed to be fast, but it’s also more delicate. Getting it right requires balancing several factors. Here’s where beginners often stumble:
Mistake 1: Incorrect Green-to-Brown Ratio (Too Much of One!)
This is the BIGGEST mistake in hot composting. If you have too many greens, the pile becomes dense, wet, and anaerobic, smelling like a rotten egg. Too many browns, and it won’t heat up at all and will decompose slowly, defeating the purpose of hot composting.
The Fix: The ideal ratio for hot composting is crucial for generating heat. You need a good mix of nitrogen (greens) to fuel the high-activity microbes and carbon (browns) for energy and air pockets. A common guideline is a ratio of about 25-30:1 carbon to nitrogen by weight. In simpler terms, for every 1 part nitrogen, you need 2-3 parts carbon by volume. This often means a lot more browns than you might think!
Visualizing the Balance: Imagine your pile. If it’s mostly kitchen scraps (greens), you need to add a significant amount of dry leaves or shredded cardboard (browns).
Mistake 2: Insufficient Moisture or Irregular Watering
The microbes working in a hot compost pile need a consistently moist environment. If the pile dries out, the microbial activity slows down, and the temperature drops. If it’s too wet, it can lose its air pockets and become anaerobic.
The Fix: Keep the pile as moist as a wrung-out sponge. When you turn the pile, check the moisture level. If it feels dry, add water as you turn. If it’s soggy, add more dry brown materials.
Mistake 3: Poor Aeration (Not Enough Turning or Airflow)
Hot composting relies on aerobic decomposition – microbes that need oxygen. If the pile becomes compacted, air can’t get in, and anaerobic bacteria take over, leading to slow decomposition and unpleasant odors.
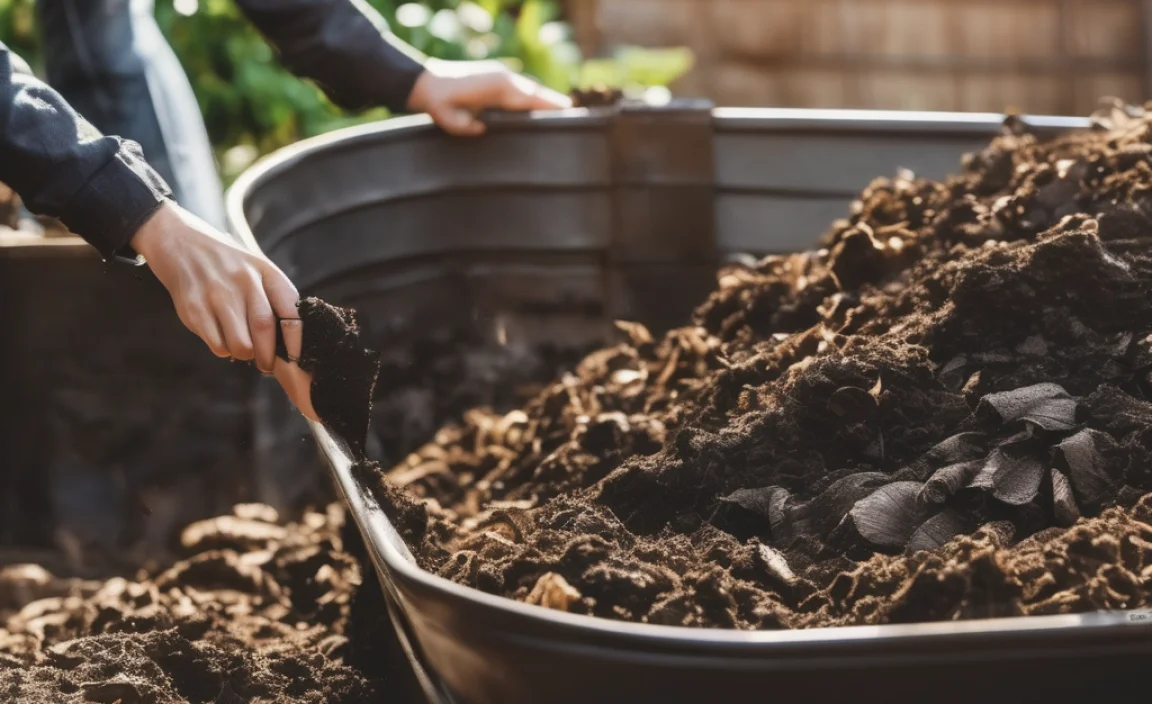
The Fix: Hot compost piles need regular turning – typically every 4-7 days – to introduce oxygen and mix materials. This also helps distribute moisture and heat more evenly throughout the pile, ensuring all materials break down.
Turning Technique: A good pitchfork is your best friend here. Start by turning the outer layers into the hotter center, and the inner material to the outside. This ensures everything gets heated and decomposed.
Mistake 4: Pile is Too Small (Doesn’t Insulate)
For a compost pile to generate and retain enough heat to become “hot,” it needs a minimum volume. A pile that’s too small won’t be able to insulate itself effectively, and ambient temperatures will quickly lower the core temperature.
The Fix: Aim for a compost pile that is at least 3 feet wide, 3 feet deep, and 3 feet high (1 cubic yard or meter). This size provides enough mass to insulate the core and reach and maintain high temperatures.
Quick Check: If your pile is smaller than a large trash can, it’s likely too small to achieve hot composting temperatures effectively.
Mistake 5: Adding Materials That Cool the Pile Down Too Quickly
Some materials, especially when added in large quantities, can lower the pile’s temperature or prevent it from heating up in the first place.
- What to be cautious with:
- Large amounts of fresh grass clippings (they can mat down and become anaerobic) – try layering them thinly with browns.
- Large, dense items like whole logs or thick branches (they don’t break down easily and create voids that lose heat).
- Very wet materials without enough dry browns to balance.
Mistake 6: Trying to Hot Compost with the Wrong Materials
While hot composting is fast, it’s not suitable for animal manure from carnivores (like dog or cat waste) due to pathogen risks. While the high heat can kill pathogens, it’s not foolproof, and it’s safer to avoid these. Also, heavily processed or chemically treated materials are generally not recommended for any composting method.
The Fix: Stick to vegetable garden waste, fruit scraps, coffee grounds, tea leaves, grass clippings, leaves, straw, shredded paper, and brown cardboard for hot composting. Manure from herbivores (like horses, cows, chickens, sheep) is excellent for hot composting if heated properly.
Comparing Cold and Hot Composting: A Snapshot
To help you decide which approach suits you best and to see where mistakes commonly occur, here’s a quick comparison:
| Feature | Cold Composting | Hot Composting |
|---|---|---|
| Effort Level | Low (minimal turning) | Medium to High (regular turning, moisture checks) |
| Speed | Slow (6-12+ months) | Fast (1-3 months) |
| Temperature | Ambient | 130-160°F (54-71°C) |
| Germ Killing | Limited | Effective for weed seeds & pathogens |
| Ideal For | Beginners, busy people, large volumes of yard waste | Gardeners wanting quick compost, seed-free amendments, sanitizing |
| Common Mistakes | Imbalance of greens/browns, moisture issues, slow decomposition of tough items | Ratio errors, lack of aeration, insufficient moisture, pile too small, wrong materials |
Essential Tools and Supplies
You don’t need a ton of fancy gear, but a few items can make your composting journey much smoother, whether you’re going cold or hot.
- Compost Bin or Pile Area: This can be a simple heap on the ground, a store-bought tumbler or bin, or a DIY structure made from pallets. For hot composting, open, aerated bins or distinct piles are often best.
- “Greens” & “Browns”: Your main ingredients! Start collecting kitchen scraps and gathering dry leaves, shredded paper, etc.
- Pitchfork or Shovel: Essential for turning the pile, especially for hot composting. A sturdy pitchfork is great for aerating and mixing.
- Water Source: A hose with a spray nozzle or a watering can is crucial for maintaining moisture.
- Thermometer (Optional but Recommended for Hot Composting): A compost thermometer is invaluable for knowing if your hot compost pile is reaching the ideal temperatures for effective decomposition and sanitization. Check out resources like the EPA’s composting page for more general composting info.
- Shredder/Chipper (Optional): For hot composting, breaking down larger materials into smaller pieces helps them decompose faster.
Putting It All Together: Your Step-by-Step Fix-It Guide
Let’s say your compost isn’t working. Here’s a practical checklist to diagnose and fix the issue:
Step 1: Assess Your Pile’s Behavior
What are you noticing? Is it:
- Smelly (like rotten eggs or ammonia)? Likely too wet, too many greens, lack of air.
- Not breaking down at all, or very slowly? Too dry, not enough nitrogen (greens), pile too small (for hot composting), or you’re adding materials that are too tough.
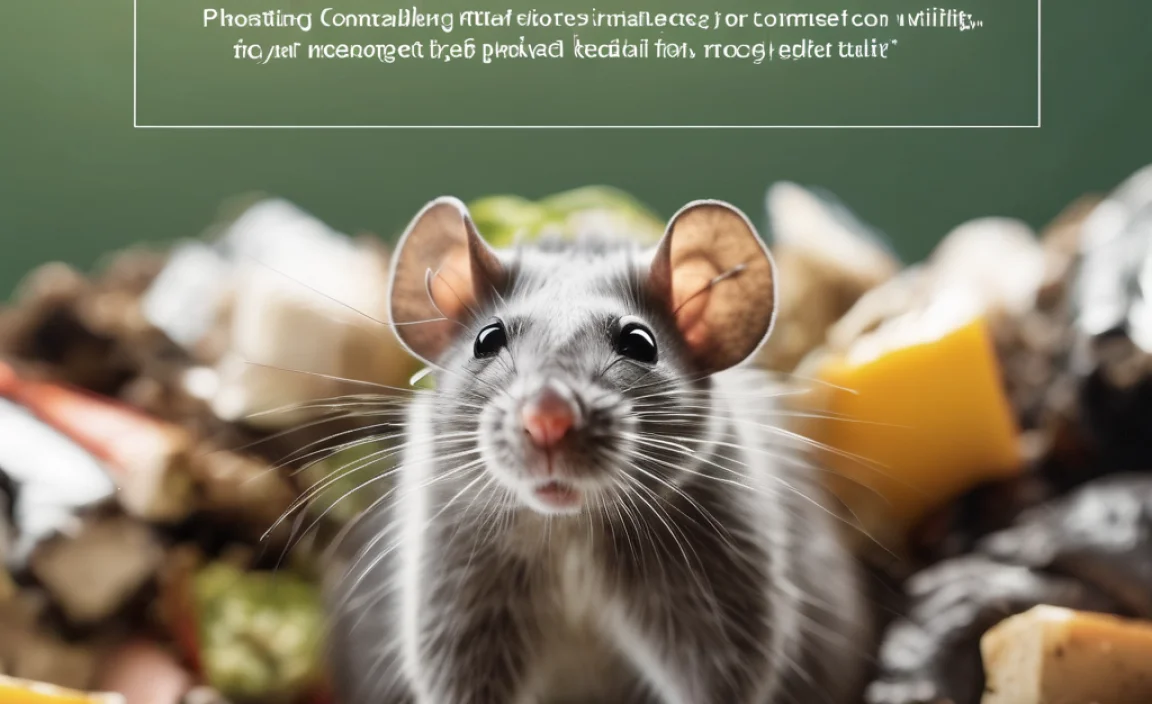
- Attracting pests (flies, rodents)? Probably adding meat/dairy/oily foods, or the pile is too accessible.
- Just… sitting there? Could be a combination of dryness or lack of “activators” (like kitchen scraps or manure).
Step 2: Check the Balance of Greens and Browns
This is your first stop for almost any composting problem.
- Open up your pile. Does it look uniformly dark and moist (good)? Or is it compacted, slimy, and dark (too wet/too green)? Or bone dry and fluffy (too dry/too brown)?
- If it’s slimy/smelly: Dig in and add a generous amount of shredded cardboard, dry leaves, or straw. Mix it in thoroughly.
- If it’s dry/slow: Add some fresh kitchen scraps (greens) and moisten the entire pile as you mix.
- For hot composting: If it’s not heating up, you likely need more greens, or your pile is too small. If it’s too wet and smelly, add browns and turn it.
Step 3: Manage Moisture Levels
Moisture is key to microbial activity.
- Too Dry: Water thoroughly. Don’t just spray the surface; get water into the core of the pile.
- Too Wet: Add dry brown materials and turn. Ensure your bin has drainage holes. If it’s an open pile, turning will help it dry out.
Step 4: Provide Aeration
Oxygen is non-negotiable for healthy decomposition.
- For Cold Composting: Poke holes with a pitchfork every month or so.
- For Hot Composting: Turn the entire pile every 4-7 days. Move outer material to the center and vice-versa.
Step 5: Consider the Temperature (Especially for Hot Composting)
If you’re aiming for hot compost and it’s not heating up:
- Make sure your pile is at least 3x3x3 feet.
- Add more nitrogen-rich “greens” (like fresh grass clippings or coffee grounds).
- Ensure it’s moist but not waterlogged.
- Turn it to mix and aerate.
If you have a compost thermometer, and it’s not reaching 130°F (54°C):
- Too Low: Probably needs more greens or moisture, or the pile is too small.
- Too High (over 160°F / 71°C): This can kill beneficial microbes. Turn the pile, add some cooler brown material, or add a bit of water if it’s dry.
- You can find great guides on compost thermometer use from university extension offices, like for example, the University of New Hampshire Extension.
Step 6: Be Patient and Persistent
Composting is a natural process. Sometimes things just take a little time. Keep observing your pile, make adjustments as needed, and you’ll get there!
What NOT to Compost
Regardless of whether you’re doing cold or hot composting, some things are best left out of the bin to avoid problems with pests, odors, or pathogens.
- Meat, Fish, and Bones: Attract pests and can smell bad.
- Dairy Products: Similar issues to meat.
- Oily or Greasy Foods: Slow decomposition, attract pests, and can create anaerobic conditions.
- Diseased Plants:
.lwrp.link-whisper-related-posts{
margin-top: 40px;
margin-bottom: 30px;
}
.lwrp .lwrp-title{}.lwrp .lwrp-description{
}
.lwrp .lwrp-list-container{
}
.lwrp .lwrp-list-multi-container{
display: flex;
}
.lwrp .lwrp-list-double{
width: 48%;
}
.lwrp .lwrp-list-triple{
width: 32%;
}
.lwrp .lwrp-list-row-container{
display: flex;
justify-content: space-between;
}
.lwrp .lwrp-list-row-container .lwrp-list-item{
width: calc(25% – 20px);
}
.lwrp .lwrp-list-item:not(.lwrp-no-posts-message-item){max-width: 150px;
}
.lwrp .lwrp-list-item img{
max-width: 100%;
height: auto;
object-fit: cover;
aspect-ratio: 1 / 1;
}
.lwrp .lwrp-list-item.lwrp-empty-list-item{
background: initial !important;
}
.lwrp .lwrp-list-item .lwrp-list-link .lwrp-list-link-title-text,
.lwrp .lwrp-list-item .lwrp-list-no-posts-message{}@media screen and (max-width: 480px) {
.lwrp.link-whisper-related-posts{}
.lwrp .lwrp-title{}.lwrp .lwrp-description{
}
.lwrp .lwrp-list-multi-container{
flex-direction: column;
}
.lwrp .lwrp-list-multi-container ul.lwrp-list{
margin-top: 0px;
margin-bottom: 0px;
padding-top: 0px;
padding-bottom: 0px;
}
.lwrp .lwrp-list-double,
.lwrp .lwrp-list-triple{
width: 100%;
}
.lwrp .lwrp-list-row-container{
justify-content: initial;
flex-direction: column;
}
.lwrp .lwrp-list-row-container .lwrp-list-item{
width: 100%;
}
.lwrp .lwrp-list-item:not(.lwrp-no-posts-message-item){max-width: initial;
}
.lwrp .lwrp-list-item .lwrp-list-link .lwrp-list-link-title-text,
.lwrp .lwrp-list-item .lwrp-list-no-posts-message{};
}

I am passionate about home engineering. I specialize in designing, installing, and maintaining heating, ventilation, and air conditioning systems. My goal is to help people stay comfortable in their homes all year long.