Ever stare at your kitchen scraps and wonder if there’s a better way than the trash bin? Composting is the answer! But sometimes, wading through all the information can feel a bit much. You might have heard about “cold” and “hot” composting and felt a little confused. Don’t worry, I’m here to break it all down for you. We’ll make sense of it together, step-by-step, so you can start creating amazing compost for your garden in no time.
Why Bother Composting? It’s Like Magic for Your Garden!
Composting is essentially nature’s way of recycling. Instead of throwing away fruit peels, coffee grounds, and yard waste, you’re turning them into a rich, dark, crumbly material that plants absolutely love. Think of it as superfood for your soil! Using compost improves soil structure, helps it hold onto water better (which means less watering for you!), and provides essential nutrients that make your veggies, flowers, and lawn thrive. Plus, it’s a fantastic way to reduce what goes into landfills. Pretty neat, right?
The Big Question: Cold Composting vs. Hot Composting
The main difference between cold and hot composting comes down to speed and temperature. It’s like the difference between a slow simmer and a rolling boil. Both methods achieve the same goal – breaking down organic materials – but they get there in very different ways.
Cold Composting: The “Set It and Forget It” Approach
Cold composting, sometimes called passive composting, is the low-effort, no-fuss method. You simply pile your organic materials together and let nature take its course. It’s super simple to start, and you don’t need to do much. This method is great if you’re not in a rush and prefer a hands-off approach.
How it Works (The Simple Version):
Microorganisms, like bacteria and fungi, are already present in your compostable materials and the environment. They will slowly break down the waste. Earthworms, insects, and other critters also play a big role. They munch their way through the pile, helping to decompose it. Because there’s no active management to increase the temperature, this process takes longer.
What You’ll Need for Cold Composting:
- A designated spot for your compost pile or bin.
- A mix of “greens” (nitrogen-rich) and “browns” (carbon-rich) materials.
- Patience!
Pros of Cold Composting:
- Extremely easy to start.
- Requires minimal effort and attention.
- Less likely to attract pests if managed reasonably well (e.g., avoiding meat and dairy).
- No need to constantly monitor temperature or moisture.
Cons of Cold Composting:
- Very slow process – can take 6 months to 2 years to get finished compost.
- May not kill weed seeds or pathogens as effectively due to lower temperatures.
- The pile can sometimes become dense and anaerobic (lacking oxygen), leading to unpleasant odors.
Hot Composting: The Speedy, High-Energy Method
Hot composting is all about accelerating the decomposition process. It involves carefully managing your compost ingredients and the conditions within the pile to create a high-temperature environment. This intense heat helps break down materials much faster and also kills off weed seeds and harmful pathogens.
How it Works (The Active Approach):
Hot composting relies on creating the perfect environment for a specific type of thermophilic (heat-loving) bacteria. These microbes work incredibly fast when conditions are just right. To achieve this, you need a good mix of “greens” and “browns,” proper aeration (air flow), and adequate moisture. Turning the pile regularly is key to providing oxygen, which keeps the bacteria working efficiently and heats the pile up.
What You’ll Need for Hot Composting:
- A compost bin or structure that can hold a substantial pile (at least 3x3x3 feet is ideal for generating heat).
- A precise balance of “greens” and “browns.”
- A way to monitor moisture (your compost should feel like a wrung-out sponge).
- A pitchfork or compost aerator for turning.
- A compost thermometer (optional, but helpful for beginners).
- Commitment to regular turning and management.
Pros of Hot Composting:
- Much faster decomposition – finished compost in 1 to 3 months.
- High temperatures kill weed seeds and most plant diseases/pathogens.
- Produces a higher quality, more uniform compost.
- Reduces odors as the microbial activity is very active and aerobically balanced.
Cons of Hot Composting:
- Requires more knowledge and effort to manage.
- Needs regular turning and monitoring of moisture and temperature.
- Can potentially attract pests if the right balance isn’t maintained or if inappropriate materials are added.
- Requires a larger volume of materials to get started and generate sufficient heat.
The Key Ingredients: Greens and Browns
No matter which method you choose, the success of your compost pile relies on a good balance of two types of materials: “greens” and “browns.” Think of them as the fuel for your compost fire.
Greens (Nitrogen-Rich): The Energizers
Greens are wet, nitrogen-rich materials that provide the energy for the microorganisms to multiply and generate heat. They tend to be fresh and decompose quickly.
Examples of Greens:
- Fruit and vegetable scraps
- Coffee grounds and tea bags
- Grass clippings (in thin layers to avoid matting)
- Plant trimmings (non-diseased)
- Manure from herbivores (like chickens, rabbits, cows, horses – but avoid pet waste)
Browns (Carbon-Rich): The Structure and Airflow Makers
Browns are carbon-rich, dry materials that provide the structure and carbon food source for the microbes. They also help with airflow within the pile, preventing it from becoming too dense and smelly.
Examples of Browns:
- Dry leaves
- Straw or hay
- Shredded newspaper or cardboard (avoid glossy paper and colored inks where possible)
- Twigs and small branches (chopped or shredded)
- Sawdust or wood chips (use in moderation as they break down slowly)
- Paper towel and toilet paper rolls
The Ideal Ratio: Getting it Right
For successful composting, you want a good balance between greens and browns. The general rule of thumb is a ratio of about 2 parts browns to 1 part greens by volume. This often translates to a lot more bulky browns than greens. If your pile is too green-heavy, it can become slimy and smelly. Too brown-heavy, and it will break down very slowly.
What NOT to Compost:
To keep your compost healthy and avoid attracting pests or spreading disease, there are some things you should steer clear of:
- Meat, fish, and bones (attract pests, can smell bad)
- Dairy products (similar to meat)
- Oily or greasy foods
- Diseased plants
- Weeds that have gone to seed (unless you are confident in hot composting temperatures)
- Pet waste (from dogs or cats – can contain harmful pathogens)
- Treated wood or coal ash
- Perennial weeds like bindweed or dandelion roots that can regrow
Step-by-Step: How to Start Composting (A Practical Guide)
Whether you go cold or hot, the initial setup is similar. The main difference will be in how actively you manage the pile afterward.
Step 1: Choose Your Location & Composting System
Pick a spot that is convenient for you to access but also suitable for composting. It should be relatively level, have decent drainage, and be at least partially shaded to prevent the pile from drying out too quickly in the sun. You have a few options for your composting system:
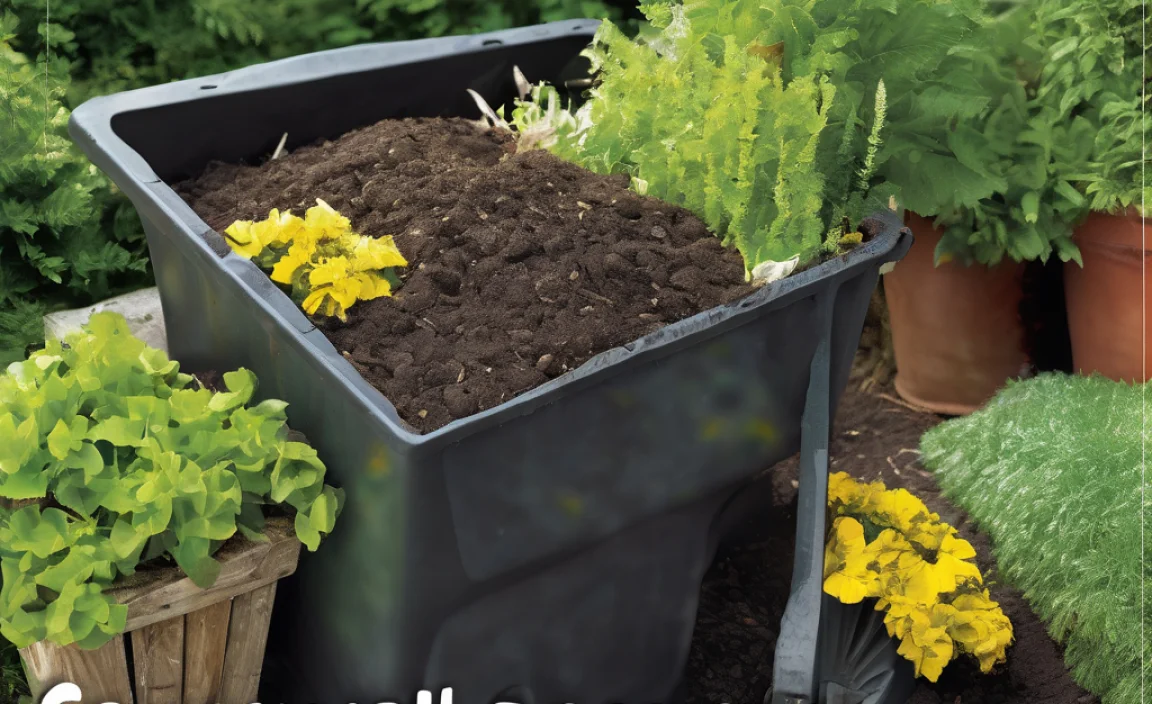
Compost Bins:
- Open Piles: Simple, just a heap of materials. Best for larger spaces and where appearance isn’t a concern. Requires more effort to contain.
- Enclosed Bins: These can be made from wood, plastic, or wire mesh. They help contain the materials and can look tidier. Tumbler bins are great for ease of turning.
- Worm Composting (Vermicomposting): A special type, great for smaller spaces like apartments, using red wiggler worms. It’s a form of cold composting.
For beginners, a simple enclosed bin (DIY or purchased) is often a good starting point. For hot composting, you’ll want a bin that’s at least 3 feet by 3 feet by 3 feet to effectively build and retain heat.
Step 2: Start Layering Your Materials
Begin by creating a base layer of coarser brown materials like twigs or straw. This helps with airflow from the bottom. Then, start alternating layers of greens and browns. A good starting point ratio is about 2-3 inches of browns for every 1-2 inches of greens. Chop or shred larger items to speed up decomposition.
Step 3: Maintain Moisture Levels
Your compost pile should be as moist as a well-wrung-out sponge. If it’s too dry, decomposition will slow down. If it’s too wet, it can become anaerobic and smelly. Water the layers as you add them, especially the dry brown materials. If your pile gets too wet from excessive rain, add more browns and turn it.
Step 4: Provide Aeration (This is Where the Methods Diverge Significantly)
For Cold Composting: You don’t need to do much here. The natural breakdown and occasional rain will provide some aeration. If you notice compaction or odor, you can give it a turn with a pitchfork every few months.
For Hot Composting: This is crucial! You need to turn your pile regularly to introduce oxygen. Aim to turn it every 1-2 weeks. When you turn, move the outer materials to the center and vice-versa. If you’re using a compost thermometer, aim to turn the pile when the internal temperature starts to drop from its peak (ideally between 130-160°F or 55-70°C). Turning also helps mix materials and ensure even decomposition.
Step 5: Be Patient and Observe
Cold Composting Patience:
Just let it sit. You can add new materials as you generate them. The compost at the bottom will break down first. You can start a second pile if you have a lot of material, so one pile can finish while the other is being filled.
Hot Composting Observation:
Watch for that temperature spike followed by a drop, which indicates it’s time to turn. You’ll see the materials visibly breaking down faster. You might feel the heat when you turn it. Avoid adding large amounts of new material to an active hot pile as it can cool it down. Instead, start a new pile once the first is full for hot composting.
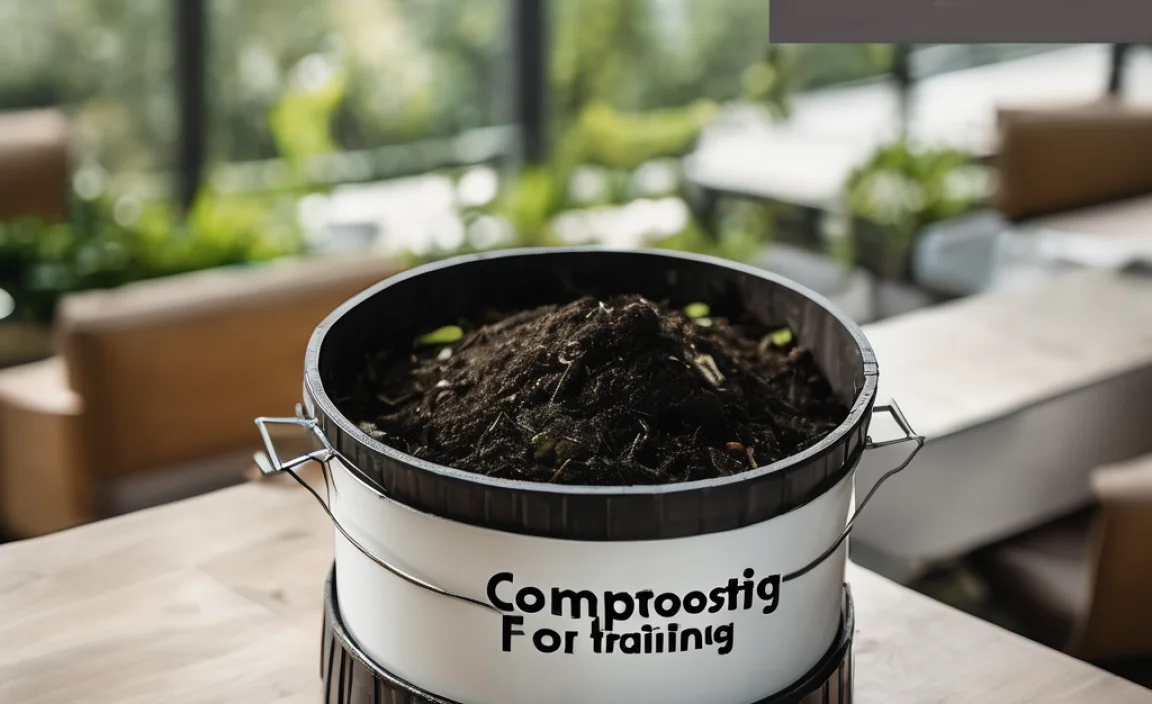
Step 6: Harvesting Your Finished Compost
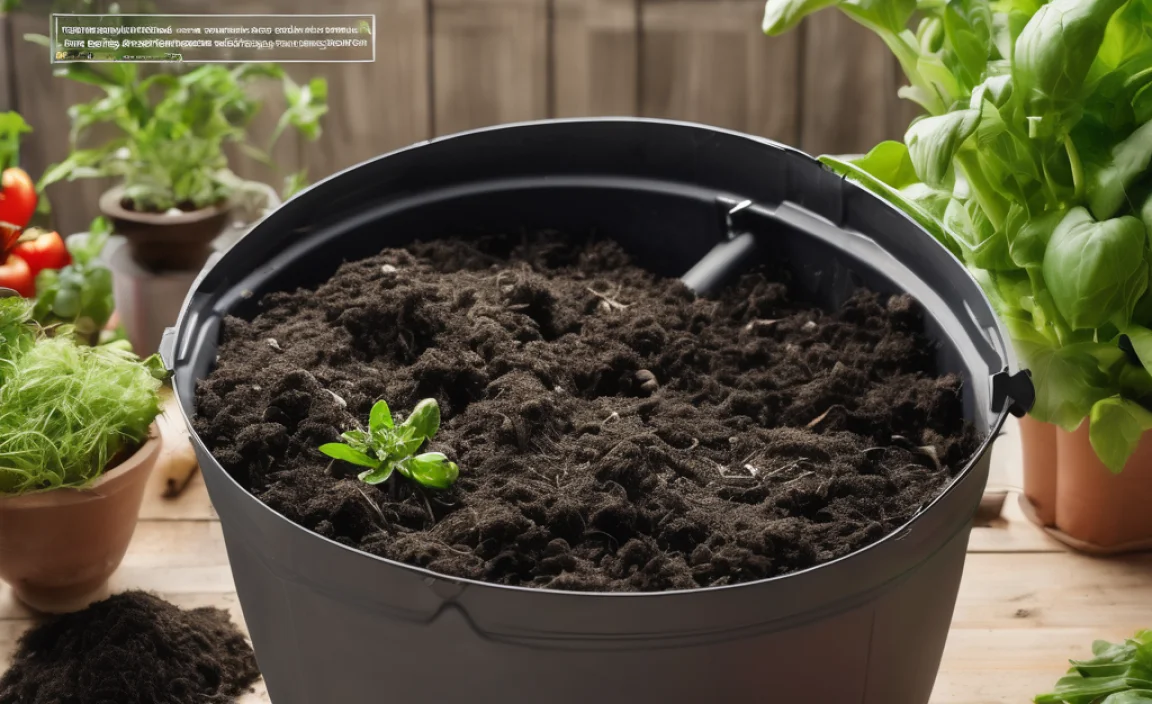
Finished compost is dark, crumbly, and smells earthy, like a forest floor. You shouldn’t be able to recognize the original materials. You can sift your compost to remove any larger, unfinished pieces (which can go back into a new pile).

I am passionate about home engineering. I specialize in designing, installing, and maintaining heating, ventilation, and air conditioning systems. My goal is to help people stay comfortable in their homes all year long.