Hey there! Ever feel like your compost pile is taking forever to break down? You’re not alone! It can be frustrating to wait weeks, even months, for that nutrient-rich soil builder. But what if I told you there’s a way to speed things up without a lot of fuss? We’re going to dive into compost accelerators. I’ll show you exactly what they are, how to use them, and the easy steps to get your compost cooking faster. Let’s turn that kitchen scrap mountain into garden gold, pronto!
Compost Accelerator: How To Speed Up Your Pile the Easy Way
We all love the idea of composting. It’s fantastic for the planet, reduces waste, and gives your garden the best-ever food. But let’s be honest, sometimes that compost pile feels like it’s moving at a snail’s pace. You toss in your fruit peels, coffee grounds, and grass clippings, and then… you wait. And wait. If you’re like me, impatient for that lovely, dark humus for your plants, a compost accelerator might be your new best friend.
Think of a compost accelerator as a turbo boost for your compost bin. It’s not magic, but it’s pretty close. These helpers give the hardworking microbes that break down your organic waste a little nudge, getting them to work faster and more efficiently. So, what exactly are these amazing little helpers, and how do you use them? Don’t worry, it’s simpler than you think. We’re going to break it all down, step-by-step. You’ll be turning your scraps into black gold in no time!
What Exactly is a Compost Accelerator?
At its core, a compost accelerator is something that helps speed up the natural decomposition process in your compost pile. Microorganisms like bacteria and fungi are the real MVPs of composting. They munch away on your organic materials, breaking them down into nutrient-rich compost. Accelerators essentially give these microbes a helpful boost.
These boosts can come in various forms:
- Microbial Additives: These are products teeming with beneficial bacteria and fungi specifically selected for their composting prowess. They introduce a massive population of these decomposers right from the start, giving your pile a running head start.
- Nutrient Boosters: Some accelerators are designed to provide the right balance of nutrients (like nitrogen) that the microbes need to reproduce and work diligently. Think of it as giving your microscopic composting crew a perfectly balanced lunch.
- pH Balancers: The ideal pH level can significantly impact how well microbes thrive. Certain accelerators can help maintain the sweet spot for optimal decomposition.
- Enzyme-Based Products: Enzymes are biological catalysts that speed up chemical reactions. In composting, they help break down tougher materials more quickly, making them easier for microbes to digest.
The goal of any compost accelerator is simple: to get your compost pile from a collection of scraps to finished compost much faster than it would happen naturally. This means less waiting and more usable compost for your garden when you need it.
Why Bother with a Compost Accelerator?
You might be wondering, “Why not just let nature take its course?” And that’s a totally valid question! Natural composting works, and it’s free. However, compost accelerators offer several juicy benefits, especially for us home composters who want results pronto without a lot of extra effort:
- Speed: This is the big one! Accelerators can cut down your composting time significantly, sometimes by weeks or even months. This means you get that wonderful finished compost ready for your flower beds or vegetable patch much sooner.
- Efficiency: They help ensure that the decomposition process is thorough. This means you get more compost from the same amount of material, and it’s generally a higher quality, more consistent product.
- Reduced Odor: A well-functioning compost pile, especially one helped by an accelerator, tends to produce less unpleasant smell. Why? Because the microbes are working efficiently to break down materials, rather than letting them sit and rot anaerobically (without air).
- Lower Temperatures: Some accelerators help the hot composting process kick off and sustain itself. Hot composting is incredibly effective at breaking down materials quickly and also helps kill off weed seeds and pathogens.
- Easier for Beginners: If you’re new to composting, managing the “greens” and “browns” balance can feel like a science experiment. An accelerator can be a forgiving option, helping your pile along if your ratios aren’t perfectly dialed in yet.
It’s like giving your composting efforts a little push to help you achieve that gardening goal faster. For busy folks or those eager to see results, the investment in an accelerator can pay off big time.
Types of Compost Accelerators: What to Look For
When you head out to find a compost accelerator, you’ll see a few different types. Knowing what you’re looking at helps you pick the best one for your needs. Here’s a quick rundown:
Commercial Compost Accelerators
These are the most readily available options. You can find them at garden centers, hardware stores, and online retailers. They come in easy-to-use forms, usually powders, liquids, or granules.
- Pros: Very convenient, often contain a balanced mix of beneficial microbes and nutrients, instructions are usually clear.
- Cons: Can be a bit pricey, some might contain fillers.
What to look for: Check the ingredient list. You want to see specific strains of beneficial bacteria and enzymes. Reputable brands often list these. For example, look for terms like “microbial inoculant” or “enzyme activators.”
DIY Compost Accelerators
For the budget-conscious or the DIY enthusiast, there are ways to make your own accelerators:
- Compost Tea: This isn’t exactly an accelerator you add to the pile directly, but rather a liquid fertilizer you can brew. However, a well-brewed compost tea, rich in beneficial microbes, can help inoculate your new compost pile. You can steep finished compost in water (aerated or not, depending on your method) and then use that “tea” to water your compost pile.
- Manure/Finished Compost: A shovel full of aged manure or finished compost is essentially a powerhouse of live microbes. Adding a bit to a new or struggling compost pile is a fantastic natural accelerator. Make sure the manure is well-aged to avoid burning your plants or introducing weed seeds.
- Urine: Yes, you read that right! Human or animal urine is rich in nitrogen, which is a key nutrient for the microbes in your compost pile. Diluting it with water (around 10:1 water to urine) and adding it can boost the nitrogen content and speed up decomposition. It sounds odd, but it’s a tried-and-true method for adding nitrogen effectively.
- Grass Clippings (Fresh): Fresh grass clippings are high in nitrogen. Layering them in thin amounts within your compost pile can provide food for the microbes and help heat it up. Don’t pile them on too thick, or they can become a matted, slimy mess that hinders airflow.
Why these work: They all introduce essential elements that composting microbes need: moisture, nitrogen, or a ready supply of their own kind. The key is to add them appropriately so they help, not hinder, the process.
Beneficial Additives That Aren’t Strictly Accelerators (But Help!)
Sometimes, materials you add to your pile naturally help the process along:
- Coffee Grounds: Rich in nitrogen and good for microbial life.
- Yeasts: A small amount of active dry yeast dissolved in water can introduce more microbes.
- Molasses: Often used in DIY compost teas, molasses provides sugars that feed microorganisms.
The best choice for you will depend on your budget, how much effort you want to put in, and what you have readily available. For most beginners looking for a guaranteed speed-up, a good quality commercial accelerator is often the easiest path.
How to Use a Compost Accelerator: A Step-by-Step Guide
Using a compost accelerator is designed to be straightforward. Here’s a typical process, whether you’re using a store-bought product or a natural additive:
Step 1: Assess Your Compost Pile
Before adding anything, take a look at your pile. Is it too dry? Too wet? Does it smell foul? Is it just sitting there looking… sad? Understanding its current state helps you know if an accelerator is the right solution and how best to apply it. For instance, if your pile is bone dry, you’ll want to add some moisture along with your accelerator.
Step 2: Choose Your Accelerator
Based on the previous section, decide which type of accelerator is best for you. For this guide, we’ll primarily focus on using a common commercial granular or powder accelerator, as it’s the most common type for a quick boost.
Step 3: Prepare the Accelerator (If Necessary)
- Commercial Granular/Powder: Some products recommend mixing them with a few gallons of water before spreading. Others can be sprinkled directly. Always read the product label! This is the most important step to ensure you’re using it correctly.
- Liquid Accelerators: These are typically ready to use, but you might need to dilute them with water as per the instructions.
- DIY (e.g., Manure/Compost): Ensure it’s well-aged. You can simply grab a shovel full.
- DIY (e.g., Urine): Mix thoroughly with water at the recommended ratio.
Step 4: Apply the Accelerator
This is where you actually introduce the magic. The key is to distribute the accelerator as evenly as possible throughout the compostable material.
- For Commercial Products: If you mixed it with water, use a watering can to distribute the liquid evenly over the surface of your compost pile. Try to get it into the layers rather than just the very top. If it’s a dry product that can be sprinkled, scatter it over the surface and then gently mix it in.
- For “Live” Additives (Manure/Compost): Sprinkle a layer of your aged manure or finished compost over a section of your pile. Then, as you add new kitchen scraps or garden waste, mix this layer in a bit. You can also add a shovel full to the bottom and middle layers as you build your pile.
- For Liquid DIY (Urine/Molasses Tea): Use a watering can or sprayer to apply the diluted mixture over the compost.
Tip for even distribution: If possible, gently turn or fluff up the top few inches of your compost pile before applying the accelerator. This helps it penetrate better.
Step 5: Incorporate New Materials & Maintain
After applying the accelerator, continue adding your kitchen scraps and yard waste as usual. Make sure to layer your “greens” (like fruit peels, coffee grounds, grass clippings) and “browns” (like dry leaves, shredded cardboard, straw). The accelerator will give the microbes a boost to handle whatever you throw in.
The ideal way to use an accelerator is to add it when you first start a new compost pile, or when you add a significant amount of new material to an existing pile. You can reapply it every few weeks if your pile seems sluggish.
Step 6: Monitor Your Pile
Keep an eye (and nose!) on your compost. With an accelerator, you should notice:
- Increased Temperature: The center of the pile should feel warmer to the touch. This indicates microbial activity is high.
- Faster Breakdown: Materials will visibly start to break down and shrink in volume more quickly.
- Reduced Odors: A healthy, active pile shouldn’t smell bad.
If your pile isn’t heating up or seems slow, don’t be afraid to give it another boost or check its moisture and aeration. Remember, accelerators help, but proper composting technique (balance of greens/browns and aeration) is still key!
Achieving the Best Compost: Beyond the Accelerator
While a compost accelerator is a fantastic tool, it works best when it’s part of a well-managed composting system. Think of it as a helpful assistant, not the entire solution. Here are a few other things to keep in mind for super-charged composting:
The Green/Brown Balance
This is the golden rule. You need a good mix of nitrogen-rich “greens” and carbon-rich “browns.”
| Greens (Nitrogen-Rich) | Browns (Carbon-Rich) |
|---|---|
| Fruit and vegetable scraps | Dry leaves |
| Coffee grounds and tea bags | Shredded newspaper or plain cardboard |
| Grass clippings (in thin layers) | Straw or hay |
| Plant trimmings (non-woody) | Wood chips or sawdust (small amounts) |
| Eggshells | Paper towels (unsoiled) |
A good starting ratio is roughly 2 parts Browns to 1 part Greens by volume. Too many greens can make the pile slimy and smelly; too many browns will slow decomposition.
Moisture is Key
Your compost pile should be as damp as a wrung-out sponge. Not dripping wet, not bone dry. If it’s too dry, the microbes can’t thrive. If it’s too wet, it can become anaerobic and smelly. You might need to add water if it’s dry, or add more browns if it’s too wet.
Airflow is Essential
Composting microbes need oxygen to do their work efficiently. This is called aerobic composting. If your pile is compacted or lacks air, it can become anaerobic and produce unpleasant odors. Regularly turning or “fluffing” your compost pile with a fork or aerator is crucial. Aim to turn it every 1-4 weeks, depending on how quickly you want compost.
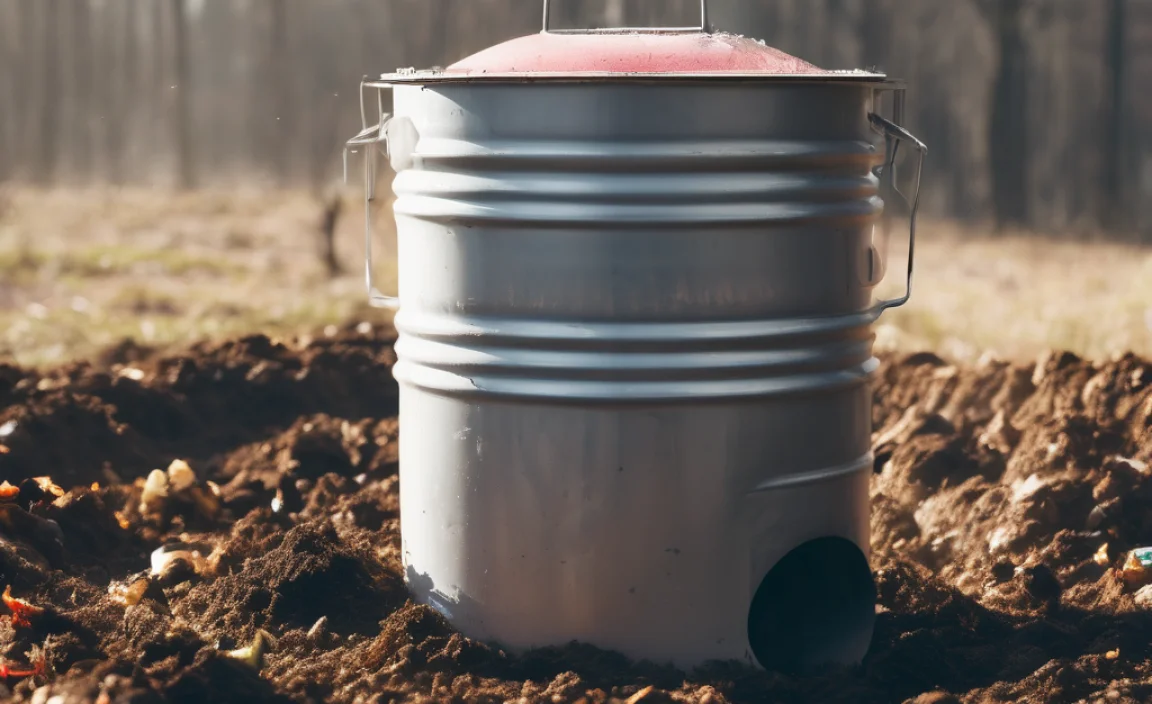
- Tools for Aeration: A compost aeration tool is a long metal rod with a handle that you plunge into the pile and twist to lift and mix material, introducing air without a full turn. A pitchfork works for larger piles.
Size Matters
Smaller pieces of organic matter break down faster because they have more surface area exposed to microbes. Chop up large vegetable scraps, shred cardboard, and break up twigs before adding them to the pile.
What NOT to Compost
To avoid pests, odors, and unwanted pathogens, steer clear of:
- Meat, fish, and dairy products
- Oily or greasy foods
- Diseased plants
- Weeds that have gone to seed
- Pet waste (from dogs and cats)
- Chemically treated wood or yard waste
For more information on what can and can’t go into your compost bin, the Environmental Protection Agency (EPA) provides a great resource on composting basics. They have comprehensive guides on setting up systems and troubleshooting common issues.
By combining the power of a compost accelerator with these fundamental composting practices, you’re setting yourself up for serious composting success. You’ll be amazed at how quickly you can transform waste into valuable garden amendments.
Troubleshooting Your Composting Journey (with or without Accelerators)
Even with the best intentions and a handy accelerator, sometimes compost piles can be a bit stubborn. Don’t get discouraged! Most composting issues have simple fixes. Here are a few common problems and how to tackle them:
Problem: My compost pile smells bad (like rotten eggs or ammonia).
Cause: This usually means your pile is too wet and/or doesn’t have enough air (anaerobic conditions). Too many “greens” can also contribute to ammonia smells.
Solution:
- Add Browns: Mix in plenty of carbon-rich materials like dry leaves, shredded cardboard, or straw. This helps absorb excess moisture and balances the nitrogen.
- Aerate: Turn the pile thoroughly! Use a pitchfork or compost aerator to fluff it up and introduce oxygen.
- Check Moisture: If it’s too soggy, remove some of the wet material and let it air out, or add more dry browns.
Problem: My compost pile is attracting pests (flies, rodents, etc.).
Cause: You might be adding things you shouldn’t, or certain materials (like meat or dairy scraps) are attracting unwanted visitors. The pile might also be too exposed.
Solution:
- Remove Problem Items: Stop adding meat, dairy, oily foods, and pet waste.
- Bury Scraps: Always bury fresh kitchen scraps in the center of the pile and cover them with a layer of browns.
- Secure Your Bin: If you have a bin, ensure

I am passionate about home engineering. I specialize in designing, installing, and maintaining heating, ventilation, and air conditioning systems. My goal is to help people stay comfortable in their homes all year long.