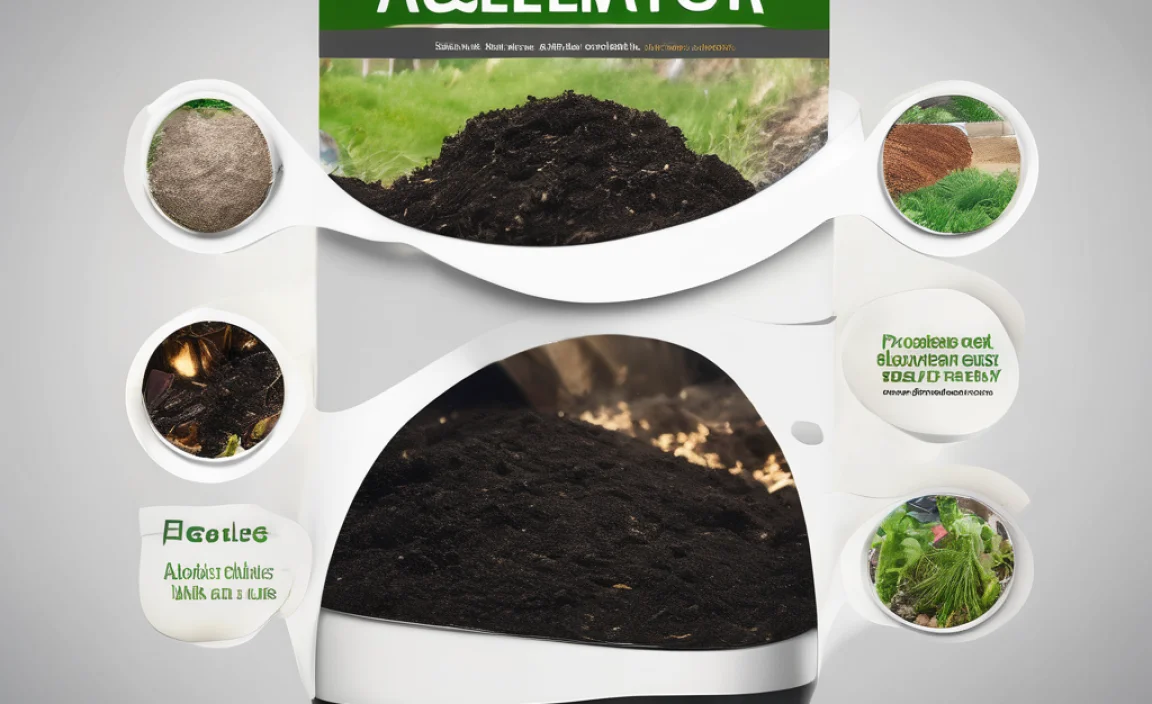
Hey there, green thumbs! Troy D Harn here from TopChooser. Ever look at your compost pile and wish it would just… hurry up? You’re not alone! Waiting for compost can feel like watching paint dry, but what if I told you there’s a way to speed things up significantly and get amazing results? That trusty compost accelerator might just be your new best friend in the garden. We’re going to dive deep into what makes a compost accelerator “best” and how you can use them to supercharge your efforts. Let’s get your compost cooking!
What’s the Big Deal with Compost Accelerators?
Think of a compost accelerator as a turbo-boost for your compost bin. You know, that magical black gold that turns kitchen scraps and yard waste into nutrient-rich soil for your garden? Normally, decomposition is a natural process, but it can take months, sometimes even a year or more, depending on what you’re composting and the conditions. A good compost accelerator is designed to introduce beneficial microbes and nutrients that significantly speed up this breakdown process.
Why would you want to speed it up? Well, faster compost means:
- Less waiting time to enrich your soil.
- Potentially a tidier compost bin with less bulk to manage for longer.
- More consistent nutrient availability for your plants throughout the growing season.
- Reduced chance of your compost pile attracting unwanted pests because it’s breaking down quickly.
So, the “best” compost accelerator is really about getting you to those amazing garden results faster and more efficiently. It’s about making composting easier, more predictable, and more rewarding.
How Do Compost Accelerators Actually Work?

It might sound a bit like magic, but it’s actually good old science at play! Compost accelerators work by providing the right ingredients or conditions for the decomposers (like bacteria, fungi, and other tiny critters) to do their job faster. These accelerators typically contain one or more of the following:
- Microbial Inoculants: These are live microorganisms, often specific strains of bacteria and fungi, that are already kick-started for decomposition. They essentially “seed” your compost pile with a highly active workforce.
- Nutrient Boosters: Compost needs a balance of “greens” (nitrogen-rich) and “browns” (carbon-rich). Accelerators can add readily available nitrogen, which is often the limiting factor in compost speed, helping to balance the carbon-to-nitrogen (C:N) ratio.
- Moisture Retainers: Some accelerators can help maintain the optimal moisture level within the compost pile. Too dry, and the microbes can’t work; too wet, and you can end up with a stinky, anaerobic mess.
- Enzymes: These are biological catalysts that help break down complex organic matter into simpler compounds, making it easier for microbes to consume.
The goal is to create the ideal environment for aerobic decomposition – that’s the fast, non-smelly kind of composting that happens when there’s plenty of oxygen. By providing what the decomposers need, an accelerator helps them multiply rapidly and work more efficiently. This means less time sitting around and more usable compost.
Types of Compost Accelerators: Finding Your Best Fit
Not all compost accelerators are created equal, and what’s “best” can depend on your composting style, your pile’s ingredients, and your budget. Here’s a look at the most common types you’ll find:
1. Commercially Produced Microbial Accelerators
These are the most popular and readily available options. They come in various forms, usually liquids or powders.
- Pros: Designed for effectiveness, often contain a broad spectrum of microbes, easy to use, clear instructions.
- Cons: Can be a bit more expensive, you’re trusting a commercial formula.
When looking for a commercial accelerator, check the label for active ingredients like beneficial bacteria and enzymes. Reputable brands often have a good track record, and you can find plenty of user reviews online to gauge their performance. Brands like BioAdvanced, EM-1 (Effective Microorganisms), and Nature’s Own are well-regarded.
2. Natural and DIY Accelerators
You can also create your own compost accelerants from common household items or natural materials that naturally speed up decomposition.
- Manure (aged): Especially chicken or rabbit manure, which is high in nitrogen. Make sure it’s well-aged to avoid burning your plants or introducing pathogens.
- Grass Clippings: Fresh grass clippings are nitrogen-rich “greens” and can help heat up a pile when added in the right amounts.
- Coffee Grounds and Tea Bags: These are nitrogen-rich and also contain small amounts of nitrogen.
- Compost Fines/Finished Compost: Adding a shovel full of mature compost to a new pile introduces a robust community of decomposers right from the start.
- Urine: Believe it or not, diluted urine is a fantastic source of nitrogen! A common recommendation is a 10:1 ratio of water to urine.
Pros: Very affordable, uses readily available materials, good for the eco-conscious.
Cons: Results can be less predictable, requires knowledge of compost ratios, potential for odor if not managed correctly, some materials may introduce weed seeds or pathogens if not processed properly (especially fresh manure or uncomposted plant material).
3. High-Nitrogen Compost Starters
These products focus mainly on providing readily available nitrogen to kick-start the microbial digestion. They might be organic materials like alfalfa meal or feather meal, or synthetic nitrogen sources.
- Pros: Effectively balances carbon-rich browns, can quickly heat up a cool pile.
- Cons: Primarily addresses nitrogen needs; may not add a broad range of microbes.
4. Chemical Accelerators (Not Recommended for Home Use)
These are typically synthetic chemicals that can quickly break down matter. However, they are generally not recommended for home gardeners for several reasons.
- Pros: Very fast results.
- Cons: Can harm beneficial microbes needed for healthy compost, may leave harmful chemical residues in your finished compost, poses environmental risks, and can be hazardous to handle.
For most home composters, sticking to microbial inoculants or natural nitrogen sources is the safer and more eco-friendly route to achieving the “best” compost accelerator results.
What Makes a Compost Accelerator “Best”? Key Features to Look For
When you’re standing in the garden center or browsing online, what should you be looking for to get the best bang for your buck and the fastest, most effective compost? Here are the key indicators:
- Active Microorganisms: The product should clearly state that it contains beneficial bacteria, fungi, or a mix. This is the core of what speeds up decomposition.
- Balanced Nutrients (for starters): If it’s marketed as a starter that also provides nutrients, look for a balanced mix, especially nitrogen, which is often what a new pile lacks.
- Ease of Use: Is it a simple liquid you dilute and spray, or a messy powder? For beginners, simpler is often better.
- Reputable Brand & Reviews: Look for well-known brands in the gardening or composting space. Check customer reviews to see if others have had success.
- Clear Instructions: Does it tell you how much to use, how often, and how to apply it for best results?
- Safety: Avoid products that sound overly chemical or warn about significant hazards unless you’re experienced. For home compost, natural and safe is usually best.
- Compost Type Suitability: Some accelerators are better for hot composting, others for slower methods. Most are designed for general-purpose composting bins or piles.
Here’s a quick comparison of common accelerator types based on key factors:
| Feature | Commercial Microbial Accelerators | Natural/DIY Accelerators | High-Nitrogen Starters |
|---|---|---|---|
| Microbial Activity | High (often engineered strains) | Variable (depends on source) | Low to Moderate |
| Nutrient Boost | Moderate (some include nitrogen sources) | High (e.g., manure, grass clippings) | Very High (primary function) |
| Speed of Decomposition | Fast to Very Fast | Moderate to Fast (with management) | Fast (when balanced) |
| Ease of Use | Very Easy | Requires Knowledge/Management | Easy |
| Cost | Moderate to High | Low to Free | Low to Moderate |
| Predictability | High | Variable | High |
How to Use a Compost Accelerator for Proven Results
Using a compost accelerator isn’t complicated, but doing it right ensures you reap those “proven results” everyone talks about. Here’s a step-by-step guide, whether you’re using a commercial product or natural materials.
Step 1: Prepare Your Compost Pile
Before you add the accelerator, make sure your compost pile has the basic ingredients for success. You need:
- A Mix of “Greens” and “Browns”: Aim for roughly a 2:1 or 3:1 ratio of browns (carbon-rich: dried leaves, straw, cardboard, paper) to greens (nitrogen-rich: kitchen scraps, grass clippings, plant trimmings).
- Size Matters: Chop or shred larger items into smaller pieces. This increases surface area, making it easier for microbes to break them down. A pile that’s at least 3x3x3 feet (about 1 cubic meter) is ideal for generating heat.
- Moisture: Your compost should be as damp as a wrung-out sponge – moist, but not dripping wet. Add water if it’s too dry, or dry browns if it’s too wet.
- Aeration: Compost needs air! Ensure your bin has vents or that you can easily turn and fluff your pile.
Step 2: Add Your Accelerator
This is where it gets exciting! The method depends on the type of accelerator:
- Liquid Commercial Accelerators: Typically, you’ll dilute them with water in a watering can. The recommended ratio is usually on the product’s label.
- Powder Commercial Accelerators: You can usually sprinkle these directly over the materials as you add them to the pile.
- Natural Accelerators (e.g., Manure, Grass Clippings): Layer these in with your greens and browns. A layer of aged manure or a small amount of fresh grass clippings can be added between layers of browns and other greens.
- Finished Compost: Simply add a shovel or two of mature compost to your new pile.
Pro Tip: For best results with most accelerators, try to sprinkle or layer them evenly throughout the materials you’re adding to the pile, rather than just dumping it all on top.
Step 3: Incorporate and Mix
After adding your accelerator, it’s crucial to mix it in. Use a pitchfork or compost aerator tool to turn the pile. You want the accelerator to come into contact with as much of the decomposing material as possible. If you’re using a liquid accelerator, apply it while you’re turning the pile to ensure even distribution and moisture.
Step 4: Monitor and Maintain
An accelerator gets the wheels turning, but you still need to provide good compost hygiene:
- Moisture: Check the moisture levels regularly. If it dries out, the microbes slow down. If it gets waterlogged, it can become anaerobic and smelly.
- Aeration: Turn your compost pile every 1-3 weeks. This provides oxygen, which is vital for the aerobic microbes and helps prevent odors. This is also a good time to add more accelerator if the product’s instructions suggest repeated applications.
- Temperature: A well-functioning compost pile with an accelerator will heat up significantly. This “hot composting” phase kills weed seeds and pathogens, and it’s a sign the microbes are working hard. It can reach temperatures of 130-160°F (55-70°C).
Step 5: Harvest Your Compost!
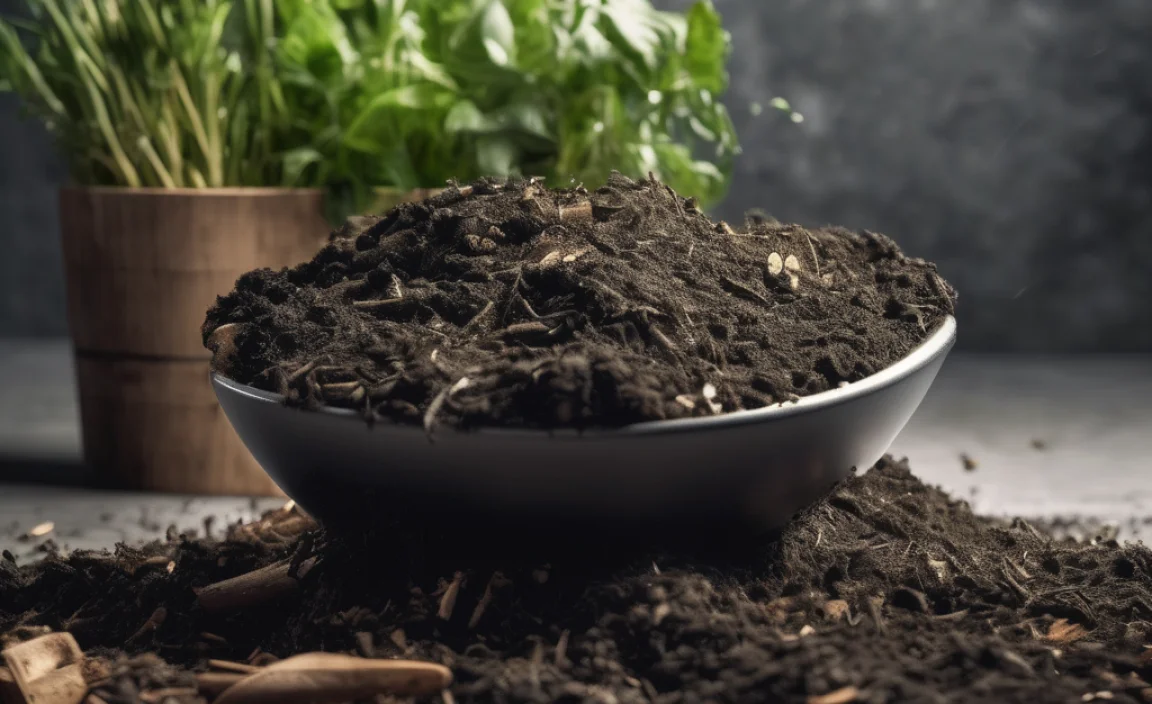
With an accelerator working for you, you’ll notice your compost pile reducing in volume much faster. You’ll see materials breaking down, the temperature will eventually drop, and the recognizable scraps will disappear, replaced by dark, crumbly humus. Depending on how actively you manage it and the accelerator used, you could have finished compost in as little as 30-60 days, compared to 6-12 months without. It’s ready when it looks and smells like rich, earthy soil. Sift out any large, unfinished pieces to toss back into the next batch.
Troubleshooting Your Accelerated Compost
Even with the best starter, things can sometimes go sideways. Here are a few common issues and how to fix them:
- Smelly Pile (Ammonia or Rotten Eggs): This usually means it’s too wet, not enough air, or too much nitrogen. Try turning the pile thoroughly to aerate it. Add more “brown” materials (like shredded cardboard, dry leaves, or straw) to absorb excess moisture and balance nitrogen. If using a commercial accelerator, ensure you’re not using too much.
- Pile Isn’t Heating Up: Your pile might be too small, too dry, or lack nitrogen. Check the moisture level and add water if needed. Make sure you have a good mix of greens and browns, and consider adding more high-nitrogen materials (like fresh kitchen scraps, grass clippings, or a nitrogen-rich starter). Turning it can also help expose new material to microbes.
- Materials Not Breaking Down: This could be due to dryness, lack of air, or insufficient microbial activity. Add water, turn the pile, and ensure you’ve added your accelerator according to instructions. Sometimes larger items just take longer, so chopping them smaller next time can help.
- Too Much Accelerator: While not common, using excessive amounts of some accelerators could theoretically disrupt the balance. Always follow product instructions carefully. If you suspect overuse, reduce the amount in the next “feeding” of the pile.
Remember, patience and observation are key. Your compost pile is a living system, and small adjustments can often bring it back into balance.
When to Use an Accelerator vs. When Not To
Compost accelerators are fantastic tools, but they aren’t always necessary. Here’s when they shine and when you might be able to skip them:
When to Use a Compost Accelerator:
- When You Want Compost FAST: This is the primary reason. If you need nutrient-rich soil for a planting season that’s coming up quickly, an accelerator is your best bet.
- For Cold or Slow-Starting Piles: If your pile is made up of mostly “browns” (like autumn leaves) and just isn’t getting going, an accelerator can give it the microbial push it needs.
- To Combat Odors and Pests: A faster-composting pile that heats up properly is less likely to produce foul odors or attract unwanted critters.
- Beginner Gardeners: If you’re new to composting, an accelerator can help ensure you get successful, faster results and build confidence.
- To Improve Consistency: If you struggle with getting your compost to break down evenly, an accelerator can help create a more reliable process.
For more information on the science of composting and its benefits, check out this guide from the Environmental Protection Agency (EPA). They offer excellent insights into the process and why it’s so valuable for home and the environment.
When You Might Not Need an Accelerator:
- When Time is Not a Factor: If you’re happy to let nature take its course and don’t mind waiting 6-12 months (or more) for your compost, a simple pile with good greens/browns and regular turning will eventually get there.
- For Very Large-Scale Composting Operations: While accelerators can be used, large operations often rely on specific temperature management, aeration systems, and established microbial populations rather than just a starter product.
- When Your Pile is Already Hot and Active: If your compost pile is consistently heating up and breaking down materials quickly due to perfect C:N ratios, moisture, and aeration, adding more accelerator might not provide significant added benefit.
- Budget Constraints: If you’re on a tight budget, focusing on the fundamental principles of composting (greens, browns, moisture, air) and using free materials like finished compost or aged manure will work, albeit slower.
Ultimately, the “best” choice depends on your goals
.lwrp.link-whisper-related-posts{
margin-top: 40px;
margin-bottom: 30px;
}
.lwrp .lwrp-title{
}.lwrp .lwrp-description{
}
.lwrp .lwrp-list-container{
}
.lwrp .lwrp-list-multi-container{
display: flex;
}
.lwrp .lwrp-list-double{
width: 48%;
}
.lwrp .lwrp-list-triple{
width: 32%;
}
.lwrp .lwrp-list-row-container{
display: flex;
justify-content: space-between;
}
.lwrp .lwrp-list-row-container .lwrp-list-item{
width: calc(25% – 20px);
}
.lwrp .lwrp-list-item:not(.lwrp-no-posts-message-item){
max-width: 150px;
}
.lwrp .lwrp-list-item img{
max-width: 100%;
height: auto;
object-fit: cover;
aspect-ratio: 1 / 1;
}
.lwrp .lwrp-list-item.lwrp-empty-list-item{
background: initial !important;
}
.lwrp .lwrp-list-item .lwrp-list-link .lwrp-list-link-title-text,
.lwrp .lwrp-list-item .lwrp-list-no-posts-message{
}@media screen and (max-width: 480px) {
.lwrp.link-whisper-related-posts{
}
.lwrp .lwrp-title{
}.lwrp .lwrp-description{
}
.lwrp .lwrp-list-multi-container{
flex-direction: column;
}
.lwrp .lwrp-list-multi-container ul.lwrp-list{
margin-top: 0px;
margin-bottom: 0px;
padding-top: 0px;
padding-bottom: 0px;
}
.lwrp .lwrp-list-double,
.lwrp .lwrp-list-triple{
width: 100%;
}
.lwrp .lwrp-list-row-container{
justify-content: initial;
flex-direction: column;
}
.lwrp .lwrp-list-row-container .lwrp-list-item{
width: 100%;
}
.lwrp .lwrp-list-item:not(.lwrp-no-posts-message-item){
max-width: initial;
}
.lwrp .lwrp-list-item .lwrp-list-link .lwrp-list-link-title-text,
.lwrp .lwrp-list-item .lwrp-list-no-posts-message{
};
}

I am passionate about home engineering. I specialize in designing, installing, and maintaining heating, ventilation, and air conditioning systems. My goal is to help people stay comfortable in their homes all year long.