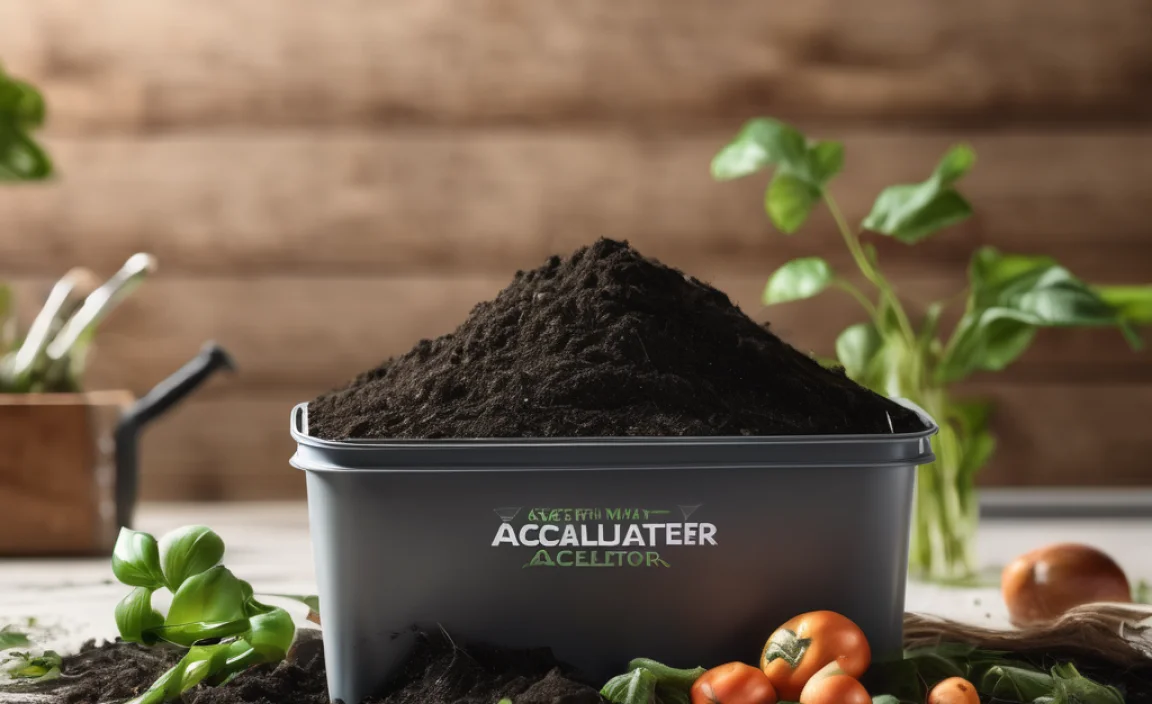
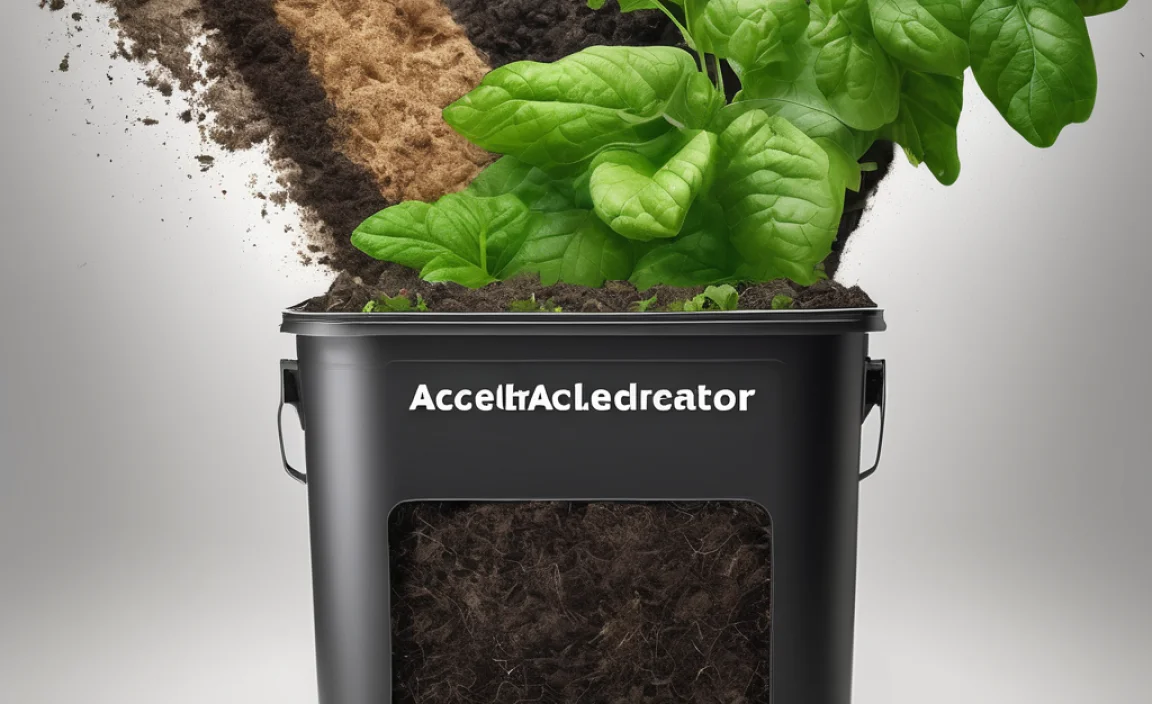
Want your compost pile to work faster without costing a fortune? It’s a common frustration for gardeners and eco-conscious folks. Turning kitchen scraps and yard waste into rich, healthy soil can take weeks or even months. But what if there was a way to speed things up significantly, using things you probably already have at home? This guide will show you exactly how to create and use cheap, effective compost accelerators to get your compost cooking in no time. Get ready to transform your garden waste into black gold, the budget-friendly way!
Compost Accelerator Cheap: Proven Budget Saver
Hey there, fellow gardeners and DIY enthusiasts! Troy D Harn here, and I’m excited to talk about something that can make a huge difference in your composting journey: using a compost accelerator cheap. We all love the idea of turning our scraps into amazing soil, but sometimes, that compost pile just sits there, taking its sweet time. If you’re looking for ways to speed up decomposition without spending a dime on fancy commercial products, you’ve come to the right place. We’re going to dive into super simple, incredibly effective methods for creating your own compost accelerator using everyday items. It’s all about working smarter, not harder, and keeping our budgets happy!
What Exactly is a Compost Accelerator?
Before we get into the budget-friendly options, let’s quickly touch on what a compost accelerator actually does. Think of it as a turbocharger for your compost bin. Its main job is to introduce beneficial microorganisms and nutrients that help break down organic materials faster. These accelerators essentially create the ideal environment for decomposers like bacteria, fungi, and worms to do their work more efficiently.
This means:
- Faster breakdown of food scraps and yard waste.
- Reduced odor from the compost pile.
- Higher temperatures in the compost pile, which helps kill weed seeds and pathogens (in a hot compost system).
- A more consistent and quicker path to nutrient-rich compost for your garden.
Why Go the “Cheap” Route?
Let’s be honest, sometimes home improvement or gardening projects can add up. Commercial compost accelerators can range from a few dollars to quite a bit, depending on the brand and quantity. For many of us, especially those just starting out or with multiple compost bins, that can become a significant expense. The great news is that nature provides us with plenty of potent ingredients that work just as well, if not better, than store-bought options. It’s a win-win: you get faster compost and save money!
The Best Cheap Compost Accelerator Ingredients You Already Have
The beauty of composting is its reliance on natural cycles. Many things that might seem like waste are actually powerhouses for accelerating decomposition. Here are some of the most effective and affordable options:
1. Grass Clippings: Nature’s Own Nitrogen Boost
Those fresh green clippings from your lawnmower are compost gold. They are rich in nitrogen, a crucial “green” material that feeds the microbes responsible for breaking down your compost. A fresh layer of grass clippings provides an instant food source and moisture, helping to kickstart the decomposition process.
- How to use: Spread a thin layer (no more than 2-3 inches) of fresh grass clippings over your other compost materials. Avoid adding thick, matted layers, as this can lead to slime and odor. If you have a lot, let them dry out a bit before adding them.
- Pro Tip: If your lawn is treated with herbicides, it’s best to avoid using those clippings in your compost, as the chemicals can sometimes persist.
2. Coffee Grounds and Tea Bags: A Caffeine Kick for Microbes
If you’re a coffee drinker or tea lover, you’re sitting on a goldmine! Coffee grounds and used tea leaves are fantastic “green” materials, high in nitrogen and great at attracting beneficial microbes. They also help introduce a little acidity, which some composting microbes love. For more on composting basics from the EPA, check out their helpful resources.
- How to use: Sprinkle used coffee grounds and tea leaves directly into your compost bin. Make sure to remove any staples from tea bags.
- Pro Tip: Don’t add so many coffee grounds that they clump together; this can create anaerobic pockets and odors. Mix them in with your “browns” (like dry leaves or shredded paper).
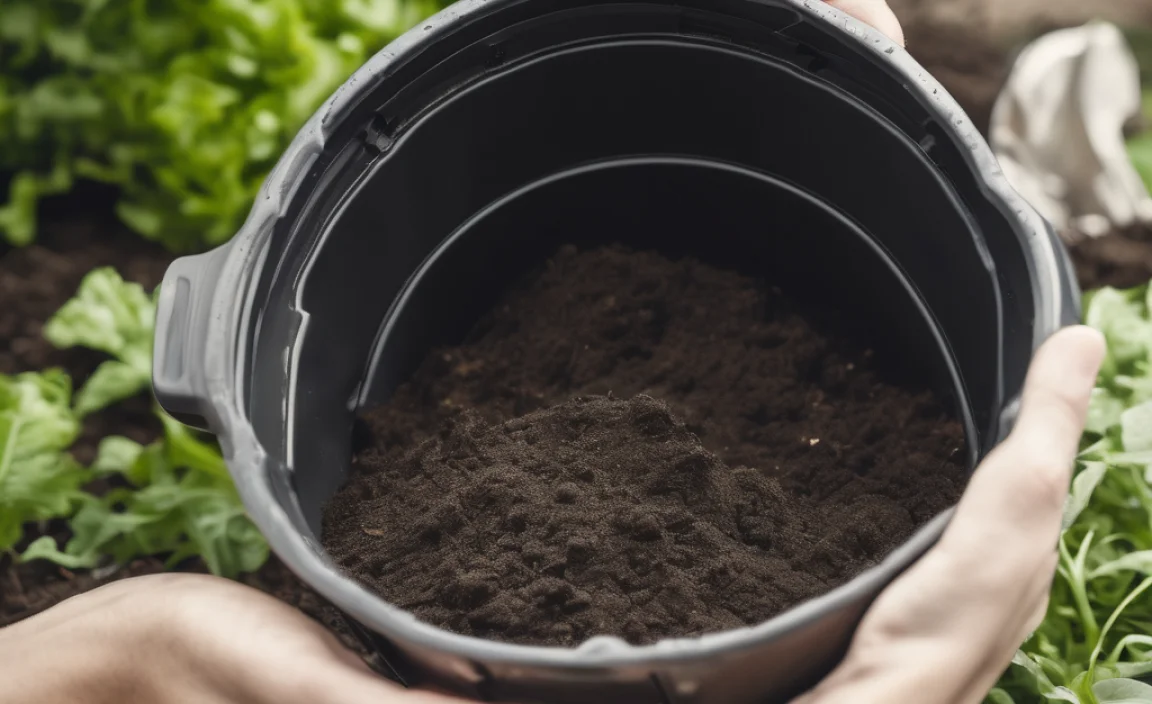
3. Manure (Aged): The Undisputed Champion
If you have access to manure from herbivores like horses, cows, sheep, or rabbits, you’ve got one of the best compost accelerators out there. Aged manure is teeming with microbes and nutrients. Fresh manure can be too “hot” and burn your compost materials, so always aim for aged or well-composted manure if possible. You can often get this for free from local farms or equestrian centers.
- How to use: Mix a shovel-full of aged manure into your compost pile. It adds a significant boost of nitrogen and microbial activity.
- Pro Tip: Always wear gloves when handling manure and wash your hands thoroughly afterward.
4. Weeds (Carefully Chosen!): Free Fertility
This one comes with a caveat: avoid weeds that have gone to seed or those that are particularly tough to kill, unless you are confident your compost pile gets hot enough to destroy them (which a fast-acting accelerator helps with!). Weeds that are pulled before they flower or produce seeds can be great additions, providing nitrogen and other nutrients.
- How to use: Chop up weeds before adding them to the pile. Mix them in well with “brown” materials.
- Pro Tip: For a truly robust compost pile that kills most weed seeds, aim for hot composting. Accelerators help achieve this faster.
5. Kitchen Scraps: Beyond the Basics
While not single ingredients, the combination of certain kitchen scraps can act as accelerators. Fruit and vegetable peels, scraps, and wilted greens are all excellent nitrogen sources. The moisture they contain also helps keep the pile from drying out, which is essential for microbial activity.
- How to use: Chop larger scraps into smaller pieces to speed up decomposition. Burying fresh kitchen scraps in the center of the pile also helps with heat and odor control.
- Pro Tip: Avoid adding meat, dairy, or oily foods, as these can attract pests and create foul odors.
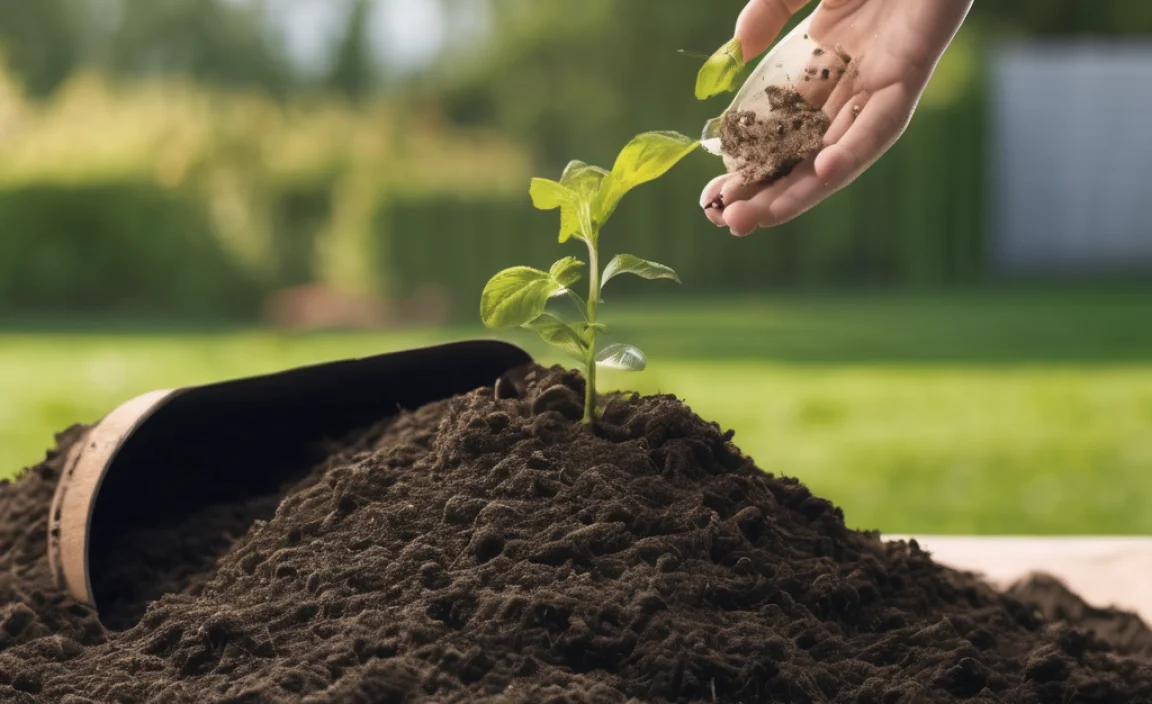
6. Healthy Garden Soil: Introducing the Workers
Sometimes, the best accelerator is simply a shovel-full of healthy soil from your garden. This soil is already teeming with the fungi, bacteria, and other microorganisms that your compost pile needs. They act as the initial workforce to get things breaking down.
- How to use: Sprinkle a few shovelfuls of garden soil throughout your compost pile as you build it, or when adding new layers.
- Pro Tip: Ensure your garden soil is free from persistent herbicides or diseases before adding it to your compost.
7. Wood Ash (Sparingly): A Minerals and pH Booster
Wood ash from your fireplace or wood stove can provide beneficial minerals like potassium and calcium. It can also help raise the pH of your compost pile, making it more alkaline. However, use it sparingly, as too much can make the compost too alkaline and potentially harm beneficial microbes.
- How to use: Sprinkle a light layer of cooled wood ash over your compost materials. Do not use ash from charcoal briquettes, as they contain chemicals.
- Pro Tip: If you burn treated wood, avoid using the ash in your compost.
DIY Compost Accelerator Recipes
Now, let’s combine some of these budget-friendly ingredients to create powerful compost accelerators. These recipes are simple to make and highly effective.
Recipe 1: The “Green Power” Blend
This blend focuses on introducing fresh, nitrogen-rich “green” materials that microbes love.
- Ingredients:
- Fresh grass clippings (dried slightly if excess moisture is a concern)
- Used coffee grounds
- Vegetable and fruit scraps (chopped)
- A handful of aged manure (if available)
- How to make and use: Mix these ingredients together in a bucket or wheelbarrow. When you add a new layer of “brown” materials (like dried leaves, shredded cardboard, or straw) to your compost pile, sprinkle a generous layer of this Green Power blend on top. This helps to aerate the greens and browns and provides immediate food for decomposers.
Recipe 2: The “Microbe Starter” Mix
This recipe focuses on introducing a diverse range of beneficial microorganisms right from the start.
- Ingredients:
- Several shovelfuls of healthy garden soil
- A few handfuls of aged compost (if you have some from a previous batch)
- A scoop of aged manure (if available)
- A small amount of chopped kitchen scraps
- How to make and use: Combine all ingredients. Layer this mix between your “green” and “brown” materials as you build your compost pile. This jumpstarts the decomposition process by populating your pile with the necessary workforce.
How to Apply Your Cheap Compost Accelerator
Using your DIY accelerator is just as important as making it. Here’s how to apply it effectively:
- Layering is Key: When building your compost pile, alternate layers of “greens” (nitrogen-rich materials like grass clippings, kitchen scraps, coffee grounds) and “browns” (carbon-rich materials like dry leaves, shredded paper, straw, small twigs).
- Add Accelerator Between Layers: As you add a new layer of greens or browns, sprinkle a portion of your DIY compost accelerator on top of that layer. This ensures good contact with the composting materials.
- Moisture Check: Your compost pile should be as damp as a wrung-out sponge. If it’s too dry, decomposition slows down dramatically. Your green materials and accelerators will help add moisture if needed. Occasionally adding water and turning the pile are also essential steps for optimal composting. The Old Farmer’s Almanac offers great tips on maintaining moisture and turning.
- Turning the Pile: While not strictly part of applying the accelerator, turning your compost pile every week or two helps to aerate it and mix materials, speeding up decomposition. You’ll notice a difference faster when the entire pile is actively breaking down.
- Don’t Overdo It: While these are natural ingredients, using too much of any single item can disrupt the balance. A good layer is usually all you need.
Composting Speed: What to Expect
With the help of these cheap compost accelerators, you can significantly speed up your composting time. While cold composting might take six months to a year, a well-managed “hot” compost pile, boosted by accelerators, can produce usable compost in as little as 4-8 weeks.
Here’s a general idea of improvement:
| Composting Method | Estimated Time to Usable Compost | Key Factors |
|---|---|---|
| Passive/Cold Composting (Minimal effort/no accelerator) | 6 months – 2 years | Slow natural decomposition; materials may not fully break down. |
| Active/Hot Composting (Regular turning, proper ratios) | 2 – 6 months | Requires regular monitoring of temperature, moisture, and aeration. |
| Accelerated Hot Composting (With DIY accelerators) | 4 – 8 weeks | Introduction of microbes and nutrients; optimal moisture and aeration; regular turning. |
Notice how adding accelerators, especially when combined with good composting practices (like the C:N ratio, moisture, and aeration), drastically cuts down the decomposition time. This means you get that rich, dark compost you’re dreaming of much sooner!
Troubleshooting Common Composting Issues
Even with accelerators, sometimes things don’t go perfectly. Here are a few common issues and how to fix them:
- Smelly Compost: Usually caused by too much “green” material or not enough aeration, leading to anaerobic conditions.
- Fix: Turn your pile thoroughly, add more “brown” materials (dry leaves, shredded paper), and ensure good airflow. Your accelerator should have introduced microbes that help break down materials efficiently, which should also reduce odor if the balance is right.
- Pile Not Heating Up: It might be too dry, too dense, or lacking nitrogen.
- Fix: Check moisture levels and add water if needed. Turn the pile to introduce air. Add more nitrogen-rich “green” materials or a dose of your accelerator (especially if it contains manure or grass clippings).
- Pests (Flies, Rodents): Often due to exposed food scraps or the wrong types of materials.
- Fix: Bury food scraps deep within the pile. Avoid meat, dairy, and oily foods. Ensure your pile is actively heating up, as this deters many pests. A good, fast-working compost pile often doesn’t attract pests.
- Materials Not Breaking Down: The pile might be too dry, too old, or lack sufficient microorganisms.
- Fix: Ensure the pile is moist. Adding another layer of your DIY accelerator, especially one with soil or manure, can reintroduce beneficial microbes. Chop materials into smaller pieces to increase surface area.
Composting for Beginners: Quick Tips
If you’re new to composting, here are some golden rules to keep in mind:
- Balance Greens and Browns: Aim for roughly a 2:1 or 3:1 ratio of browns (carbon) to greens (nitrogen) by volume. This is crucial for efficient decomposition.
- Size Matters: Chop or shred larger items. Smaller pieces break down much faster.
- Keep it Moist, Not Soggy: Like a wrung-out sponge is the ideal.
- Aerate!: Turning your pile or using aerated bins helps introduce oxygen, which is vital for the microbes.
- Be Patient: Even with accelerators, composting takes time. Your first few piles might be a learning experience.
And remember, using a compost accelerator cheap from your own home is one of the easiest ways to get started and see results quickly!
Conclusion
Composting is an incredibly rewarding process, and using a compost accelerator cheap makes it even more accessible and faster. You don’t need to spend a lot of money to create nutrient-rich compost for your garden. By utilizing readily available materials like grass.
Frequently Asked Questions about Cheap Compost Accelerators
Q1: How quickly can I expect results with a cheap compost accelerator?
A1: With a good balance of greens, browns, moisture, aeration, and a homemade accelerator, you can significantly speed up composting. While traditional methods might take months, an actively managed hot compost pile with accelerators could yield usable compost in as little as 4-8 weeks.
Q2: Can I use store-bought compost accelerators if I’m on a budget?
A2: Commercial accelerators can be pricey. Many gardeners find that natural, homemade accelerators made from common household items like grass clippings, coffee grounds, and manure are just as effective, if not more so, for a fraction of the cost.
Q3: What is the absolute best ingredient for a cheap compost accelerator?
A3: Aged manure from herbivores (like cows, horses, or rabbits) is often considered one of the most powerful cheap accelerators. It’s rich in nitrogen and teeming with beneficial microorganisms that kickstart decomposition.
Q4: Are there any materials I should NOT use as compost accelerators?
A4: Yes. Avoid using meat, dairy products, oily foods, diseased plants, pet waste (from cats and dogs), and weed seeds or perennial weeds that have already gone to seed, unless you are very confident your compost pile gets hot enough to kill them. Also, steer clear of ash from charcoal briquettes and ash from treated wood.
Q5: How do I know if my compost pile is working well?
A5: A healthy compost pile will generate heat (you can feel it when you reach into the center), break down materials relatively quickly, and shouldn’t produce foul odors. The materials will transform into a dark, crumbly, earthy-smelling substance: compost!
Q6: I don’t have access to manure. What’s another great cheap option?
A6: Fresh grass clippings are an excellent, readily available nitrogen source that acts as a fantastic compost accelerator. Coffee grounds and tea bags are also readily available and work well. A good mix of kitchen scraps, grass clippings, and a bit of garden soil is also a strong contender.
.lwrp.link-whisper-related-posts{
margin-top: 40px;
margin-bottom: 30px;
}
.lwrp .lwrp-title{
}.lwrp .lwrp-description{
}
.lwrp .lwrp-list-container{
}
.lwrp .lwrp-list-multi-container{
display: flex;
}
.lwrp .lwrp-list-double{
width: 48%;
}
.lwrp .lwrp-list-triple{
width: 32%;
}
.lwrp .lwrp-list-row-container{
display: flex;
justify-content: space-between;
}
.lwrp .lwrp-list-row-container .lwrp-list-item{
width: calc(25% – 20px);
}
.lwrp .lwrp-list-item:not(.lwrp-no-posts-message-item){
max-width: 150px;
}
.lwrp .lwrp-list-item img{
max-width: 100%;
height: auto;
object-fit: cover;
aspect-ratio: 1 / 1;
}
.lwrp .lwrp-list-item.lwrp-empty-list-item{
background: initial !important;
}
.lwrp .lwrp-list-item .lwrp-list-link .lwrp-list-link-title-text,
.lwrp .lwrp-list-item .lwrp-list-no-posts-message{
}@media screen and (max-width: 480px) {
.lwrp.link-whisper-related-posts{
}
.lwrp .lwrp-title{
}.lwrp .lwrp-description{
}
.lwrp .lwrp-list-multi-container{
flex-direction: column;
}
.lwrp .lwrp-list-multi-container ul.lwrp-list{
margin-top: 0px;
margin-bottom: 0px;
padding-top: 0px;
padding-bottom: 0px;
}
.lwrp .lwrp-list-double,
.lwrp .lwrp-list-triple{
width: 100%;
}
.lwrp .lwrp-list-row-container{
justify-content: initial;
flex-direction: column;
}
.lwrp .lwrp-list-row-container .lwrp-list-item{
width: 100%;
}
.lwrp .lwrp-list-item:not(.lwrp-no-posts-message-item){
max-width: initial;
}
.lwrp .lwrp-list-item .lwrp-list-link .lwrp-list-link-title-text,
.lwrp .lwrp-list-item .lwrp-list-no-posts-message{
};
}
Related Posts


I am passionate about home engineering. I specialize in designing, installing, and maintaining heating, ventilation, and air conditioning systems. My goal is to help people stay comfortable in their homes all year long.