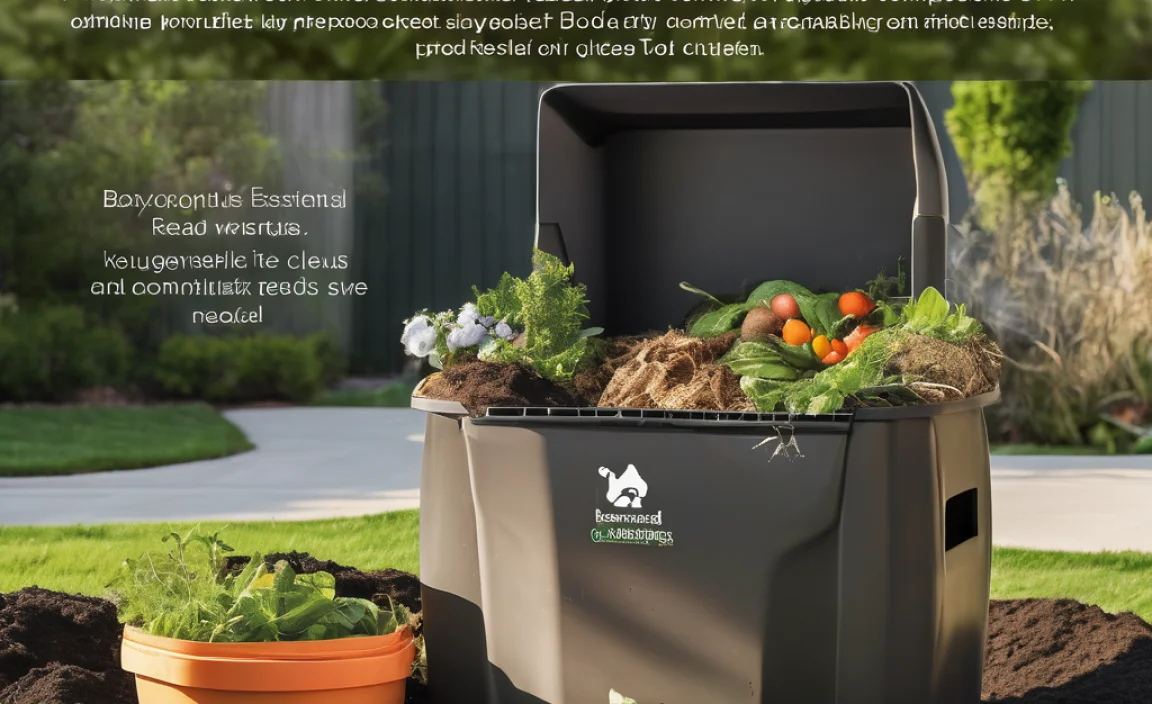
Compost Accelerator Training: Essential Skills Unlocked
Ever toss kitchen scraps into a bin and just… wait? And wait some more? Getting compost to happen fast can feel like a mystery. Don’t worry, it’s not magic, and it’s definitely not rocket science! We’re going to break down how to speed up your compost pile, turning waste into garden gold quicker than you thought possible. Ready to become a compost pro?
This guide will walk you through the simple steps and handy tricks to supercharge your compost. You’ll learn what “compost accelerator” really means and how to use it effectively. Let’s get started on unlocking those essential skills!
What Exactly is a Compost Accelerator?
Think of a compost accelerator as a helpful nudge for your compost pile. It’s not a magic potion that instantly creates compost, but rather a blend of ingredients designed to give the tiny workers – bacteria, fungi, and other microbes – a boost. These microscopic helpers are the real stars of the composting show, and accelerators help them do their job faster and more efficiently.
Basically, they provide the ideal environment and a ready food source to kickstart the decomposition process. This means less waiting, less smell, and a quicker path to nutrient-rich compost for your garden.
Why Use a Compost Accelerator? The Benefits Unpacked
There are some really good reasons why someone might reach for a compost accelerator. It’s all about making the composting journey smoother and more rewarding.
- Speedy Decomposition: The most obvious benefit! Accelerators help break down organic matter much faster than an unassisted pile. This means you can get usable compost in weeks, not months or even years.
- Reduced Odor: A balanced, active compost pile shouldn’t smell foul. Accelerators help maintain the right conditions for aerobic decomposition (the kind that needs air), which produces earthy smells, not rotten ones.
- Less Turning Hassle: While turning your compost pile is good practice, accelerators can sometimes reduce the frequency needed because they promote faster microbial activity throughout the pile.
- Better Nutrient Content: A well-functioning compost pile, aided by an accelerator, often results in compost that is richer in essential nutrients for your plants.
- Simplicity for Beginners: If you’re new to composting, an accelerator can take some of the guesswork out of creating the perfect compost environment.
Types of Compost Accelerators
When we talk about compost accelerators, we’re not just talking about one single product. There are a few different approaches you can take, from commercial products to things you can easily whip up yourself.
Commercial Compost Accelerators
These are the go-to for many who want a straightforward solution. They come in various forms, but generally, they contain a mix of ingredients designed to get things moving.
- Microbial Starters: These products are packed with beneficial bacteria and enzymes that are ready to get to work breaking down your waste. They’re like a pre-packaged workforce for your pile.
- Nutrient Supplements: Some accelerators are formulated to provide the right balance of nitrogen and carbon that microbes need. They might contain materials like alfalfa meal, bone meal, or specific types of processed manure.
- pH Balancers: Occasionally, compost piles can become too acidic or too alkaline. Some commercial products can help adjust the pH to a more optimal range for microbial activity.
When picking a commercial accelerator, always check the label to see what’s inside and how to use it. Some are powders, some are liquids, and application methods can vary.
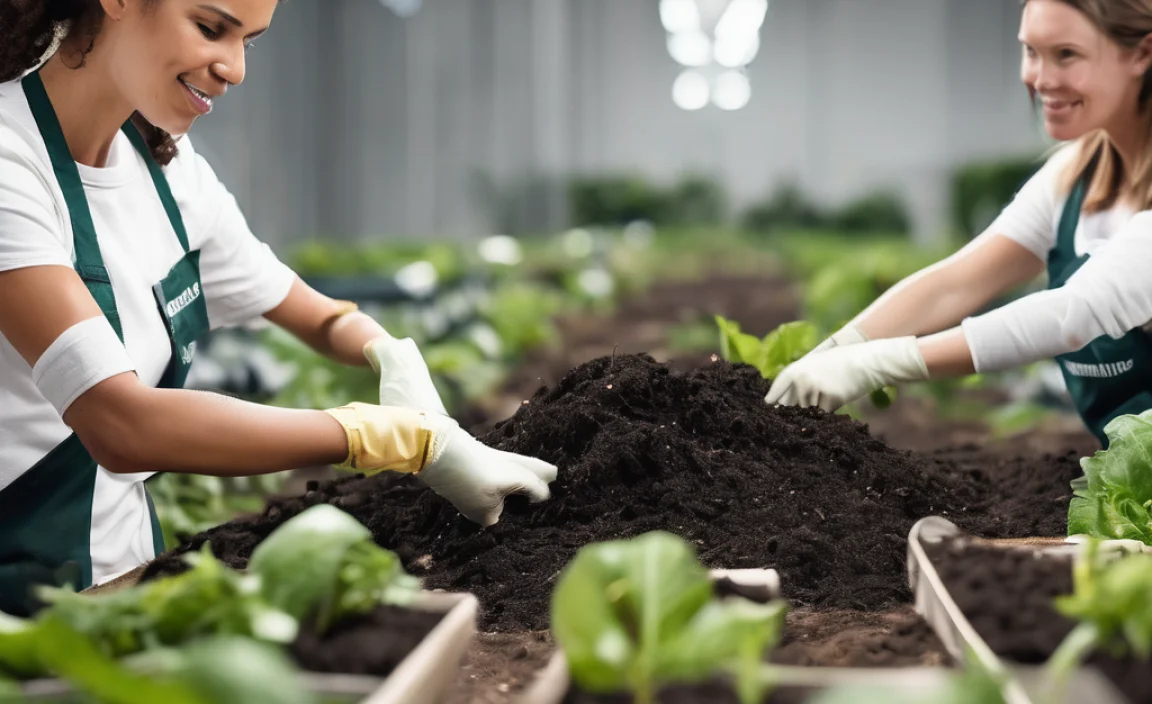
DIY Compost Accelerator Mixes
Don’t want to buy something special? You can create effective compost accelerators using common household or garden items! These often work by introducing a good mix of “green” (nitrogen-rich) materials and helpful microbes.
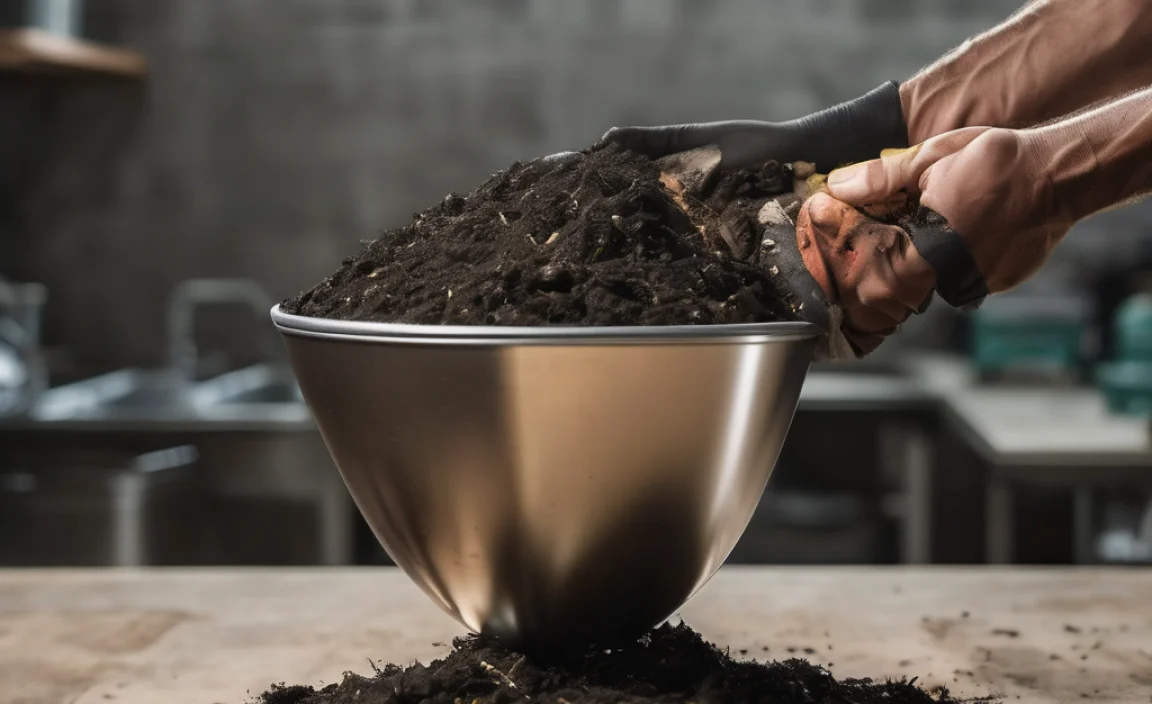
- Finished Compost or Garden Soil: A shovel full of finished compost or healthy garden soil is packed with the microbes needed to kickstart your new pile. It’s like introducing your new recruits to the team.
- Manure (Aged): Well-rotted manure, especially from herbivores like cows, horses, or chickens, is a powerhouse of nitrogen and beneficial microbes. Make sure it’s properly aged, though, as fresh manure can be too “hot” and burn your compost or introduce pathogens.
- Grass Clippings: Fresh grass clippings are a fantastic source of nitrogen and moisture, which microbes love. Just be sure to add them in thin layers to avoid matting and anaerobic conditions.
- Urine: Yes, you read that right! Diluted urine (about 1 part urine to 10 parts water) is rich in nitrogen. It’s a great “green” addition to balance out “browns” (carbon-rich materials) in your compost.
- Bones and Blood Meal: These are typically available at garden centers and are excellent nitrogen sources that can be added in small quantities to speed decomposition.
Combining a few of these can create a potent, natural accelerator for your compost pile.
Compost Accelerator Training: Essential Skills to Master
So, you’ve got your accelerator, whether it’s a store-bought bag or some clever DIY ingredients. Now, how do you actually use it to get the best results? This is where the “training” comes in. It’s about understanding the core principles of composting and how your accelerator fits into the picture.
Skill 1: Understanding the Carbon-to-Nitrogen (C:N) Ratio
Composting is all about balance. Microbes need both carbon (for energy) and nitrogen (to build their bodies). Getting this balance right is crucial, and accelerators can help, but understanding the basics is key.
Think of ‘Browns’ as your carbon sources and ‘Greens’ as your nitrogen sources.
| “Browns” (Carbon-Rich) | “Greens” (Nitrogen-Rich) |
|---|---|
| Dry leaves | Fruit and vegetable scraps |
| Shredded newspaper/cardboard | Grass clippings (fresh) |
| Straw | Coffee grounds and tea bags |
| Wood chips/sawdust | Manure (from herbivores) |
| Twigs | Eggshells |
A good target ratio is about 25-30 parts carbon to 1 part nitrogen (25:1 to 30:1). Too many browns will slow things down, and too many greens can lead to a smelly, slimy mess. Accelerators often help by providing a readily available source of nitrogen or by balancing out an existing mix.
Skill 2: Proper Layering and Mixing
How you add your materials, along with your accelerator, makes a big difference. It’s not just about dumping everything in one spot.
Start with a Base: Begin with a layer (a few inches thick) of coarse brown material like twigs or wood chips at the bottom of your bin. This helps with aeration and drainage, preventing your pile from becoming waterlogged.
Alternate Greens and Browns: Aim to add greens and browns in layers. A common recommendation is to add about two to three times more brown material than green material. For example, for every bucket of kitchen scraps (greens), add two or three buckets of dry leaves or shredded paper (browns).
Incorporate the Accelerator: When you add new layers of kitchen scraps or other green materials, this is the perfect time to sprinkle in your accelerator. If it’s a microbial starter, follow the package instructions. If you’re using soil or aged manure, a generous sprinkle over the green layer will help introduce microbes to the new food source.
Bury Kitchen Scraps: To avoid pests and odors, always bury your kitchen scraps under a layer of brown material. This also helps them mix in better with the carbon sources.
Skill 3: Moisture Management – The Goldilocks Principle
For those microbes to work their magic, they need the right amount of moisture. Not too wet, not too dry, but just right – like a well-wrung-out sponge.
- Too Dry: If your compost pile is too dry, microbial activity will slow to a crawl because they need water to live and move.
- Too Wet: If it’s too wet, air pockets get squeezed out, leading to anaerobic conditions (without oxygen). This is when foul odors start, and decomposition is much slower and less efficient.
How an Accelerator Helps: Some accelerators can help maintain the right moisture balance by aiding aeration or by their very composition. However, you still need to check.
How to Check: Grab a handful of compost from the middle of the pile and squeeze it. A few drops of water should come out. If water runs freely, it’s too wet. If it crumbles apart easily with no moisture, it’s too dry. Add water if too dry, or add more brown materials (like shredded paper or dry leaves) and turn if too wet.
Skill 4: Aeration – Giving Microbes Room to Breathe
Composting is an aerobic process, meaning it needs oxygen. Microbes use oxygen to break down materials efficiently and without bad smells. Your accelerator helps the process, but you have to help the microbes get air!
- Turning the Pile: This is the most common way to aerate. Every week or two, use a pitchfork or compost aerator tool to turn the pile. This moves the outer materials to the center and vice-versa, ensuring everything decomposes evenly and gets access to oxygen.
- Using Aeration Tubes: You can create your own aeration tubes by drilling holes in PVC pipes and burying them vertically in your compost bin. This allows air to circulate without extensive turning.
- Layering Coarse Materials: As mentioned, starting with a layer of coarse browns at the bottom and ensuring you have a good mix of browns throughout the pile creates air pockets naturally.
Accelerator’s Role in Aeration: While accelerators don’t directly add air, by speeding up decomposition, they can promote heat generation, which naturally draws air into the pile. Some specialized accelerators might also contain materials that improve the pile’s structure, indirectly aiding aeration.
Skill 5: Temperature Management – The Hot Composting Advantage
An active compost pile generates heat. This “hot composting” stage is vital because the high temperatures (130-160°F or 55-71°C) kill weed seeds and pathogens. Accelerators are brilliant at helping your pile reach these higher temperatures faster.
What Drives the Heat? It’s the metabolic activity of the microbes. The more efficiently they work, the more heat they produce. Providing them with the right food (C:N ratio), moisture, and air, along with an accelerator, maximizes their work.
How to Monitor: A compost thermometer is a handy tool. Stick it into the center of your pile. If it’s not heating up, it might be too dry, lack nitrogen (greens), or need turning. If it’s heating up nicely, you’re on the right track!
Benefits of Hot Composting:
- Faster decomposition.
- Destroys weed seeds and pathogens.
- Reduces foul odors by favoring thermophilic (heat-loving) bacteria.
For more on the science behind hot composting and its benefits, the University of Nebraska-Lincoln Extension offers great resources.
Skill 6: Troubleshooting Common Compost Problems
Even with accelerators, compost piles can throw curveballs. Here’s a quick rundown of common issues and how your accelerator training helps you solve them.
Problem: The pile smells like ammonia or rotten eggs.
Cause: Usually too many greens (nitrogen) or not enough airflow (anaerobic conditions).
Solution: Add more brown materials (leaves, shredded paper) and turn the pile thoroughly. If using a commercial accelerator, check if you’ve overused it. For DIY, ensure a good C:N balance.
Problem: The pile isn’t heating up and is just sitting there.
Cause: Too dry, not enough nitrogen, or too big/small particle size.
Solution: Check moisture levels and add water if necessary. Add a boost of greens (like coffee grounds, fresh grass clippings, or a nitrogen-rich accelerator). Ensure green materials are mixed well. Turn the pile to introduce air.
Problem: Pests (flies, rodents) are a problem.
Cause: Exposed food scraps, uncomposted dairy/meat/oily foods.
Solution: Always bury kitchen scraps deep within the pile and cover them with brown materials. Avoid adding materials that attract pests. Some accelerators can help speed up decomposition so food scraps disappear faster, but proper burial is key.
Problem: The compost is too wet and slimy.
Cause: Too much moisture, not enough “browns” to absorb excess liquid, or poor drainage.
Solution: Incorporate plenty of dry brown materials (shredded cardboard, straw, dry leaves). Turn the pile frequently to help it dry out and aerate it. Ensure your compost bin has good drainage.
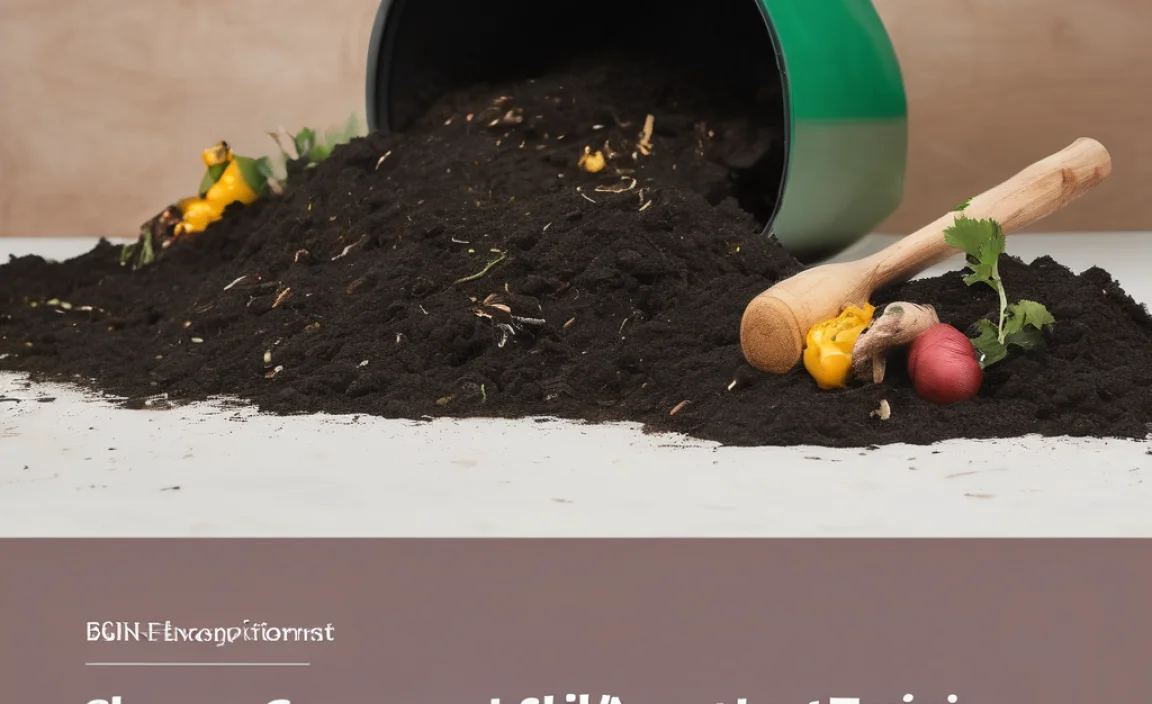
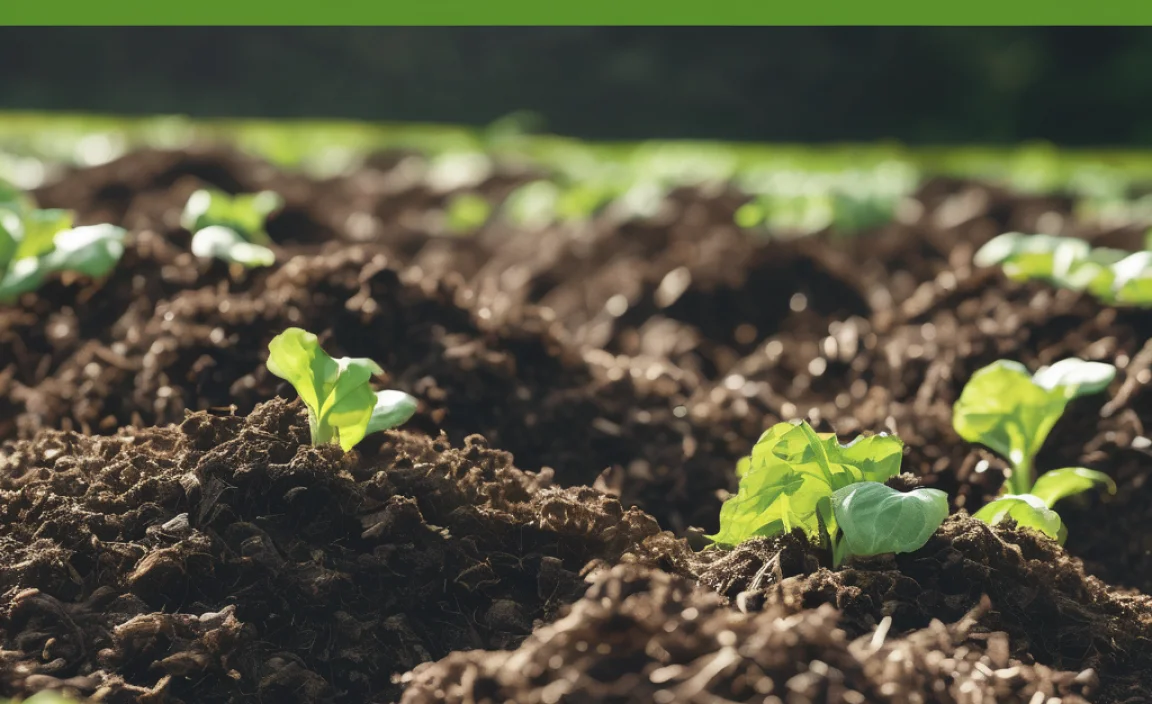
When is Compost Ready?
Your compost is ready when it looks and smells like dark, crumbly soil. You won’t be able to recognize the original materials that went into it. It should smell earthy and pleasant, not acidic or like ammonia. Depending on your method, accelerator use, and how often you turn, compost can be ready anywhere from 4 weeks to 6 months.
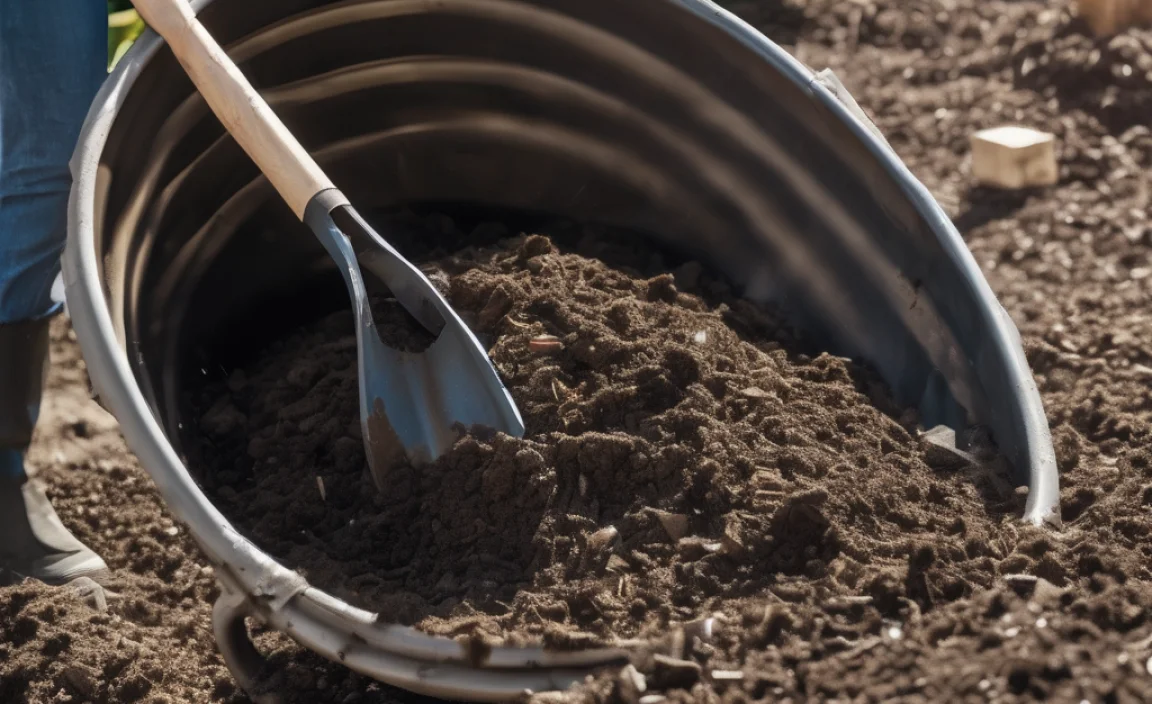
Applying Your Finished Compost

Once your compost is ready, it’s like black gold for your garden! You can:
- Mix it into garden beds: Dig it into your vegetable patches or flower beds to enrich the soil.
- Top-dress lawns: Spread a thin layer over your lawn in spring or fall.
- Use it in potting mix: Mix it with other ingredients to create a nutrient-rich potting soil for containers.
For more on soil amendments, you might find the U.S. Environmental Protection Agency (EPA) composting page a helpful resource.
Fast-Track Your Composting: A Comparison Table
Let’s look at how using an accelerator stacks up against traditional composting methods. This can help you decide if it’s the right choice for your needs.
| Feature | Traditional Composting (No Accelerator) | Composting with Accelerator |
|---|---|---|
| Speed of Decomposition | Slow to Moderate (Months to a Year+) | Faster (Weeks to a Few Months) |
| Effort/Turning Frequency | May require frequent turning for faster results or slower if left unturned. | Can potentially reduce turning frequency as microbial activity is higher. Still benefits from occasional turning. |
| Odor Control | Good if balanced, can be poor if not managed well. | Generally better due to faster aerobic decomposition kicking in. |
| Reliability for Beginners | Can be challenging to get the balance right initially. | Higher reliability; helps kickstart and maintain a healthy pile. |
| Cost | Minimal (if using household/garden waste). | Initial cost for commercial products; DIY can be very low cost. |
| Heat Generation | Variable; may not reach high temperatures without careful management. | More likely to reach higher, pathogen-killing temperatures more quickly. |
Frequently Asked Questions about Compost Accelerators
What is the quickest compost accelerator?
Commercial microbial accelerators tend to be the quickest as they introduce a large, active population of beneficial bacteria and enzymes ready to work instantly. However, a well-balanced pile with fresh grass clippings and aged manure as a DIY accelerator can also work very fast.
How often should I add compost accelerator?
Generally, you only need to add accelerator when you start a new compost pile or
Related Posts
- Home Composting Sustainable: Your Genius Guide
- Compost for Orchards Guide: Proven Essential

Compost Heap Pets: Genius Guide To Essential Visitors- How to Clear THC From Urine Faster: The Secret Trick
- Backyard Composting Pets: Genius & Essential
Composting For Farmers Best: Proven Benefits- Composting For Rural Areas Bugs: Essential Guide

Am I Leaking Amniotic Fluid or Urine? Smart Test

I am passionate about home engineering. I specialize in designing, installing, and maintaining heating, ventilation, and air conditioning systems. My goal is to help people stay comfortable in their homes all year long.