Tired of kitchen scraps piling up? Want to give your garden a super boost without hauling heavy bins? Compost bags are a game-changer for easy composting. They make turning waste into garden gold simple and tidy. If you’ve felt overwhelmed by composting, don’t worry! We’ll walk through exactly how to use compost bags like a pro. Get ready to discover a cleaner, easier way to compost.
Compost Bags Tips: Genius, Essential Hacks for Easy Composting
Hey everyone, Troy D Harn here from TopChooser! If you’re looking to shrink your trash, feed your garden, and do it all without a big, messy compost bin, you’re in the right place. Compost bags are fantastic little helpers that make composting super accessible, even if you’ve got limited space or are just starting out.
We’re talking about turning those banana peels, coffee grounds, and veggie scraps into nutrient-rich goodness for your plants. It sounds like a lot, but with the right compost bags and a few smart tips, it’s actually pretty simple. I want to share some of the most genius and essential tips I’ve learned that will make using compost bags a breeze. Forget the confusion; let’s get this compost party started!
Why Compost Bags? The Big Benefits
So many of us want to compost, but the thought of a big, smelly pile can be off-putting. Compostable bags solve a bunch of these problems:
- Space Savers: Perfect for apartments, small gardens, or even just keeping your kitchen tidy.
- Odor Control: Many are designed to minimize smells, keeping your kitchen fresh.
- Easy to Use: They’re straightforward to fill and manage, especially for beginners.
- Less Mess: No more dealing with leaky bins or soggy scraps.
- Nutrient Rich Soil: You get amazing fertilizer for your plants, flowers, and veggies.
Using compost bags isn’t just about throwing stuff away differently; it’s about making waste work for you. You’re reducing landfill waste and creating something valuable for your own little patch of green.
Understanding Your Compost Bags: What to Look For
Not all compost bags are created equal! When you’re shopping, keep an eye out for these key features. This is where the “genius” part really kicks in.
Types of Compost Bags
There are a few main players in the compost bag world:
- Certified Compostable Bags: These are the gold standard. Look for certifications like BPI (Biodegradable Products Institute) or ASTM D6400. This means they’re designed to break down in industrial composting facilities.
- Reusable Compost Bags: Made from durable materials like canvas or thick, wipeable fabric. You use these to collect scraps, and then empty them into a larger compost bin or pile.
- Biodegradable Bags: Be a little cautious here. “Biodegradable” can mean different things. Some break down faster than others, but they might not break down fully in all conditions. Certified compostable is usually a safer bet for true reduction.
Key Features to Consider
When picking out a bag, think about:
- Size: How much kitchen waste do you generate? Most kitchen countertop caddies use small bags (around 2-3 gallons), while larger bags are for ongoing composting systems.
- Strength: Nobody wants a ripped bag! Look for bags that reviewers say are sturdy and don’t leak.
- Breathability: Some bags have vents or are made of materials that allow airflow. This is good for the composting process, helping to prevent anaerobic (stinky!) decomposition.
- Lining: For reusable bags, think about how easy they are to clean. A waterproof lining is often helpful.
Genius™ Compost Bag Usage Tips for Beginners
Alright, let’s get down to the nitty-gritty. These tips will make using compost bags super easy and effective. Think of them as your secret weapons for composting success!
1. The Art of Layering (Yes, Even in a Bag!)
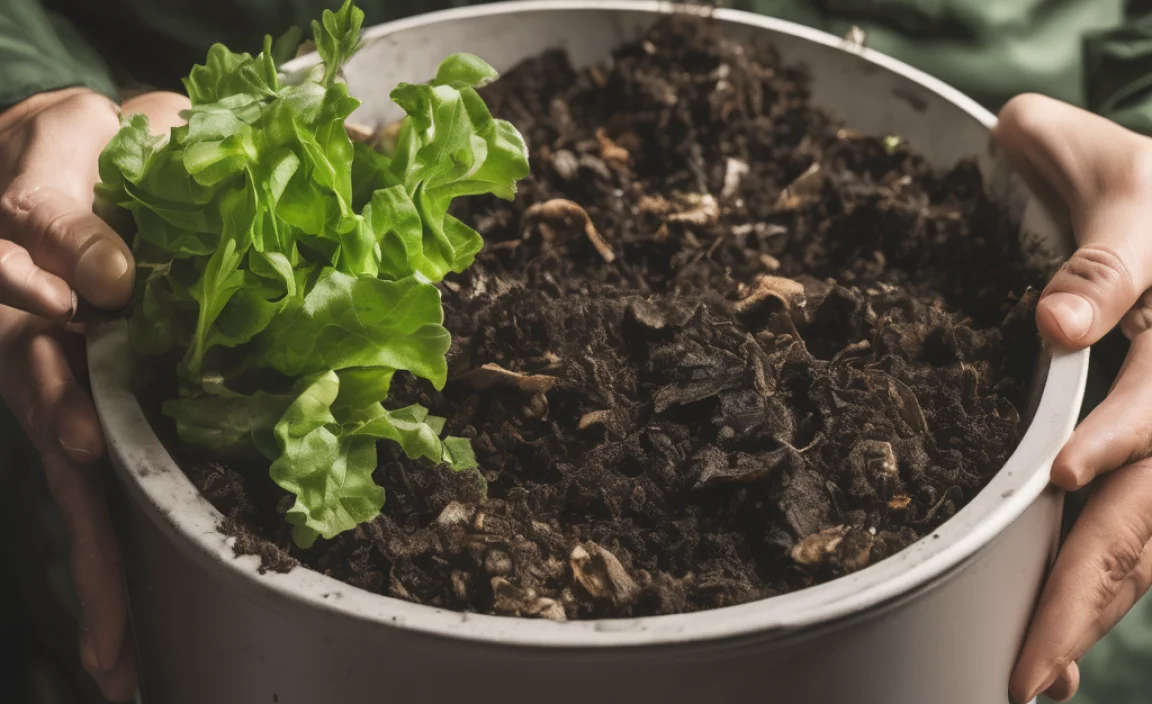
This is crucial for preventing smells and ensuring your scraps break down properly. You want a good mix of “greens” (nitrogen-rich stuff) and “browns” (carbon-rich stuff).
- Greens: Fruit and vegetable scraps, coffee grounds, tea bags, grass clippings.
- Browns: Paper towels, shredded newspaper, cardboard (torn up), dry leaves, sawdust.
Troy’s Tip: Every time you add kitchen scraps (greens), try to sprinkle a few shredded paper towels or a bit of sawdust on top. This is like giving your compost a little hug and burp, keeping it from getting too wet and stinky.
2. Don’t Drown It: Manage Moisture
Compost needs to be moist, like a wrung-out sponge, not soaking wet. Too much liquid makes things slimy and smelly. Too dry, and the microbes that break everything down can’t do their job.
- Too Wet? Add more dry materials like shredded paper, cardboard, or sawdust.
- Too Dry? Lightly mist with water. You can also add wetter scraps like fruit peels.
Troy’s Tip: If you’re using bags with a lid, make sure it fits snugly but isn’t airtight if the bag itself isn’t designed to be. A little airflow is usually good.
3. Chop It Up for Faster Composting
Smaller pieces break down much faster. Think of it like this: a whole apple takes longer to decompose than an apple that’s been diced into tiny cubes.
- Cut up large vegetable scraps.
- Tear or shred paper and cardboard into smaller pieces.
Troy’s Tip: Keep a small pair of kitchen scissors or a mini-chopper near your prep area. It takes seconds and makes a big difference!
4. Location, Location, Location!
Where you place your compost bag matters, especially for reusable types or if you’re using bags you’ll empty later.
- Indoor Countertop Caddy: Keep it somewhere cool and shaded to minimize fruit flies and odors.
- Outdoor Stored Bags: If you’re letting the bag compost outdoors, find a spot that gets some sun to help with warmth, but not baking hot direct sun all day. Partial shade is often ideal.
Troy’s Tip: If you’re using a bag to collect for a larger compost pile, don’t let it sit around for too long. Aim to empty it into your main bin at least once a week to keep things fresh and moving.
5. Knowing What Not to Compost
This is super important for healthy composting and avoiding pests.
NEVER Compost:
- Meat, fish, or bones (attract pests, cause bad odors)
- Dairy products (attract pests, cause odors)
- Oily or greasy foods (slow breakdown, attract pests)
- Diseased plants (can spread disease)
- Pet waste (from cats or dogs – contains harmful pathogens)
- Chemically treated yard waste
Check if OK:
- Small amounts of plain paper/cardboard are usually fine.
- Tea bags and coffee grounds are great!
Troy’s Tip: When in doubt, leave it out! It’s better to be safe than sorry and have a mini-disaster in your compost bag.
6. The “Burp” and “Stir” Method (for Reusable Bags)
If you’re using a reusable bag that sits for a while or a larger compost bag system, a little aeration can work wonders.
- Burping: Just opening the bag for a few minutes allows gases to escape.
- Stirring: Gently agitate the contents if possible. This introduces oxygen, which is key for the microbes doing the work.
Troy’s Tip: You don’t need fancy tools! For a reusable bag, you can sometimes just shake it gently before emptying. For larger compost bags, carefully turn the contents with a garden fork or stick.
7. When to Empty or Use Your Compost
This depends on the type of bag and your goal.
- Kitchen Caddy Bags: Empty daily or every couple of days into a larger compost bin or municipal collection.
- Larger “Composting in a Bag” Systems: These can take weeks to months. You’re looking for dark, crumbly material that smells earthy, not like rotten food.
Troy’s Tip: For larger systems, you can sometimes “harvest” finished compost from the bottom, leaving newer material to continue decomposing. Many specialized compost bags have a flap or opening for this.
Essential Tools for Compost Bag Success
You don’t need much to get started, but a few handy items will make the process smoother.
- Compostable Kitchen Bags: For collecting scraps.
- Reusable Kitchen Caddy/Bin: A small, lidded container for your countertop.
- Shredded Paper/Cardboard/Sawdust: Your “browns” stash.
- Scissors or Knife: For chopping scraps.
- Gloves: To keep your hands clean.
- Larger Compost Bag or Outdoor Bin: If you’re not using a municipal service.
Compost Bag Performance: A Quick Comparison
Here’s a look at how different approaches stack up. Remember, “performance” here means ease of use, effectiveness, and how well it fits into your lifestyle.
| Bag Type | Best For | Pros | Cons | Ideal Volume |
|---|---|---|---|---|
| Certified Compostable Kitchen Bags | Daily kitchen scrap collection (for municipal or home compost bins) | Breaks down completely in facilities, convenient, reduces waste in kitchen bin. | Must be sent to a facility or specific home composting system to break down properly. Can tear if overloaded. | 1-3 gallons (typical kitchen caddy size) |
| Reusable Fabric Compost Bags | Collecting scraps before transferring to a larger bin/pile | Durable, washable, can be used repeatedly, good for reducing single-use plastic. | Requires regular washing, can absorb odors if not cleaned properly, less convenient for immediate disposal. | 2-5 gallons |
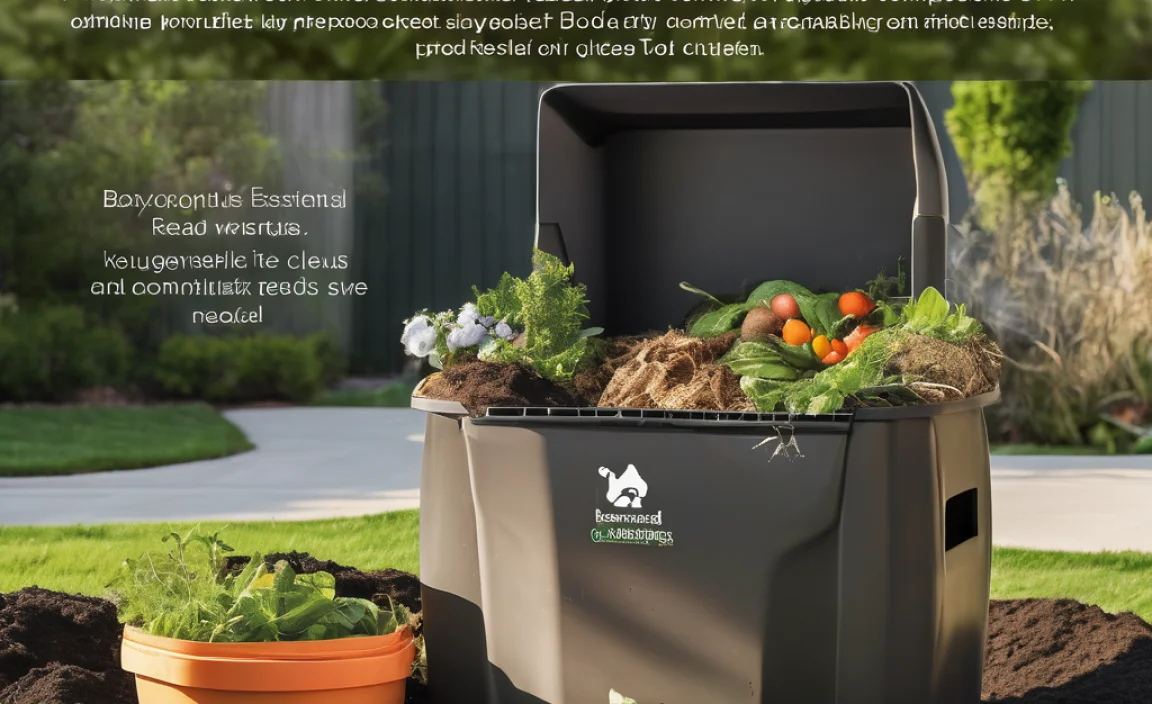
| Larger “Compost in a Bag” Systems (e.g., upright bags with aeration) | Small-scale composting for backyard use without a traditional bin | Compact, can produce finished compost relatively quickly for its size, manageable for small spaces. | Can be more expensive upfront, requires specific management (moisture, aeration), may still produce some odors if mismanaged. | 10-30 gallons |
This table should give you a good visual of what works where. For most folks just starting with kitchen scraps, the certified compostable bags paired with a reusable caddy are incredibly effective.
The Environmental Impact of Your Compost Bags
Choosing the right compost bags is more than just a convenience; it’s a choice for the environment. When you compost, you’re diverting waste from landfills. Landfills are a major source of methane, a potent greenhouse gas. By composting, you’re helping to reduce these emissions.
According to the U.S. Environmental Protection Agency (EPA), composting can significantly reduce the amount of waste sent to landfills. Using certified compostable bags ensures that your waste breaks down into beneficial compost, rather than just lingering or breaking down slowly into less desirable byproducts.
Troubleshooting Common Compost Bag Issues
Even with the best tips, sometimes things go a little sideways. Here’s how to fix common compost bag woes:
Issue: Smelly Compost
Cause: Too much green material, not enough brown material, or too wet. This leads to anaerobic decomposition (stuff rotting without air).
Solution: Stir in plenty of dry brown materials like shredded cardboard, paper, or sawdust. Ensure good airflow if you’re using a larger bag system. For countertop caddies, make sure you’re emptying them frequently.
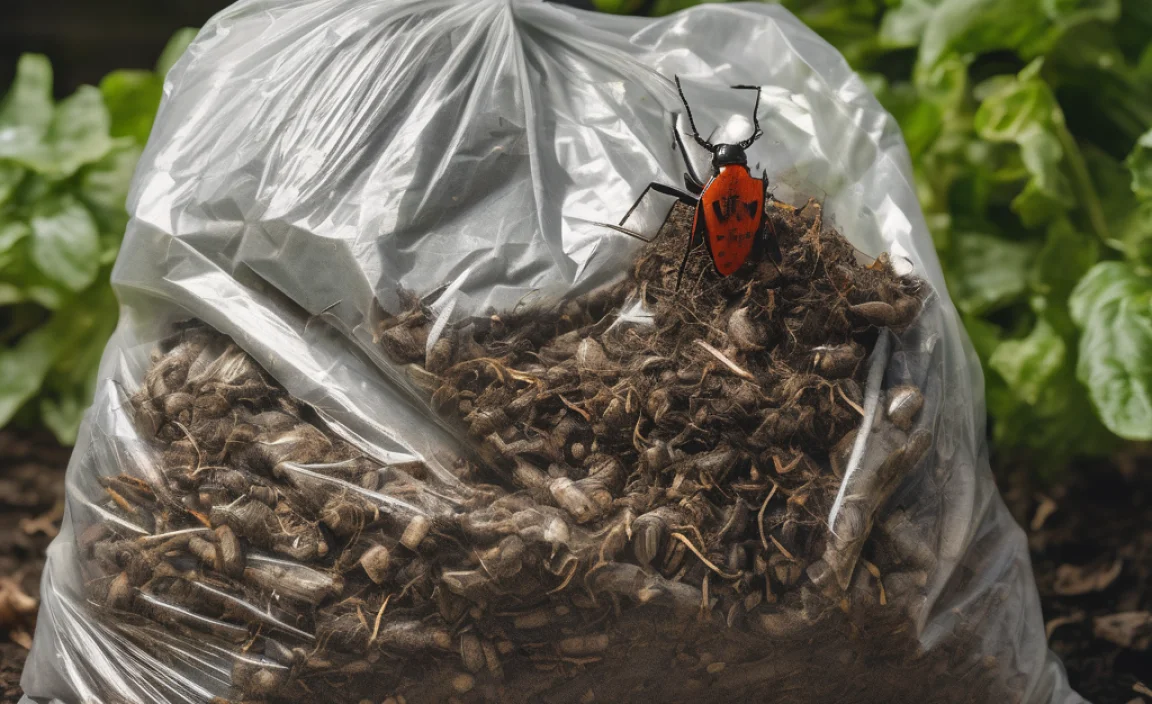
Issue: Fruit Flies or Other Pests
Cause: Exposed food scraps, especially sweet or rotting ones.
Solution: Always cover fresh food scraps with a layer of brown material. Make sure your kitchen caddy lid is secure. If you’re using larger bags outdoors, ensure they are well-sealed and not attracting pests from the outside.
Issue: The Bag is Leaking
Cause: Overfilling, sharp objects, or the bag is old/degraded.
Solution: Don’t overload bags. Try to place heavier, wetter items at the bottom and layer them with drier materials. If using certified compostable bags, check their expiry date – they can degrade over time.
Issue: Compost Isn’t Breaking Down
Cause: Too dry, not enough nitrogen (green materials), or too cold.
Solution: Add moisture if it’s dry. Add more green materials if you suspect it’s too carbon-heavy. If it’s outdoors and cold, it will slow down naturally; just be patient. For larger bags, a gentle stir can introduce necessary microbes.
Conclusion: Your Easy Path to Composting Bliss
So there you have it! Using compost bags is a straightforward, clean, and incredibly effective way to get into composting. You’re not just reducing waste; you’re creating valuable food for your plants. Remember the key tips: layer your greens and browns, manage moisture, chop things up, choose certified bags when possible, and know what to keep out. Whether you’re aiming for a simple kitchen scrap collection or a full-blown backyard composting system, compost bags make the journey much easier and less intimidating.
Give these genius tips a try. You’ll be amazed at how simple it is to turn your kitchen’s discards into garden gold. Happy composting!
FAQ: Your Compost Bag Questions Answered
Here are some common questions beginners have about compost bags.
Q1: Can I just throw any compostable bag in my garden?
A: Not all “compostable” bags break down in garden soil. Certified compostable bags are designed for industrial composting facilities. While they might break down eventually, they could leave behind residues. Stick to certified compostable bags for appropriate collection and disposal.
Q2: How often should I empty my kitchen compost bag?
A: For best results and to prevent odors and pests, it’s ideal to empty your kitchen compost bag every day or at least every two days. This is especially true if you’re just using a countertop caddy.
Q3: Do compost bags really stop smells?
A: Good quality compost bags, especially those with a good seal or made of breathable material, can significantly control odors. Layering dry “browns” with your food scraps also helps immensely.
Q4: Are compostable bags better than regular plastic bags for kitchen waste?
A: Yes, if you are composting! They are designed to break down, unlike regular plastic which can take hundreds of years. For waste that will be composted, compostable bags are the eco-friendly choice.
Q5: How do I know when my compost in a bag is ready?
A: Finished compost will be dark brown or black, crumbly, and smell earthy, like a forest floor. You shouldn’t be able to recognize the original food scraps. This can take anywhere from 4 weeks to several months, depending on conditions.
Q6: Can I compost paper shredded from my office that was in a plastic bag?
A: If the paper is plain and shredded, it’s usually fine to compost, even if it came from a plastic bag. Just compost the paper itself. The plastic bag should go in your regular trash or recycling, depending on local rules.

I am passionate about home engineering. I specialize in designing, installing, and maintaining heating, ventilation, and air conditioning systems. My goal is to help people stay comfortable in their homes all year long.