Dreaming of fresh herbs or veggies from your own balcony garden but worried about smelly waste or not having enough space? You’re not alone! Many apartment dwellers feel the same way. But what if I told you that you can easily create your own compost right there on your balcony, turning kitchen scraps into gardening gold?
It might sound tricky, but it’s totally doable. This guide will walk you through everything you need to know, step-by-step, to set up and maintain a successful balcony compost bin. Get ready to feel good about reducing waste and growing your own!
Compost Bin Balcony: Your Essential Guide to Apartment Composting
Hey there, fellow home improvers and garden enthusiasts! Troy D Harn here from TopChooser, and today we’re tackling a topic that’s become super popular for city dwellers: balcony composting. If you live in an apartment or condo and have a balcony, you might think composting is out of reach. Well, think again! With the right setup, your balcony can become a mini ecosystem, churning out nutrient-rich compost for your plants. It’s a fantastic way to reduce your household waste, save money on soil amendments, and even grow a little bit of your own food.
We’ll cover everything from choosing the right bin to what you can and can’t compost, and how to keep it all from smelling funky. Ready to turn those kitchen scraps into black gold? Let’s get started!
Why Compost on Your Balcony? The Perks You Can’t Beat
Composting might sound like something for folks with big backyards, but bringing it to your balcony has some serious advantages:
- Waste Reduction: The average household throws away a surprising amount of food scraps. Composting diverts this from landfills, which is great for the environment.
- Nutrient-Rich Soil: Homemade compost is like a superfood for your plants. It improves soil structure, helps retain moisture, and provides essential nutrients that commercial fertilizers can’t always match.
- Gardening Booster: Whether you have a few pots or a small vertical garden, compost will make your plants happier and healthier. Expect more vibrant blooms and tastier harvests!
- Saves Money: You’ll spend less on potting soil and fertilizer when you’re making your own.
- Educational and Rewarding: It’s a fantastic way to connect with the natural cycle of decomposition and see your efforts pay off.
- Odor Control: Done right, composting on a balcony shouldn’t smell bad at all. In fact, it can smell earthy and pleasant!
Choosing the Right Compost Bin for Your Balcony
This is where things get exciting! There are several types of compost bins that work well on balconies. The key is to find one that fits your space, your lifestyle, and your composting style.
1. Tumbler Composters
Tumblers are fantastic for balconies. They are sealed containers that you can rotate, which speeds up the composting process and keeps things contained and neat. They also help keep pests out.
- Pros: Faster composting, easy to mix (just give it a turn!), contained, reduces odors, pest-resistant.
- Cons: Can be pricier upfront, might be too large for very small balconies, needs to be manually turned.
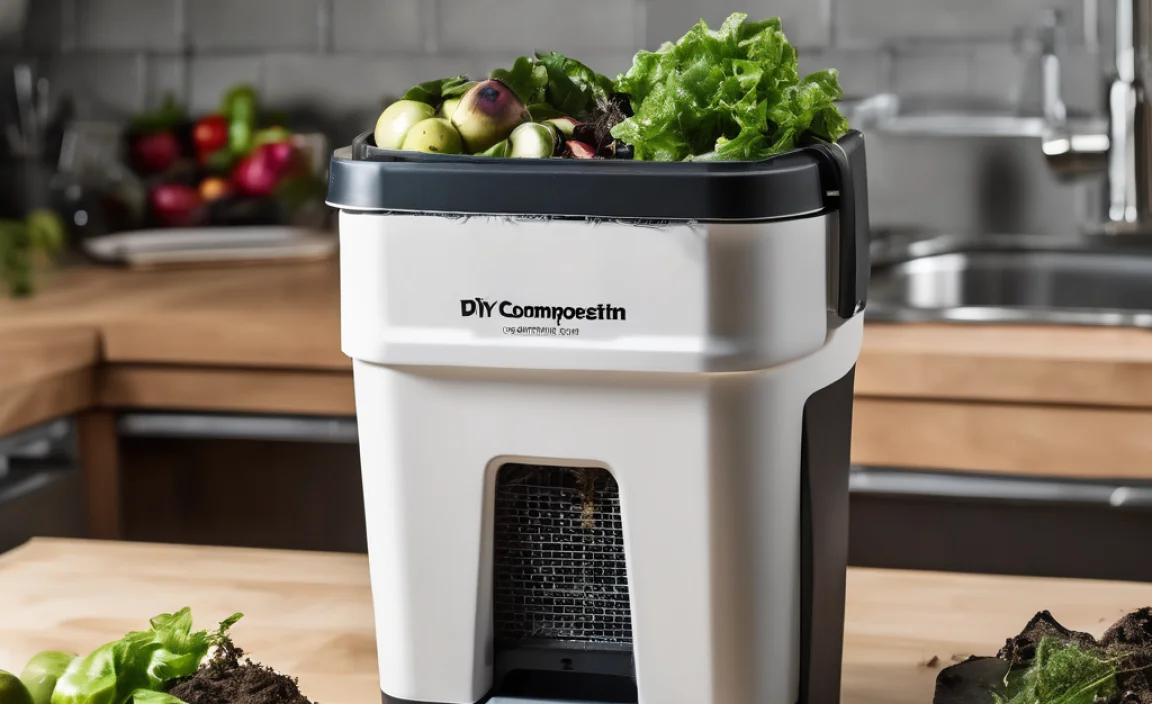
2. Countertop Compost Bins (Electric or Non-Electric)
These are smaller bins, often used indoors for collecting scraps before they go into a larger outdoor bin. However, some electric countertop composters can actually break down waste significantly in a matter of hours, producing a dry, compost-like material. Non-electric ones are simply stylish containers to hold scraps.
- Pros: Small footprint, great for collecting scraps, electric versions are very fast and can reduce odor significantly.
- Cons: Non-electric ones require a larger composting system, electric ones can be expensive and use energy.
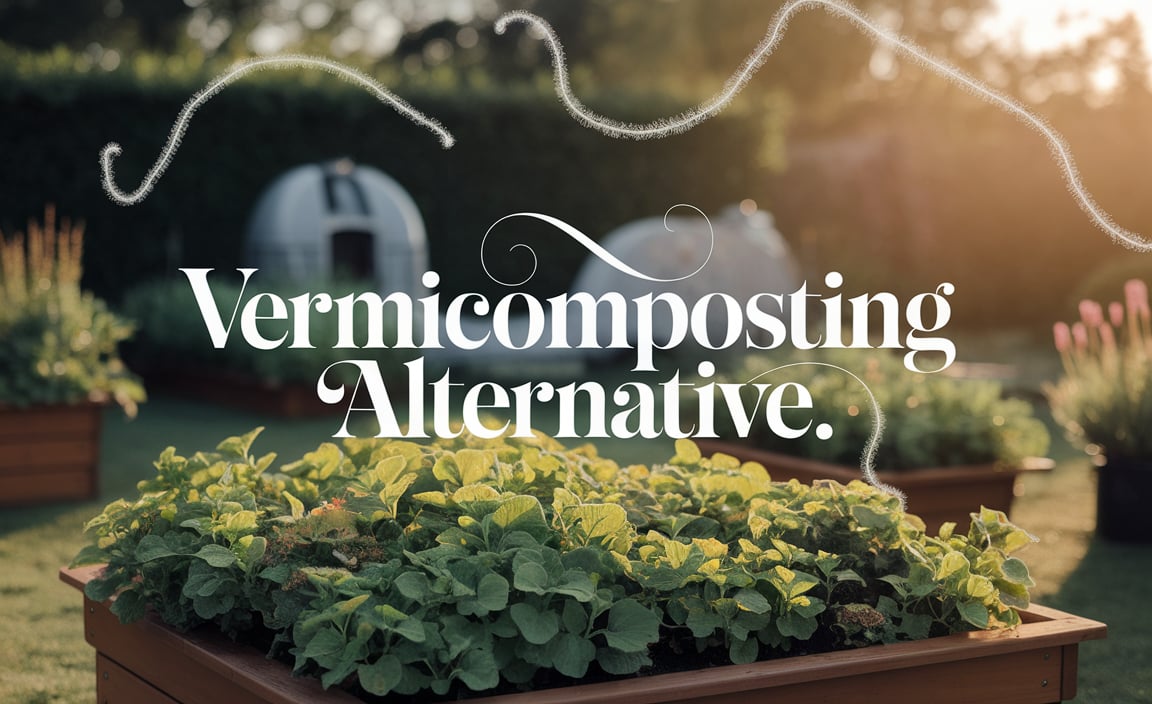
3. Small Worm Composting Bins (Vermicomposting)
Worms are nature’s ultimate recyclers! In vermicomposting, red wiggler worms do the work of breaking down your food scraps in a specialized bin. This is a very popular and effective balcony method.
- Pros: Very efficient, produces nutrient-rich worm castings (super fertilizer!), odorless when managed correctly, relatively compact.
- Cons: Requires managing live worms, can’t process large volumes of food scraps quickly, may deter some people initially.
4. Compact Stationary Bins (Plastic or Fabric)
These are more traditional compost bins, but designed for smaller spaces. They are usually upright and hold the compost material. Some have lids, others are open at the top (requiring more careful management for odor and pests).
- Pros: Can be inexpensive, simple to use, available in various sizes.
- Cons: Slower composting, mixing can be harder, less pest-resistant than tumblers, can potentially smell if not managed well.
What to Look for in a Balcony Compost Bin
No matter which type you choose, keep these factors in mind:
- Size: Measure your balcony space first! A bin that’s too big will be a nuisance, while one too small might not handle your waste. Look for bins around 15-30 gallons for a typical balcony.
- Material: Most balcony bins are made of durable plastic, wood, or fabric. Plastic is easy to clean and lightweight. Wood offers a more natural look but can degrade over time. Fabric bins are breathable but might need more frequent watering.
- Lid/Seal: A good lid is crucial for keeping out rain, pests, and for odor control.
- Ventilation: Compost needs air to break down properly. Look for bins with built-in vents or consider how you can ensure airflow.
- Ease of Mixing/Harvesting: How will you turn the compost? How will you get the finished compost out? Tumblers are easy to mix. For stationary bins, you might need a compost fork or tool.
- Aesthetics: It’s on your balcony, so you’ll want something that doesn’t look out of place!
Setting Up Your Balcony Compost Bin: A Step-by-Step Approach
Once you’ve picked your perfect bin, it’s time to set it up. This process is pretty similar for most bin types, with a few minor adjustments.
Step 1: Choose the Right Spot
Your balcony compost bin needs a good home. Ideally, place it:
- In a Shady or Partially Shady Area: Direct, intense sun can dry out your compost pile too quickly, making it hard for the microbes to work.
- On a Level Surface: This prevents tipping and ensures even decomposition.
- Near a Water Source: You’ll need to add water occasionally, so having a tap or hose nearby can be convenient.
- Protected (if necessary): If you have strong winds, consider a more enclosed bin or a spot sheltered by a railing or wall.
- Consider Proximity to Your Door: Easy access means you’re more likely to add scraps regularly.
Step 2: Gather Your Composting Materials (The “Greens” and “Browns”)
Successful composting relies on a good balance of nitrogen-rich materials (“greens”) and carbon-rich materials (“browns”). Aim for a ratio of about 2 parts browns to 1 part greens.
| Greens (Nitrogen-Rich) | Browns (Carbon-Rich) |
|---|---|
| Fruit and vegetable scraps | Dry leaves |
| Coffee grounds and tea bags | Shredded newspaper or cardboard (unwaxed) |
| Grass clippings (in thin layers) | Straw or hay |
| Plant trimmings (non-diseased) | Wood chips or sawdust (untreated) |
| Eggshells (crushed) | Paper towels and toilet paper rolls (shredded) |
Tip: Chop larger items into smaller pieces to speed up decomposition.
Step 3: Start Layering Your Bin
If you have a stationary bin or tumbler, it’s best to start with a base layer of “browns.”
- Base Layer (Browns): Add a 3-4 inch layer of dry leaves, shredded cardboard, or straw at the bottom. This helps with aeration and drainage.
- Add Greens: Now, start adding your kitchen scraps (greens). Bury them slightly under the browns to help prevent odors and deter flies.
- Cover with Browns: After adding your greens, always cover them with a layer of browns. This is the golden rule for odor-free composting!
- Moisture Check: Your compost should feel like a wrung-out sponge – damp, but not soaking wet. If it’s too dry, lightly mist it with water. If it’s too wet, add more browns.
If you’re using a worm bin, the process is slightly different. You’ll typically start with a bedding material like shredded newspaper or coconut coir, moisten it, and then introduce your worms.
Step 4: Regular Maintenance and “Turning” Your Compost
This is where the magic happens!
For Tumbler Bins:
- After adding new materials, rotate the tumbler 5-10 times. Do this every few days to a week. This mixes everything, adds air, and speeds up decomposition.
For Stationary Bins:
- Use a compost fork, rake, or aeration tool to turn the pile. Mix the materials from the outside into the center, and bring the bottom materials to the top. Aim to turn it at least once a week.
For Worm Bins:
- Add food scraps directly to the worm bin, usually in a different spot each time. Gently bury them under the bedding. Avoid overfeeding. Worms process waste at their own pace. The U.S. Environmental Protection Agency (EPA) has great resources on composting basics that apply here too.
Temperature: A healthy compost pile will generate heat as the microbes work. You can use a compost thermometer to keep an eye on this, but it’s not essential for home composting.
Step 5: Harvesting Your Compost
How long does it take? It varies! With good management, especially in a tumbler or worm bin, you can have compost in as little as a few weeks to a couple of months. For traditional bins, it might take 3-6 months.
Signs your compost is ready:
- It will be dark brown or black and crumbly.
- It will smell earthy, like a forest floor.
- You won’t be able to recognize the original food scraps or yard waste.
How to harvest:
- Tumblers: Empty the entire bin into a wheelbarrow or tarp. You can sift out any unfinished material to put back into the bin.
- Stationary Bins: Often, compost matures at the bottom. You can dig down and remove the finished compost from a hatch at the bottom, or empty the whole bin and sift.
- Worm Bins: You can harvest worm castings by pushing the finished material to one side and adding fresh bedding and food to the other, encouraging worms to migrate. Or, dump the bin onto a tarp and separate worms from castings.
What Can You Compost? The Do’s and Don’ts for Your Balcony Bin
Knowing what to put in your bin is key to successful, odor-fee composting. Remember, on a balcony, it’s even more important to be selective!
What TO Compost (The Basics):
- Fruit and Vegetable Scraps: All of them! Peels, cores, rinds, wilted lettuce, etc.
- Coffee Grounds and Paper Filters: Great source of nitrogen.
- Tea Bags: Remove any staples or plastic tags.
- Eggshells: Crush them well. They add calcium.
- Yard Trimmings: Small amounts of grass clippings (avoid thick layers), dead leaves, small twigs.
- Shredded Paper and Cardboard: Uncoated and unbleached.
- Crushed Nutshells: Except for walnuts, which can inhibit plant growth.
- Old (un-oiled) wood ash: In small quantities.
What NOT to Compost (Crucial for Balconies!):
- Meat, Fish, Bones, and Dairy Products: These will attract pests and create terrible odors.
- Oily or Greasy Foods: Similar to above, they attract pests and smell.
- Diseased Plants: You don’t want to spread plant diseases.
- Weeds that have gone to seed: Unless your compost gets very hot, these seeds might still sprout.
- Pet Waste (Dog and Cat Feces): Can contain harmful pathogens.
- Chemically Treated Yard Waste: Avoid anything sprayed with pesticides or herbicides.
- Glossy or Coated Paper/Cardboard: Ink and coatings can be problematic.
- Synthetic Materials: Plastics, metals, glass.
- Coal or Charcoal Ash: Can contain harmful substances.
Special Considerations for Balcony Worm Composting:
Worms are a bit more particular. Avoid citrus in large quantities (they are acidic), onions and garlic (worms don’t like the strong smell), and anything spicy. If you’re unsure, err on the side of caution.
Troubleshooting Common Balcony Composting Problems
Even with the best intentions, you might run into a few snags. Here’s how to fix them:
1. The Smell Problem
This is the #1 concern for balcony composters. A stinky pile usually means it’s too wet, lacks air, or has too many “greens.”
- Fix: Add more “browns” immediately. Stir or turn the compost thoroughly to improve aeration. If it’s very wet, try to drain excess liquid and add more browns. Ensure your bin has good ventilation.
2. Pests (Flies, Gnats, etc.)
Small fruit flies are common, but you don’t want bigger visitors.
- Fix: Always bury fresh food scraps under at least 2-3 inches of “browns.” Make sure your bin has a secure lid. Avoid composting prohibited items like meat and dairy. A layer of dry leaves or straw on top can also help.
3. The Pile is Too Dry and Not Decomposing
If your compost looks dusty and nothing is breaking down, it needs moisture.
- Fix: Lightly mist the pile with water. If it’s very dry, you might need to add more greens or even a small amount of finished compost or soil to introduce microbes.
4. The Pile is Too Wet and Sludgy
This can happen if there’s too much rain or you’ve added too many wet “greens.”
- Fix: Add a generous amount of dry “browns” – shredded cardboard, dry leaves, or straw. Turn the pile vigorously to incorporate them and improve airflow.
5. Not Enough Finished Compost
If your bin is full but you’re not getting much compost, it might be due to:
- Fix: You might be adding too many browns and not enough greens, or the materials are too large. Chop scraps smaller, ensure a good balance of greens and browns, and make sure you’re turning it regularly.
Making the Most of Your Balcony Compost
Once you’ve got that beautiful, finished compost, what do you do with it? Here are some ideas:
- Potting Mix Booster: Mix your compost into your potting soil to give your container plants a nutrient boost. A ratio of 1 part compost to 3 parts soil is a good starting point.
- Top Dressing: Sprinkle a thin layer of compost on top of the soil in your pots. The nutrients will leach down into the soil with watering.
- Seed Starting Mix: For a richer seed-starting medium, mix compost with perlite or vermiculite.
- Feed Your Balcony Garden: If you have a small balcony garden, this is your homegrown fertilizer!

I am passionate about home engineering. I specialize in designing, installing, and maintaining heating, ventilation, and air conditioning systems. My goal is to help people stay comfortable in their homes all year long.