Looking to start composting but feeling a bit overwhelmed by all the choices in compost bins? You’re not alone! It can seem like a big decision, but don’t worry. Creating your own compost is a fantastic way to reduce waste and enrich your garden. Let’s break down what you need to know to pick the perfect compost bin for your home. By the end of this guide, you’ll be ready to make a smart purchase and start turning kitchen scraps into garden gold!
Compost Bin Buy: Your Essential Beginner’s Guide
Hey there! Troy D Harn here, ready to help you navigate the world of composting. If you’ve ever looked at those kitchen scraps and thought, “There has to be a better way than the trash bin,” then you’re in the right place. Composting is one of the most rewarding things you can do for your garden and the planet. It’s like a magic trick where you turn what you’d throw away into black gold for your plants. But before you can work your magic, you need the right tools. And the most important tool? A compost bin! Choosing one can feel a bit like picking a new pet – you want to make sure it’s the right fit for your lifestyle and your yard. Don’t sweat it, though. We’ll go through everything you need to consider, from the small balcony gardener to the backyard enthusiast. Let’s make this compost bin buy simple and successful!
Why Bother with a Compost Bin?
Before we dive into picking the perfect bin, let’s chat about why it’s worth the effort. Composting is super beneficial, both for your garden and for the environment. Here’s the lowdown:
- Reduces Waste: Did you know that food scraps and yard waste make up a large chunk of what we throw away? Composting diverts this from landfills, where it produces harmful greenhouse gases like methane. Less trash means a happier planet!
- Enriches Soil: Compost is packed with nutrients that plants love. Adding it to your garden soil acts like a superfood, improving its structure, retaining moisture, and feeding beneficial microorganisms. Your plants will thank you with healthier growth and more blooms or veggies.
- Saves Money: You can stop buying expensive soil amendments and fertilizers. Instead, you’ll be making your own nutrient-rich compost for free!
- Less Gardening Work: Healthy soil means healthier plants that are more resistant to pests and diseases, which means less work for you in the long run.
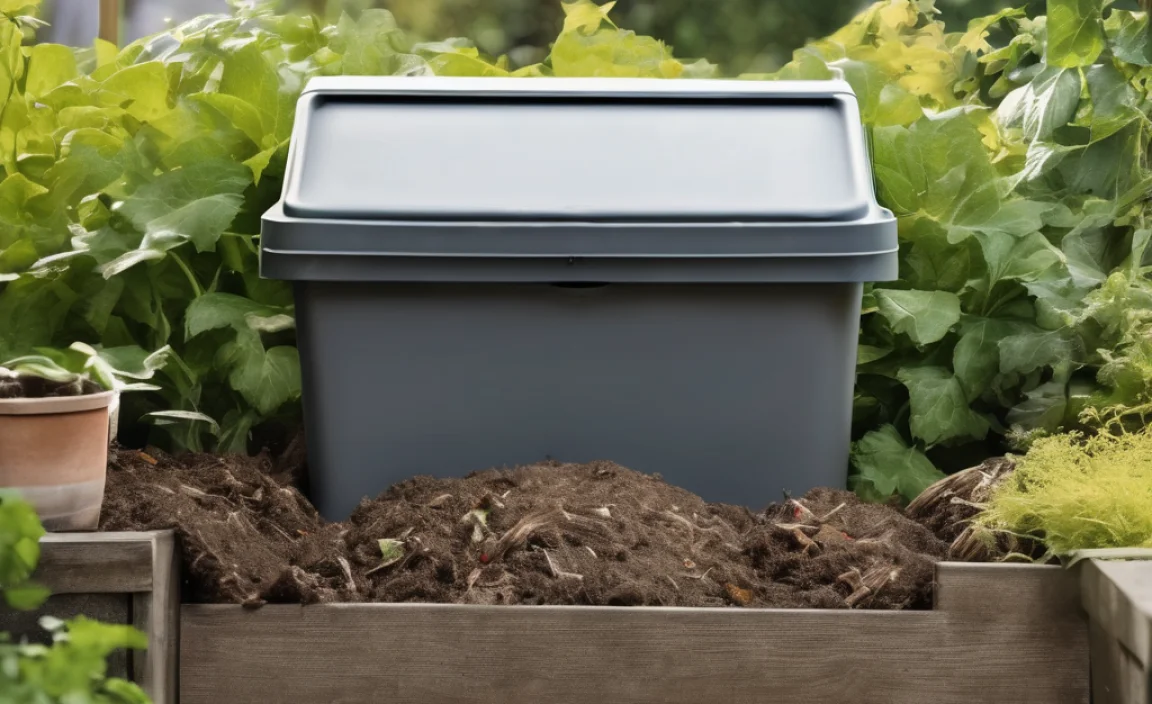
Types of Compost Bins: Finding Your Fit
Picking the right compost bin depends on a few things: how much space you have, how much material you’ll be composting, how quickly you want compost, and how much effort you want to put in. Let’s look at the most common types you’ll find:
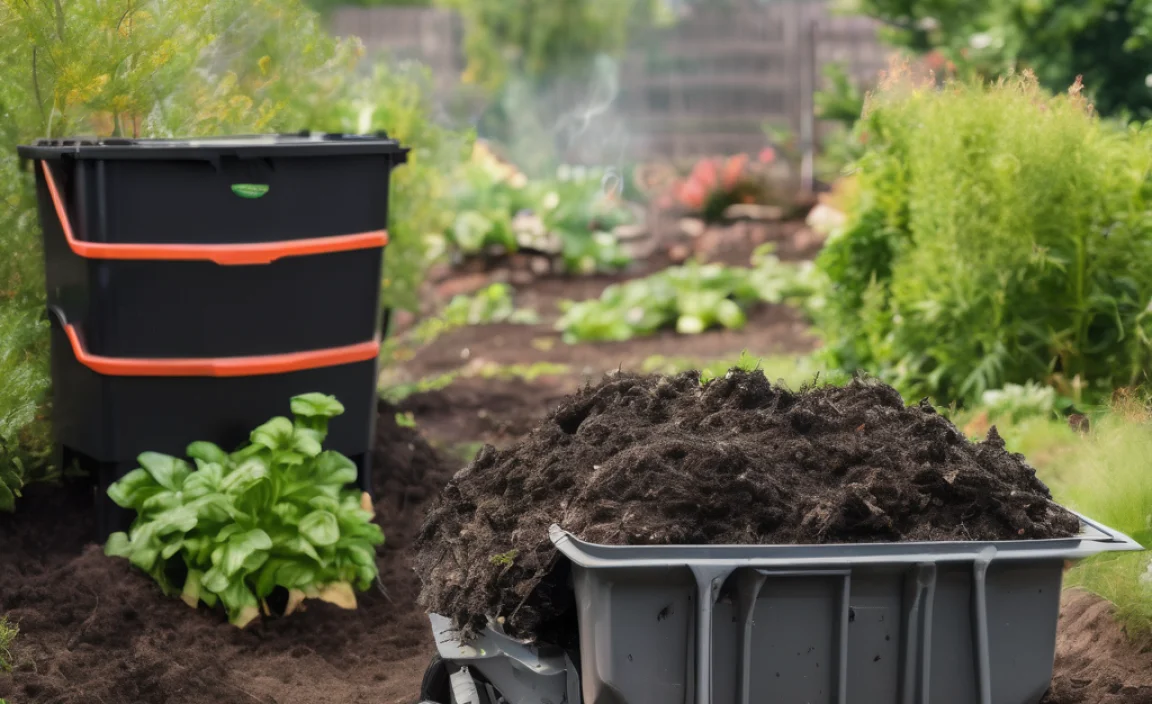
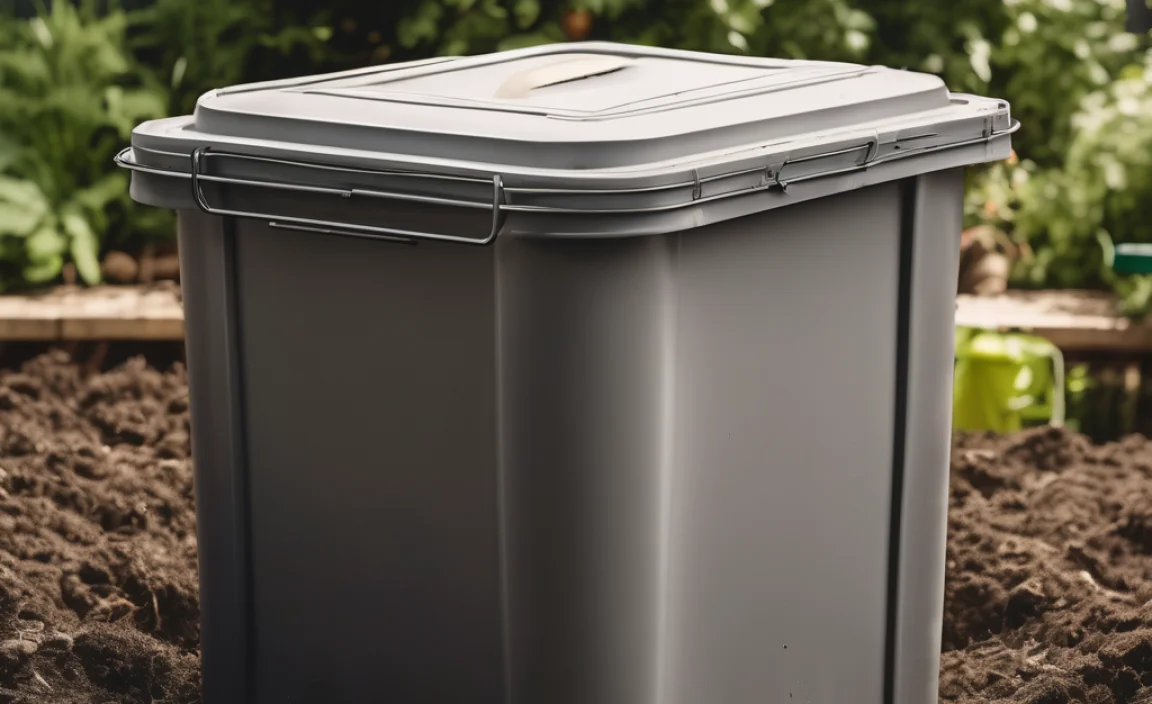
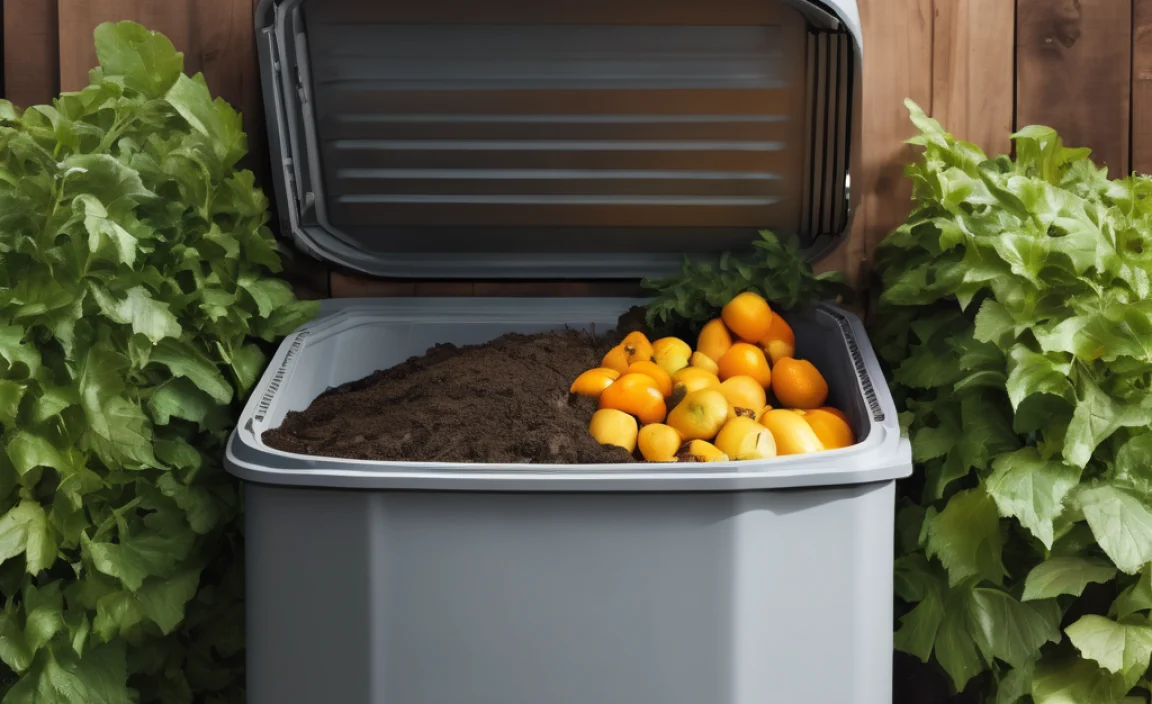
1. Stationary Bins (The Classic Choice)
These are the most traditional compost bins. They’re usually a single, enclosed unit where you add materials from the top and ideally retrieve finished compost from a door at the bottom. They can be made of wood, plastic, tumbling drums, or even wire mesh.
Pros:
- Good for larger volumes of yard waste and kitchen scraps.
- Can produce a good amount of compost over time.
- Often designed to keep pests out better than open piles.
- Many are designed for good aeration.
Cons:
- Can take longer to break down materials as they require manual turning.
- Retrieving compost from the bottom can sometimes be messy.
- Can be bulky, requiring more yard space.
2. Tumbler Bins (The Speedy Option)
Tumbler composters are sealed drums that rotate on an axle or base. You load them with your compostables, and then you give the drum a spin every few days. This manual agitation helps mix the materials, aerate them, and speed up decomposition.
Pros:
- Much faster composting time due to easy turning and aeration.
- Enclosed design is excellent at keeping pests out.
- Less physical labor involved in turning compared to manual piles or stationary bins.
- Often have neat, dual-chamber designs allowing you to fill one side while the other composts.
External Resource: The U.S. Department of Energy offers some great insights into backyard composting methods, including tumblers. Check out Backyard Composting for more details on different techniques.
Cons:
- Generally more expensive than stationary bins.
- Can be harder to fill if you produce a lot of material at once.
- Some smaller tumblers might struggle with larger amounts of material or wetter items.
3. Open Piles (The No-Frills Approach)
This is likely what comes to mind when you imagine composting: a simple pile of organic matter in a corner of your yard. You can leave it as is, or you can build a simple enclosure with wire mesh, wood pallets, or bricks to keep it tidy.
Pros:
- Cheapest option, virtually free if you don’t build an enclosure.
- Can handle very large volumes of yard waste.
- Simple and easy to get started.
Cons:
- Requires manual turning with a pitchfork or shovel, which can be strenuous.
- Can attract pests more easily if not managed properly.
- May not look as tidy in smaller yards.
- Composting can take longer without active management.
4. Worm Composting Bins (for indoors or small spaces)
Also known as vermicomposting, this method uses special composting worms (like red wigglers) in a contained bin. It’s perfect for apartments, small balconies, or for those who want to compost kitchen scraps quickly indoors. These bins typically have multiple trays.
Pros:
- Ideal for small spaces, including indoors.
- Produces nutrient-rich “worm castings” which are a fantastic fertilizer.
- Fast decomposition of kitchen scraps.
- Quiet and odor-free when managed correctly.
Cons:
- Cannot handle large volumes of yard waste.
- Requires specific types of worms and careful management of moisture and temperature.
- Can be a learning curve for beginners to keep the worms happy.
5. Continuous vs. Batch Composting Bins
This distinction refers to how you use the bin:
- Continuous Bins: Materials are added to the top as they become available, and finished compost is removed from the bottom. This is common for many stationary and tumbler bins.
- Batch Bins: You fill the entire bin with a “batch” of materials, let it compost completely, and then empty it all at once. This is often how tumblers work when you fill one chamber and let it finish before starting the next.
For beginners, a continuous bin might feel more natural as you can add scraps as you generate them. Batch bins can be useful if you have distinct composting seasons, like accumulating yard waste in the fall.
Key Features to Consider When Buying
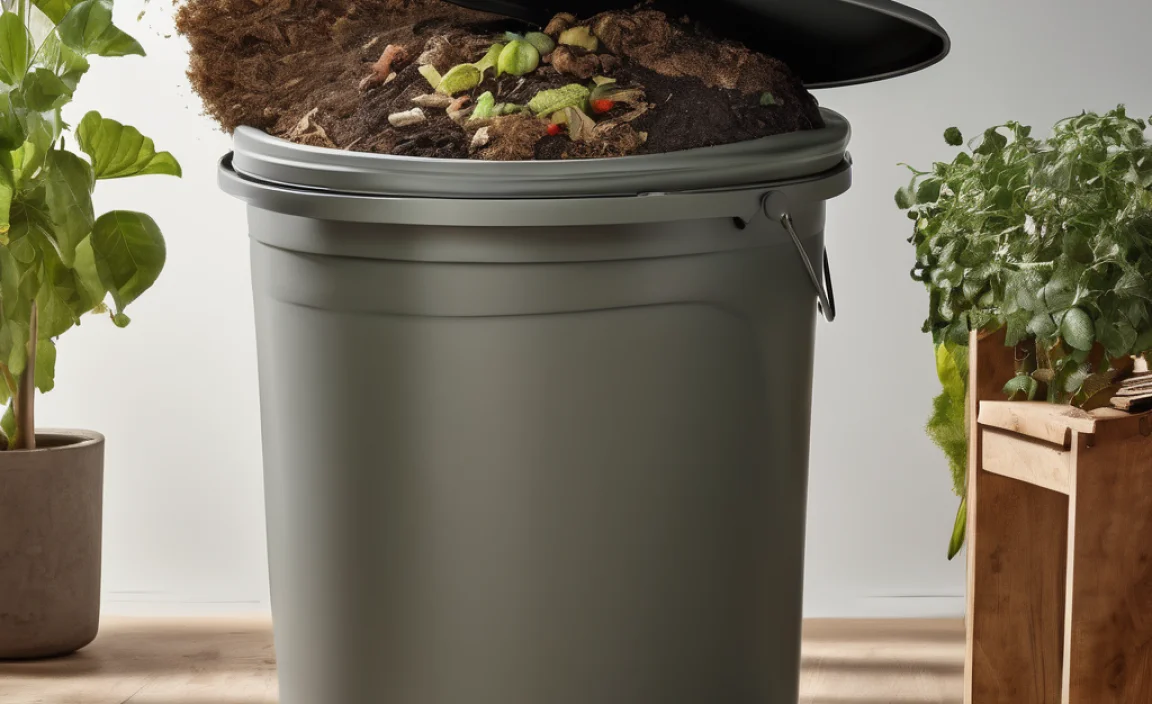
Now that you know the types, let’s look at the features that will make or break your composting experience:
1. Size and Capacity
How much organic waste do you produce? A good rule of thumb is that a bin should be at least 3 feet by 3 feet by 3 feet (1 cubic yard) to generate enough heat for efficient composting. However, smaller bins are available and can work, especially tumblers or worm bins. Consider:
- Kitchen scraps: If it’s mostly kitchen scraps from one or two people, a smaller bin or tumbler might suffice.
- Yard waste: If you have a large yard with lots of leaves and grass clippings, you’ll need a larger bin or an open pile.
- Composting speed: Larger bins and tumblers generally compost faster.
Tip: Many manufacturers list capacity in gallons or liters. A common size for a good stationary bin is around 100-200 gallons.
2. Material Durability
Compost bins are exposed to the elements and can get quite heavy when full. Look for bins made from durable materials:
- Recycled Plastic: Many modern bins are made from UV-resistant, recycled plastic. These are often lightweight, easy to clean, and won’t rot.
- Hardwood: Wooden bins can look nice but may rot over time unless treated. Look for rot-resistant woods like cedar.
- Metal: Galvanized steel or sturdy wire mesh can be durable but might rust or get very hot in direct sun.
3. Aeration and Drainage
Composting is an aerobic process, meaning it needs oxygen. Good aeration is crucial for preventing smelly, anaerobic conditions. Look for bins with:
- Ventilation holes: Plenty of holes around the sides allow air to circulate.
- Bottom drainage: Excess moisture needs to escape, so ensure the bin has holes or is open at the bottom (for piles) to prevent waterlogging.
4. Ease of Turning and Harvesting
This is where tumblers shine!
- Turning: If you opt for a stationary bin or pile, can you easily access it with a pitchfork or compost aerator tool to turn the contents? If you choose a tumbler, is it easy to rotate?
- Harvesting: Where does the finished compost come out? A convenient door at the bottom of a stationary bin is a big plus. Tumblers often have a large opening for easy emptying.
5. Pest Resistance
If rodents or other critters are a concern in your area, look for fully enclosed bins with sturdy lids and no large gaps. Tumblers are generally the best for pest deterrence. Open piles are the most vulnerable.
6. Aesthetics
Let’s be honest, a compost bin might be visible in your yard. Some bins are designed to be more attractive than others, fitting in with landscaping. If it’s going in a less visible spot, functionality might trump looks.
Compost Bin Comparison Table
To help you visualize the differences, here’s a quick comparison:
| Bin Type | Best For | Cost Range | Composting Speed | Ease of Use | Pest Resistance | Space Needs |
|---|---|---|---|---|---|---|
| Stationary Bin | Medium to large yards, mixed waste | $$ – $$$ | Medium to Slow | Moderate (turning required) | Good | Medium to Large |
| Tumbler Bin | Faster compost, pest concerns, ease of turning | $$$ – $$$$ | Fast | Easy (spinning) | Excellent | Medium |
| Open Pile | Large volumes of yard waste, budget-conscious | $ (or free) | Slow to Medium | Challenging (manual turning) | Poor | Large |
| Worm Bin (Vermicomposting) | Kitchen scraps, small spaces, indoors | $$ – $$$ | Fast (for kitchen scraps) | Moderate (specific care needed) | Good (contained) | Small |
(Cost Range: $ = Low, $$ = Moderate, $$$ = High, $$$$ = Very High)
Getting Started: What You’ll Need
Beyond the bin itself, a few other bits can make your composting journey smoother:
- Compost Aerator Tool: Even with a stationary bin, turning the materials helps them break down faster. A compost aerator is much easier to use than a pitchfork.
- Kitchen Caddy: A small container with a lid for collecting food scraps in your kitchen before you take them out to the compost bin.
- Gardening Gloves: For keeping your hands clean when handling compost or turning materials.
- Water Source: Compost needs to be moist, like a wrung-out sponge. You’ll need easy access to water.
Where to Buy Your Compost Bin
You have several great options for purchasing a compost bin:
- Home Improvement Stores: Places like Home Depot and Lowe’s often carry a good selection of stationary plastic bins and tumblers.
- Garden Centers: Local nurseries and garden supply stores are excellent sources, and their staff can offer personalized advice.
- Online Retailers: Websites like Amazon, Wayfair, and specialized composting suppliers offer the widest variety of models, often with customer reviews to help you decide.
- Municipal Programs: Many cities and towns offer subsidized compost bins to residents. Check your local government’s waste or environmental department website. This can be a very cost-effective option!
- DIY: If you’re crafty, you can build your own bin from wood pallets or wire. There are tons of free plans online.
How to Use Your New Compost Bin: The Basics
Once you’ve made your compost bin buy, it’s time to start filling it! The key to successful composting is a good balance of “greens” and “browns”:
- Greens (Nitrogen-rich): These are moist materials that provide nitrogen. Think fruit and vegetable scraps, coffee grounds, tea bags, grass clippings, and fresh plant trimmings.
- Browns (Carbon-rich): These are dry materials that provide carbon. Think dry leaves, straw, shredded newspaper (black ink only), cardboard, wood chips, and twigs.
The Ideal Ratio
Aim for roughly two to three parts Browns to one part Greens by volume. This helps prevent the pile from becoming too wet and smelly.
What to Compost
- Fruit and vegetable scraps
- Coffee grounds and paper filters
- Tea bags
- Eggshells (crushed)
- Yard trimmings (grass clippings, leaves, small twigs)
- Shredded newspaper and cardboard
- Hay and straw
- Sawdust (from untreated wood)
What NOT to Compost
- Meat, fish, and bones (attract pests, can smell)
- Dairy products (attract pests, can smell)
- Grease, oils, and fats
- Diseased plants
- Weeds that have gone to seed
- Pet waste (dog or cat)
- Treated wood or coal ash
- Non-biodegradable materials (plastic, metal, glass)
Step-by-Step Composting with Your Bin:
- Start with a Layer of Browns: Begin by adding a few inches of dry leaves, straw, or shredded cardboard to the bottom of your bin. This helps with drainage and aeration.
- Add Greens and Browns Alternately: Whenever you add kitchen scraps (greens), cover them with a layer of dry yard waste or shredded paper (browns). Try to maintain that 2:1 or 3:1 brown-to-green ratio.
- Chop or Shred Large Items: Smaller pieces break down faster. Chop up large vegetable scraps or shred cardboard.
- Keep it Moist: Your compost pile should be as damp as a wrung-out sponge. If it’s too dry, add water. If it’s too wet, add more browns.
- Aerate Regularly: Turn your compost every 1-2 weeks. For tumblers, just give it a spin. For stationary bins or piles, use your aerator tool or pitchfork to mix the materials. This speeds up decomposition and prevents odors.
- Be Patient: Depending on the type of bin, the materials you use, and how often you turn and water it, compost can take anywhere from a few months to a year to be ready.
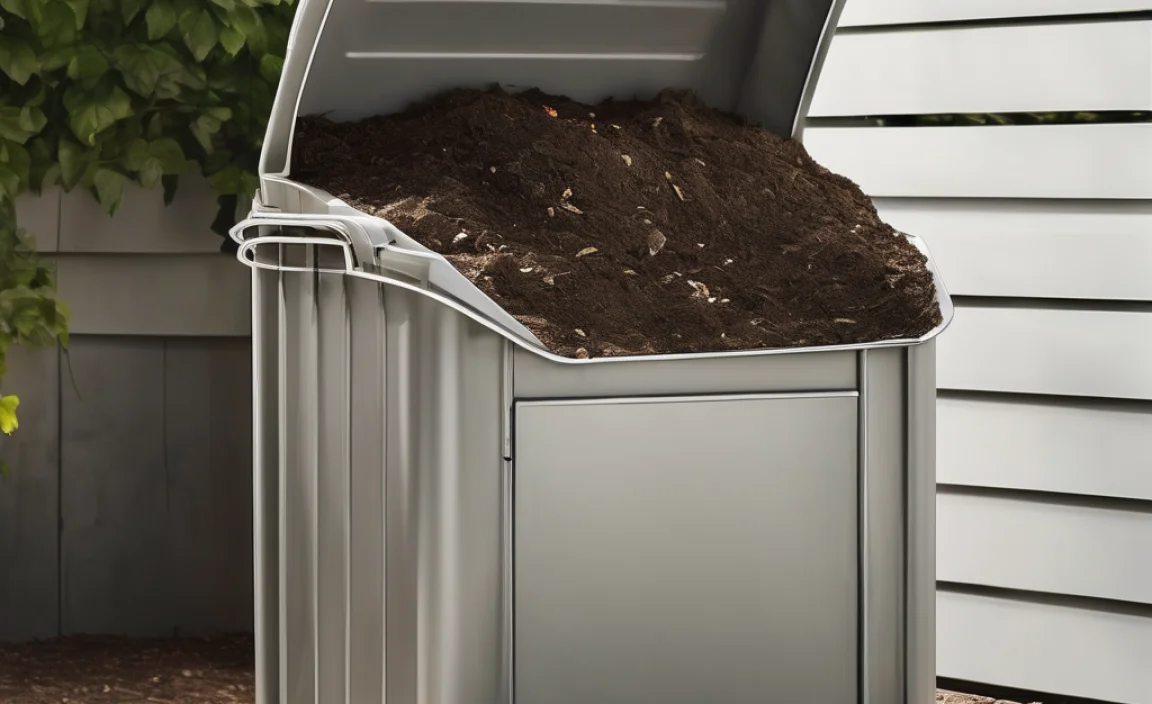
- Harvest When Ready: Finished compost will be dark, crumbly, and smell earthy, like a forest floor. You shouldn’t be able to recognize the original materials.
Tip for Tumblers: If you have a dual-chamber tumbler, fill one chamber completely, then let it compost. Once it’s finished, start filling the second chamber. This allows for a continuous supply of finished compost. For best aerobic composting, check out resources from university extension offices, such as the University of California Cooperative Extension for their composting guides.
Troubleshooting Common Composting Problems
Even with the best intentions, you might run into a few hiccups:
- Smelly Compost: Usually means it’s too wet or there’s too
.lwrp.link-whisper-related-posts{
margin-top: 40px;
margin-bottom: 30px;
}
.lwrp .lwrp-title{}.lwrp .lwrp-description{
}
.lwrp .lwrp-list-container{
}
.lwrp .lwrp-list-multi-container{
display: flex;
}
.lwrp .lwrp-list-double{
width: 48%;
}
.lwrp .lwrp-list-triple{
width: 32%;
}
.lwrp .lwrp-list-row-container{
display: flex;
justify-content: space-between;
}
.lwrp .lwrp-list-row-container .lwrp-list-item{
width: calc(25% – 20px);
}
.lwrp .lwrp-list-item:not(.lwrp-no-posts-message-item){max-width: 150px;
}
.lwrp .lwrp-list-item img{
max-width: 100%;
height: auto;
object-fit: cover;
aspect-ratio: 1 / 1;
}
.lwrp .lwrp-list-item.lwrp-empty-list-item{
background: initial !important;
}
.lwrp .lwrp-list-item .lwrp-list-link .lwrp-list-link-title-text,
.lwrp .lwrp-list-item .lwrp-list-no-posts-message{}@media screen and (max-width: 480px) {
.lwrp.link-whisper-related-posts{}
.lwrp .lwrp-title{}.lwrp .lwrp-description{
}
.lwrp .lwrp-list-multi-container{
flex-direction: column;
}
.lwrp .lwrp-list-multi-container ul.lwrp-list{
margin-top: 0px;
margin-bottom: 0px;
padding-top: 0px;
padding-bottom: 0px;
}
.lwrp .lwrp-list-double,
.lwrp .lwrp-list-triple{
width: 100%;
}
.lwrp .lwrp-list-row-container{
justify-content: initial;
flex-direction: column;
}
.lwrp .lwrp-list-row-container .lwrp-list-item{
width: 100%;
}
.lwrp .lwrp-list-item:not(.lwrp-no-posts-message-item){max-width: initial;
}
.lwrp .lwrp-list-item .lwrp-list-link .lwrp-list-link-title-text,
.lwrp .lwrp-list-item .lwrp-list-no-posts-message{};
}

I am passionate about home engineering. I specialize in designing, installing, and maintaining heating, ventilation, and air conditioning systems. My goal is to help people stay comfortable in their homes all year long.