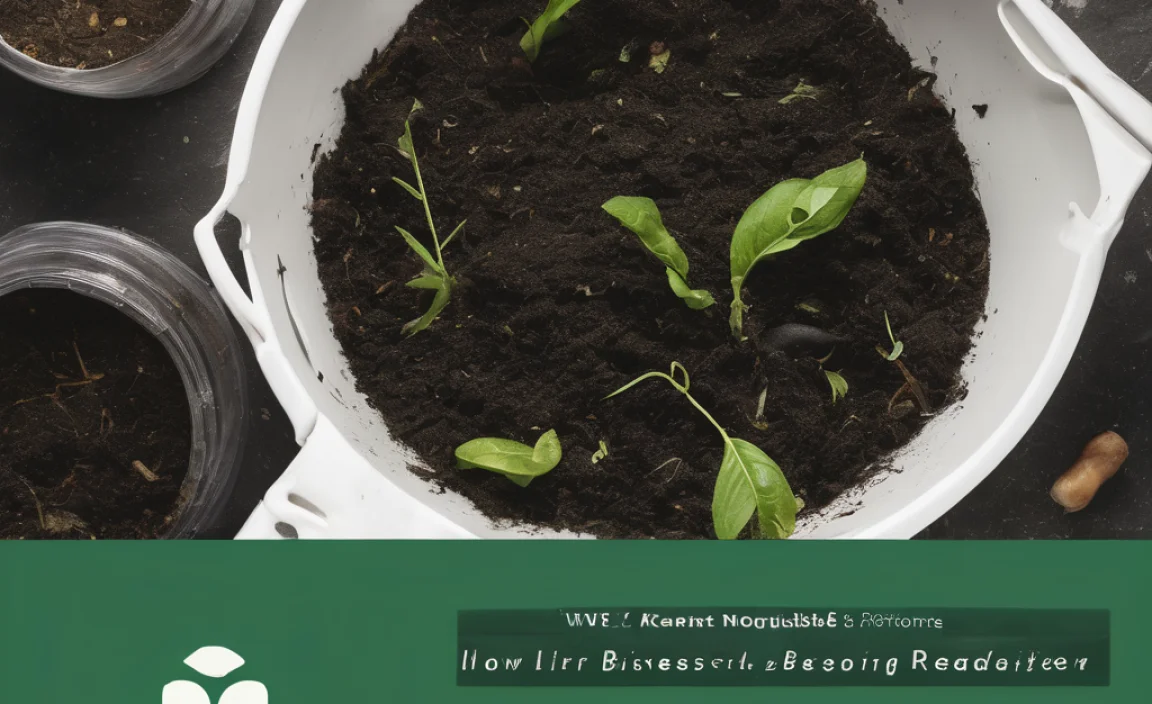
Hey there, fellow TopChooser readers! Troy D Harn here. Ever look at those fancy compost bins and think, “There’s gotta be a simpler, cheaper way to turn my kitchen scraps and yard waste into garden gold?” You’re not alone! It can feel a bit overwhelming, but trust me, creating your own compost bin doesn’t need to break the bank. We’re going to walk through how to build or find a super affordable compost bin that works wonders for your garden. Let’s get started!
Why You Need a Compost Bin (and Why Cheap is Smart!)
Composting is like a magic trick for your garden. It takes stuff you’d normally throw away – like vegetable peels, coffee grounds, and fallen leaves – and transforms it into nutrient-rich soil amendment. This “black gold” helps your plants grow stronger, healthier, and more vibrant. Plus, it’s fantastic for the environment because it diverts waste from landfills.
Now, store-bought compost bins can range from a little pricey to downright extravagant. But here’s the secret: you don’t need a fancy contraption to get great compost. A simple, well-designed compost bin, even one you build yourself for next to nothing, can be incredibly effective. This guide is all about showing you how to get that fantastic compost without spending a fortune.
What Exactly Goes Into a Compost Bin?
Before we dive into building, let’s quickly chat about what makes good compost. Think of it as balancing “greens” and “browns.”
Greens (Nitrogen-Rich Materials):
- Fruit and vegetable scraps
- Coffee grounds and tea bags
- Grass clippings
- Plant trimmings (non-woody)
- Eggshells
Browns (Carbon-Rich Materials):
- Dry leaves
- Shredded newspaper or cardboard (non-glossy)
- Straw or hay
- Twigs and small branches (chopped up)
- Sawdust (from untreated wood)
It’s a good idea to aim for a mix of about 2 parts browns to 1 part greens. Too many greens can make things smell funky, and too many browns will slow down the decomposition process. Avoid meat, dairy products, oily foods, diseased plants, and pet waste, as these can attract pests and spread pathogens.
The “Compost Bin Cheap” Options: DIY & Budget-Friendly
Alright, let’s talk money-saving solutions! There are several fantastic ways to set up a compost bin without dropping a lot of cash.
Option 1: The “Free Pallet” Compost Bin
This is a classic for a reason – it’s incredibly simple, very effective, and often completely free! You’ll often find wooden pallets behind stores or at construction sites. Always ask permission before taking them, though!
Materials You’ll Need:
- 3-4 wooden pallets of similar size
- Wire, zip ties, or sturdy screws/nails
- Optional: Chicken wire or hardware cloth for lining
Step-by-Step:
- Gather your pallets: Find 3 or 4 identical pallets. Pallets marked “HT” (heat treated) are best, as they haven’t been treated with chemicals.
- Arrange the sides: Stand three pallets up on their edges to form three sides of a square or rectangle (a ‘U’ shape).
- Join the corners: Securely fasten the pallets together at the corners using strong wire, heavy-duty zip ties, or screws/nails driven through the adjoining wooden beams. Make sure it’s sturdy!
- Add the fourth side (optional): You can leave the front open for easy access, or attach a fourth pallet. If you attach a fourth pallet, consider hinging it or making it removable for easier turning and harvesting of compost.
- Lining (optional but recommended for smaller materials): If the gaps between your pallet slats are large, you might want to staple chicken wire or hardware cloth to the inside of your bin. This helps keep smaller materials from falling out and can deter some critters.
This type of bin offers great aeration, which is crucial for healthy composting. The open sides allow air to circulate freely, speeding up the breakdown process.
Option 2: The “Wire Mesh Cylinder” Compost Bin
This is another super-simple, very affordable option that’s quick to assemble and provides excellent airflow.
Materials You’ll Need:
- A length of hardware cloth or sturdy wire mesh (e.g., chicken wire with a small mesh size is good for holding materials in). A standard roll might be 3-4 feet tall and 25-50 feet long.
- Wire, zip ties, or pliers for securing
- Wire cutters
Step-by-Step:
- Cut the mesh: Decide on the diameter of your bin. A diameter of about 3 feet is a good size for efficient composting. Measure and cut a length of wire mesh accordingly. For a 3-foot diameter, you’ll need about 9.5 feet of mesh (Circumference = π * diameter).
- Form a cylinder: Bring the two cut ends of the mesh together to form a cylinder.
- Secure the seam: Overlap the ends by a few inches and securely fasten them together using wire, zip ties, or by weaving pieces of the mesh itself using pliers. Ensure there are no sharp edges sticking out.
- Place the bin: Simply place your wire cylinder directly on the ground in your desired composting spot.
This bin offers fantastic airflow and is very easy to move if you need to shift your compost pile or harvest the finished product. You might find yourself needing to add more “brown” materials if your greens are very wet, to prevent it from becoming too soggy.
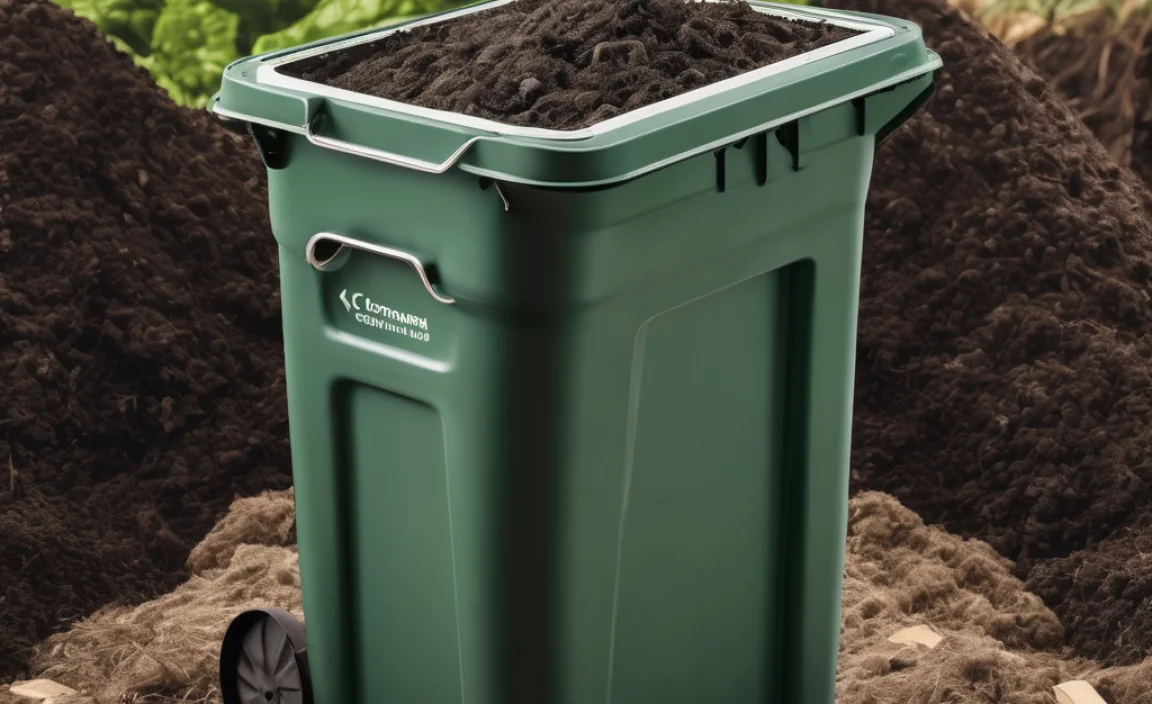
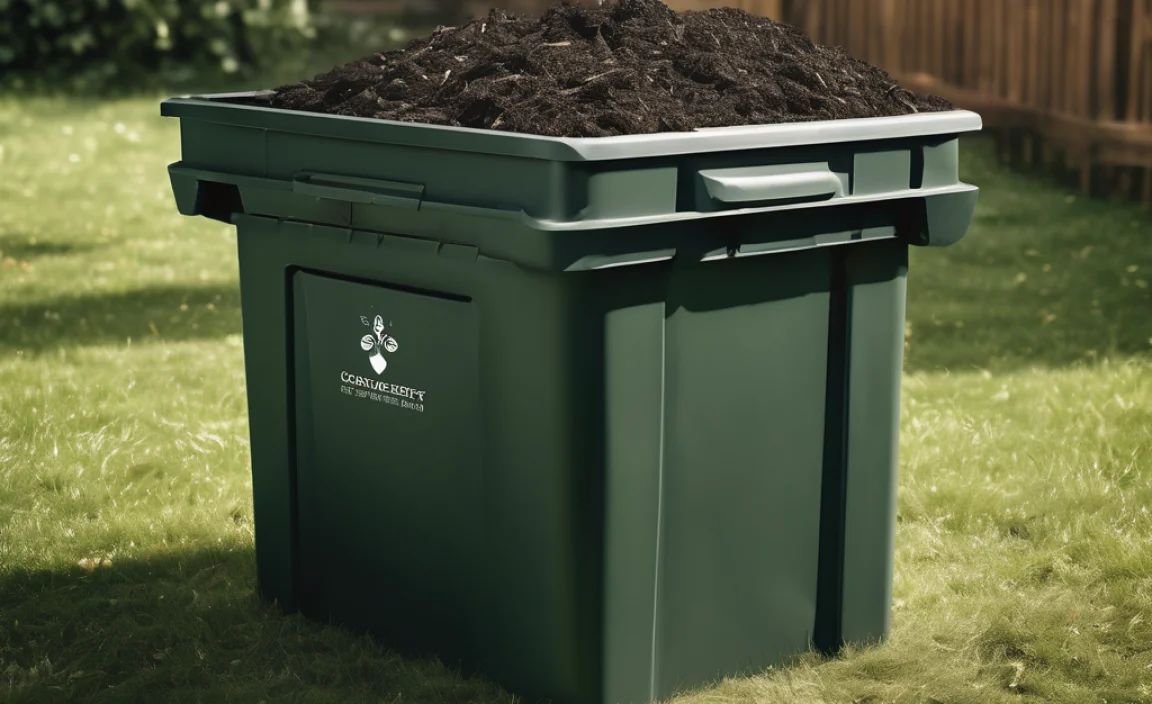
Option 3: The “Repurposed Trash Can” Compost Bin
Got an old plastic trash can lying around? Don’t toss it – give it a new life as a compost bin! This option is great for smaller spaces or if you prefer a more contained system.
Materials You’ll Need:
- A large plastic trash can with a lid (preferably 30-55 gallons)
- Drill with various bit sizes (e.g., 1/4 inch to 1/2 inch)
- Optional: Bricks or wooden blocks to elevate the bin
Step-by-Step:
- Clean the can: Make sure the trash can is clean and odor-free.
- Drill for aeration: This is key! Drill numerous holes all over the sides of the trash can. Space them a few inches apart. You want plenty of air to get in.
- Drill for drainage: Drill a few larger holes (e.g., half-inch) in the bottom of the trash can to allow excess moisture to drain.
- Drill the lid: Drill a few holes in the lid as well for ventilation.
- Place the bin: Put the bin in its spot. Elevating it slightly on bricks or blocks can further improve drainage and airflow.
- Start composting: Add your green and brown materials. You’ll need to manually mix or turn the contents periodically to ensure good aeration and prevent compaction. Some people even attach a handle to rotate the can, but that’s a bit more involved than a “cheap” bin needs to be!
This method is great for containing smells and is relatively pest-resistant, but you’ll need to be diligent about turning it to keep the composting process efficient.
Option 4: The “No Matter What” Pile (The Ultimate Cheap/Free Method)
Seriously, if all else fails, or you just want to dive in with zero investment, you can literally just start a compost pile directly on the ground! This is the most basic form of composting and requires no bin at all. It works best if you have a bit of space in your yard.
How it Works:
- Choose a spot: Find a convenient, out-of-the-way spot in your yard. It should be level and have decent drainage.
- Start layering: Begin by putting down a layer of “brown” materials (like twigs or dry leaves) at the bottom for aeration.
- Add your scraps: Start adding your kitchen scraps (“greens”) and yard waste (“browns”) as you generate them. Try to bury fresh kitchen scraps under a layer of brown materials to deter pests and odors.
- Turn occasionally: Use a pitchfork or shovel to turn the pile every few weeks. This mixes the materials, adds air, and speeds up decomposition.
- Keep it moist: The pile should be damp like a wrung-out sponge. Water it if it seems too dry.
This method is the most “hands-off” in terms of initial setup and cost. The main drawback is that it can look a bit untidy and might be more prone to attracting critters if not managed carefully (especially the burial of food scraps).
Setting Up Your Cheap Compost Bin: Best Practices
No matter which budget-friendly bin you choose, a few simple rules will make your composting efforts much more successful.
Location, Location, Location!
- Sun vs. Shade: A spot that gets partial sun is ideal. Too much direct sun can dry out your pile, while too much shade might keep it too wet and slow things down.
- Accessibility: Make sure it’s easy to get to with your kitchen scraps and yard waste, and later, to access the finished compost.
- Drainage: Choose a spot that doesn’t collect water. If your chosen spot tends to get soggy, consider laying down a base of twigs or placing your bin on a slightly elevated platform.
- Proximity to Water: Having a water source nearby (like a hose spigot) is helpful for keeping the compost pile moist.
Getting Started: The First Layer
For any bin type, starting with a layer of coarse “brown” material (like small twigs or straw) on the bottom is a great idea. This helps with drainage and airflow from the start.
Adding Materials: The Balance is Key
Remember the “greens” and “browns” ratio. Aim for roughly 2 parts browns to 1 part greens. Don’t just dump all your kitchen scraps in one go. Mix them in with your yard waste as you go.
Moisture Level: The “Damp Sponge” Test
Your compost pile should feel moist, like a wrung-out sponge. If it’s too dry, decomposition slows to a crawl. If it’s too wet, it can become smelly and anaerobic (lacking oxygen). Water it if it’s dry, and add more “brown” materials if it’s too wet.
Aeration: Give it a Breath
Composting is an aerobic process, meaning it needs air. Regular turning is the best way to introduce air. For pallet bins and wire bins, the open structure helps. For trash cans or piles, use a pitchfork or compost aerator tool every few weeks. Turning helps mix materials, distributes moisture, and speeds up decomposition.
For more on the science of composting and what materials are best, check out the EPA’s guide to composting at home. It’s a great resource for understanding the process in more detail.
Troubleshooting Common Compost Bin Issues
Even with a cheap bin, you might run into a few hiccups. Here are some common problems and how to fix them:
Problem: My compost bin smells bad (like rotten eggs or ammonia).
Cause: Usually too many “greens” or too much moisture, leading to anaerobic conditions. Ammonia smell means too much nitrogen (greens).
Solution:
- Add more “brown” materials (dry leaves, shredded cardboard).
- Turn the pile thoroughly to introduce air.
- Ensure good drainage; lift the bin if it’s sitting in water.
Problem: My compost pile isn’t heating up or breaking down.
Cause: Not enough moisture, too many “browns,” or the pile is too small to generate heat.
Solution:
- Add water and mix well.
- Add more “green” materials (food scraps, grass clippings).
- If using a small bin, try combining your materials with a neighbor’s pile if possible, or add more material to make it larger.
- Turn the pile to mix materials and introduce air.
Problem: Pests (flies, rodents) are visiting my compost bin.
Cause: Exposed food scraps, the bin isn’t well-contained, or attractive food sources.
Solution:
- Always bury fresh kitchen scraps deep within the pile and cover them with brown material.
- Ensure your bin is well-maintained. For pallet or wire bins, consider lining them with hardware cloth (as mentioned in setup).
- Avoid adding meat, dairy, or oily foods.
- Make sure the bin lid fits snugly (for trash can models).
- Turn the pile regularly.
Problem: My compost is too dry.
Cause: Not enough moisture. This can happen in hot, dry weather or if you have too many “browns.”
Solution:
- Water the pile thoroughly.
- Gently turn or mix the pile after watering to distribute moisture.
- Add more moisture-rich “green” materials (like fruit and vegetable scraps).
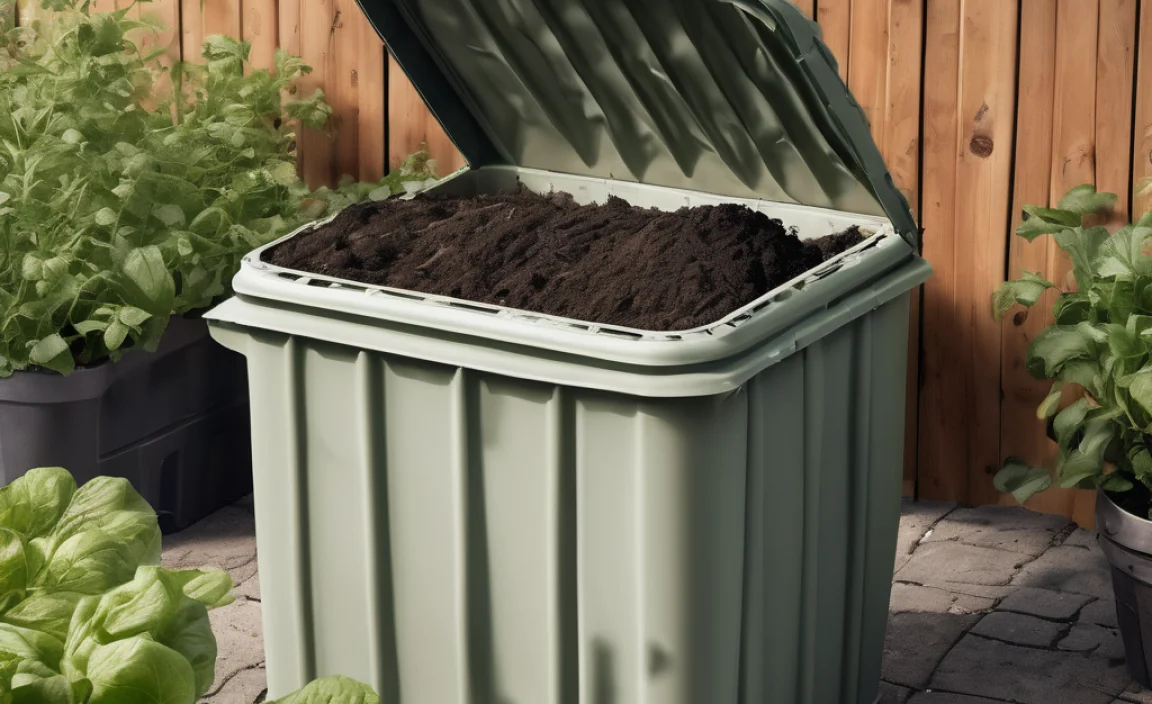
When is Compost Ready?
Compost is ready when it has transformed into a dark, crumbly, earthy-smelling material. You shouldn’t be able to recognize the original food scraps or yard waste (except maybe for larger woody bits that can be screened out or put back into the next batch).
The time it takes can vary widely, from a few months to a year or more, depending on the materials used, the size of the pile, how often it’s turned, and the climate. A well-managed, actively turned pile will be ready much faster than a passively managed one.
You can tell it’s ready when:
- It’s dark brown and crumbly.
- It smells earthy, not sour or rotten.
- The original materials are no longer recognizable.
- The temperature of the compost has cooled down to ambient temperature.
To harvest, you can either dig from the bottom of your bin (if accessible), or turn the entire pile and sift out the finished compost. Larger, unfinished pieces can be returned to your active compost bin to continue breaking down.
How to Use Your Cheap Compost
Once you’ve got that wonderful, nutrient-rich compost, what do you do with it? The possibilities are endless!
- Soil Amendment: Mix it into your garden beds before planting. This improves soil structure, drainage, and water retention, and adds essential nutrients. A common recommendation is to mix 2-4 inches of compost into the top 6-8 inches of soil.
- Top Dressing: Spread a layer of compost around existing plants, trees, and shrubs. This feeds them slowly and helps retain moisture.
- Potting Mix Base: Mix compost with other ingredients like perlite or coir to create a fantastic homemade potting mix for containers and houseplants.
- Lawn Care: Rake a thin layer of compost over your lawn in the spring or fall to help improve soil health and encourage lush growth.
Using your own compost is incredibly rewarding. It closes the loop on waste, nourishes your soil naturally, and gives you that satisfying feeling of growing your own garden gold for free!
FAQ: Your Cheap Compost Bin Questions Answered
Q1: How big should my cheap compost bin be?
A1: A bin around 3 feet by 3 feet by 3 feet (or a 3-foot diameter for a cylinder) is generally considered ideal for generating enough heat for efficient decomposition and is a manageable size for most yards. However, smaller bins or even piles will work, they just might take a little longer.
Q2: Do I need special tools to build a cheap compost bin?
A2: For the pallet or wire mesh bins, you might need basic tools like wire cutters, pliers, or a drill/screwdriver if you’re using screws. For the trash can method, a drill is essential. The ultimate “pile” method requires no tools at all!
Q3: How often do I need to turn my compost?
A3: To speed things up and ensure good aeration, turning your compost every 1-2 weeks is recommended. If you’re not in a hurry, turning it every 4
.lwrp.link-whisper-related-posts{
margin-top: 40px;
margin-bottom: 30px;
}
.lwrp .lwrp-title{
}.lwrp .lwrp-description{
}
.lwrp .lwrp-list-container{
}
.lwrp .lwrp-list-multi-container{
display: flex;
}
.lwrp .lwrp-list-double{
width: 48%;
}
.lwrp .lwrp-list-triple{
width: 32%;
}
.lwrp .lwrp-list-row-container{
display: flex;
justify-content: space-between;
}
.lwrp .lwrp-list-row-container .lwrp-list-item{
width: calc(25% – 20px);
}
.lwrp .lwrp-list-item:not(.lwrp-no-posts-message-item){
max-width: 150px;
}
.lwrp .lwrp-list-item img{
max-width: 100%;
height: auto;
object-fit: cover;
aspect-ratio: 1 / 1;
}
.lwrp .lwrp-list-item.lwrp-empty-list-item{
background: initial !important;
}
.lwrp .lwrp-list-item .lwrp-list-link .lwrp-list-link-title-text,
.lwrp .lwrp-list-item .lwrp-list-no-posts-message{
}@media screen and (max-width: 480px) {
.lwrp.link-whisper-related-posts{
}
.lwrp .lwrp-title{
}.lwrp .lwrp-description{
}
.lwrp .lwrp-list-multi-container{
flex-direction: column;
}
.lwrp .lwrp-list-multi-container ul.lwrp-list{
margin-top: 0px;
margin-bottom: 0px;
padding-top: 0px;
padding-bottom: 0px;
}
.lwrp .lwrp-list-double,
.lwrp .lwrp-list-triple{
width: 100%;
}
.lwrp .lwrp-list-row-container{
justify-content: initial;
flex-direction: column;
}
.lwrp .lwrp-list-row-container .lwrp-list-item{
width: 100%;
}
.lwrp .lwrp-list-item:not(.lwrp-no-posts-message-item){
max-width: initial;
}
.lwrp .lwrp-list-item .lwrp-list-link .lwrp-list-link-title-text,
.lwrp .lwrp-list-item .lwrp-list-no-posts-message{
};
}

I am passionate about home engineering. I specialize in designing, installing, and maintaining heating, ventilation, and air conditioning systems. My goal is to help people stay comfortable in their homes all year long.