Got a pile of kitchen scraps and yard trimmings that looks like it’s just taking up space? Do you want to help your garden grow and reduce waste without a lot of fuss? It’s totally doable! We’ll walk through setting up the right compost system for you. Think of it as your personal “Compost Bin Course.” We’ll break it all down simply, step-by-step. Ready to turn trash into garden gold?
Compost Bin Course: Your Genius Essential Guide to Creating Black Gold
Hey there, fellow home improvers and garden enthusiasts! Troy D Harn here, your friendly guide from TopChooser. We all want to make our homes and gardens a little better, right? Composting is one of those fantastic ways to do just that. It’s like a magic trick for your yard waste and kitchen scraps, turning them into nutrient-rich food for your plants. But sometimes, getting started can feel a bit… well, complicated. You might look at all the different types of compost bins and wonder, “Which one is for me?” Don’t sweat it! This guide is your no-nonsense, super-simple “Compost Bin Course” designed just for beginners. We’ll cover everything you need to know to pick out, set up, and start using your very own compost bin. Ready to become a composting pro? Let’s dig in!
Why Bother with a Compost Bin? The Big Wins!
Before we dive into picking the perfect bin, let’s chat about why this whole composting thing is such a smart move. It’s not just about being eco-friendly (though that’s a huge plus!). Creating your own compost offers some amazing benefits:
- Boosts Garden Health: Compost is like a superfood for your soil. It improves soil structure, helping it retain moisture better and allowing plant roots to breathe. This means healthier, happier plants and bigger harvests!
- Reduces Household Waste: Think about all those food scraps (veggies peels, coffee grounds) and yard waste (leaves, grass clippings) you toss. A lot of this can be composted, significantly cutting down the amount of trash going to landfills. Landfills can be a source of methane, a potent greenhouse gas, so reducing your contribution is a win for the planet.
- Saves Money: Buying bags of soil amendments and fertilizers can add up. Making your own compost is essentially free fertilizer! Plus, healthier soil can lead to better yields, potentially saving you money on produce.
- Improves Soil Drainage: For gardens with heavy clay soil, compost helps to break it up and improve drainage. This prevents waterlogging and helps roots thrive.
- Attracts Beneficial Organisms: Healthy compost is teeming with earthworms and beneficial microbes that further improve your soil’s quality and help plants fight off diseases.
Choosing Your Compost Bin: What’s the Best Fit for You?
This is where many beginners get a little overwhelmed. There are a bunch of different compost bin styles out there, each with its own charm and purpose. But don’t worry, we can break it down into a few main categories. The best bin for you depends on your space, how much waste you produce, and how quickly you want compost.
1. The Open Pile or Heap
This is the simplest and often cheapest option. You just designate a spot in your yard and start piling your compostable materials there.
- Pros:
- Free to set up.
- Can handle large volumes of material.
- Easy to add materials.
- Cons:
- Can look messy if not managed well.
- May attract pests more easily.
- Takes longer to break down as it’s exposed to the elements and heat can escape.
- Requires more effort to turn and manage.
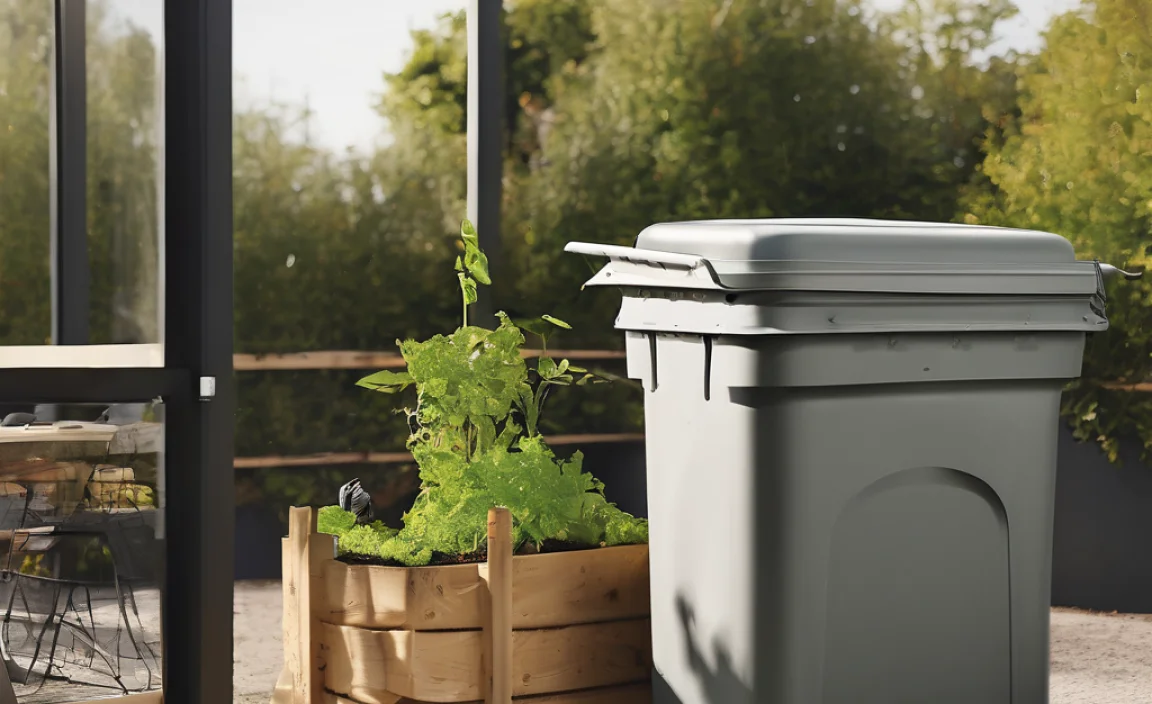
2. The Stationary or Enclosed Bin
These are typically purchased containers, often made of plastic or wood, that sit in one spot. They have lids and sometimes doors at the bottom for easy access to finished compost.
- Pros:
- Neater appearance, good for smaller yards or visible areas.
- Helps retain heat and moisture, leading to faster decomposition.
- Can deter pests better than an open pile.
- Cons:
- Can be more expensive upfront.
- May have limited capacity.
- Turning the compost can be more challenging.
Popular types include:
- Plastic Tumblers: These are bins mounted on a frame with a barrel that you can spin or tumble.
- Wooden Bins: Often DIY, these can be simple slats or more elaborate.
- Wire Bins: Simple wire mesh enclosures.
3. The Tumbler Composter
These are enclosed bins, usually made of plastic, that sit on an axis or have wheels, allowing you to easily rotate or “tumble” the contents. This process aerates the compost and speeds up decomposition significantly.
An example of a well-regarded tumbler brand can be found on sites like Gardening Know How, which often reviews and compares different models.
- Pros:
- Speeds up composting time considerably (weeks instead of months).
- Easy to turn and aerate.
- Keeps pests out effectively.
- Neat and contained.
- Cons:
- Can be the most expensive option.
- Capacity might be limited, best for moderate amounts of waste.
- Can be heavy to turn when full.
4. The Worm Composting Bin (Vermi-Composting)
This is a bit different! Instead of relying on microbes and heat, you use specific types of worms (like red wigglers) to break down your food scraps. These bins are usually stacked trays.
- Pros:
- Great for small spaces, apartments, or indoors since they don’t require much space and produce very little odor.
- Produces a high-quality compost called “worm castings.”
- Fast breakdown of food scraps by the worms.
- Cons:
- Requires specific types of worms, not just any earthworm.
- Certain food items (meats, dairy, citrus in large amounts) need to be avoided to keep the worms happy.
- Can be sensitive to temperature fluctuations.
Quick Comparison Table: Which Bin is Right for You?
| Bin Type | Best For | Speed of Composting | Cost | Ease of Use | Pest Control |
|---|---|---|---|---|---|
| Open Pile | Large yards, lots of yard waste, budget-conscious | Slowest | Free | Moderate (turning required) | Poor |
| Stationary Bin | Medium yards, moderate waste, neatness desired | Moderate | Mid-range | Moderate (can be hard to turn) | Good |
| Tumbler Composter | Small to medium yards, moderate waste, speed desired | Fastest | Higher | Easy (tumbling) | Excellent |
| Worm Bin | Apartments, small spaces, indoors, kitchen scraps only | Fast (for food scraps) | Mid-range | Easy (feeding worms) | Excellent |
Where to Put Your Compost Bin
Once you’ve chosen your bin, placement is key! Here are a few tips:
- Sunlight: A spot that gets some sun can help heat up the compost pile, speeding decomposition. Too much intense sun can dry it out, too little can slow things down. A balance is good.
- Drainage: Make sure the spot drains well. You don’t want your compost sitting in a puddle.
- Accessibility: Place it somewhere you can easily get to with your kitchen scraps and garden waste, and where you can easily access the finished compost.
- Water Source: It’s helpful to be near a water source if you have to add moisture.
- Neighbors: If odors are a concern (though a well-managed compost bin shouldn’t smell bad!), consider placing it away from property lines or neighbors’ windows.
What CAN and CAN’T Go in Your Compost Bin? The Golden Rules
This is a crucial part of your “Compost Bin Course”! Knowing what to add will ensure your compost breaks down efficiently and doesn’t create a stinky mess or attract unwanted visitors.
The key to good composting is getting the right mix of “greens” and “browns.” Think of it like a balanced diet for your compost pile.
The “Greens” (Nitrogen-Rich Materials)
These materials are generally moist, break down quickly, and provide nitrogen, which helps heat up the pile.
- Fruit and vegetable scraps
- Coffee grounds and tea bags (remove staples)
- Grass clippings (in moderation, can get matted)
- Plant trimmings (non-diseased)
- Weeds (before they go to seed)
- Eggshells (crushed)
- Manure from herbivores (cow, horse, rabbit, chicken – but steer clear of dog or cat waste!)
The “Browns” (Carbon-Rich Materials)
These materials are generally dry, woody, and break down more slowly. They provide carbon, which helps create air pockets and prevents the pile from becoming too dense and smelly.
- Dry leaves
- Straw and hay
- Shredded newspaper and cardboard (avoid glossy or colored inks)
- Wood chips and sawdust (in small amounts)
- Pine needles (use sparingly, can be acidic)
- Twigs and small branches (chopped up)
- Paper towels and napkins (if not greasy)
What to AVOID Putting in Your Compost Bin
Putting these items in can cause problems like attracting pests, spreading disease, or creating unpleasant odors. It’s best to keep them out!
- Meat, fish, and bones: Attract pests and can smell bad.
- Dairy products: Attract pests and can smell bad.
- Oily or greasy foods: Can slow decomposition and attract pests.
- Diseased plants: You don’t want to spread plant diseases to your garden.
- Weeds that have gone to seed: You could end up with weeds sprouting in your compost or garden.
- Pet waste (dog, cat): Can contain harmful pathogens.
- Coal ash or charcoal briquettes: Contain chemicals that can be harmful to plants.
- Chemically treated wood: The chemicals can leach into your compost.
- Glossy or coated paper/cardboard: May contain plastics or inks that don’t break down well.
- Yard waste treated with herbicides or pesticides: These chemicals can linger and harm your garden.
The Ideal Ratio: Greens vs. Browns
A good rule of thumb is to aim for roughly 2-3 parts browns to 1 part greens by volume. This ratio helps maintain the right carbon-to-nitrogen balance for efficient decomposition. If your pile seems too wet and smelly, add more browns. If it’s too dry and not heating up, add more greens or water.
Getting Started: Step-by-Step to Your Compost Bin Success
Alright, you’ve got your bin, you know what goes in it… now let’s get it set up and running! This is the hands-on part of your “Compost Bin Course.”
Step 1: Prepare Your Chosen Location
Clear the area where your bin will sit. Make sure it’s level and has decent drainage. If you’re using an open pile, simply clear a patch of ground. For enclosed bins or tumblers, find that sunny-but-not-scorching, accessible spot we talked about.
Step 2: Add Your Base Layer
Start with a layer of “brown” materials. This could be twigs, straw, or shredded cardboard. This helps with airflow at the bottom. Aim for about 4-6 inches.
Step 3: Start Adding Your “Greens” and “Browns”
Now, begin adding your compostables. Try to maintain that 2-3 parts browns to 1 part greens ratio. It doesn’t have to be exact, but that’s your target. Chop or shred larger items to speed up decomposition. Layer them like you’re making a lasagna – a layer of greens, then a layer of browns, and so on.
Pro Tip: Keep a small kitchen caddy for your food scraps and empty it into the compost bin every day or two. Bury fresh food scraps under a layer of browns to help control odors and deter pests.
Step 4: Moisten Your Pile
Your compost pile should be about as damp as a wrung-out sponge. If it’s too dry, decomposition will slow to a crawl. If it’s too wet, it can get slimy and smelly. Use a hose or watering can to add water as you build layers. If the pile is too wet, add more browns to absorb excess moisture.
According to the Environmental Protection Agency (EPA), moisture is crucial for the microorganisms that break down organic matter. They need water to live and thrive.
Step 5: Aerate Your Compost
Oxygen is vital for the aerobic bacteria that do the heavy lifting in your compost pile. You need to turn it regularly to introduce air.
- For Open Piles/Stationary Bins: Use a pitchfork or compost aerator to turn the pile every 1-2 weeks. Aim to mix the outer layers into the hotter center and vice-versa.
- For Tumblers: Simply give the tumbler a good spin or tumble every 2-3 days.
If your compost is not heating up or seems slow, it probably needs more turning or more “greens.”
Step 6: Be Patient!
Composting is a natural process, and it takes time! Depending on your bin type, the materials you add, and how often you turn and maintain moisture, compost can be ready anywhere from 2 months to a year.
Signs Your Compost is Ready
How do you know when it’s done? Finished compost is:
- Dark brown or black and crumbly.
- Spongy and earthy-smelling (like a forest floor).
- You shouldn’t be able to recognize the original materials (e.g., no recognizable banana peels or leaf shapes).
- The temperature of the pile will have cooled down to ambient temperature.
Troubleshooting Common Compost Problems
Even with the best intentions, sometimes you might run into a snag. Here are a few common issues and how to fix them:
Problem: My compost smells bad (like rotten eggs or ammonia).
- Cause: Too much moisture and not enough air. This is anaerobic decomposition, which produces foul odors.
- Solution: Add more “brown” materials (leaves, shredded paper) to soak up moisture and improve aeration. Turn the pile thoroughly to introduce air. Make sure you’re not adding prohibited items like meat or dairy.
Problem: My compost pile isn’t heating up.
- Cause: The pile is too small, too dry, or lacks nitrogen (“greens”). In cold weather, decomposition naturally slows down.
- Solution: Add more nitrogen-rich “green” materials. Make sure the pile is moist but not wet. Turn the pile to mix materials and aerate. If the pile is too small (less than 3x3x3 feet for an open pile), it won’t generate enough heat.
Problem: My compost is attracting pests (flies, rodents).
- Cause: Exposed food scraps, or the inclusion of meat, dairy, or oily foods.
- Solution: Ensure all food scraps are buried deeply within the pile and always covered with a layer of “brown” materials. Avoid adding meat, dairy, and oily foods. If
.lwrp.link-whisper-related-posts{
margin-top: 40px;
margin-bottom: 30px;
}
.lwrp .lwrp-title{}.lwrp .lwrp-description{
}
.lwrp .lwrp-list-container{
}
.lwrp .lwrp-list-multi-container{
display: flex;
}
.lwrp .lwrp-list-double{
width: 48%;
}
.lwrp .lwrp-list-triple{
width: 32%;
}
.lwrp .lwrp-list-row-container{
display: flex;
justify-content: space-between;
}
.lwrp .lwrp-list-row-container .lwrp-list-item{
width: calc(25% – 20px);
}
.lwrp .lwrp-list-item:not(.lwrp-no-posts-message-item){max-width: 150px;
}
.lwrp .lwrp-list-item img{
max-width: 100%;
height: auto;
object-fit: cover;
aspect-ratio: 1 / 1;
}
.lwrp .lwrp-list-item.lwrp-empty-list-item{
background: initial !important;
}
.lwrp .lwrp-list-item .lwrp-list-link .lwrp-list-link-title-text,
.lwrp .lwrp-list-item .lwrp-list-no-posts-message{}@media screen and (max-width: 480px) {
.lwrp.link-whisper-related-posts{}
.lwrp .lwrp-title{}.lwrp .lwrp-description{
}
.lwrp .lwrp-list-multi-container{
flex-direction: column;
}
.lwrp .lwrp-list-multi-container ul.lwrp-list{
margin-top: 0px;
margin-bottom: 0px;
padding-top: 0px;
padding-bottom: 0px;
}
.lwrp .lwrp-list-double,
.lwrp .lwrp-list-triple{
width: 100%;
}
.lwrp .lwrp-list-row-container{
justify-content: initial;
flex-direction: column;
}
.lwrp .lwrp-list-row-container .lwrp-list-item{
width: 100%;
}
.lwrp .lwrp-list-item:not(.lwrp-no-posts-message-item){max-width: initial;
}
.lwrp .lwrp-list-item .lwrp-list-link .lwrp-list-link-title-text,
.lwrp .lwrp-list-item .lwrp-list-no-posts-message{};
}

I am passionate about home engineering. I specialize in designing, installing, and maintaining heating, ventilation, and air conditioning systems. My goal is to help people stay comfortable in their homes all year long.