Tired of tossing food scraps and yard waste into the trash? Want to give your garden a super boost without buying expensive fertilizers? Composting is the answer! It might sound like a big task, but it’s actually super simple to get started. We’ll break down all the best ways to compost, so you can turn your waste into garden gold. Ready to make your plants happy and your trash can lighter?
Compost Bin Methods: Proven Essential Tips for Beginners
Hey there, TopChooser readers! Troy D Harn here. So, you’re looking to dip your toes into the wonderful world of composting? That’s fantastic! It’s one of the most rewarding things you can do for your garden and the planet. You’ve probably seen those big bins and maybe wondered, “Which one is right for me?” Or perhaps you’re thinking about building your own.
Don’t worry, I’ve got you covered. We’re going to walk through the most popular and effective compost bin methods. My goal is to make this super clear, super practical, and give you the confidence to get your compost pile cooking!
Why Bother With a Compost Bin?
Think about all the kitchen scraps – veggie peels, coffee grounds, eggshells – and yard clippings you throw away. A lot of that is perfectly good stuff that can be turned into nutrient-rich food for your soil. Composting reduces landfill waste, cuts down on greenhouse gas emissions, and creates amazing “black gold” that nourishes your plants naturally. Plus, it’s a great way to save money on garden amendments!
Choosing the right compost bin method is the first big step. It’s like picking the right tool for a job – the correct one makes everything so much easier. We’ll explore different types, from store-bought wonders to DIY creations, and I’ll share tips to make sure your composting journey is successful from the get-go.
Understanding the Building Blocks: What Makes Compost Happen?

Before we dive into bin types, let’s chat about what compost is and how it works. Composting is basically nature’s recycling program. It’s the natural process of decomposition, where organic materials break down into a rich, soil-like substance called humus. This whole magical process is done by tiny critters like bacteria, fungi, worms, and other beneficial microbes.
To keep these decomposers happy and working efficiently, you need to provide them with a few key things:
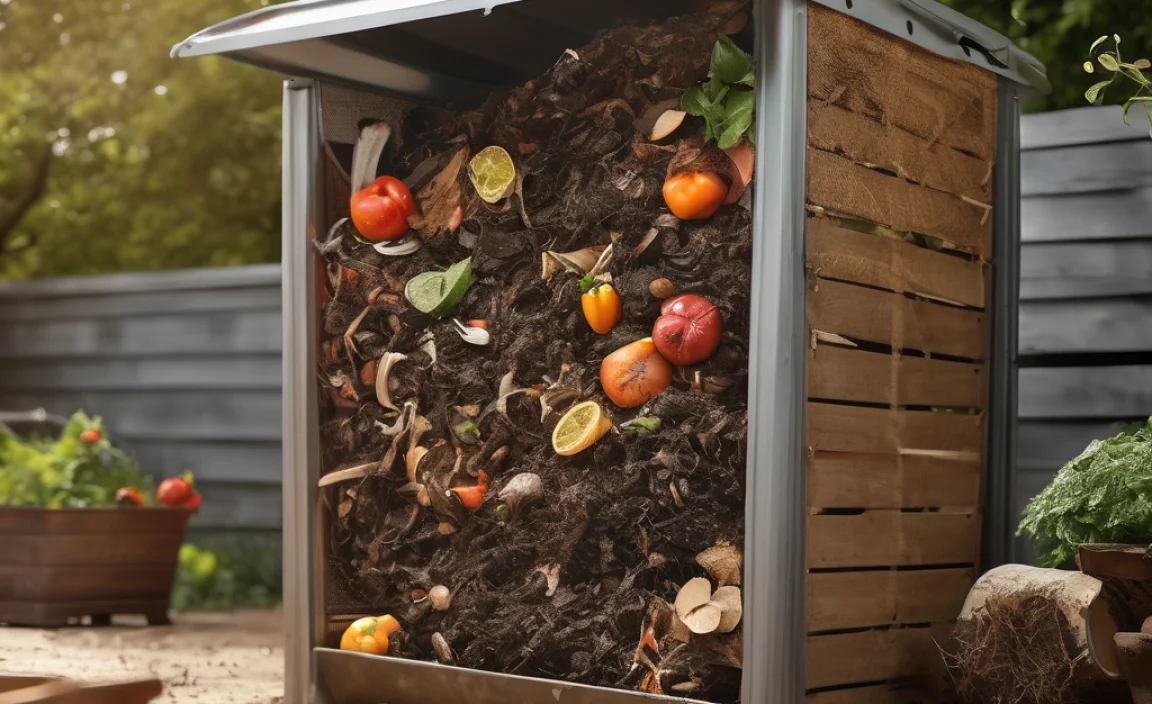
- Greens (Nitrogen-rich): These materials are wet and provide the energy for microbes. Think fruit and veggie scraps, grass clippings, and coffee grounds.
- Browns (Carbon-rich): These are your dry, woody materials. Examples include dried leaves, straw, shredded newspaper, and wood chips.
- Water: Your compost pile needs to be moist, like a damp sponge. Not soaking wet, not bone dry.
- Air: The microbes doing the composting need oxygen to breathe and work. This is where turning your compost comes in!
Getting the right balance of greens and browns is crucial. Too many greens can make your pile smelly and slimy. Too many browns will slow down decomposition. A good general rule of thumb is to aim for about two to three parts browns to one part greens by volume. Don’t get too hung up on exact measurements at first; you’ll get a feel for it!
Popular Compost Bin Methods: Finding Your Perfect Match
Alright, let’s get down to the nitty-gritty: the bins! There’s a compost bin method out there for pretty much every space, budget, and composting style. We’ll look at some of the most common and effective ones.
1. The All-In-One Tumbler Composter
What it is: These are sealed, rotating drums that typically sit off the ground. You add your materials, close the lid, and give it a spin every few days. They’re designed for faster composting because they make turning easy and contain heat well.
Pros:
- Speed: Tumblers tend to compost faster than static piles, often producing compost in as little as 4-8 weeks if managed well.
- Pest Resistance: The sealed design helps keep out rodents and other critters.
- Easy Turning: The tumbling action makes mixing materials simple.
- Neat Appearance: They look tidy and contained, which is great for smaller yards or visible areas.
Cons:
- Cost: Tumblers can be more expensive upfront than other bin types.
- Capacity: Some models have limited capacity, which might not be enough for larger households or gardens.
- Moisture Control: Can sometimes get too wet or too dry if not monitored.
Who it’s for: This is a great choice for people who want compost quickly, have issues with pests, or prefer a neat and tidy solution. If you don’t have a huge amount of material to compost, a tumbler is a fantastic option.
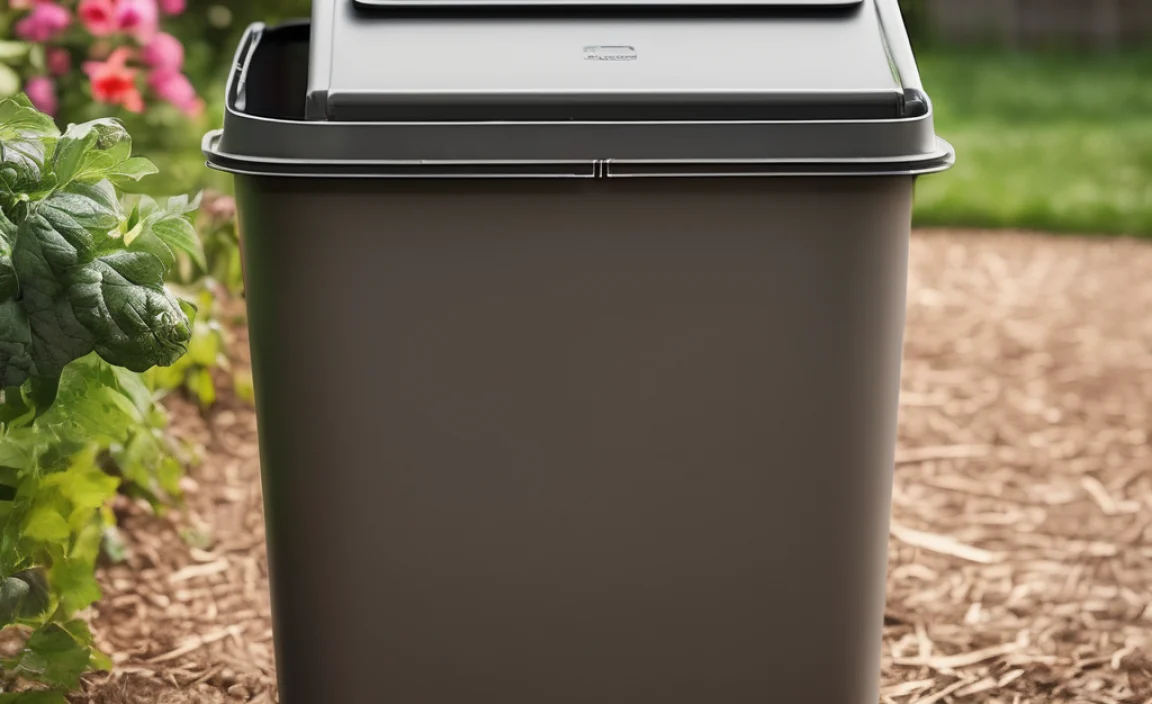
2. The Stationary Composter (Plastic Bins)
What it is: These are the classic, often black or dark green, heavy-duty plastic bins with a lid and usually a door at the bottom for easy compost removal. They’re a popular choice for many home gardeners.
Pros:
- Affordability: Generally more budget-friendly than tumblers.
- Durability: Made from sturdy plastic, they hold up well against weather.
- Pest Deterrent: The enclosed design offers good protection against animals.
- Heat Retention: Their dark color helps absorb sunlight and retain heat, speeding up decomposition.
Cons:
- Turning: You usually need to manually turn the compost inside using a fork or aerator tool, which can be a bit more work.
- Slower than Tumblers: Compost may take longer to mature compared to a well-managed tumbler.
- Limited Access: Getting compost out from the bottom door can sometimes be tricky.
Who it’s for: Perfect for homeowners with a moderate amount of yard and kitchen waste. They offer a good balance of ease of use, cost, and effectiveness.
3. The Open Pile/Heap Method
What it is: This is the most basic method. You simply create a pile of organic materials directly on the ground in a designated spot in your yard. Sometimes, people use simple enclosures made of pallets or wire mesh to keep the pile contained but still open to the air.
Pros:
- Free: Absolutely no cost for the bin itself!
- Unlimited Capacity: You can make your pile as big or small as you need.
- Easy Access: It’s simple to add materials and turn the pile.
- Great for Large Yards: Ideal if you have a lot of yard waste.
Cons:
- Can be Untidy: An open pile might not look the best.
- Attracts Pests: Less protection means it’s easier for rodents and other animals to investigate.
- Dries Out Quickly: Can be more susceptible to drying out, needing more frequent watering.
- Heat Loss: Tends to lose heat more easily, potentially slowing decomposition, especially in cooler climates.
Who it’s for: Those with ample space, a large volume of yard waste, and who aren’t concerned about aesthetics or pest deterrence. It’s also a great starting point if you’re on a tight budget.
4. Wire Mesh or Pallet Bin
What it is: This is a DIY approach. You can create a simple enclosure using hardware cloth (wire mesh) or by wiring together wooden pallets. It’s essentially a contained open pile.
Pros:
- Inexpensive to Build: Pallets are often free, and wire mesh is relatively affordable.
- Good Aeration: The open structure allows for excellent airflow.
- Easy to Add Materials: Simple to toss things in from the top.
- Customizable Size: You can adjust the dimensions to fit your space.
Cons:
- Less Heat Retention: Airflow can also mean heat escapes, potentially slowing the process compared to enclosed bins.
- Some Pest Access: Not entirely sealed, so a determined critter might find its way in.
- Appearance: Can look a bit rustic, which might not suit everyone’s taste.
Who it’s for: DIY enthusiasts, budget-conscious gardeners, and those who want a good balance of airflow and containment without a high cost.
5. Worm Composting (Vermicomposting)
What it is: This method uses red wiggler worms to break down organic matter. It’s done in special bins, often with multiple stacked trays. It’s fantastic for kitchen scraps and produces both compost and a nutrient-rich liquid called “worm tea.”
Pros:
- Fast Decomposition: Worms are incredibly efficient decomposers.
- Excellent Nutrient Richness: The resulting compost and worm tea are packed with nutrients.
- Can Be Done Indoors or Outdoors: Great for apartment dwellers or those with limited space.
- Odor-Free When Managed Properly: A well-maintained worm bin won’t smell.
Cons:
- Specific Worms Needed: You can’t just use any worms; red wigglers are ideal.
- Temperature Sensitive: Worms prefer moderate temperatures (55-77°F or 13-25°C) and can die in extreme heat or cold.
- Can’t Handle All Materials: Avoid meat, dairy, oily foods, and citrus in large amounts.
- Initial Setup: Requires purchasing a worm bin and worms if you don’t breed them yourself.
Who it’s for: City dwellers, small-space gardeners, and anyone who wants exceptionally rich compost and liquid fertilizer. It’s a bit more specialized but incredibly rewarding.
Choosing Your Compost Bin: A Quick Comparison

To help you decide, here’s a table summarizing the key features of the most common compost bin methods:
| Compost Bin Method | Best For | Speed of Composting | Pest Resistance | Cost | Ease of Use |
|---|---|---|---|---|---|
| Tumbler Composter | Fast compost, pest-prone areas, neat look | Fast (4-8 weeks) | High | High | High |
| Stationary Plastic Bin | General home use, moderate waste | Medium (8-12 weeks) | Medium-High | Medium | Medium |
| Open Pile/Heap | Large yards, abundant yard waste, budget-conscious | Slow (6-12 months) | Low | Very Low (Free) | Medium |
| Wire Mesh/Pallet Bin | DIYers, budget-conscious, good aeration needed | Medium (6-12 weeks) | Low-Medium | Low | Medium |
| Worm Composting (Vermicomposting) | Kitchen scraps, small spaces, nutrient-rich output | Fast (4-8 weeks for output) | High (if bin is secure) | Medium (bin + worms) | Medium (specific management) |
When making your choice, think about how much space you have, how much organic material you produce, how quickly you want compost, and your budget. Don’t overthink it too much – the best compost bin is the one you’ll actually use!
Essential Tips for Composting Success, No Matter Your Bin
Once you’ve picked your bin, it’s time to get started! These tips apply to almost all compost bin methods and will set you up for success:
1. Location, Location, Location
Choose a spot for your bin that’s:
- Accessible: You need to be able to get to it easily to add materials and turn it.
- Partially Shaded: Direct, scorching sun can dry out your pile too quickly. Too much shade can keep it too cool. A balance is good.
- Well-Drained: You don’t want your bin sitting in a puddle after rain.
- Close to a Water Source: You’ll need to add water periodically.
- Far Enough Away: While well-managed compost shouldn’t smell bad, it’s wise to keep it a reasonable distance from your house or your neighbors’ property.
2. The Green-Brown Balance is Key
Remember our talk about greens and browns? Aim for that 2:1 or 3:1 ratio of browns to greens. If your pile gets too wet and smells funky, add more browns (like shredded cardboard or dry leaves). If it’s too dry and slow, add more greens (like kitchen scraps or fresh grass clippings) and a little water.
Good “Brown” Materials:
- Dry leaves
- Straw or hay
- Shredded newspaper (black and white ink only!)
- Shredded cardboard (without glossy print or tape)
- Wood chips or sawdust (use sparingly, especially from treated wood)
- Pine needles
- Twigs and small branches (chopped up)
Good “Green” Materials:
- Fruit and vegetable scraps
- Coffee grounds and tea bags
- Grass clippings (in thin layers to avoid matting)
- Plant trimmings (non-diseased)
- Manure from herbivores (cow, horse, rabbit, chicken – if you can get it!)
- Eggshells (crushed)
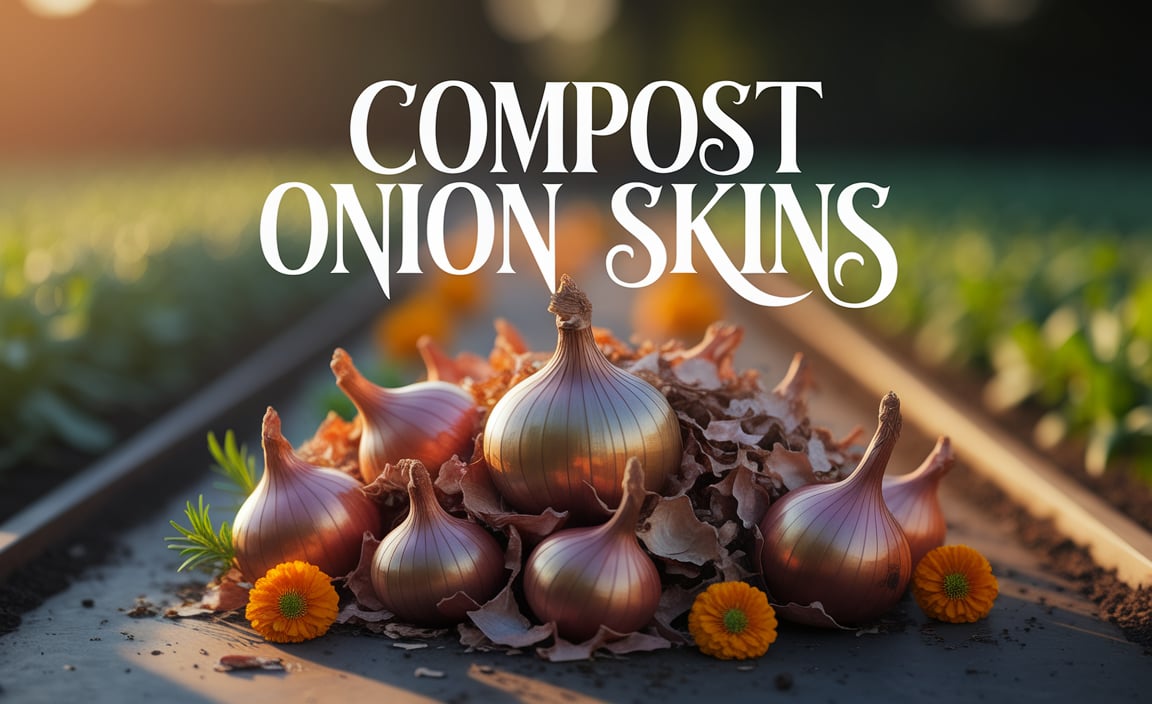
What NOT to Compost:
- Meat, fish, and bones
- Dairy products
- Oily or greasy foods
- Diseased plants
- Weeds that have gone to seed
- Pet waste (from cats or dogs)
- Chemically treated wood or yard waste
- Coal or charcoal ash
3. Chop It Up!
The smaller the pieces of organic material, the faster they break down. Chop up large vegetable scraps, shred your newspaper, and break apart clumps of grass clippings. This increases the surface area for microbes to work on.
4. Keep it Moist, But Not Soaking
Your compost pile should feel like a wrung-out sponge. Too dry, and the microbes slow down. Too wet, and it can become anaerobic (lacking oxygen) and start to smell bad. Check the moisture level regularly, especially during dry or hot weather. If it’s dry, add water. If it’s too wet, turn it and add more “brown” materials.
Maintaining optimal moisture is crucial. For a deeper dive into soil moisture, resources from university extension offices, like those from University of Illinois Extension, offer valuable insights into managing soil conditions, which directly impacts composting success.
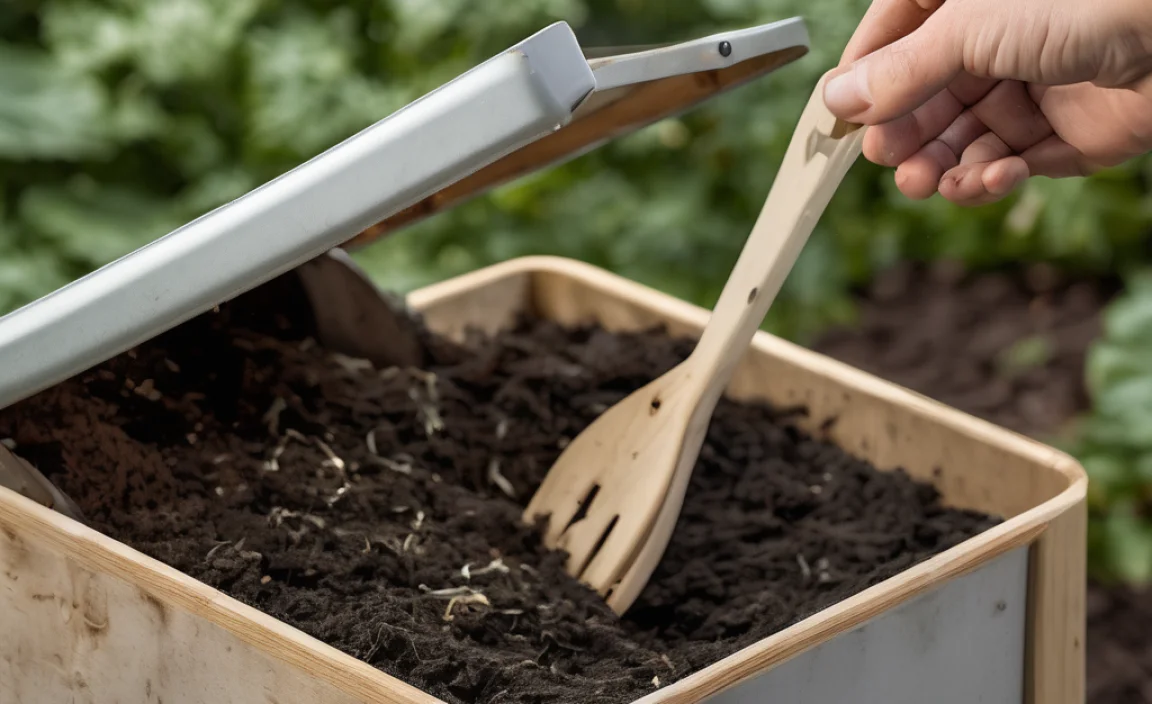
5. Air is Essential (Turn Your Compost!)
Microbes need oxygen to do their job efficiently. Turning your compost aerates the pile, helps distribute moisture, and speeds up decomposition. How often you turn depends on your bin and how quickly you want compost:
- Tumblers: Give them a few spins 2-3 times a week.
- Stationary bins/Open piles: Turn with a pitchfork or aerator tool every 1-4 weeks. The more you turn, the faster it breaks down.
6. Be Patient!
Composting is a natural process, and it takes time. Depending on your method, the materials you use, and how often you tend to your pile, compost can take anywhere from a few weeks to a year or more to be ready. Ready compost will be dark, crumbly, and smell earthy, not like the original materials.
.lwrp.link-whisper-related-posts{
margin-top: 40px;
margin-bottom: 30px;
}
.lwrp .lwrp-title{
}.lwrp .lwrp-description{
}
.lwrp .lwrp-list-container{
}
.lwrp .lwrp-list-multi-container{
display: flex;
}
.lwrp .lwrp-list-double{
width: 48%;
}
.lwrp .lwrp-list-triple{
width: 32%;
}
.lwrp .lwrp-list-row-container{
display: flex;
justify-content: space-between;
}
.lwrp .lwrp-list-row-container .lwrp-list-item{
width: calc(25% – 20px);
}
.lwrp .lwrp-list-item:not(.lwrp-no-posts-message-item){
max-width: 150px;
}
.lwrp .lwrp-list-item img{
max-width: 100%;
height: auto;
object-fit: cover;
aspect-ratio: 1 / 1;
}
.lwrp .lwrp-list-item.lwrp-empty-list-item{
background: initial !important;
}
.lwrp .lwrp-list-item .lwrp-list-link .lwrp-list-link-title-text,
.lwrp .lwrp-list-item .lwrp-list-no-posts-message{
}@media screen and (max-width: 480px) {
.lwrp.link-whisper-related-posts{
}
.lwrp .lwrp-title{
}.lwrp .lwrp-description{
}
.lwrp .lwrp-list-multi-container{
flex-direction: column;
}
.lwrp .lwrp-list-multi-container ul.lwrp-list{
margin-top: 0px;
margin-bottom: 0px;
padding-top: 0px;
padding-bottom: 0px;
}
.lwrp .lwrp-list-double,
.lwrp .lwrp-list-triple{
width: 100%;
}
.lwrp .lwrp-list-row-container{
justify-content: initial;
flex-direction: column;
}
.lwrp .lwrp-list-row-container .lwrp-list-item{
width: 100%;
}
.lwrp .lwrp-list-item:not(.lwrp-no-posts-message-item){
max-width: initial;
}
.lwrp .lwrp-list-item .lwrp-list-link .lwrp-list-link-title-text,
.lwrp .lwrp-list-item .lwrp-list-no-posts-message{
};
}
Related Posts


I am passionate about home engineering. I specialize in designing, installing, and maintaining heating, ventilation, and air conditioning systems. My goal is to help people stay comfortable in their homes all year long.