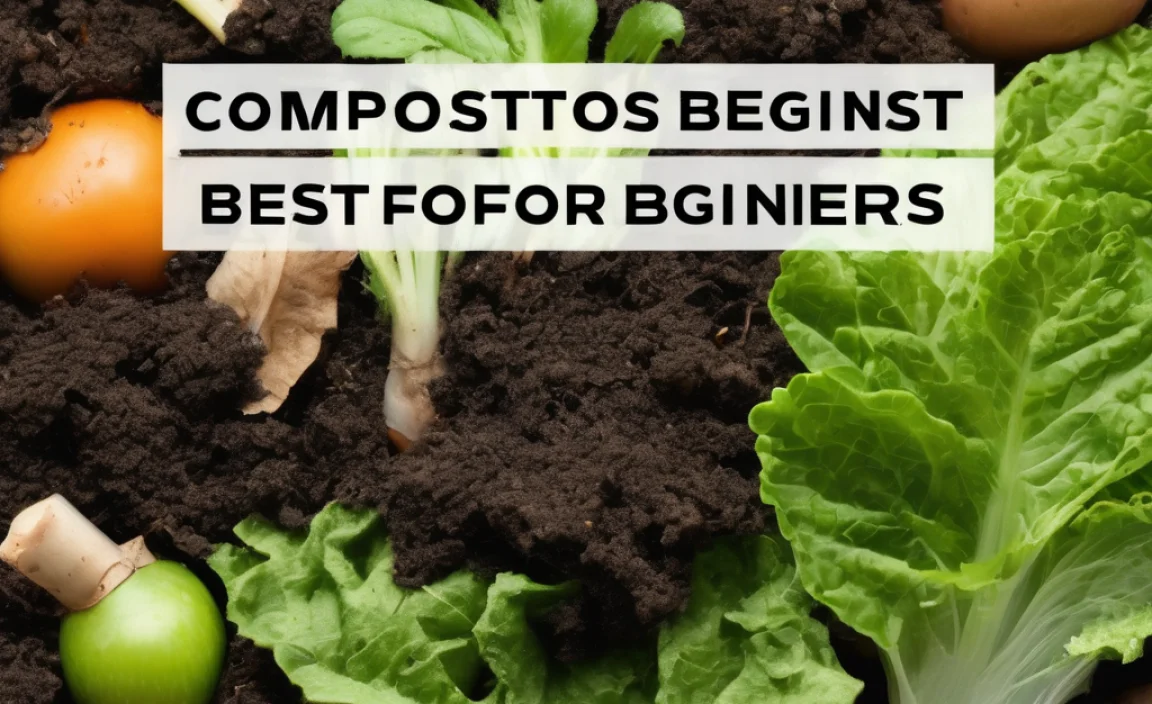
Hey there, composting friends! Troy D Harn here, ready to talk about something that can put a real damper on our eco-friendly efforts: smelly compost bins. If your composting adventures have taken a turn for the… well, pungent, you’re not alone. But don’t worry! That stinky situation doesn’t have to be the end of your composting dreams. We’re going to tackle this common compost bin odor issue head-on, and I’ll show you exactly how to get your pile smelling fresh and earthy again. Let’s get back to enjoying the benefits of composting without the whiff!
Why Does My Compost Bin Stink? Understanding Compost Bin Odor
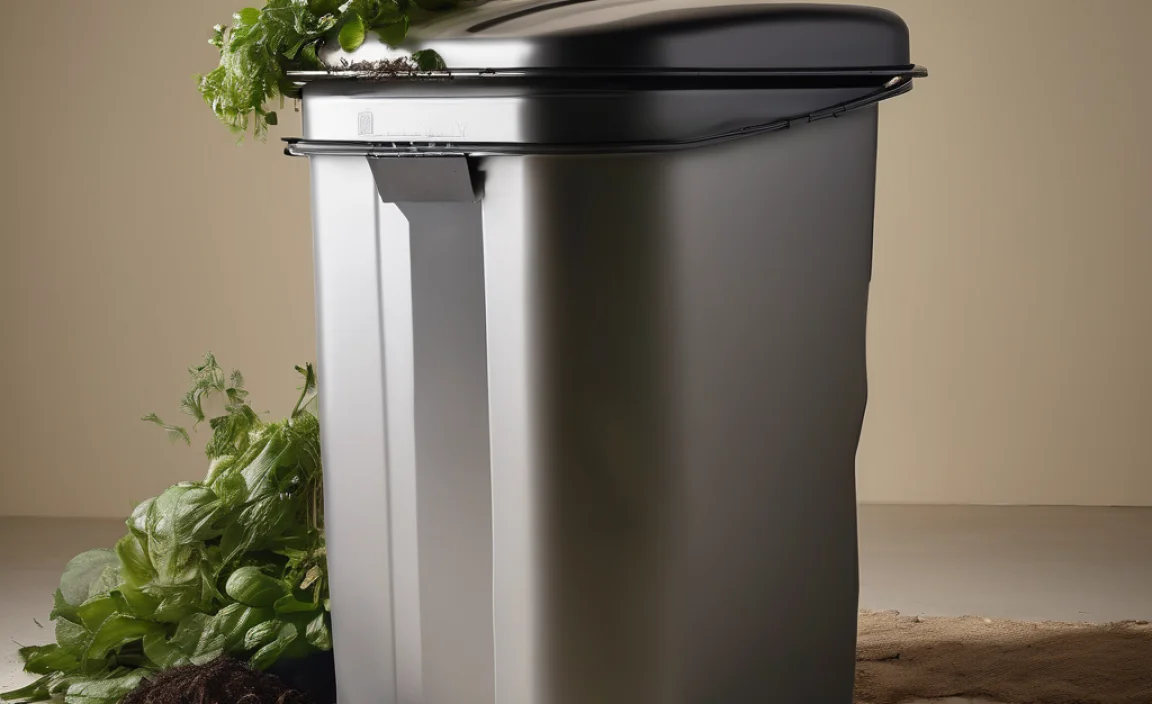
So, your compost bin has started to smell… not-so-great. It’s a common hiccup for many who are just starting out, or even for seasoned composters now and then. But what’s actually causing that unpleasant aroma? It boils down to one main culprit: an imbalance in your compost “ecosystem.” Think of your compost pile as a tiny, bustling city of microorganisms that break down your food scraps and yard waste. When things are balanced, they work quietly and efficiently, producing that lovely, earthy smell of healthy decomposition. But when the balance is off, it’s like a traffic jam in the microscopic city, leading to some pretty foul odors.
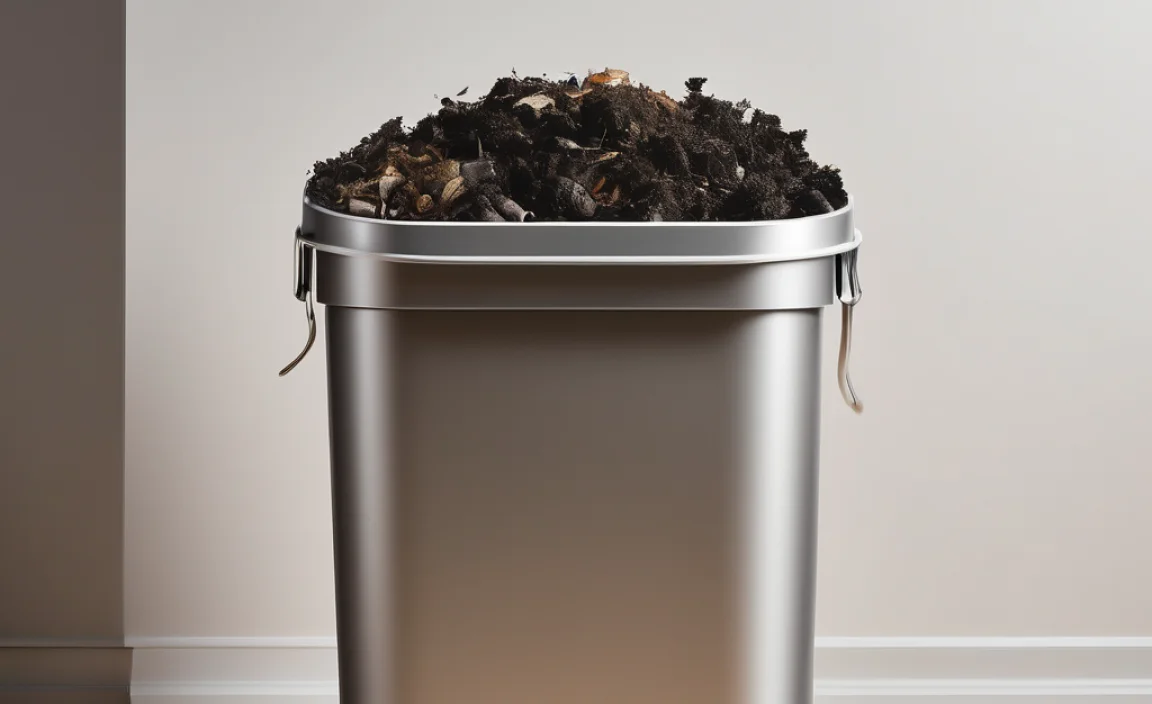
The primary reason for a stinky compost bin is usually an excess of “greens” and a lack of “browns,” or too much moisture. This creates anaerobic conditions—meaning there’s not enough oxygen. When bacteria that don’t need oxygen (anaerobic bacteria) start working in these low-oxygen environments, they produce gases like hydrogen sulfide, which smells like rotten eggs. We want aerobic bacteria, which need oxygen and produce a much more pleasant smell.
The Science of Smelly Compost: Too Wet, Too Green, or Smothered
Let’s break down the science a bit, but keep it super simple. Your compost needs a good mix of “greens” (nitrogen-rich materials like fruit and vegetable scraps, coffee grounds, grass clippings) and “browns” (carbon-rich materials like dry leaves, shredded paper, twigs, straw). If you have way too many greens, especially wet ones, your pile can become a soggy, oxygen-deprived mess. This encourages the wrong kind of bacteria to take over.
Think of it like this:
- An Overabundance of Greens: These are wet and nitrogen-heavy. Imagine throwing a huge pile of juicy watermelon rinds into your bin without much else. They’ll break down quickly, but if there isn’t enough air and carbon to balance them, they’ll start to rot instead of compost.
- Too Much Moisture: Compost needs to be damp, like a wrung-out sponge. If it’s saturated, water fills up all the air pockets that the helpful microbes need. This suffocates them and creates that anaerobic environment.
- Lack of Airflow: If your compost pile is too compacted, or your bin doesn’t have vents, air can’t circulate. This also leads to anaerobic conditions and stinky results.
- Certain Food Scraps: While most kitchen scraps are compostable, some can contribute to odors if not managed well. Things like meat, dairy, and oily foods can be tricky. While not strictly forbidden, they can attract pests and contribute to smell if they rot rather than break down properly.
Understanding these basics is the first step to solving your compost bin odor problem. It’s all about creating the right environment for nature’s recyclers to do their best work!
Proven Solutions for Eliminating Compost Bin Odor
Alright, enough with the problem; let’s get to the solutions! Tackling compost bin odor is usually straightforward if you know what to look for. These are tried-and-true methods that will help you get your compost back on the right track.
Here are the key strategies:
1. Balance Your Greens and Browns
This is the most critical step. Remember our chat about the microscopic city? We need to give them the right food and building materials. The general rule of thumb is to aim for roughly 2-3 parts “browns” for every 1 part “greens” by volume. This ratio ensures there’s enough carbon to balance the nitrogen and enough bulky material to allow for airflow.
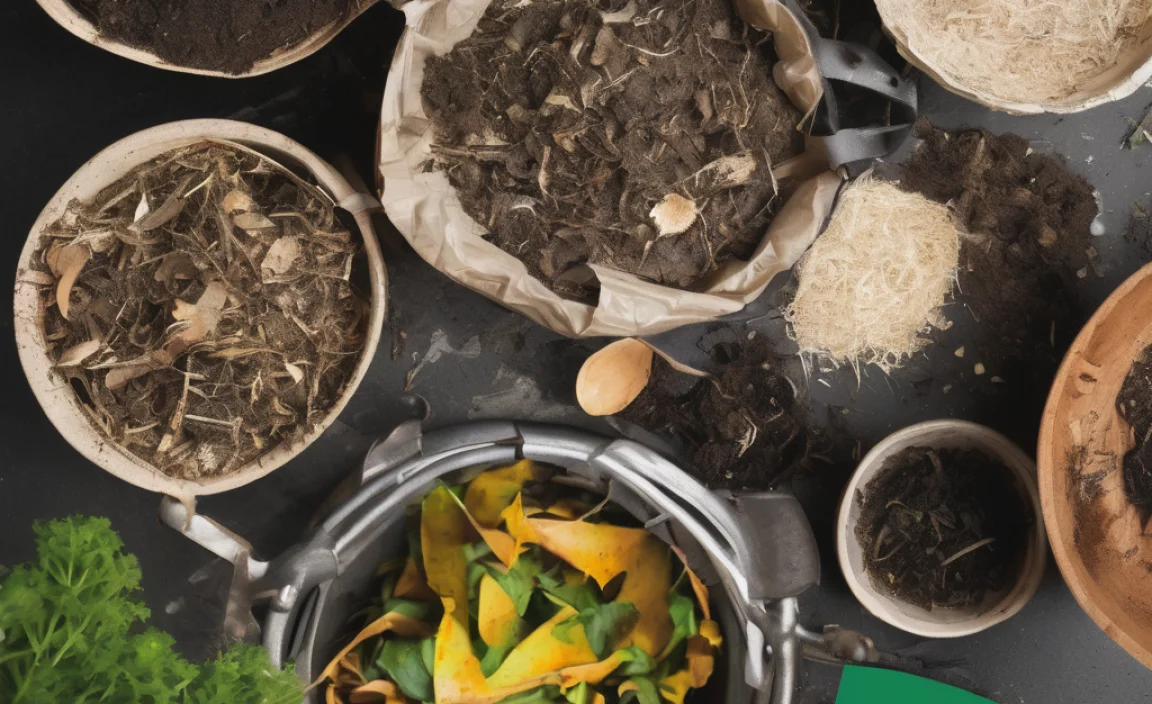
What are Browns?
- Dry leaves
- Shredded newspaper and cardboard (avoid glossy paper)
- Straw or hay
- Wood chips or sawdust (in moderation)
- Pine needles
- Eggshells (crushed)
What are Greens?
- Fruit and vegetable scraps
- Coffee grounds and tea bags
- Grass clippings (add in thin layers to prevent matting)
- Plant trimmings (non-diseased)
- Eggshells (crushed)
How to Fix an Imbalance:
- If it smells like ammonia or rotten eggs (sulfur): You likely have too many greens. Add a generous layer of browns! Stir them in thoroughly.
- If it’s too wet AND stinky: Definitely add more browns to absorb excess moisture and balance the nitrogen.
2. Aerate Your Compost Pile
Oxygen is your best friend when it comes to preventing compost odors. Aerobic bacteria thrive in oxygen-rich environments. Anaerobic bacteria, the stinky ones, don’t.
How to Aerate:
- Turn Your Pile Regularly: This is the most effective way. Use a compost turning tool, pitchfork, or shovel to mix the contents of the bin. Aim to turn it at least once a week, or more often if you notice it getting smelly. This brings the material from the center to the outside, exposing it to air.
- Use a Compost Aeration Tool: These long, metal tools are designed to be pushed into the pile and twisted to break up compacted areas and allow air to circulate. They are less disruptive than a full turn. Companies like Gardener’s Supply Company offer various types of robust compost aerators.
- Ensure Proper Ventilation for Your Bin: If you have a closed bin, make sure it has plenty of air vents. If you’re building your own or have a plastic bin, consider drilling extra holes. For wire mesh or pallet bins, good airflow should be built-in.
3. Manage Moisture Levels
As we discussed, a soggy pile is a stinky pile. Your compost should feel like a damp sponge—moist enough to support microbial life but not so wet that water drips out when you squeeze it.
How to Manage Moisture:
- If it’s too wet: Add more dry brown materials. Leaves, shredded cardboard, and straw are excellent for soaking up excess moisture. Turn the pile thoroughly to mix them in. Covering the pile during very rainy periods can also help prevent it from becoming waterlogged.
- If it’s too dry: Your composting process will slow down, and sometimes a dry pile can start to smell dusty or sour. Add some water. A good way to do this is to add moist green materials or gently hose down the pile as you turn it.
A protective layer of brown material on top can also help regulate moisture and prevent flies or odors from escaping.
4. Bury Your Food Scraps
When you add kitchen scraps (your “greens”), they can sometimes sit on top and start to smell before the other materials start breaking them down. A simple solution is to bury them a few inches deep into the compost pile.
How to Bury Scraps:
- Dig a small hole in the existing compost.
- Toss in your food scraps.
- Cover them completely with compost material (preferably browns, or finished compost if you have some).
- This helps deter pests and reduces direct exposure that can lead to odors.
5. Avoid Problematic Materials
While many things are compostable, some can cause more trouble than they’re worth, especially for beginners or if you’re trying to eliminate odors.
Materials to Use with Caution or Avoid for Odor Control:
- Meat, bones, dairy, and oily foods: These break down slowly, can attract pests, and are more prone to becoming rancid and smelly if not managed perfectly (i.e., deep burial and hot composting). For a typical backyard bin aiming for odor control, it’s often best to keep these out.
- Diseased plants: You don’t want to spread plant diseases.
- Pet waste (from cats and dogs): This can contain pathogens that aren’t killed in a standard home compost bin.
- Weeds that have gone to seed: You might end up spreading them.
- Chemically treated items: Inorganic materials or items treated with pesticides.
Focus on your plant-based food scraps and yard waste for the most reliable composting experience.
6. Add Odor-Neutralizing Materials
Sometimes, you need a little extra help to neutralize existing odors. Certain natural materials can work wonders.
Effective Neutralizers:
- Finished Compost: A layer of mature compost acts like a natural filter and can help absorb odors.
- Healthy Soil: Similar to finished compost, a bit of garden soil can introduce beneficial microbes that help break down smelly compounds.
- Wood Ash: A small amount of wood ash (from untreated firewood, not charcoal briquettes) can help raise the pH and absorb odors. Use sparingly, as too much can make your compost too alkaline.
- Baking Soda: In a pinch, a light sprinkle of baking soda can help absorb odors. This is more of a temporary fix, though.
7. Troubleshoot Specific Smells
Understanding the smell can give you a clue about the problem.
Common Smells and Their Causes:
| Smell | Likely Cause | Solution |
|---|---|---|
| Rotten Eggs (Sulfur) | Anaerobic conditions due to too much moisture and/or too many “greens.” | Add plenty of dry “browns,” turn the pile to aerate, ensure proper drainage/airflow. |
| Ammonia | Too much nitrogen (too many “greens”). | Add more “browns” (carbon-rich materials like dry leaves, shredded paper) and turn to mix. |
| Sour or Musty | Pile is too wet and lacks airflow. | Add dry browns, turn the pile thoroughly, ensure good ventilation. |
| Putrid/Flesh-like | Likely has meat, dairy, or oily foods that are rotting instead of decomposing. | Remove these items if possible. Focus on balancing greens/browns, aerating, and ensuring adequate moisture for a “hot” compost phase if trying to compost these items (advanced method). For beginners, avoid these items. |
Optimizing Your Compost Bin for Success
Choosing the right compost bin and setting it up for success from the start can prevent odor issues before they even begin. Consider these factors:
Types of Compost Bins
Different bins have different airflow characteristics. For odor control, good airflow is key.
- Open/Enclosed Stationary Bins: Often made of recycled plastic with ventilation holes. They are simple to use. Ensure yours has adequate holes.
- Tumbler Bins: These bins rotate, making aeration easy. They can be great for speeding up the process and managing moisture and heat. Some people find they can get smelly if overloaded with wet materials.
- Wire Mesh or Pallet Bins: These very basic, often DIY bins, offer excellent airflow because they are essentially open to the air. They rely heavily on good material balancing for odor control.
No matter the bin type, the principles of balancing greens/browns, aeration, and moisture management remain the same.
How to Set Up a New Compost Bin to Avoid Odors
Start off on the right foot!
- Build a Base Layer: Start with a layer of coarse brown material like twigs, straw, or shredded cardboard at the bottom. This helps with drainage and initial airflow. A layer about 4-6 inches deep is good.
- Alternate Layers: When adding new materials, try to alternate greens and browns. After adding kitchen scraps (greens), cover them with a layer of dry leaves or shredded paper (browns).
- Chop Materials: Smaller pieces break down faster and integrate better into the pile, leading to more efficient decomposition.
- Don’t Overfill: An overflowing bin can become compacted and lack airflow, leading to odors.
When to Call in the Experts (or Advanced Techniques)
For most backyard composters, the solutions above will be more than enough to keep your compost bin smelling fresh. However, if you’re dealing with persistent, overwhelming odors, or you find your compost isn’t breaking down effectively, it might be time to look at some advanced techniques or consider professional help for very specific problems.
Hot Composting vs. Cold Composting
Cold Composting is the passive method where you just keep adding materials and occasionally turn the pile. It’s easy but slow and can sometimes be prone to smells if not managed well. This is what most beginners do.
Hot Composting involves building a compost pile with a very specific, high ratio of greens to browns, a lot of moisture, and consistent turning. This generates high temperatures (130-160°F or 55-70°C), which can kill weed seeds and pathogens and break down materials very quickly, often with minimal odor. Achieving and maintaining these temperatures requires careful management. Resources like the EPA’s guide on composting touch upon these methods and their benefits for larger-scale operations, but the principles can be applied at home.
When Professional Help Might Be Needed
- Industrial or Large-Scale Operations: If you’re managing large compost piles for farms, businesses, or community gardens, and odors are a significant issue affecting neighbors, you might need to consult with a composting specialist or environmental consultant.
- Biofilters: In industrial settings, biofilters are used to treat air emissions from composting facilities to remove odors. This is beyond the scope of home composting but illustrates how serious odor control can be managed at scale.
For your home compost bin, remember that the goal is balance and aeration. The solutions we’ve covered are designed for simple, effective backyard composting. Stick with the basics, and you’ll likely be odor-free!
Frequently Asked Questions About Compost Bin Odor
Q1: My compost bin smells like rotten eggs. What did I do wrong?
A1: That classic rotten egg smell means your compost is too wet and lacks oxygen. It’s gone anaerobic. To fix it, add a large amount of dry, carbon-rich “brown” materials like shredded paper, dry leaves, or straw. Then, turn your compost pile thoroughly to get air circulating throughout the bin. Make sure your bin has good ventilation!
Q2: Can I compost meat scraps and dairy products? Will they stink?
A2: While meat, dairy, and oily foods are technically compostable, they are much more likely to cause odors and attract pests in a standard backyard compost bin. They also break down more slowly. For beginners, or if odor control is your main concern, it’s best to avoid these items and stick to fruit/vegetable scraps, coffee grounds, and yard waste.
Q3: How often should I turn my compost bin?
A3: For optimal odor control and faster decomposition, aim to turn your compost pile at least once a week, especially if you notice it starting to smell. If weekly turning isn’t feasible, try to turn it every 1-2 weeks. Using a compost aerator tool between full turns can also help.
Q4: My compost is really dry. Will it start to smell?
A4: A dry compost pile won’t typically produce foul odors; instead, it will just stop decomposing or might develop a dusty or sour smell. If your pile is too dry, the beneficial microbes can’t work effectively. Add some water, ideally by adding moist green materials or gently watering the pile as you turn it. The goal is for it to be as damp as a wrung-out sponge.
Q5: What’s the best ratio of “greens” to “browns” to prevent smells?
A5: A good general guideline for ideal composting and odor prevention is to aim for a ratio of 2 to 3 parts “browns” (carbon-
Related Posts

I am passionate about home engineering. I specialize in designing, installing, and maintaining heating, ventilation, and air conditioning systems. My goal is to help people stay comfortable in their homes all year long.