Compost Bin in Philippines: Your Easy Guide to Greener Living
Got kitchen scraps piling up? Feeling a bit guilty throwing away perfectly good organic stuff? You’re not alone! Many of us in the Philippines want to do our part for the environment but aren’t sure where to start with composting. It can seem a bit daunting at first, but I promise, it’s super easy! We’ll break it down step-by-step, so you can turn that waste into garden gold.
This guide will walk you through everything you need to know about compost bins in the Philippines. We’ll cover choosing the right bin, where to put it, what to toss in, and what to keep out. Ready to make your own compost?
Why Compost? Your Garden’s Best Friend (and Earth’s!)
Composting might sound like a lot of work, but the benefits are huge. Think of it as nature’s recycling program! Instead of sending your food scraps and yard waste to a landfill, where they take up space and produce harmful gases, you’re turning them into something amazing: nutrient-rich compost.
This “black gold” is pure magic for your garden. It:
- Enriches the soil, making it healthier and more fertile.
- Helps soil retain moisture, so you water less.
- Improves soil structure, making it easier for plant roots to grow.
- Reduces the need for chemical fertilizers, which saves you money and is better for the planet.
- Diverts waste from landfills, cutting down on pollution.
In the Philippines, where green spaces are precious and we’re all learning to be more eco-conscious, composting is a fantastic way to contribute. Plus, it feels great knowing you’re giving your plants the best natural food!
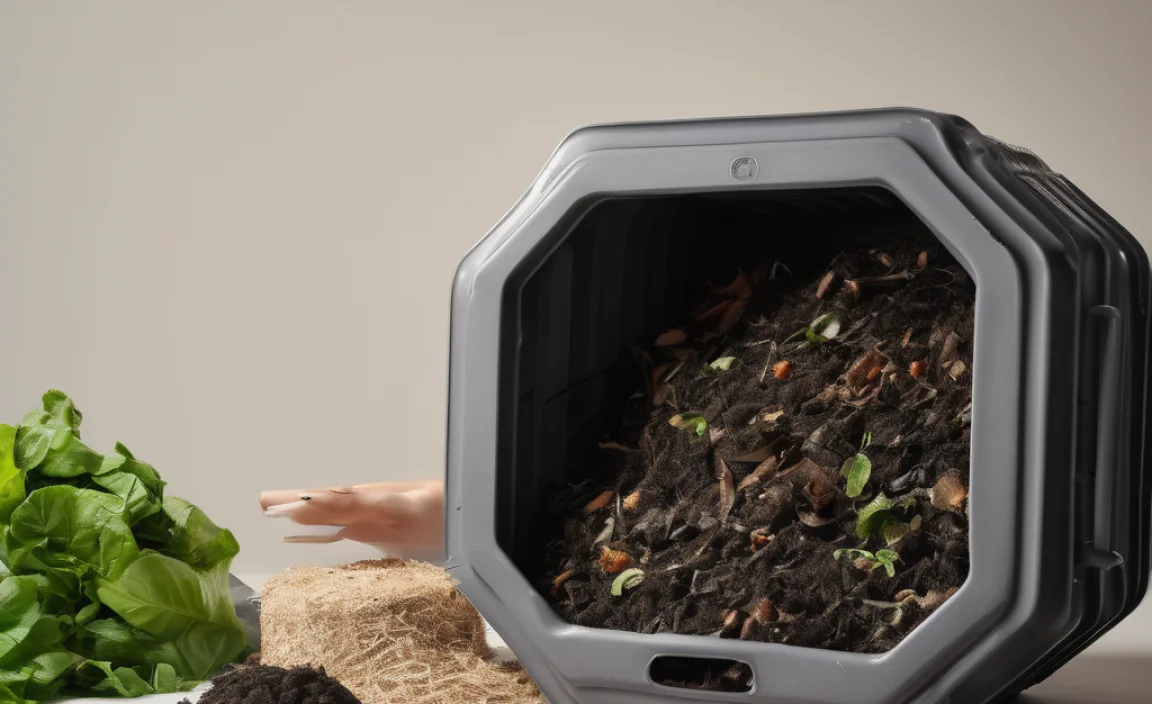
Choosing the Right Compost Bin for Your Philippine Home
The good news is, you don’t need a massive garden to compost. Whether you’re in a sprawling house in Luzon or a cozy condo in!(“Yes, even in a condo!”) Cebu, there’s a compost bin for you. Let’s look at the most popular options:
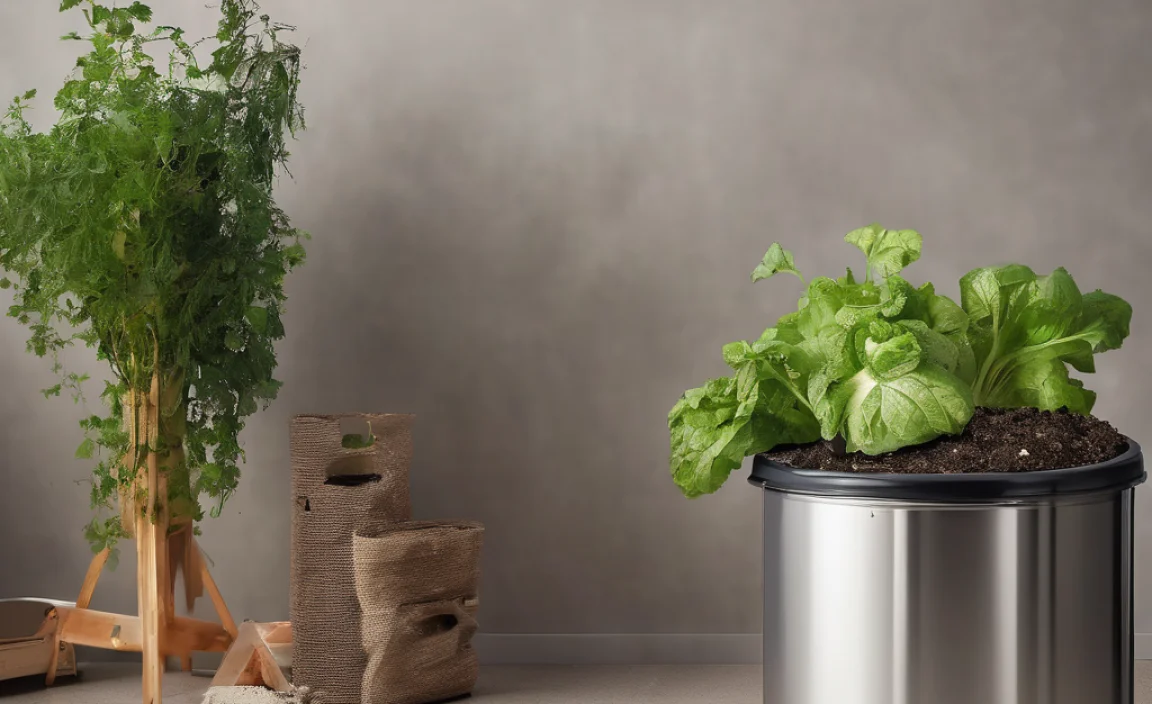
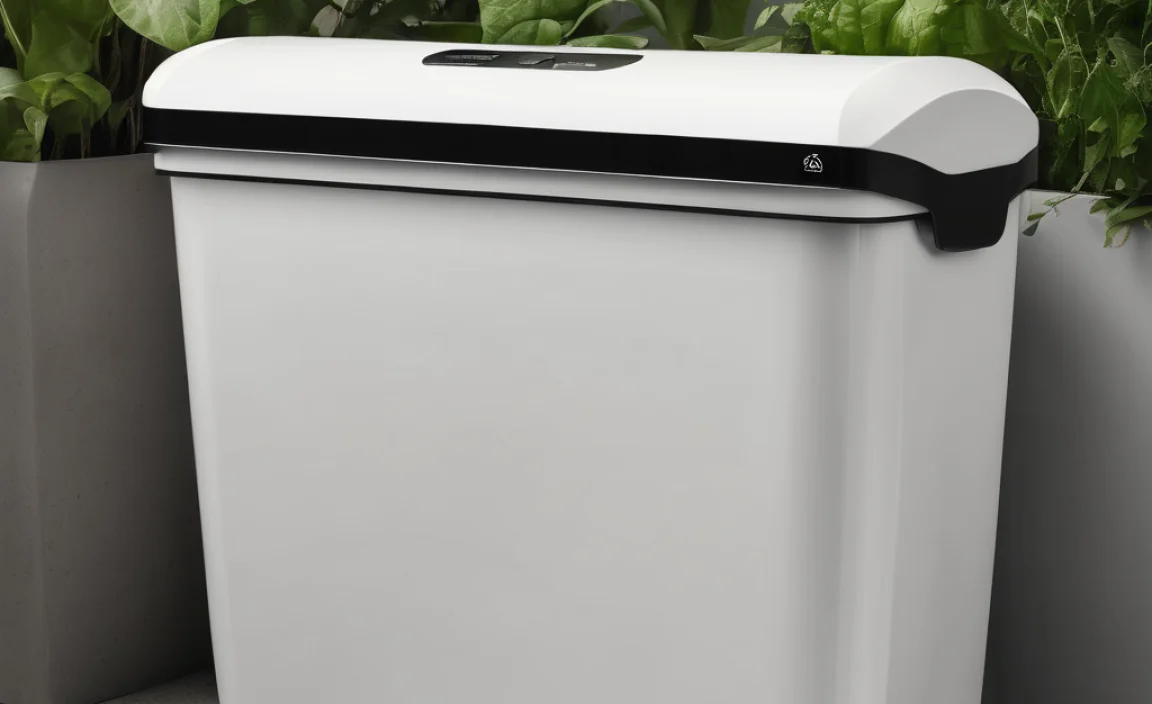
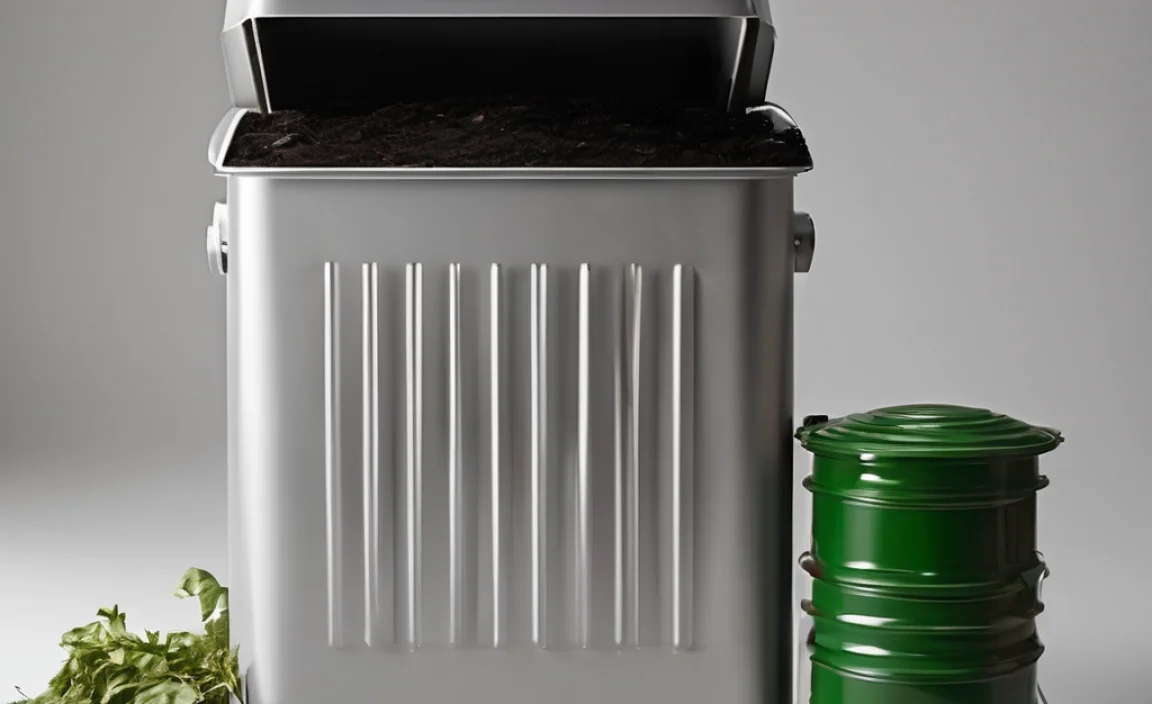
1. Stationary Bins (The Classic Choice)
These are usually large bins made of plastic, wood, or metal. They’re great if you have a bit more space, like a backyard or a large balcony.
- Pros: Can hold a large volume of material, easy to manage once set up.
- Cons: Can be a bit slow to compost if not managed well, might require turning the compost.
- What to look for: Lids to keep pests out, good ventilation holes, sturdy construction.
2. Tumbling Composters (The Speedy Sanchez)
These are barrel-like bins that sit on an axis, allowing you to easily tumble and mix the compost. This speeds up the decomposition process significantly.
- Pros: Faster composting, easier to turn, less manual labor.
- Cons: Can be more expensive, might have smaller capacity than some stationary bins.
- What to look for: Easy-to-turn mechanism, durable materials, sufficient capacity for your household waste.
3. DIY Compost Bins (The Budget-Savvy Option)
Don’t want to buy a new bin? No problem! Plenty of recycled materials can be turned into effective compost bins. Think old plastic drums, wooden pallets, or even wire mesh.
- Pros: Very affordable, customizable to your space and needs.
- Cons: Requires a bit of DIY skill, might not look as polished as store-bought options.
- What to look for: Ensure good airflow and drainage. For plastic drums, drill plenty of holes. Pallets can be easily assembled with gaps for air.
4. Worm Composting (Vermicomposting – For Apartment Dwellers!)
This is perfect for smaller spaces like apartments or if you have very little yard waste. Special composting worms (like Red Wigglers) do the hard work for you, breaking down food scraps into nutrient-rich worm castings.
- Pros: Excellent for small spaces, produces high-quality compost (worm castings), minimal odor if managed correctly.
- Cons: Requires specific types of worms, needs consistent moisture and temperature.
- What to look for: A specialized worm bin system (they’re often stackable and designed for this), good bedding material for the worms.
When choosing, consider how much organic waste your household produces, how much space you have, and how much effort you’re willing to put in. For most Filipino homes starting out, a stationary bin or a DIY option is a great and affordable entry point.
Where to Place Your Compost Bin in the Philippines
Location, location, location! This is key to successful composting, no matter where you live.
- Sun and Shade: A spot that gets a mix of sun and shade is ideal. Too much direct sun can dry out your compost pile, while too much shade might make it too wet and slow down the process. Aim for partial sun.
- Accessibility: Place your bin somewhere that’s easy to get to. You’ll be adding scraps regularly and eventually harvesting your finished compost. Easy access means you’re more likely to stick with it!
- Drainage: Make sure the spot has good drainage. You don’t want your compost bin sitting in a puddle, especially during typhoon season!
- Airflow: Good airflow is crucial. Avoid tucking your bin into a tight, enclosed corner. A little breeze helps the decomposition process.
- Neighbors: If you have close neighbors, consider placing the bin away from property lines to avoid any potential (though unlikely if managed well!) smells or aesthetic concerns.
For those in urban settings, a balcony or a small patio area can work perfectly. Just ensure good airflow and try not to place it directly under an eaves trough that might dump a lot of water on it.
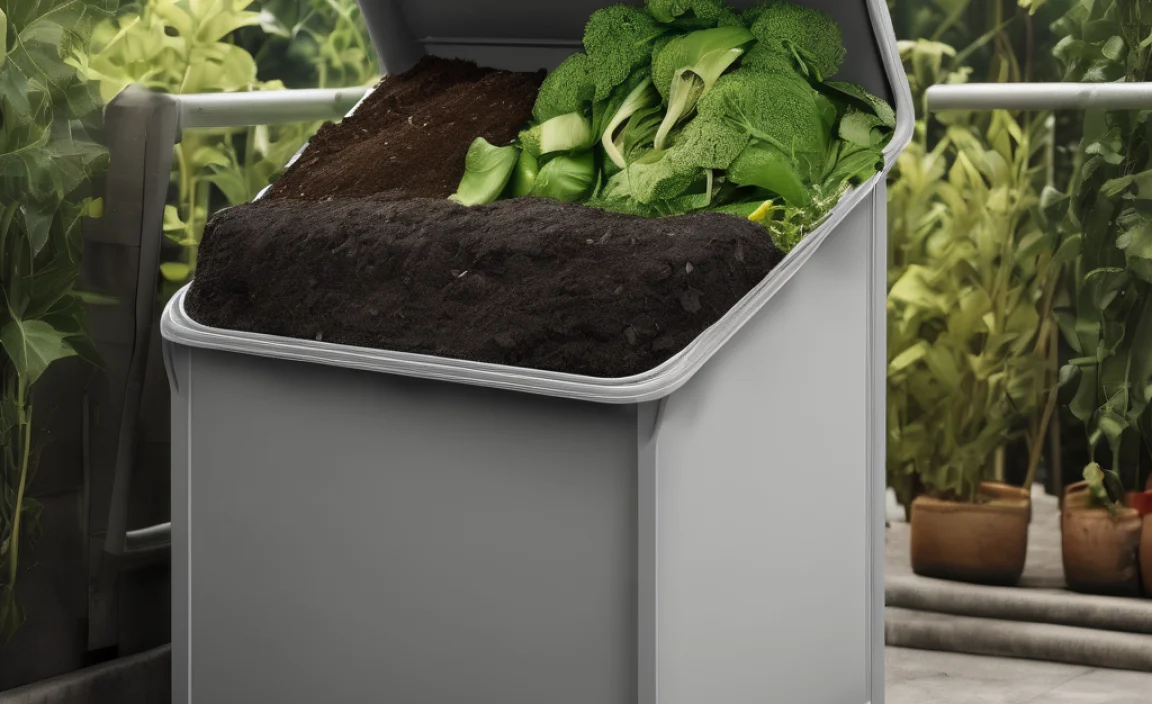
What Goes In: The “Greens” and “Browns” of Composting
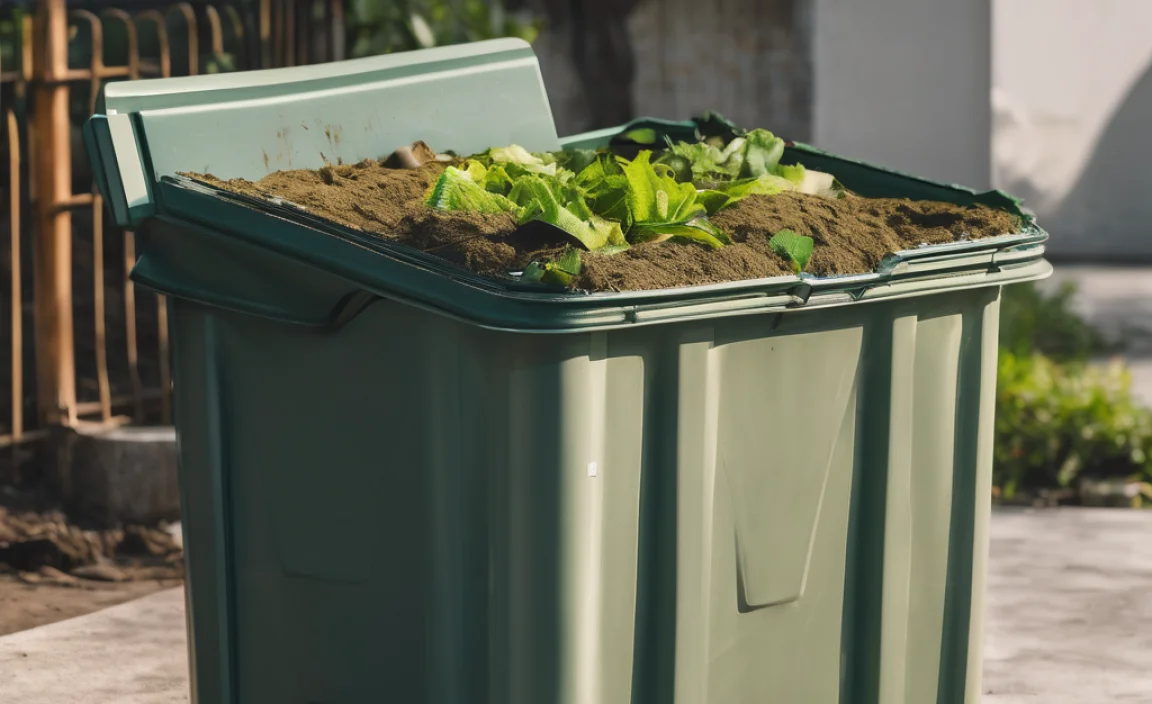
Composting is all about balance! You need a mix of “green” materials (nitrogen-rich) and “brown” materials (carbon-rich). Think of it like a recipe for healthy soil.
Greens (Nitrogen-Rich): These add moisture and nitrogen.
- Fruit and vegetable scraps (peels, cores, rinds)
- Coffee grounds and tea bags (remove staples!)
- Grass clippings (in moderation, as they can mat together)
- Plant trimmings (non-diseased)
- Eggshells (crushed)
Browns (Carbon-Rich): These add bulk and allow air to circulate.
- Dry leaves (a fantastic resource in the Philippines!)
- Shredded newspaper and cardboard (avoid glossy paper)
- Straw or hay
- Small twigs and branches (chopped up)
- Sawdust (from untreated wood only)
A good ratio to aim for is roughly 2 parts Browns to 1 part Greens. This isn’t an exact science, but getting close helps a lot!
| Greens (Nitrogen) | Browns (Carbon) |
|---|---|
| Fruit & Veggie Scraps | Dry Leaves |
| Coffee Grounds & Tea Bags | Shredded Newspaper/Cardboard |
| Grass Clippings | Straw/Hay |
| Plant Trimmings | Twigs & Small Branches |
| Eggshells | Sawdust (untreated wood) |
What Stays Out: The “No-Nos” for Your Compost Bin
To ensure your compost is healthy, quick, and doesn’t attract unwanted critters, there are some things you should avoid adding:
- Meat, fish, and dairy products: These can attract pests and create unpleasant odors. They also take a long time to break down.
- Oils, greases, and fatty foods: Similar to meat and dairy, these can slow down decomposition and cause smells.
- Diseased plant matter: If your plants had issues, you don’t want to spread those diseases back into your garden through the compost.
- Weeds that have gone to seed: You’ll end up with a compost bin full of weeds that you then spread on your garden.
- Pet waste (dog or cat feces): These can contain harmful pathogens.
- Chemically treated wood or yard waste: Avoid anything treated with pesticides or herbicides.
- Glossy or coated paper/cardboard: The coatings often don’t break down well.
- Ashes from coal or charcoal briquettes: These can contain heavy metals. Wood ashes from untreated wood are okay in small amounts.
When in doubt, it’s often best to leave it out! The goal is to create a safe, healthy environment for decomposers.
How to Start Composting: A Simple Step-by-Step Guide
Ready to get your hands dirty (but not too dirty)? Here’s how to get your compost bin going:
Step 1: Prepare Your Bin
If you’re using a purchased bin, simply place it in your chosen spot. If you’re building a DIY bin, assemble it now! Make sure it has holes for air circulation and is stable.
Step 2: Build Your Base Layer
Start with a layer of “brown” materials. This could be dry leaves, small twigs, or shredded cardboard. Aim for about 4-6 inches thick. This layer helps with drainage and airflow from the bottom.
Step 3: Start Adding Materials
Now, begin adding your kitchen scraps (“greens”) and other organic waste. As you add greens, always try to cover them with a layer of browns. This is a key trick to avoid smells and deter pests. Think of it as burying your food scraps under brown leaves or shredded paper.
Step 4: Maintain Moisture Levels
Your compost pile should be as damp as a wrung-out sponge. Not soaking wet, not bone dry. If it feels dry, sprinkle it with water. If it’s too wet (especially after heavy rains in the Philippines!), add more brown materials to absorb the excess moisture.
Step 5: Aerate (Turn) Your Compost
This is where the magic happens faster. Turning your compost pile introduces oxygen, which helps the microorganisms break down the material. You can use a garden fork, a spade, or a compost aerator tool. How often you turn depends on your method:
- Hot Composting: Turn every 1-2 weeks to speed up decomposition and kill weed seeds/pathogens. This often results in finished compost in 1-3 months.
- Cold Composting: Turn less frequently, perhaps once a month or even less. This is slower and can take 6 months to a year, but requires less effort.
Pro Tip: For tumblers, just give them a few spins every few days!
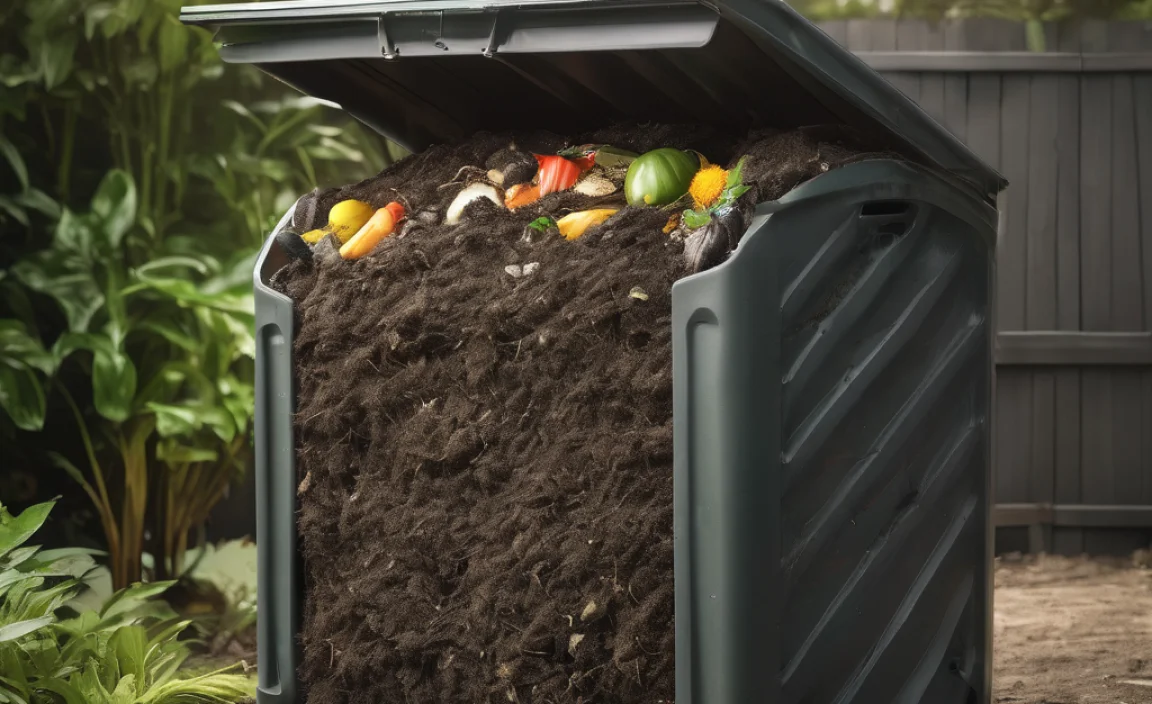
Step 6: Harvest Your Compost!
Finished compost looks and smells like dark, crumbly soil. You’ll know it’s ready when you can’t recognize the original materials you put in. This can take anywhere from a few weeks (for hot composting with frequent turning) to over a year (for cold composting). You can harvest the finished compost from the bottom of a stationary bin (if it has a door) or by sifting the entire bin.
And that’s it! You’ve created your own super-soil. You can screen it if you want a finer texture, or just use it as is.
Troubleshooting Common Composting Issues
Even with the best intentions, you might run into a few snags. Here’s how to fix them:
- Bad Odor (Smells like rotten eggs or ammonia): This usually means too much nitrogen (greens) or not enough air.
- Fix: Add more brown materials (leaves, shredded paper), turn the pile to aerate it. Ensure good airflow around the bin.
- Pile is too Dry: Decomposition slows down significantly when dry.
- Fix: Add water! Sprinkle with a hose or watering can until it’s like a damp sponge.
- Pile is Too Wet and Slimy: This can lead to anaerobic conditions (lack of oxygen) and bad smells.
- Fix: Add plenty of brown materials to absorb excess moisture. Turn the pile to improve aeration.
- Not Breaking Down: Could be too dry, too wet, or not enough greens.
- Fix: Check moisture levels and adjust. Ensure a good mix of greens and browns. Turning the pile will also help.
- Attracting Pests (Flies, rodents): Usually means you’re adding things you shouldn’t, or the compost is too exposed.
- Fix: Bury food scraps deep within the pile and always cover with browns. Ensure your bin has a secure lid. Avoid meat, dairy, and oily foods entirely.
Don’t get discouraged if you face issues! Composting is a learning process, and these problems are usually easy to solve with a little adjustment.
Composting Resources in the Philippines
While this guide aims to be comprehensive, sometimes you need more local insight. Here are some places to look:
- Local Gardening Groups: Search for gardening or permaculture groups on social media platforms in the Philippines. Members often share tips specific to the local climate and conditions.
- Home Improvement Stores: Many hardware and home improvement stores in the Philippines now sell various types of compost bins. Staff might also offer basic advice.
- Government Initiatives: Keep an eye out for programs from the Department of Environment and Natural Resources (DENR) or local government units (LGUs) promoting waste management and composting. They sometimes offer workshops or resources. For instance, the DENR website is a good place to start for national environmental information.
- Online Retailers: Websites like Lazada and Shopee have a wide selection of compost bins and related gardening tools available for delivery across the Philippines.
Connecting with other composters in your area can provide invaluable, real-world advice tailored to the Philippine environment.
Conclusion: Green Thumbs Up for Composting!
So there you have it! Creating a compost bin in the Philippines is not only achievable but incredibly rewarding. You’re reducing waste, improving your soil naturally, and contributing to a healthier environment for all of us. Whether you choose a simple stationary bin, a speedy tumbler, or get creative with a DIY project, the most important step is to just get started.
Remember the key is balance – a good mix of greens and browns, the right moisture, and a bit of air. Don’t be afraid to experiment and learn as you go. Your plants, your garden, and our beautiful planet will thank you!
Frequently Asked Questions (FAQs)
Here are answers to some common questions beginners have:
Q1: How long does it take to make compost?
It varies! “Hot” composting with regular turning can yield finished compost in as little as 1-3 months. “Cold” composting with less attention can take 6 months to over a year. Factors like temperature, moisture, and the materials used also play a role.
Q2: My compost smells bad. What should I do?
Bad smells usually mean too much nitrogen (greens) or not enough air. Try adding more dry, carbon-rich materials like leaves or shredded paper, and turn the pile to aerate it. Ensure it’s not too wet.
Q3: Can I put citrus peels in my compost?
Yes, citrus peels (like from calamansi or dalanghita!) can go in your compost bin. However, add them in moderation. Too many acidic materials can sometimes slow down the composting process. Always ensure they are covered with brown materials.
Q4: I live in a condo with no garden. Can I still compost?
Absolutely! Vermicomposting (worm composting) is perfect for small spaces like condos. You can also use small indoor compost bins or Bokashi systems. These methods are designed for limited space and minimal odor.
Q5: What should I do if my compost pile is too dry?
If your compost feels dry and crumbly, it needs more moisture. Sprinkle it with water using a hose or watering can
Related Posts


I am passionate about home engineering. I specialize in designing, installing, and maintaining heating, ventilation, and air conditioning systems. My goal is to help people stay comfortable in their homes all year long.