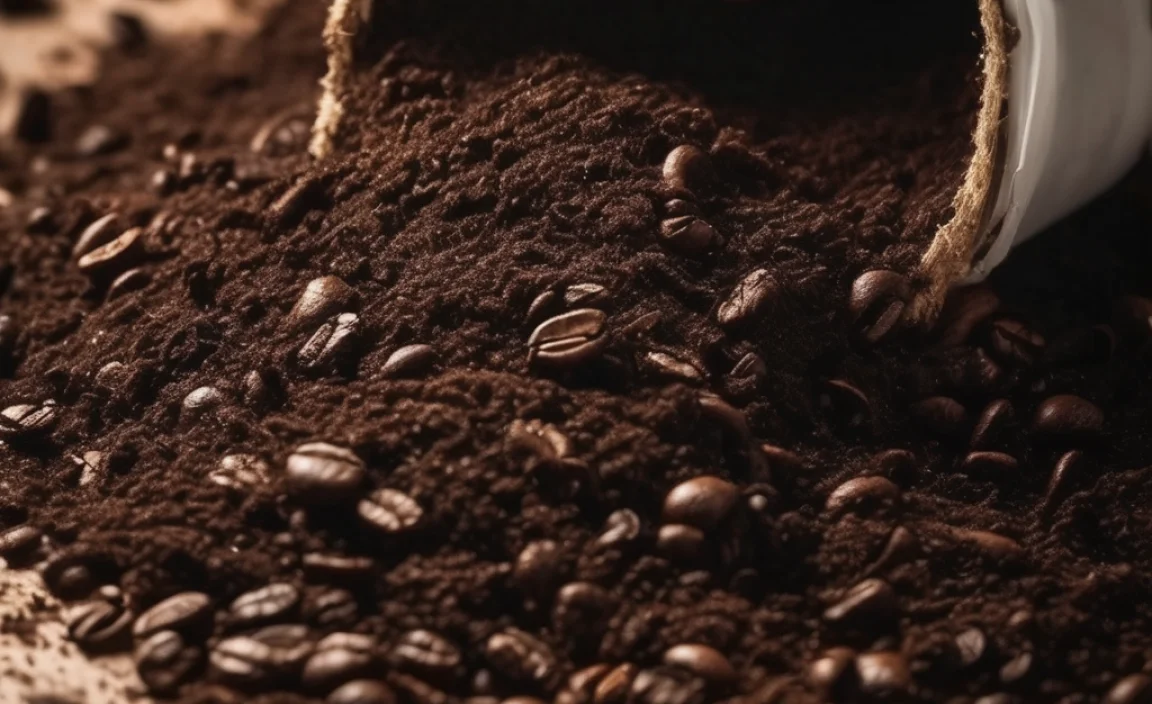
Love your morning cup of joe? What if I told you those coffee grounds can be a secret weapon for your garden? It’s true! Many of us toss coffee grounds without a second thought, but they’re actually packed with nutrients that plants adore. Don’t worry if you’re new to composting; it’s simpler than you think. We’ll walk through exactly how to turn that leftover coffee into garden gold, making your plants happier and our planet a little greener. Get ready to boost your garden’s health the easy way!
Why Compost Coffee Grounds? The Eco-Friendly Scoop

So, why bother with coffee grounds in your compost bin? It’s a fantastic way to reduce waste and give your garden a nutrient boost. Think of it as a win-win for your kitchen and your yard!
Nutrient Powerhouse for Plants
Coffee grounds aren’t just good for waking you up; they’re great for your soil too! They contain essential elements like nitrogen, which is crucial for leafy green growth. They also have smaller amounts of phosphorus and potassium, helping with the overall health and flowering of your plants. It’s like a natural fertilizer, delivered straight from your coffee maker!
Reducing Landfill Waste
Did you know that coffee is one of the most consumed beverages worldwide? That means a lot of coffee grounds end up in our trash bins. Composting them diverts this organic material from landfills, where it can contribute to methane gas production, a potent greenhouse gas. Turning waste into a resource is a simple, yet powerful, act of environmental responsibility.
Improving Soil Structure
As coffee grounds decompose, they help to loosen heavy clay soils, improving drainage and aeration. For sandy soils, they help retain moisture and nutrients. This makes it easier for plant roots to grow and access what they need.
Attracting Beneficial Organisms
Composted coffee grounds can also attract earthworms, which are nature’s little tillers. Earthworms burrow through the soil, improving its structure and fertility, and helping to break down organic matter even further.
What You’ll Need: Simple Tools for Composting Coffee Grounds

The beauty of composting coffee grounds is that you don’t need fancy equipment. Most of what you need, you likely already have!
- Your Coffee Grounds: Obviously! Fresh or used, both work.
- A Compost Bin or Pile: This could be a store-bought bin, a DIY bin made from pallets, or simply a designated corner of your yard for a compost pile.
- A Garden Fork or Shovel: For turning and mixing your compost.
- Optional: A Lid for Your Bin: Helps retain moisture and heat, and keeps critters out.
- Optional: Other Compostable Materials: See the “Balancing Your Compost Bin” section for ideas.
How to Compost Coffee Grounds: Your Step-by-Step Guide
Ready to get started? It’s a straightforward process. Just follow these simple steps, and you’ll be composting coffee grounds like a pro in no time!
Step 1: Collect Your Coffee Grounds
This is the easiest part! As you make your coffee, simply scoop the used grounds into a container. An old yogurt tub, a small bucket, or even a repurposed shopping bag works perfectly. It’s a good idea to let them cool down a bit before adding them to your compost to avoid any accidental heat issues.
Step 2: Choose Your Composting Method
You have a few options for where to compost your grounds:
- Compost Bin: This is the most common method. You can buy tumblers, stationary bins, or even build your own. This method offers good control over moisture and aeration.
- Compost Pile: If you have a bit more space, a simple open pile in a corner of your yard works. It’s less contained but very effective, especially for larger volumes of material.
- Worm Composting (Vermicomposting): Worms absolutely love coffee grounds! This is an excellent option for apartment dwellers or those with limited space. Specialized composting worms, like red wigglers, break down the grounds quickly. You can learn more about setting up a worm bin from resources like the EPA’s Composting Guide.
Step 3: Add Grounds to Your Compost
Now for the actual composting part. Coffee grounds are considered a “green” material because they are nitrogen-rich. This is great, but like anything, too much of a good thing can be a problem. Aim to add them in moderation.
- Don’t dump huge mounds of coffee grounds at once. Instead, sprinkle them in as you collect them.
- Mix them with “brown” materials. This is key to a balanced compost. Think dried leaves, shredded newspaper, cardboard, or sawdust.
- General rule of thumb: For every part of coffee grounds you add, try to add at least two parts of brown materials.
Step 4: Maintain Moisture Levels
Your compost needs to be damp, like a wrung-out sponge. Coffee grounds can sometimes clump together, which can hinder airflow. Mixing them with dry brown materials helps prevent this and keeps the moisture balanced.
- If your compost seems too dry, add a bit of water.
- If it seems too wet, add more dry, brown materials.
Step 5: Aerate Your Compost
Healthy compost needs air! This helps the microorganisms that break down the organic matter to thrive. Regularly turning your compost pile or bin with a garden fork or shovel is essential.
- Aim to turn your compost at least once a week.
- Mixing the coffee grounds with other materials ensures they get the air they need.
Step 6: Let it Decompose
Patience is a virtue when it comes to composting! Depending on the conditions (temperature, moisture, aeration, and the mix of materials), your compost will break down over time. Coffee grounds themselves decompose relatively quickly.
- You’ll know your compost is ready when it looks dark, crumbly, and smells earthy, like a forest floor.
- It should no longer resemble the original materials you put in.
Balancing Your Compost Bin: The “Greens” and “Browns” Rule

For successful composting, you need a good mix of materials. Think of it like cooking – you need the right ingredients and proportions to get a great result. In composting, we call these “greens” and “browns.”
Coffee grounds are considered “greens” because they are rich in nitrogen and organic material that decomposes quickly. Your “browns” are carbon-rich materials that break down more slowly and provide structure and balance.
Here’s a breakdown:
“Green” Materials (Nitrogen-Rich)
- Coffee grounds (your star ingredient!)
- Tea bags (remove staples and plastic tags)
- Fruit and vegetable scraps
- Grass clippings (in thin layers to avoid matting)
- Plant trimmings
“Brown” Materials (Carbon-Rich)
- Dried leaves
- Shredded newspaper (black and white ink is fine)
- Cardboard (torn into small pieces)
- Straw or hay
- Sawdust (from untreated wood)
- Twigs and small branches (chopped small)
The Ideal Ratio: A good general guideline for beginners is to aim for a ratio of about 2 to 3 parts “browns” to 1 part “greens” by volume. This helps prevent your compost from becoming too wet, smelly, or dense. Since coffee grounds are so beneficial, adding them in moderation ensures this balance is easily maintained.
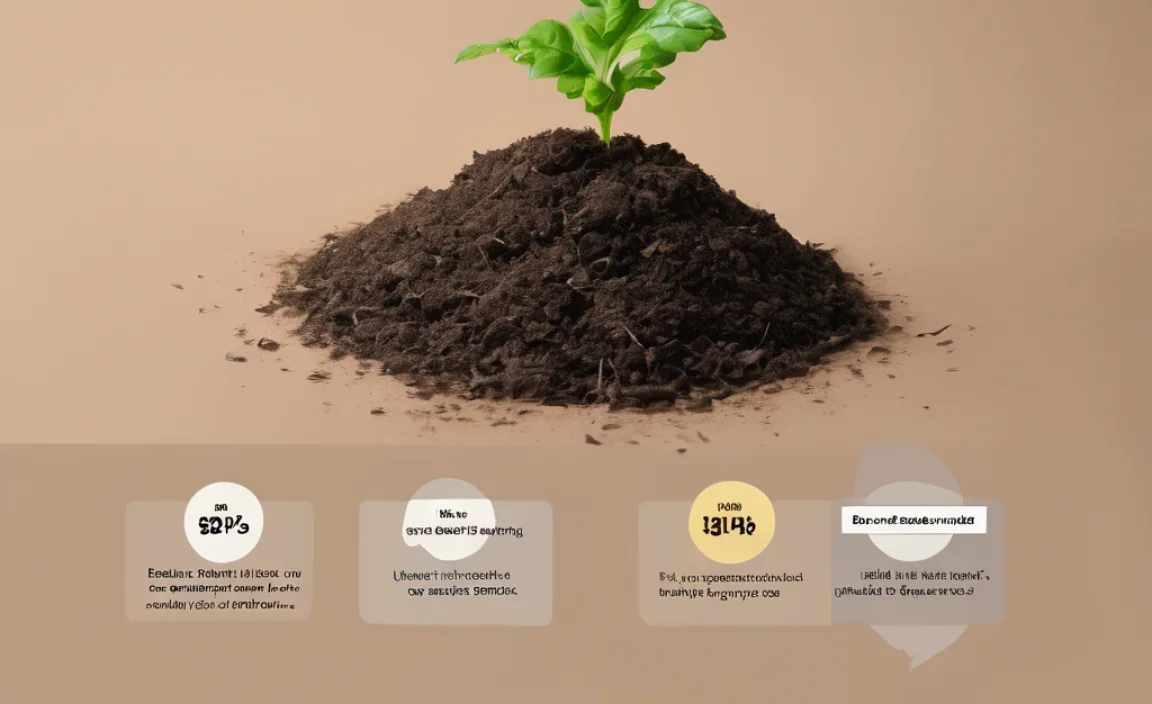
Here’s a quick look at what compost does for your garden:
| Benefit | How Coffee Grounds Contribute |
|---|---|
| Nutrient Enrichment | Adds nitrogen, phosphorus, and potassium to the soil. |
| Improved Soil Structure | Loosens clay soils and helps sandy soils retain moisture. |
| Enhanced Drainage & Aeration | Allows plant roots to breathe and access water better. |
| Attracts Beneficial Microbes & Worms | Increases biological activity in the soil. |
| Reduces Waste | Diverts organic material from landfills. |
Common Composting Mistakes (and How to Avoid Them!)

Even with the best intentions, sometimes things don’t go perfectly. Here are a few common snags when composting coffee grounds and how to steer clear of them.
Mistake 1: Adding Too Many Coffee Grounds at Once
Why it’s a problem: Dumping a big pile of coffee grounds can make your compost too wet and dense. This reduces airflow, which the beneficial microbes need to do their job efficiently. It can also lead to an unpleasant smell.
The Fix: Remember the “greens” and “browns” rule! Sprinkle your coffee grounds in gradually and always mix them with plenty of dry, brown materials. If you consistently brew a lot of coffee, consider dedicating a separate, smaller compost bin for coffee ground enrichment if you find your main one can’t keep up with the ratio.
Mistake 2: Compost is Too Wet or Too Dry
Why it’s a problem: Either extreme can stall the composting process. Too wet can lead to rot and anaerobic conditions (no air), causing foul odors. Too dry means the microorganisms can’t work effectively.
The Fix: Regularly check the moisture level. It should feel like a damp (not dripping) sponge. If it’s too wet, add more brown materials like shredded cardboard or dry leaves. If it’s too dry, add some water or more green materials like fruit scraps.
Mistake 3: Not Enough Airflow
Why it’s a problem: Compost needs oxygen to break down aerobically. Without it, the process slows down, can become smelly, and might attract unwanted pests.
The Fix: Turn your compost pile regularly with a garden fork or shovel. If you have a bin, follow the manufacturer’s instructions for aeration. Even just poking a few holes with a stick can help if you can’t turn it often.
Mistake 4: Adding Materials That Shouldn’t Be Composted
Why it’s a problem: Some items, like meat, dairy, or oily foods, can attract pests, create extremely unpleasant odors, and spread pathogens. Diseased plants can also spread disease to your garden.
The Fix: Stick to plant-based materials. For a beginner-friendly compost, focus on coffee grounds, tea bags, fruit and vegetable scraps, yard waste (leaves, grass clippings), and carbon materials like paper and cardboard. You can learn more about what to compost from reliable sources like university extension offices, such as Michigan State University Extension.
Troubleshooting: What if My Coffee Ground Compost Smells?
A healthy compost pile should smell earthy, like a forest floor. If it has a sour or ammonia-like smell, it’s usually a sign of an imbalance. Here’s how to tackle it:
- Too Wet or Too Many Greens: The most common culprit is too much moisture or too much nitrogen-rich “green” material (including coffee grounds if not balanced). This leads to anaerobic conditions.
- Solution: Turn the pile thoroughly to introduce air. Add a generous amount of dry “brown” materials (shredded cardboard, dry leaves, sawdust) to absorb excess moisture and balance the nitrogen.
- Not Enough Airflow: Similar to being too wet, compacted compost can’t breathe.
- Solution: Turn the compost pile more frequently and ensure larger brown materials are mixed in to provide structure.
- Adding Unsuitable Items: While less common with coffee grounds themselves, if you’ve added other items, certain things can cause odors.
- Solution: Remove any questionable items (like meat or dairy, if accidentally added).
By making sure you have a good balance of greens and browns, and by turning your compost regularly, you’ll keep those smells at bay and speed up the decomposition process.
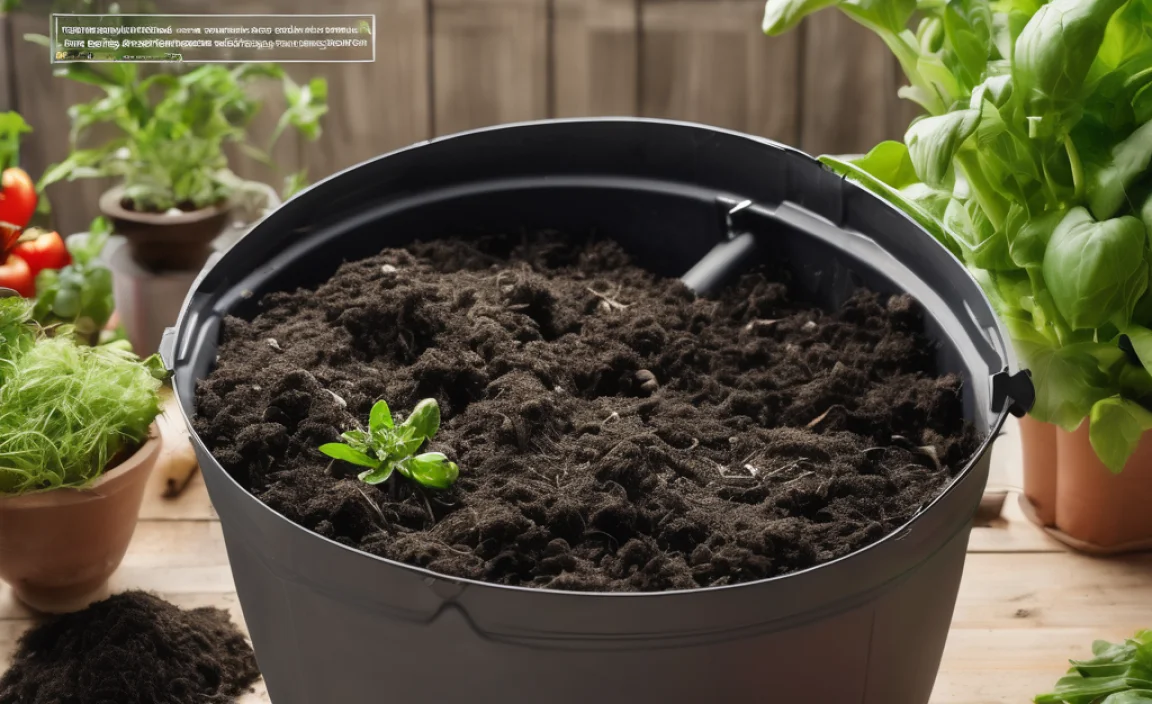
When is Compost Ready to Use?
Your compost is ready when it looks and smells like rich, dark soil. You won’t be able to identify the original materials you put in, and it should have a pleasant, earthy aroma. This can take anywhere from a few months to a year, depending on your climate, how often you turn it, and the materials used.
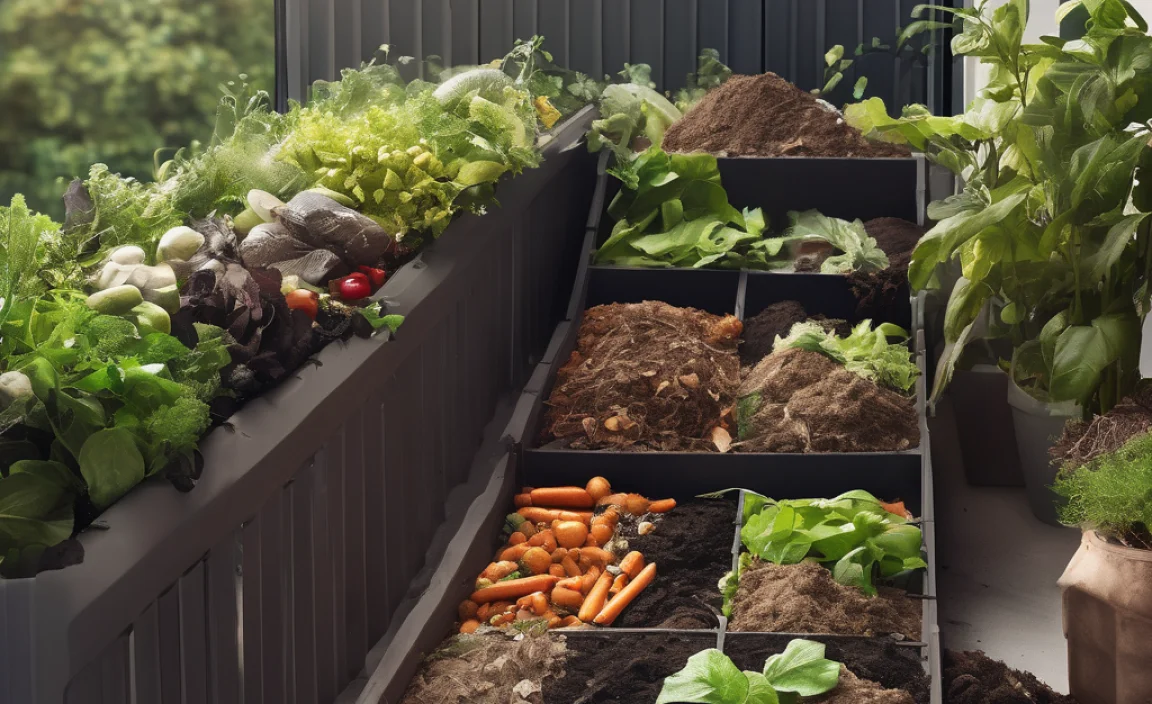
You can use your finished compost in several ways:
- Soil Amendment: Mix it into your garden beds before planting.
- Top Dressing: Sprinkle a layer around existing plants.
- Potting Mix: Combine it with other ingredients for your container plants.
Conclusion: Your Garden – and the Planet – Will Thank You!
There you have it! Turning your daily coffee habit into valuable garden compost is a simple, rewarding, and incredibly eco-friendly practice. By following these steps, paying attention to your green and brown ratios, and giving your compost a little air and moisture, you’re well on your way to creating fantastic soil amendments. Not only will your plants flourish with the nutrients from coffee grounds, but you’ll also be doing your part to reduce waste. So, next time you finish your cup, remember that your garden is waiting for its delicious, nutrient-rich treat. Happy composting!
Frequently Asked Questions About Composting Coffee Grounds
Q1: Can I just put coffee grounds directly into my garden?
A: While coffee grounds can benefit soil, putting large quantities of fresh grounds directly on the soil surface can temporarily hinder plant growth by affecting pH and nitrogen levels. It’s best to compost them first to unlock their full benefits and ensure a balanced nutrient release.
Q2: Will composting coffee grounds attract pests?
A: Properly managed compost, with a good balance of greens and browns and adequate turning, is less likely to attract pests. Coffee grounds themselves aren’t a major pest attractant. The key is to avoid adding meat, dairy, or oily foods, which are the real draws for unwanted visitors.
Q3: How many coffee grounds can I compost?
A: There’s no strict limit, but moderation is key. Aim to add coffee grounds in layers, mixing them with about twice as much ‘brown’ material. Overloading with ‘greens’ can lead to a smelly, wet compost pile.
Q4: Do I need to dry out my coffee grounds before composting?
A: No, you don’t need to dry them out. Used coffee grounds have already released most of their caffeine and valuable nutrients. They’re ready to go straight into your compost bin or pile as a ‘green’ material!
Q5: Can I compost coffee filters?
A: Yes, most paper coffee filters are compostable. They are made from natural wood pulp and break down well in a compost bin. Just make sure to remove any plastic or metal staples if your filters have them.
Q6: How long does it take for coffee grounds to compost?
A: Coffee grounds themselves decompose relatively quickly. As part of a larger compost pile, they contribute to the overall breakdown but the entire compost batch’s readiness depends on all the materials, turning, moisture, and temperature. A well-managed compost pile can be ready in 2-3 months.
.lwrp.link-whisper-related-posts{
margin-top: 40px;
margin-bottom: 30px;
}
.lwrp .lwrp-title{
}.lwrp .lwrp-description{
}
.lwrp .lwrp-list-container{
}
.lwrp .lwrp-list-multi-container{
display: flex;
}
.lwrp .lwrp-list-double{
width: 48%;
}
.lwrp .lwrp-list-triple{
width: 32%;
}
.lwrp .lwrp-list-row-container{
display: flex;
justify-content: space-between;
}
.lwrp .lwrp-list-row-container .lwrp-list-item{
width: calc(25% – 20px);
}
.lwrp .lwrp-list-item:not(.lwrp-no-posts-message-item){
max-width: 150px;
}
.lwrp .lwrp-list-item img{
max-width: 100%;
height: auto;
object-fit: cover;
aspect-ratio: 1 / 1;
}
.lwrp .lwrp-list-item.lwrp-empty-list-item{
background: initial !important;
}
.lwrp .lwrp-list-item .lwrp-list-link .lwrp-list-link-title-text,
.lwrp .lwrp-list-item .lwrp-list-no-posts-message{
}@media screen and (max-width: 480px) {
.lwrp.link-whisper-related-posts{
}
.lwrp .lwrp-title{
}.lwrp .lwrp-description{
}
.lwrp .lwrp-list-multi-container{
flex-direction: column;
}
.lwrp .lwrp-list-multi-container ul.lwrp-list{
margin-top: 0px;
margin-bottom: 0px;
padding-top: 0px;
padding-bottom: 0px;
}
.lwrp .lwrp-list-double,
.lwrp .lwrp-list-triple{
width: 100%;
}
.lwrp .lwrp-list-row-container{
justify-content: initial;
flex-direction: column;
}
.lwrp .lwrp-list-row-container .lwrp-list-item{
width: 100%;
}
.lwrp .lwrp-list-item:not(.lwrp-no-posts-message-item){
max-width: initial;
}
.lwrp .lwrp-list-item .lwrp-list-link .lwrp-list-link-title-text,
.lwrp .lwrp-list-item .lwrp-list-no-posts-message{
};
}
Related Posts

I am passionate about home engineering. I specialize in designing, installing, and maintaining heating, ventilation, and air conditioning systems. My goal is to help people stay comfortable in their homes all year long.