Tackling food scraps and garden waste can feel like a puzzle, especially when you’re not sure where to begin. Many of us want to do our part for the planet but get a bit stuck on how to start composting. It’s a common hurdle, but guess what? It doesn’t have to be complicated. This guide is here to break it down. We’ll walk through everything you need to know to become a composting pro, right here in Europe. Get ready to turn your waste into garden gold!
Why Compost? Here’s The Good Stuff
Composting is like a magic trick for your kitchen scraps and garden clippings. Instead of sending them to a landfill where they can produce harmful greenhouse gases, you transform them into a nutrient-rich superfood for your plants. This superfood, called compost, helps your soil retain moisture, reduces the need for chemical fertilizers, and makes your garden thrive. It’s a win for your garden, a win for your wallet (less need for fancy soil amendments!), and a massive win for the environment.
Benefits For Your Garden
- Nutrient Boost: Compost is packed with essential nutrients that plants love, leading to healthier growth and more vibrant flowers and vegetables.
- Improved Soil Structure: It helps sandy soil hold onto water and nutrients, and loosens up heavy clay soil, making it easier for plant roots to grow.
- Water Retention: Healthy, compost-rich soil acts like a sponge, meaning you’ll need to water your plants less often.
- Disease Suppression: Healthy soil encourages beneficial microbes that can help protect plants from diseases.
Benefits For You and The Planet
- Waste Reduction: You’ll dramatically cut down the amount of waste you send to landfill. According to the European Environment Agency, household waste is a significant contributor to overall waste.
- Reduced Greenhouse Gases: When organic waste decomposes in landfills, it produces methane, a potent greenhouse gas. Composting prevents this.
- Cost Savings: You’ll spend less on fertilizers, soil conditioners, and even potentially on waste disposal fees in some areas.
- Connection to Nature: There’s a satisfying feeling in nurturing something from waste to a valuable resource.
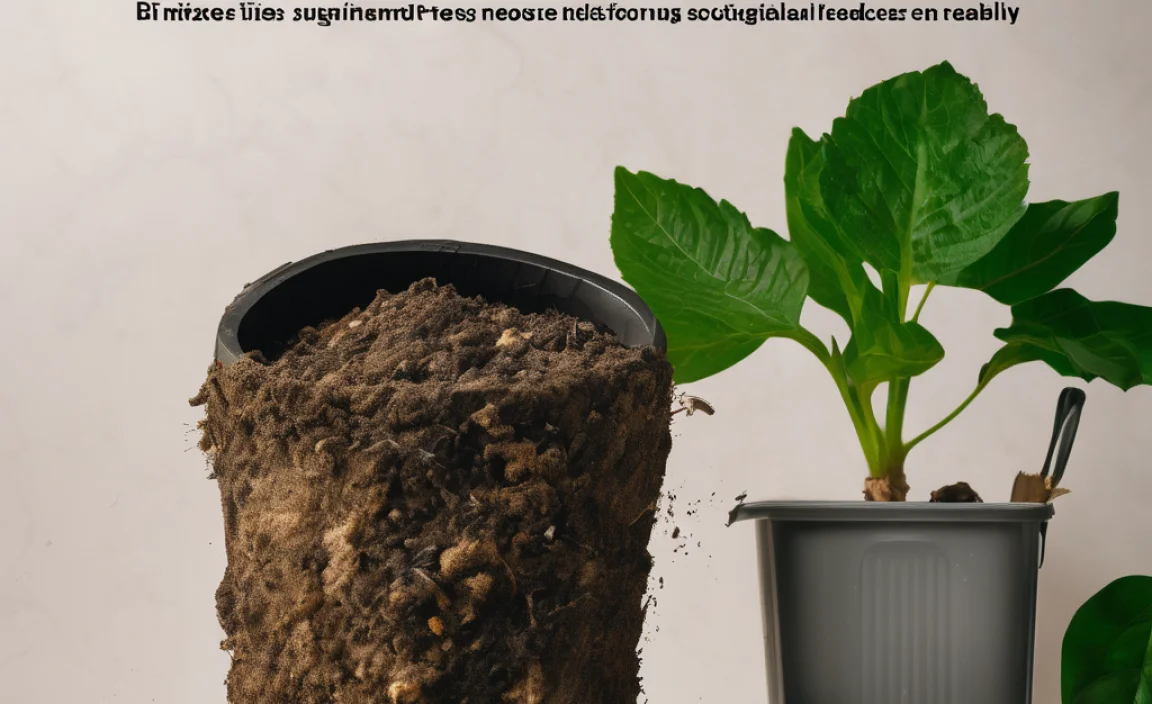
Getting Started: What You Need
The beauty of composting is that you don’t need a lot of fancy equipment. You can start small and scale up as you get more comfortable. Here’s a look at what you might want to consider.
Composting Methods For Europeans
Different living situations call for different composting solutions. Whether you have a sprawling garden or a small balcony, there’s likely a method for you.
| Method | Description | Best For | Pros | Cons |
|---|---|---|---|---|
| Outdoor Compost Bin (Tumbler/Stationary) | A container placed outdoors in your garden. Tumblers spin to mix, while stationary bins are often layered. | Homes with gardens, larger amounts of waste. | Handles significant volume, can be aesthetically pleasing, efficient decomposition. | Requires outdoor space, can take time to break down, potential for pests if not managed well. |
| Worm Composting (Vermicomposting) | Using special composting worms (like Red Wigglers) in a bin to break down food scraps. | Apartments, balconies, small to medium households, small gardens. | Fast processing of food scraps, produces nutrient-rich worm castings, can be done indoors or outdoors. | Requires specific worms, sensitive to temperature extremes, cannot handle large volumes or certain food types. |
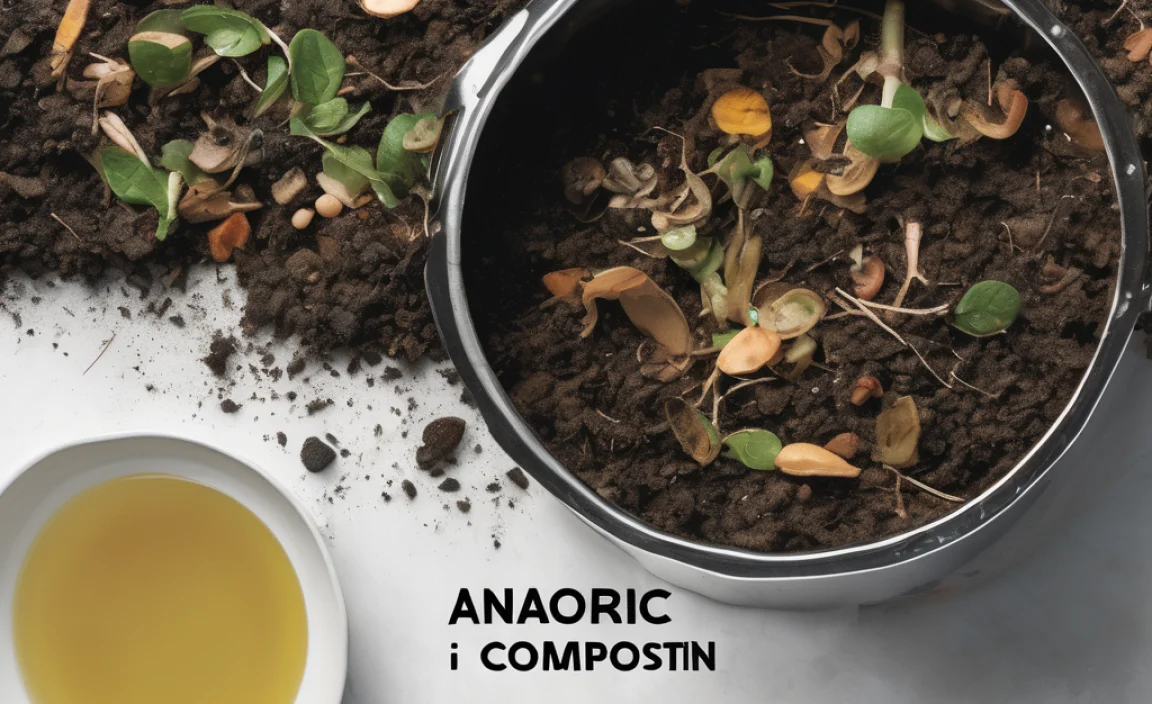
| Bokashi Composting | An anaerobic (without oxygen) fermentation process using a special bran inoculated with microbes. | Apartments, kitchens, anyone wanting to compost meat/dairy, small households. | Composts all food waste (including meat, dairy, and oils), fast fermentation, compact system, produces nutrient-rich liquid. | Requires a starter kit and ongoing purchase of Bokashi bran, the fermented material needs further decomposition (burying or adding to a compost pile). |
| Community Composting/Collection Services | Local initiatives or municipal services that collect organic waste. | Renters, people with very limited space, those who prefer a hands-off approach. | Extremely convenient, no home setup required, no effort in managing the compost. | Limited control over the process, may not be available in all areas, potential fees. |
Essential Tools For Your Compost Journey
You might be surprised to learn you’ve got most of what you need already! But here are a few things that will make your composting life easier.
- A Container: This could be a ready-made compost bin (plastic, wood, or metal), a repurposed pallet bin, or even a large plastic storage tub with holes drilled in it. For worm composting, a specialized worm bin is best. For Bokashi, you’ll need their sealed bucket system.
- Kitchen Caddy: A small lidded bin for your kitchen counter to collect food scraps before taking them to your main compost bin.
- A Pitchfork or Garden Fork: Useful for turning and aerating your compost pile, especially for larger bins.
- Gardening Gloves: To keep your hands clean and protected.
- A Spade or Trowel: For burying fresh scraps in your compost pile or for harvesting finished compost.
- Watering Can or Hose: To keep your compost pile at the right moisture level.
The Do’s and Don’ts: What Goes In Your Compost?
This is where many beginners get a bit confused, but it’s actually quite simple once you know the categories. Think of your compost pile as needing a balance of “greens” (nitrogen-rich) and “browns” (carbon-rich).
Greens (Nitrogen-Rich Materials)
These materials are generally moist and help heat up your compost pile, speeding up decomposition.
- Fruit and vegetable scraps
- Coffee grounds and tea bags (check if bags are compostable)
- Grass clippings (in moderation to avoid matting)
- Plant trimmings and green leaves
- Eggshells (crushed is best)
- Manure from herbivores (like rabbits, chickens, cows – if you have access!)
Browns (Carbon-Rich Materials)
These materials are generally dry and provide structure and air to your compost pile, preventing it from becoming a soggy, unpleasant mess.
- Dry leaves
- Shredded newspaper and cardboard (avoid glossy or coloured inks)
- Straw and hay
- Wood chips and sawdust (use in moderation)
- Twigs and small branches
- Paper towel and toilet paper rolls (shredded)
Here’s What To Avoid (Compost Villains!)
Some items can cause problems, attract pests, or introduce diseases to your compost. It’s best to keep these out, especially when you’re just starting.
- Meat, fish, and dairy products: These can attract pests and create unpleasant odours. (Note: Bokashi systems can handle these!)
- Oily or greasy foods: Similar to meat, they can go rancid and attract pests.
- Diseased plants: To avoid spreading disease to your garden.
- Weeds that have gone to seed: You don’t want to spread more weeds!
- Pet waste (from cats and dogs): Can contain pathogens harmful to humans.
- Treated wood or coal ash: These can contain harmful chemicals.
- Glossy or coated paper/cardboard: The inks and coatings aren’t good for compost.
- Synthetic materials: Plastic, metal, glass – these won’t break down.
Step-by-Step Guide To Setting Up Your Compost Pile
Ready to get your hands (practically) dirty? Here’s how to set up a basic outdoor compost bin.
1. Choosing The Right Spot
Find a convenient location for your compost bin. It should be:
- Accessible: Easy to get to from your kitchen and garden.
- Level: Provides a stable base for your bin.
- Partially Shaded: Direct sun can dry it out too quickly, while deep shade can keep it too wet.
- Well-drained: Avoid areas that puddle after rain.
- On bare soil (if possible): This allows beneficial organisms (like worms and microbes) from the soil to migrate into your compost pile, and allows excess moisture to drain away.
2. Starting Your Pile: The Base Layers
Begin by putting a layer of coarse brown material at the bottom. This helps with aeration and drainage.
- Lay down a base of twigs, small branches, or wood chips (about 4-6 inches thick).
- Add a layer of dry leaves or straw on top of the twigs.
3. Adding Greens And Browns: The Recipe For Success
Now it’s time to start layering! Aim for a good mix of greens and browns. A good rule of thumb is to try and maintain a ratio of roughly 2-3 parts browns to 1 part greens. Don’t aim for perfection; a good mix over time is key.
- Add a layer of kitchen scraps (fruit/veg peels, coffee grounds) about 2-4 inches thick. These are your “greens.”
- Cover the greens with a layer of dry leaves, shredded newspaper, or grass clippings (if dry) about 4-6 inches thick. These are your “browns.”
- Lightly water each layer as you add it, especially the browns. The goal is for the compost to be as damp as a wrung-out sponge.
- Continue alternating layers of greens and browns.
- Finish with a layer of browns on top. This helps deter pests and reduce odours.
4. Managing Your Compost Pile: Keeping It Happy
Composting is a living process, so your pile needs a little attention to thrive.
- Moisture: Check the moisture level regularly. If it feels dry, add water. If it’s too wet and slimy, add more brown materials like shredded cardboard or dry leaves and turn it to introduce air.
- Aeration (Turning): Every few weeks, use your pitchfork or garden fork to turn and mix the contents of your compost pile. This introduces oxygen, which is crucial for the microbes that break down the material, and helps speed up the process. Tumbler bins make this part super easy!
- Adding New Material: You can continue to add new kitchen scraps and garden waste. Either bury new food scraps into the centre of the pile to help them decompose faster and reduce odours, or simply add them to the top and cover with browns.
5. When Is It Ready?
Finished compost typically takes anywhere from 2 months to a year, depending on the materials used, the size of your pile, how often you turn it, and the climate. You’ll know it’s ready when:
- It looks and smells like dark, rich soil.
- You can no longer recognize the original materials.
- The temperature of the pile has cooled down.
6. Using Your Finished Compost
Once ready, you can use your compost to:
- Mix into your garden beds before planting.
- Top-dress around existing plants and shrubs.
- Use it in potting mixes for containers.
- Spread thinly on your lawn.
Composting In Different European Climates
Europe is a diverse continent with varied climates, and this can influence your composting experience. Here are a few considerations:
Northern Europe (Colder Climates)
- Challenge: Colder temperatures slow down decomposition significantly, especially during winter months.
- Solutions:
- Insulated Bins: Consider using insulated compost bins to help retain heat.
- Location: Place your bin in a sunny spot where it might receive a bit more warmth.
- Layering: Ensure a good balance of greens and browns to generate some internal heat.
- Winter Rest: It’s okay for composting to slow down or even pause in winter. You can stockpile materials until warmer weather returns.
- Tumbling Composter: These can be easier to turn and generate heat more effectively than stationary bins in cooler weather.
Southern Europe (Warmer Climates)
- Challenge: High temperatures and potential dryness can cause your compost pile to dry out too quickly, halting decomposition.
- Solutions:
- Moisture Management: Water your compost pile more frequently.
- Shady Location: Place your bin in a spot that receives shade, especially during the hottest part of the day.
- Lid on Bin: A lid can help retain moisture.
- Frequent Turning: Turning more often can help keep the pile aerated and prevent it from becoming too dense and hot.
- Use of Manure: If available, adding some herbivore manure can help kickstart the composting process and retain moisture.
- Pest Control: Warmer weather can sometimes bring more potential pests, so ensure you always cover food scraps with a good layer of browns.
Temperate Regions
Most of central and western Europe falls into this category. You’ll likely find composting to be relatively straightforward:
- Balanced Approach: You won’t face extreme conditions, so focus on maintaining the ideal moisture and green/brown balance.
- Seasonal Variations: Expect slightly slower decomposition in cooler months and faster in warmer, wetter periods.
- Variety of Bins: Most types of compost bins will work well here.
Troubleshooting Common Composting Issues
Even with the best intentions, sometimes your compost pile can present a few common issues. Don’t worry; these are usually easy to fix!
Issue: My Compost Smells Bad (Ammonia or Rotten Eggs)
Why it happens: This usually means your compost pile is too wet and/or has too many nitrogen-rich “green” materials. It’s become anaerobic (lacking oxygen). Ammonia smells too much green, rotten egg smells indicate a really boggy situation.
Solution:
- Add Browns: Mix in more carbon-rich brown materials like shredded newspaper, cardboard, dry leaves, or straw.
- Turn It: Aerate the pile thoroughly by turning it with your garden fork.
- Check Drainage: Ensure your bin isn’t sitting in water.
Issue: My Compost Isn’t Heating Up (Or Isn’t Breaking Down)
Why it happens: This is common in cooler weather or if your pile is too small. It could also mean there aren’t enough “greens” (nitrogen) or moisture.
Solution:
- Add Greens: Introduce more nitrogen-rich materials like fresh grass clippings, fruit and vegetable scraps, or coffee grounds.
- Add Water: Ensure the pile is adequately moist. It should feel like a wrung-out sponge.
- Turn It: A good turn can help mix things up and introduce air.
- Pile Size: For static pile composting, a pile needs to be at least 3ft x 3ft x 3ft (1 cubic metre) to generate sufficient heat. If your pile is too small, consider combining materials with a neighbour or making a larger pile.
Issue: My Compost Attracts Flies or Pests
Why it happens: This is usually because food scraps are exposed, or the pile contains prohibited items like meat or dairy.
Solution:
- Bury Food Scraps: Always cover fresh kitchen scraps with a layer of brown material (leaves, shredded paper).
- Avoid Prohibited Items: Make sure you’re not adding meat, dairy, or oily foods to a standard compost bin.
- Secure Your Bin: Ensure your bin has a lid and that there are no large gaps where pests can enter easily.
- Maintain Aeration: A well-aerated pile is less attractive to pests.
Issue: My Compost Is Too Dry
Why it happens: Too much sun, not enough moisture, or too many dry brown materials.
Solution:
- Add Water: Water the pile thoroughly.
- Add Greens: Add more moist, nitrogen-rich materials like fruit and vegetable scraps or fresh grass clippings.
- Turn It: Mixing helps distribute moisture.
- Cover It: If it’s in direct sun, consider moving it or covering it with a tarp to retain moisture, but ensure there’s still some airflow.
Legalities And Local Regulations In Europe
While composting is widely encouraged across Europe, it’s always a good idea to be aware of any local specifics. Most countries and municipalities actively support home composting. In fact, the EU aims to increase the recycling rate of municipal waste to 65% by 2035, with organic waste processing being a key part of this.
Many cities offer subsidized compost bins or community composting programs. It’s worth a quick check on your local council’s website or by searching online for “[Your City/Region] home composting” to see if there are any specific guidelines or incentives available. In most residential areas, small-scale home composting is perfectly fine and often encouraged!
Conclusion: Your Composting Adventure Awaits
See? Composting in Europe is totally achievable, no matter where you live or how much space you have. You’ve learned about the fantastic benefits for your garden and the planet, explored different methods, and got a clear picture of what to add and what to avoid. We’ve even covered how to troubleshoot common issues and adjust for different European climates.
Remember, every bit of compost you create is a step towards a healthier environment and a more vibrant garden. So, grab your kitchen caddy, pick a method that suits you, and start turning your waste into wow-worthy compost. Happy composting!
FAQ: Your Composting Questions Answered
Q: How long does it take to make compost?
A: It can take anywhere from 2 months to a full year. Factors like the size of your compost pile, what materials you use, how often you turn it, and the weather all play a role. Faster composting happens in warmer weather with regular turning.
Q: Can I really compost all my food scraps?
A: With traditional composting methods, you should avoid meat, dairy, and oily foods because they can attract pests and smell bad. However, if you use a Bokashi system, you can compost all food scraps, including these items!
Q: What is the difference between hot and cold composting?
A: Hot composting involves maintaining a high temperature in the pile (around 130-160°F or 55-70°C) by carefully balancing green/brown materials and turning regularly. It’s faster and kills weed seeds and pathogens. Cold composting is more passive; you just add materials as you get them without much turning. It’s slower and might not kill weed seeds, but it’s much less work.
Q: Do I need a special bin to start composting?
A: Not necessarily! You can build one from pallets, use a large plastic storage bin with holes, or simply create a free-standing pile in your garden. However, specialized bins (like tumblers or worm bins) can make the process easier and tidier.
Q: What do I do with my compost in winter?
A: Composting slows down significantly in cold weather. You can continue to add materials, but don’t expect much activity. Some people stockpile their food scraps in the freezer to add to the pile when spring arrives, or use an insulated bin.
Q: My compost is too wet, what should I do?
A: A wet pile usually means too many “greens” or not enough “browns,” and it’s likely very compacted. Add a lot of dry, carbon-rich materials like shredded cardboard, newspaper, or dry leaves. Then, turn the pile thoroughly to introduce air and help it dry out.

I am passionate about home engineering. I specialize in designing, installing, and maintaining heating, ventilation, and air conditioning systems. My goal is to help people stay comfortable in their homes all year long.