“`html
Compost Fertilizer How-To: Your Essential Beginner’s Guide
Ever look at your food scraps and yard waste and think, “There’s got to be a better way to deal with this?” Good news! You’re probably sitting on a goldmine for your garden. Turning everyday kitchen and yard bits into amazing plant food is easier than you think. We’ll break it down step-by-step so you can start making your own nutrient-rich compost fertilizer right away. Let’s get digging!
What Exactly is Compost Fertilizer?
Think of compost fertilizer, or simply compost, as nature’s recycling program for your yard and kitchen. It’s the rich, dark, crumbly material that results from the natural breakdown of organic matter. This process is carried out by tiny helpers like bacteria, fungi, worms, and other microorganisms. When you spread compost on your garden, you’re essentially adding a superfood for your soil and plants. It’s packed with nutrients and improves soil structure, helping your plants grow healthier and stronger. Plus, it’s a fantastic way to reduce waste going into landfills.
Why Should You Start Composting?
Composting is one of those win-win situations for both your garden and the planet. It’s a hobby that practically pays for itself in healthier produce and beautiful blooms. Here are some of the top reasons to give it a go:
- Boosts Plant Health: Compost provides a slow, steady release of essential nutrients that plants need to thrive. This means bigger veggies, brighter flowers, and greener leaves.
- Improves Soil Structure: Whether you have clay soil that’s hard as a rock or sandy soil that drains too fast, compost is the perfect amendment. It helps loosen up heavy soils and improves water retention in sandy soils.
- Reduces the Need for Chemical Fertilizers: By creating your own nutrient-rich fertilizer, you can significantly cut down on buying bags of chemical products, saving you money and reducing your environmental impact.
- Conserves Water: Healthy soil enriched with compost can retain more moisture, meaning you’ll need to water your garden less often.
- Reduces Waste: A huge portion of household waste is organic material that can be composted. Diverting this from landfills helps reduce methane gas production, a potent greenhouse gas. Learn more about the environmental benefits of composting from the EPA.
- Cost-Effective: It’s free fertilizer once you get started! The initial setup might have a small cost, but the ongoing “fertilizer” is made from your own discards.
Getting Started: Choosing Your Composting Method
The world of composting offers a few different paths, each suited to different needs and spaces. Don’t worry, they’re all pretty straightforward. Your choice will mainly depend on how much space you have and how quickly you want your compost.
1. The Compost Bin (or Pile) Method
This is the most common and classic way to compost. You create a dedicated pile or use a bin for your materials.
- Open Pile: This is the simplest. Just designate an area in your yard (usually a corner) and start layering your compostable materials. It’s best to have a space that’s at least 3×3 feet to ensure it heats up properly.
- Enclosed Bin: These can be purchased or made from wood, wire mesh, or repurposed pallets. They help contain the materials, keep things tidier, and can make turning easier. Many garden centers sell various types, from stationary bins to tumblers.
Pros:
- Can handle larger volumes of material.
- Relatively simple to set up.
- Good for traditional yards.
Cons:
- Can take longer to break down if not managed well.
- May attract pests if not properly maintained.
- Requires more space.
2. The Tumbler Composter
A tumbler composter is a barrel or drum that you can spin or tumble to mix the compost materials. This makes turning a breeze!
Pros:
- Fast composting due to easy aeration and mixing.
- Less likely to attract pests.
- Keeps things tidy and contained.
- Good for smaller yards or balconies.
Cons:
- Can be more expensive upfront.
- Limited capacity compared to a pile.
- Can sometimes get too wet or too dry if not monitored.
3. The Worm Composter (Vermicomposting)
This method uses specific types of worms (like red wigglers) to break down food scraps. It’s fantastic for indoor composting or for people with limited outdoor space.
Pros:
- Works well indoors or on balconies.
- Produces nutrient-rich worm castings (worm poop!).
- Very efficient for food scraps.
Cons:
- Requires specific types of worms, which you need to purchase.
- Cannot handle large volumes or certain types of food scraps (like meat or dairy).
- Temperature sensitive.
For this guide, we’ll focus on the most common method: the compost bin (or pile) and how to maintain it for great results.
What Can You Compost? The “Greens” and “Browns”
The magic of compost happens when you balance two types of ingredients: “greens” and “browns.” Greens are nitrogen-rich, while browns are carbon-rich. Getting the ratio right is key to avoiding stinky compost and ensuring a good breakdown.
“Greens” (Nitrogen-Rich Materials)
These materials are typically moist and break down quickly, helping to heat up your compost pile.
- Fruit and vegetable scraps (peels, cores, rinds)
- Coffee grounds and tea bags
- Grass clippings (use in thin layers to avoid matting)
- Plant trimmings (fresh leaves, non-woody stems)
- Eggshells (crushed)
- Manure from herbivores (chicken, rabbit, cow, horse – never pet waste!)
“Browns” (Carbon-Rich Materials)
These materials are dry and provide the carbon backbone for your compost. They help with aeration and prevent the pile from becoming a slimy mess.
- Dry leaves
- Straw or hay
- Shredded newspaper or cardboard (avoid glossy inks)
- Twigs and small branches (chopped or shredded)
- Sawdust (from untreated wood)
- Wood chips
- Pine needles
What to AVOID Composting
Some items can cause problems, attract pests, or spread disease. It’s best to keep these out of your compost bin.
- Meat, fish, and bones
- Dairy products (cheese, yogurt, milk)
- Oils, grease, and fatty foods
- Diseased plants
- Weeds that have gone to seed
- Pet waste (dog or cat feces)
- Treated wood or sawdust
- Coal or charcoal ash
- Inorganic materials (plastic, metal, glass)
The Ideal Compost Ratio: Balancing Greens and Browns
A good rule of thumb for a healthy compost pile is to aim for roughly two to three parts “browns” to one part “greens.” Don’t stress about being perfectly precise! If your compost seems too wet or starts to smell like ammonia, you likely need more browns. If it seems dry and isn’t breaking down, add more greens.
Here’s a simple way to visualize it:
| Ratio Component | Examples | Purpose |
|---|---|---|
| Browns (Carbon) | Dry Leaves, Straw, Shredded Paper, Twigs | Provides carbon for energy, structure, and aeration. |
| Greens (Nitrogen) | Fruit/Veggie Scraps, Grass Clippings, Coffee Grounds | Provides nitrogen for rapid breakdown and heat. |
Location, Location, Location! Where to Put Your Compost Bin
Picking the right spot for your compost bin is super important for success. You want a place that’s:
- Convenient: Easy to get to from your kitchen and garden so you’ll actually use it.
- Shady or Partially Shady: Too much direct sun can dry out your pile too quickly, while full shade might keep it too moist. A little sun is okay, but avoid baking it all day.
- Well-Drained: You don’t want your bin sitting in a puddle after a rainstorm.
- Accessible for Turning: Make sure you have room around it to get a shovel or pitchfork in to turn the contents.
- Away from Wood Structures: Keep it a few feet from your house, fences, or wooden decks to avoid any potential moisture issues affecting the structures.
Step-by-Step: How to Build Your Compost Pile
Ready to get your hands dirty? Here’s how to start your compost pile:
- Choose Your Spot and Container: Decide on an open pile, a purchased bin, or a DIY one (like from wooden pallets). Place it in your chosen location.
- Create a Base Layer: Start with a layer of coarse, brown materials like twigs, small branches, or straw. This helps with drainage and aeration from the bottom up. Aim for about 4-6 inches.
- Add Your First Greens: Now, mix in some of your kitchen scraps (veggies, fruit peels) and other green nitrogen-rich materials.
- Layer with Browns: Cover your greens completely with a layer of brown materials like dry leaves or shredded cardboard. This helps to keep odors down and discourages pests.
- Continue Layering: Keep adding your kitchen scraps and yard waste, alternating layers of greens and browns. It’s a good idea to chop or shred larger items to help them break down faster.
- Maintain Moisture: Your compost pile should be as damp as a wrung-out sponge. If it’s too dry, water it. If it’s too wet, add more brown materials. A good covering or lid can help regulate moisture.
- Aerate Regularly: This is crucial for good composting. The microorganisms that break down your materials need oxygen. Aim to turn your pile every 1-4 weeks. You can use a pitchfork or a compost aerator tool. Turning involves mixing the outer layers into the center and vice-versa. If you have a tumbler, simply give it a few spins every few days.
Maintaining Your Compost Pile: Tips for Success
Composting isn’t a “set it and forget it” kind of deal, but it doesn’t require constant tending either. A little bit of care goes a long way.
The Importance of Moisture
Your compost pile needs to stay evenly moist, like a damp sponge. If it gets too dry, the microorganisms responsible for decomposition will slow down or stop. If it’s too wet, it can become anaerobic (lacking oxygen), leading to foul odors and slow decomposition.
- Too Dry? Add water gradually while turning the pile to ensure it mixes in evenly.
- Too Wet? Add more dry brown materials and turn the pile to incorporate them. This will absorb excess moisture and improve aeration.
You can check the moisture by grabbing a handful of compost. If water drips out when you squeeze it tightly, it’s too wet. If it feels dry and crumbly, it’s likely just right.
Turning and Aeration
Turning your compost pile introduces oxygen, which the beneficial microbes need to thrive. It also helps to mix the materials, distributing moisture and heat, and speeding up the decomposition process.
- Frequency: Aim to turn your pile every 1-4 weeks. The more often you turn it, the faster your compost will be ready. Tumbler composters make this easy with a simple spin.
- Method: Use a pitchfork to move the outer materials to the center and the inner materials to the outside. This ensures everything breaks down evenly.
If you’re new to this, don’t worry about getting it perfect. Even occasional turning will make a difference!
Pest Control
A well-managed compost pile that’s balanced with greens and browns and turned regularly is usually not a problem for pests. However, if you notice critters, here are some tips:
- Ensure you’re not adding forbidden items like meat, dairy, or oily foods.
- Bury food scraps deep within the pile, under a layer of browns.
- Cover your compost pile, especially if it’s an open one.
- Keep the pile moist but not soggy.
- If using a bin, make sure it has a lid.
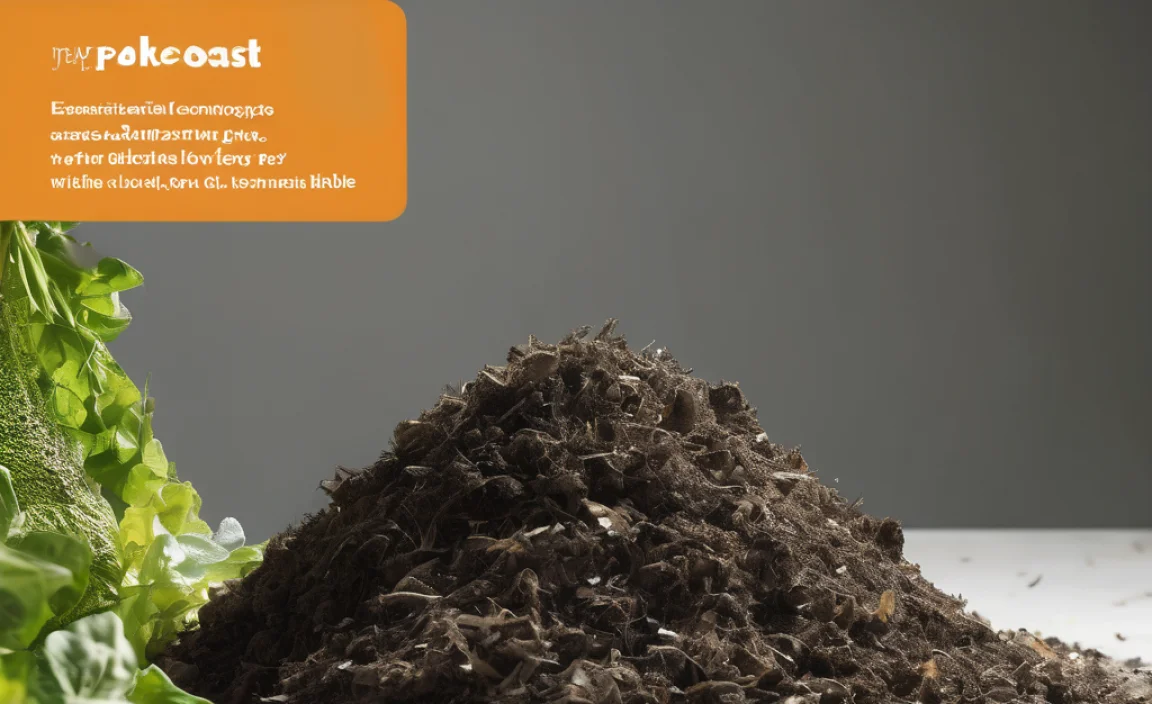
When is Compost Ready? Signs of Finished Compost
Patience is a virtue in composting, but knowing when your compost is ready makes it all worthwhile! Finished compost is a rich, dark brown, crumbly material that smells earthy, like a forest floor after rain. You shouldn’t be able to recognize the original materials you put in.
Here are the signs:
- Appearance: Dark, uniform color, crumbly texture.
- Smell: Pleasant, earthy aroma. No sour or ammonia smells.
- Temperature: The pile will have cooled down from the active heating phase.
- Texture: You can no longer identify the original food scraps or yard waste.
Composting time can vary greatly, from a few months to over a year, depending on the materials used, the size of your pile, the climate, and how actively you manage it (especially how often you turn it). A well-managed bin or tumbler that’s turned regularly can produce compost in as little as 4-8 weeks, while a passively managed pile might take 6-12 months.
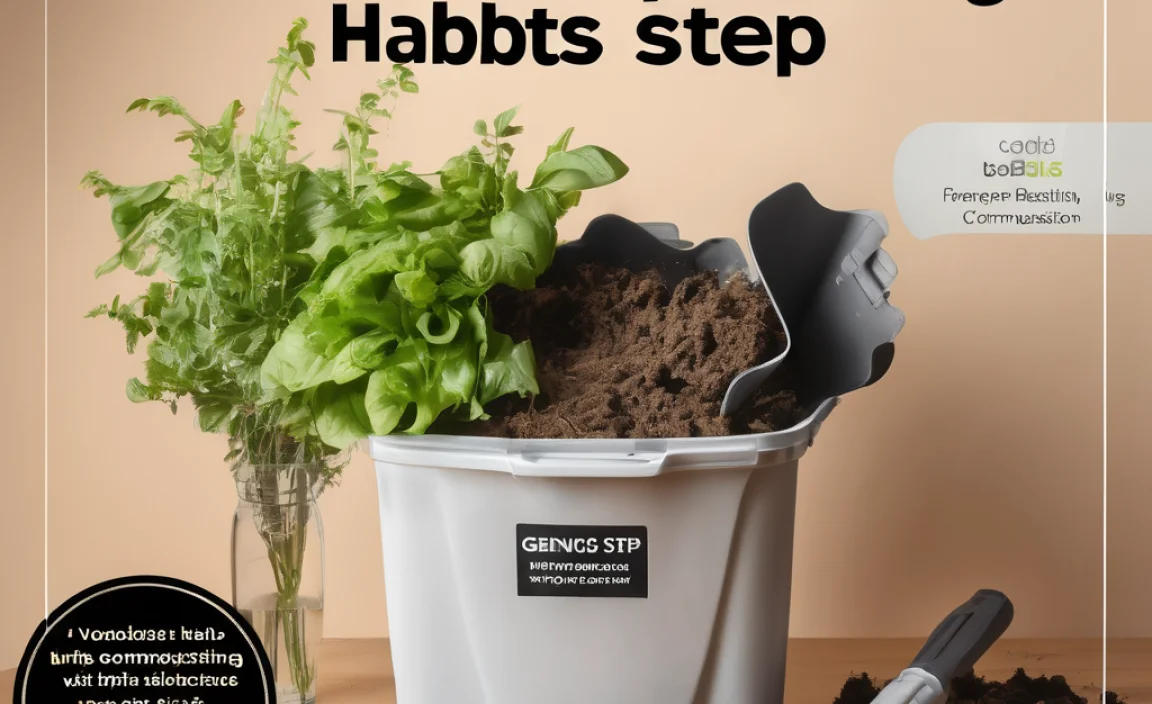
How to Use Your Compost Fertilizer
Once your compost is ready, it’s time to reap the rewards! You can use it in several ways:
- Soil Amendment: Mix compost into garden beds before planting. A layer of 2-4 inches raked into the top 6-8 inches of soil works beautifully. This is great for improving soil structure and adding nutrients to your planting areas.
- Top Dressing: Spread a 1-2 inch layer of compost around existing plants, shrubs, and trees. This helps retain moisture, suppress weeds, and provides a slow release of nutrients. Keep top dressing a few inches away from the base of stems or trunks.
- Potting Mix: You can incorporate finished compost into your homemade potting mix for containers. A common ratio is 1 part compost to 2 parts garden soil and 1 part perlite or vermiculite for drainage.
- Seed Starting: For starting seeds, it’s best to use a finer, screened compost. Mix it with other ingredients like peat moss or coir, or use a commercially available seed-starting mix.
- Lawn Dressing: For lawns, a thin layer (about 1/4 to 1/2 inch) of screened compost applied in the spring or fall can really boost turf health and resilience.
Screening Compost (Optional But Helpful): If your compost has some larger, unconverted pieces, you can “screen” it. Use a hardware cloth or wire mesh stretched over a frame (like a wooden 2×4 frame). Dump your compost onto the screen and use a rake or broom to sift the finer material through, leaving the larger bits behind to go back into the compost bin.
Troubleshooting Common Composting Problems
Even with the best intentions, you might run into a few hiccups. Don’t get discouraged! Most composting issues are easily fixed.
Problem: The pile smells bad (like ammonia or rotten eggs).
Cause: Too many green (nitrogen-rich) materials, or the pile is too wet and not getting enough air (anaerobic). Ammonia smell usually means too much nitrogen.
Solution: Add more brown (carbon-rich) materials like dry leaves, straw, or shredded cardboard. Turn the pile thoroughly to introduce air. If it’s very wet, add more browns and ensure good drainage.
Problem: The pile isn’t heating up or breaking down.
Cause: Not enough green (nitrogen) materials to fuel the microbes, or the pile is too dry, or it’

I am passionate about home engineering. I specialize in designing, installing, and maintaining heating, ventilation, and air conditioning systems. My goal is to help people stay comfortable in their homes all year long.