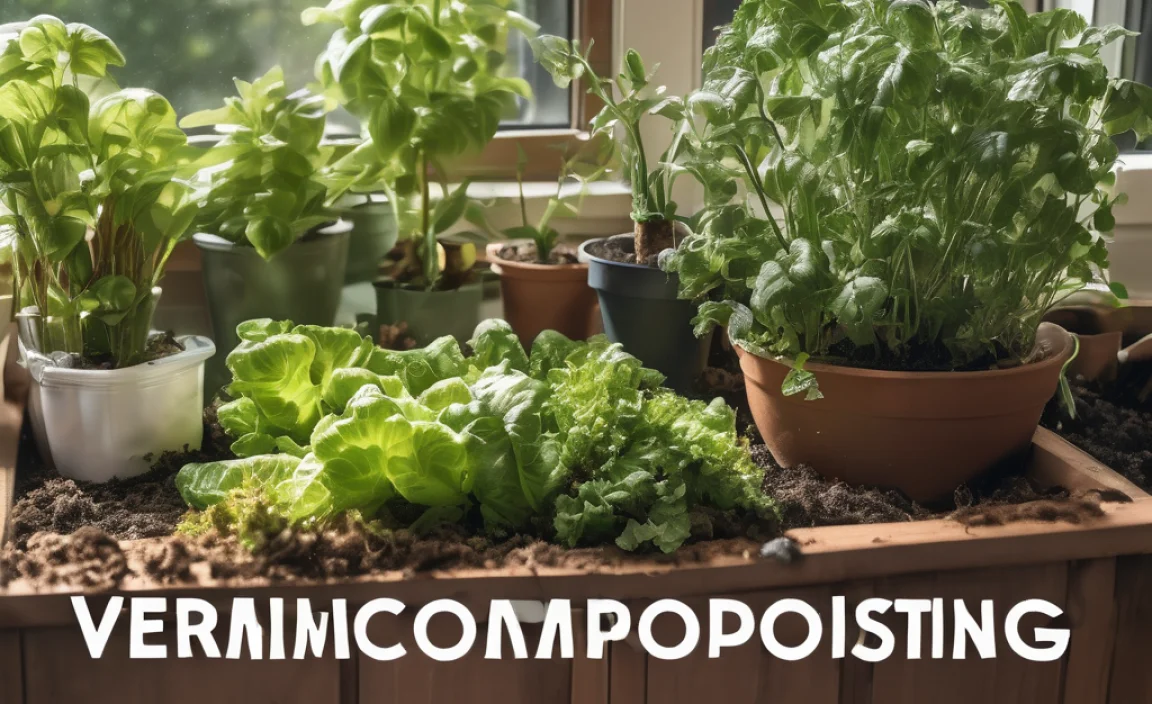
Wouldn’t it be great to have super-rich soil for your garden without spending a fortune? Many gardeners dream of lush plants and vibrant blooms, but the cost of fertilizers can really add up. It’s frustrating to see pretty bags of plant food at the store and know they’ll eat into your gardening budget. Well, what if I told you the secret to amazing soil is already in your kitchen scraps and yard waste? We’re going to explore how to make your own compost fertilizer, and I’ll show you exactly how it saves you money. Get ready to transform your garden for less!
Compost Fertilizer Affordable: Proven Savings
Hey there, fellow gardeners and DIY enthusiasts! Troy D Harn here from TopChooser. We all love a beautiful garden, right? But walking down the garden aisle, those prices for fertilizers can make your wallet a little shy. It’s a common thought: “Is there a way to feed my plants without breaking the bank?” The good news is a resounding YES! Turns out, a treasure trove of nutrient-rich goodness is probably in your trash bin right now, waiting to be turned into “black gold” for your garden. This guide is all about making compost fertilizer affordable and showing you the proven savings you can achieve. We’ll walk through it step-by-step, making it super easy to get started. Let’s dig in and start saving!
Why Compost is Your Wallet’s Best Friend
Think about the last time you bought fertilizer. Depending on the type and size, you could easily spend $15, $20, or even more for a single bag. If you have a decent-sized garden, you might need several bags throughout the growing season. Over time, these costs really pile up. Compost fertilizer, on the other hand, is essentially free! All you need are a few common kitchen and yard items (which you’re likely throwing away anyway) and a little bit of time. You’re not just saving money on fertilizer; you’re also reducing waste, which is a double win for your budget and the environment.
Let’s look at some typical costs. Imagine you have a medium-sized garden bed, say 4×8 feet. To amend that bed with a few inches of store-bought compost or a good quality bagged fertilizer, you might spend:
| Gardening Item | Average Cost (per application) |
|---|---|
| Bagged Compost (1-2 cubic feet) | $5 – $15 |
| All-Purpose Garden Fertilizer (5 lb bag) | $10 – $25 |
| Specialty Plant Food (e.g., for tomatoes, roses) | $15 – $30 |
Now, imagine you need to amend two or three garden beds, plus your vegetable patch, and maybe even your planter pots. Those numbers quickly become significant. If you’re aiming to improve your soil significantly, you might need a yard or two of compost. Buying that in bulk can still cost hundreds of dollars.
The Hidden Value: How Much Does Store-Bought Compost Really Cost?
When you buy compost from a garden center or landscape supplier, you’re paying for more than just decomposed organic matter. You’re paying for:
- Labor: The cost of collection, processing, and bagging.
- Transportation: Fuel and logistics to get it to the store.
- Packaging: The cost of bags, plastics, and other materials.
- Profit Margins: The business needs to make money.
When you make your own compost, you eliminate almost all of these costs. The primary investment is your time and perhaps a small amount for a compost bin if you choose to use one. You’re effectively turning waste into a valuable resource, meaning your “cost per yard” for DIY compost is minuscule, bordering on zero.
What Can You Compost? A Gardener’s Guide to “Free” Fertilizer
The beauty of making your own compost fertilizer is its versatility. Most organic materials you’d otherwise throw away can become valuable compost. Think of your compost bin as a recycling center for nature!
Here’s a breakdown of what works great:
“Greens” (Nitrogen-Rich Materials)
These are typically moist materials that provide nitrogen, essential for lush leafy growth and the composting process itself. They tend to break down quickly.
- Fruit and vegetable scraps (peels, cores, rinds, stems)
- Coffee grounds and tea bags (remove staples)
- Grass clippings (in moderation, to avoid matting)
- Plant trimmings from the garden (non-diseased)
- Manure from herbivores (cow, horse, chicken, rabbit – aged is best)
- Weeds (before they go to seed)
“Browns” (Carbon-Rich Materials)
These are usually dry materials that provide carbon, which fuels the composting microbes. They help with aeration and prevent your compost from becoming a slimy mess.
- Dry leaves
- Shredded newspaper and cardboard (avoid glossy or colored ink)
- Straw and hay
- Wood chips and sawdust (in small amounts, takes longer to decompose)
- Paper towels and napkins (unsoiled by grease or chemicals)
- Eggshells (crushed)
What to AVOID Composting
To keep your compost healthy and free of pests and diseases, there are a few things you should leave out:
- Meat, bones, and dairy products (attract pests, can smell bad)
- Oily or greasy foods (slow decomposition, attract pests)
- Diseased plants or weeds that have gone to seed (can spread problems)
- Pet waste (dog and cat feces can contain pathogens)
- Chemically treated wood or yard waste
- Materials with synthetic fragrances or dyes
Getting Started: Your Affordable Compost Fertilizer Setup
You don’t need fancy equipment to start making compost. Here are a few simple and affordable options:
Option 1: The Simple Pile (Free!)
This is the most basic method. All you do is designate a spot in your yard (a corner is great) and start piling your compostable materials. Aim for a pile that’s at least 3x3x3 feet to generate enough heat for decomposition. This method is completely free!
Option 2: DIY Wire Bin (Very Affordable)
You can create a simple, effective compost bin for very little money.
- Gather some hardware cloth (wire mesh fencing, about 3-4 feet tall).
- Cut a length that, when formed into a cylinder, creates a diameter of about 3-4 feet.
- Secure the ends together with wire or zip ties.
- Place it in your desired location.
This costs around $20-$40 depending on the size and type of wire you choose. You can find hardware cloth at most home improvement stores.
Option 3: Purchased Compost Bin (Affordable to Mid-Range)
You can buy plastic compost bins. Many are designed to be easy to turn and manage, some are stationary, and others are tumblers. Prices can range from $50 for a basic stationary bin to $150+ for a good tumbler. While this is a slightly higher initial investment, many find the convenience worth it. Look for sales or consider buying a used one.
The “Lasagna” Method: Layering for Super Compost
Also known as sheet composting, this is a fantastic way to build your compost pile. It’s all about balancing your “greens” and “browns.” A good ratio is roughly 2 parts browns to 1 part greens. This balance helps keep the compost moist, airy, and happy for the microbes.
Step-by-Step Composting with the Lasagna Method:
- Choose Your Spot: Select a level area, preferably in partial shade, with good drainage. If using a bin, place it there.
- Start with Browns: Lay down a 4-6 inch layer of coarse brown materials at the bottom of your pile or bin. This could be twigs, shredded cardboard, or straw. This helps with drainage and aeration.
- Add Greens: Add a 2-4 inch layer of your green materials on top of the browns. Then, sprinkle a thin layer of finished compost or garden soil on top – this introduces beneficial microbes.
- Add More Browns: Cover the green layer with another 4-6 inch layer of brown materials. This is key to preventing odors and attracting pests.
- Repeat Layers: Continue layering greens and browns, always ending with browns on top. You can sprinkle a little garden soil or finished compost every few layers to help things along. Keep the layers even.
- Moisture is Key: Your compost pile should be as damp as a wrung-out sponge. If it’s too dry, sprinkle it with water. If it’s too wet, add more brown materials.
- Aeration (Turning): This is crucial for faster composting. Every week or two, turn your compost pile using a pitchfork or shovel. Mix the outer layers into the center, and the center layers to the outside. If you have a bin, many designs make this easier.
- Patience and Observation: Composting takes time. Depending on the materials, the weather, and how often you turn it, finished compost can take anywhere from a few months to a year. You’ll know it’s ready when it’s dark, crumbly, and smells earthy – like a forest floor.
Compost and Soil Health: Beyond Just Fertilizer
Using compost fertilizer isn’t just about providing nutrients. It’s about building healthy soil structure. Healthy soil is what truly makes a garden thrive, and compost is one of the best soil conditioners out there. It:
- Improves soil structure: Whether you have clay or sandy soil, compost helps balance it. It loosens heavy clay soils, improving drainage and aeration, and helps sandy soils retain moisture and nutrients.
- Boosts microbial activity: Compost is teeming with beneficial bacteria, fungi, and other microorganisms. These microbes help make nutrients available to your plants and protect them from diseases.
- Increases water retention: This means you’ll have to water your garden less often, saving you time and water, especially during dry spells.
- Reduces erosion: Well-structured soil held together by organic matter resists erosion from wind and rain.
- Can help buffer pH: Compost can help moderate soil pH, bringing it closer to the ideal range for most plants.
Measuring Your Savings: The Real “Black Gold” Value
Let’s get down to numbers. Suppose you need about 1 cubic yard (27 cubic feet) of compost to amend your garden beds annually.
Scenario 1: Buying Compost
- Bulk delivery of compost can cost anywhere from $30-$70 per cubic yard, not including delivery fees which can add another $50-$100. Your annual cost: $80 – $170+.
- Buying bags: If you buy 1.5 cu ft bags at $8 each, you’d need about 18 bags for 1 cubic yard. That’s $144 per cubic yard, plus the effort of hauling them.
Scenario 2: Making Your Own Compost
- Initial cost for DIY bin: $20 (one-time purchase)
- Ongoing costs: Negligible (water, minimal electricity if using a power aerator, though not needed).
- Estimated cost per cubic yard: Practically $0 after the initial bin investment!
That’s a massive saving! Over the years, making your own compost can save you hundreds, if not thousands, of dollars on soil amendments alone. Plus, as mentioned, you save on water and potentially on pest/disease control due to healthier soil.
Consider the long-term benefits: improved soil health means more robust plants. More robust plants are more resistant to pests and diseases, potentially saving you money on pesticides and treatments. They also tend to produce more flowers and fruits, giving you a better harvest or a more beautiful landscape for less.
Troubleshooting Common Composting Pitfalls
Even with the best intentions, sometimes compost piles can be a bit stubborn. Here are a few common issues and how to fix them:
Problem: My compost pile smells bad (like rotten eggs or ammonia).
Cause: Too much nitrogen (greens) or it’s too wet and compacted, leading to anaerobic decomposition (rotting without air).
Solution:
- Immediately add a generous layer of brown materials (leaves, shredded cardboard).
- Turn the pile thoroughly to introduce air.
- If it’s very wet, try to lift materials and add dry browns to absorb excess moisture.
Problem: My compost pile isn’t heating up.
Cause: Not enough nitrogen (greens), pile is too small, too dry, or not enough air.
Solution:
- Add more green materials (fresh kitchen scraps, grass clippings).
- If it’s dry, add water.
- Turn the pile to aerate it.
- If it’s too small, you might need to add more material or combine piles.
Problem: I see a lot of flies or pests.
Cause: Exposed food scraps or wrong materials.
Solution:
- Always cover fresh kitchen scraps completely with a layer of brown material.
- Ensure you’re not adding meat, dairy, or oily foods unless you have a very hot, well-managed compost system (which is usually not recommended for beginners).
- If pests persist and you’re sure you’re following best practices, consider a compost bin with a lid.
Compost as a Soil Amendment: Best Practices
Once your compost is ready, how do you use it for maximum benefit and savings?
For Existing Beds:
Spread a 1-3 inch layer of finished compost over the surface of your garden beds in the spring or fall. Gently work it into the top 6-8 inches of soil. This process is called “top-dressing” if you just spread it on top and let worms and weather work it in. This will enrich the soil for the entire growing season.
For New Beds or Larger Projects:
If you’re creating a new garden bed, you can mix compost in more thoroughly. A common recommendation is to use a mix of about 50% compost and 50% existing soil, or at least a 25% compost blend. This provides a nutrient-rich, well-structured foundation for your plants.
In Planting Holes:
When transplanting seedlings or planting larger plants, mix a generous amount of compost into the bottom of the hole. This gives the young roots a fantastic start.
Mulching:
While not its primary use, a thin layer of compost can act as a mulch, retaining moisture and suppressing weeds. However, typical mulches like wood chips or straw are usually better for this purpose as they break down more slowly.
The more you use your homemade compost, the less you’ll need to buy other soil amendments like peat moss, commercial fertilizers, or bagged compost, directly realizing your savings.
Beyond Savings: The Environmental Benefits
While the financial savings are fantastic, making your own compost fertilizer also offers significant environmental perks. You’re diverting waste from landfills, where organic materials break down anaerobically and produce methane, a potent greenhouse gas. By composting, you’re creating a natural, beneficial soil amendment that improves soil health, reduces the need for synthetic fertilizers (which can pollute waterways), and conserves water due to improved soil structure. It’s a truly sustainable practice that benefits your garden, your wallet, and the planet.
For more information on waste reduction and composting, the U.S. Environmental Protection Agency (EPA) offers excellent resources on home composting practices and their environmental impact.
Frequently Asked Questions About Affordable Compost Fertilizer
What is the fastest way to make compost?
The fastest way usually involves what’s called “hot composting.” This requires maintaining a larger pile (at least 3x3x3 feet), balancing greens and browns perfectly, keeping it moist, and turning it frequently (every few days) to aerate it. This can produce finished compost in 4-6 weeks, but it’s more labor-intensive and requires closer monitoring.
Can I compost without a bin?
Absolutely! You can create a simple compost pile in a corner of your yard. Just make sure it’s a decent size (at least 3x3x3 feet) so it can generate heat. You can also build a very inexpensive bin yourself using wire mesh,
.lwrp.link-whisper-related-posts{
margin-top: 40px;
margin-bottom: 30px;
}
.lwrp .lwrp-title{
}.lwrp .lwrp-description{
}
.lwrp .lwrp-list-container{
}
.lwrp .lwrp-list-multi-container{
display: flex;
}
.lwrp .lwrp-list-double{
width: 48%;
}
.lwrp .lwrp-list-triple{
width: 32%;
}
.lwrp .lwrp-list-row-container{
display: flex;
justify-content: space-between;
}
.lwrp .lwrp-list-row-container .lwrp-list-item{
width: calc(25% – 20px);
}
.lwrp .lwrp-list-item:not(.lwrp-no-posts-message-item){
max-width: 150px;
}
.lwrp .lwrp-list-item img{
max-width: 100%;
height: auto;
object-fit: cover;
aspect-ratio: 1 / 1;
}
.lwrp .lwrp-list-item.lwrp-empty-list-item{
background: initial !important;
}
.lwrp .lwrp-list-item .lwrp-list-link .lwrp-list-link-title-text,
.lwrp .lwrp-list-item .lwrp-list-no-posts-message{
}@media screen and (max-width: 480px) {
.lwrp.link-whisper-related-posts{
}
.lwrp .lwrp-title{
}.lwrp .lwrp-description{
}
.lwrp .lwrp-list-multi-container{
flex-direction: column;
}
.lwrp .lwrp-list-multi-container ul.lwrp-list{
margin-top: 0px;
margin-bottom: 0px;
padding-top: 0px;
padding-bottom: 0px;
}
.lwrp .lwrp-list-double,
.lwrp .lwrp-list-triple{
width: 100%;
}
.lwrp .lwrp-list-row-container{
justify-content: initial;
flex-direction: column;
}
.lwrp .lwrp-list-row-container .lwrp-list-item{
width: 100%;
}
.lwrp .lwrp-list-item:not(.lwrp-no-posts-message-item){
max-width: initial;
}
.lwrp .lwrp-list-item .lwrp-list-link .lwrp-list-link-title-text,
.lwrp .lwrp-list-item .lwrp-list-no-posts-message{
};
}
Related Posts


I am passionate about home engineering. I specialize in designing, installing, and maintaining heating, ventilation, and air conditioning systems. My goal is to help people stay comfortable in their homes all year long.