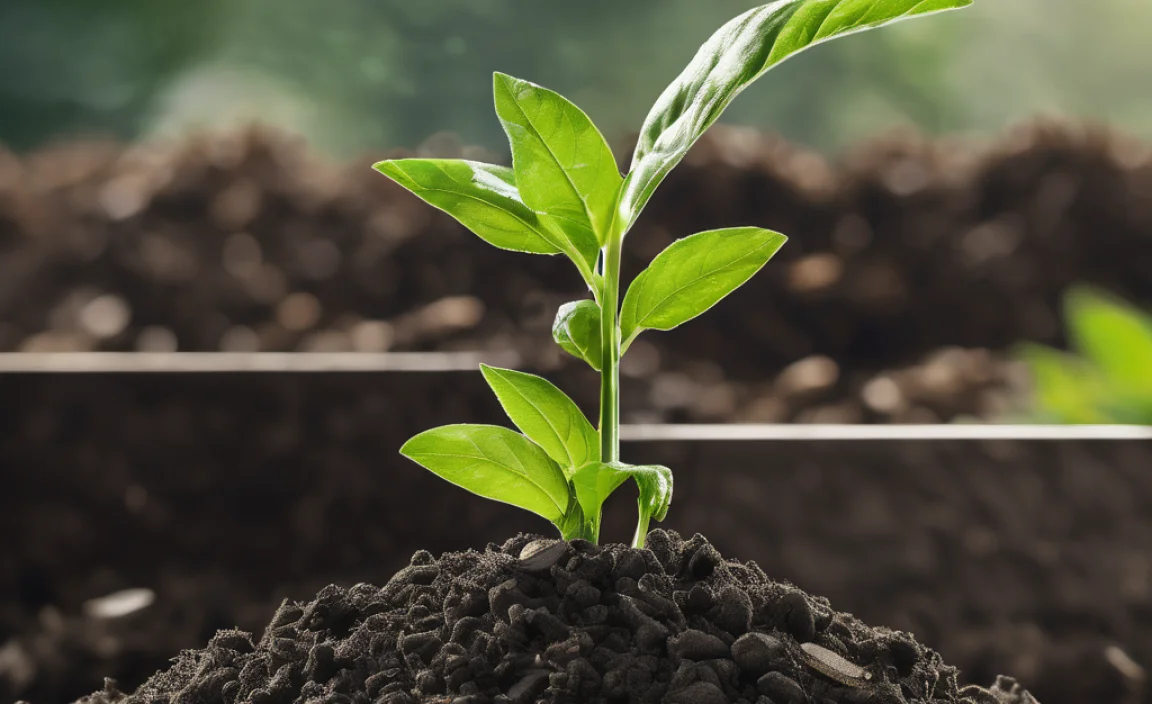
Ever looked at your kitchen scraps and wondered if they could be more than just trash? Many of us in Asia deal with food waste daily, and it can feel like a never-ending chore to manage. But what if I told you those scraps could become black gold for your plants? It’s totally doable! This guide makes creating your own compost fertilizer super simple, even if you’ve never gardened before. Let’s turn that waste into amazing, nutrient-rich food for your garden!
We’ll walk through everything, from why compost is fantastic to the easy steps you’ll take to make it yourself. Get ready to give your plants a healthy boost and feel great about reducing waste!
Why Compost Fertilizer is a Game-Changer in Asia
Composting is an age-old practice that’s becoming more important than ever, especially here in Asia. Think about it: our region produces a ton of organic waste from bustling cities and agricultural lands. This waste often ends up in landfills, creating greenhouse gases and taking up valuable space. Compost fertilizer offers a brilliant solution!
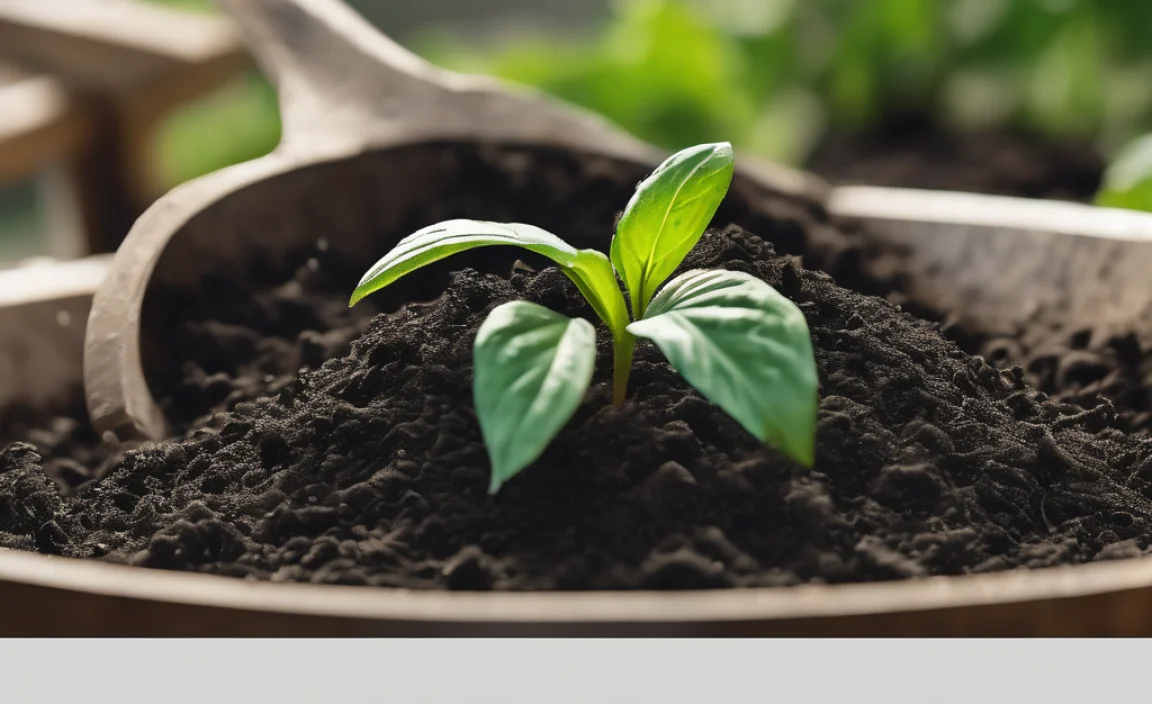
It’s a natural way to improve your soil. Instead of buying expensive chemical fertilizers, you can create your own nutrient-rich soil enhancer right at home. This not only saves money but also helps the environment by diverting waste from landfills and reducing the need for synthetic alternatives. Plus, healthy soil means healthier plants, better harvests, and more vibrant gardens!
Understanding the Basics of Compost
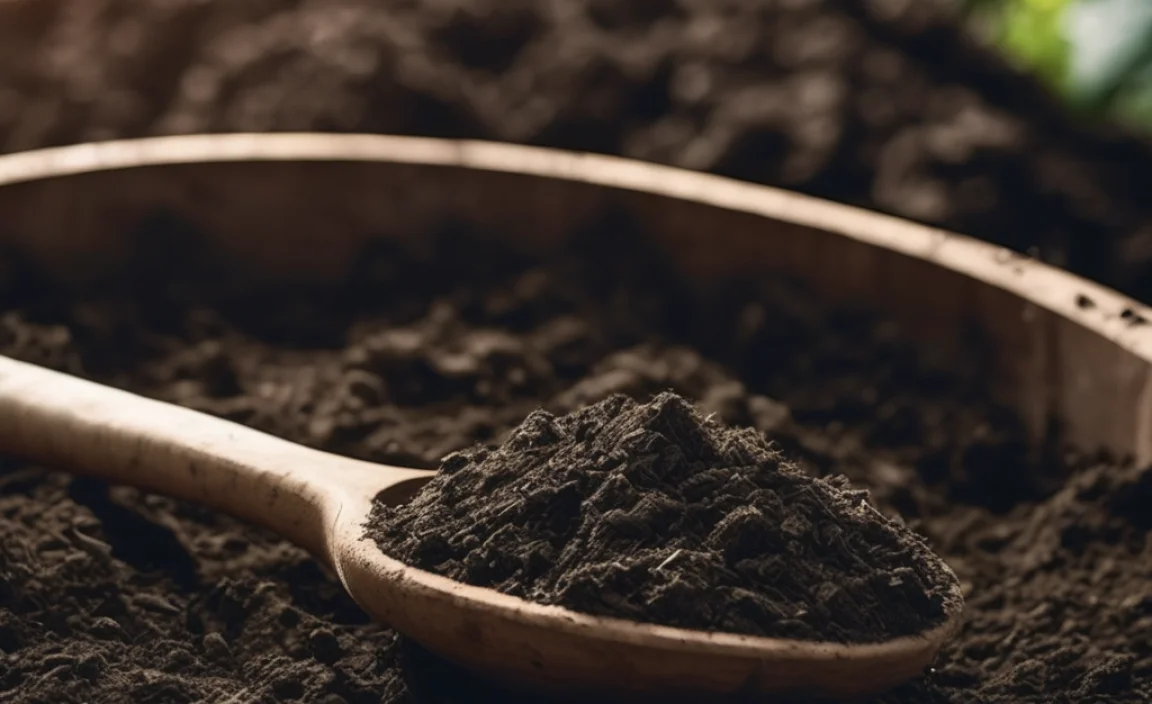
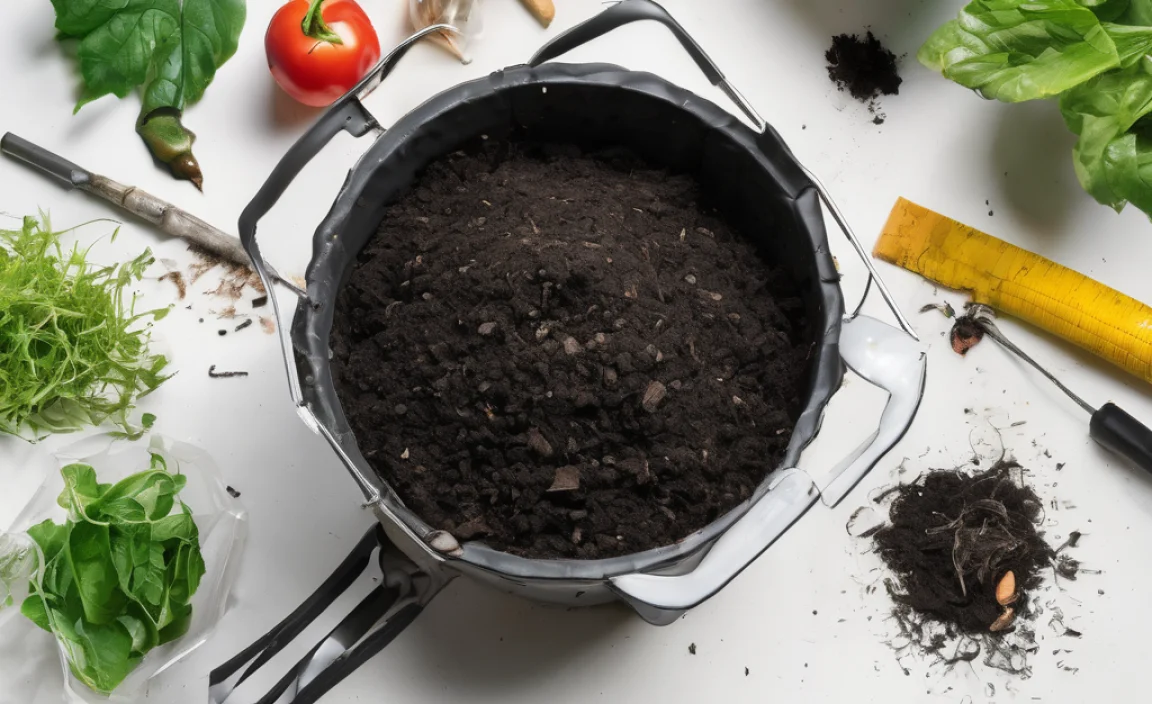
At its heart, composting is nature’s way of recycling. It’s the process where organic materials—like food scraps and yard waste—are broken down by tiny organisms like bacteria and fungi. Over time, these materials transform into a dark, crumbly substance called compost. This compost is packed with nutrients that plants love.
Think of it like this: you’re creating a buffet for the microorganisms. When they eat, they break down the materials, turning them into something valuable for your garden. The key to successful composting is balancing the “greens” and “browns” along with air and moisture. Get this balance right, and you’ll have a fantastic fertilizer!
The Essential “Greens” and “Browns”

The secret to great compost lies in mixing the right ingredients. We usually categorize them into “greens” and “browns.”
- Greens (Nitrogen-rich): These materials are usually moist and help heat up the compost pile, speeding up decomposition. They provide the nitrogen that microorganisms need to grow and multiply.
- Browns (Carbon-rich): These are typically dry and provide the carbon that microorganisms need for energy. They also help with airflow in the pile, preventing it from becoming too dense and smelly.
Getting the ratio right is super important. A good starting point is to aim for roughly two to three parts browns to one part greens by volume. Don’t worry too much about the exact measurement; you’ll get a feel for it as you go. Too many greens can make your pile wet and smelly, while too many browns can slow down the composting process.
What Goes Into Your Compost Bin as “Greens”?
These are usually the things you peel or trim:
- Fruit and vegetable scraps (peels, cores, rinds)
- Coffee grounds and tea bags
- Grass clippings (in thin layers to avoid matting)
- Plant trimmings (non-diseased)
- Eggshells (crushed)
What Goes Into Your Compost Bin as “Browns”?
Think of these as the dry, carbon-heavy items:
- Dry leaves
- Shredded newspaper or cardboard (avoid glossy paper)
- Straw or hay
- Small twigs and branches (chopped up)
- Sawdust (from untreated wood)
- Paper towels and napkins (unsoiled by grease or chemicals)
What NOT to Compost
Just as important as knowing what to add is knowing what to keep out. Some items can attract pests, create unpleasant odors, or spread diseases. Here’s a quick list:
- Meat, fish, and bones
- Dairy products (milk, cheese, yogurt)
- Oily or greasy foods
- Diseased plants
- Weeds that have gone to seed (they might sprout in your compost)
- Pet waste (from dogs and cats, as it can contain pathogens)
- Treated wood or coal ash
- Non-biodegradable items (plastics, metal, glass)
Sticking to these guidelines will help ensure your compost is safe, effective, and doesn’t cause any unintended problems.
Choosing Your Composting Method: From Simple to Advanced
There are several ways to compost, and the best method for you depends on your space, how much organic waste you generate, and how quickly you want compost.
1. The Simple Compost Pile (Open Pile)
This is the most basic method. You simply create a pile in a corner of your yard. Layer your greens and browns, keep it moist, and turn it occasionally. It’s easy and requires no special equipment, but it might take a bit longer and can look a bit messy.
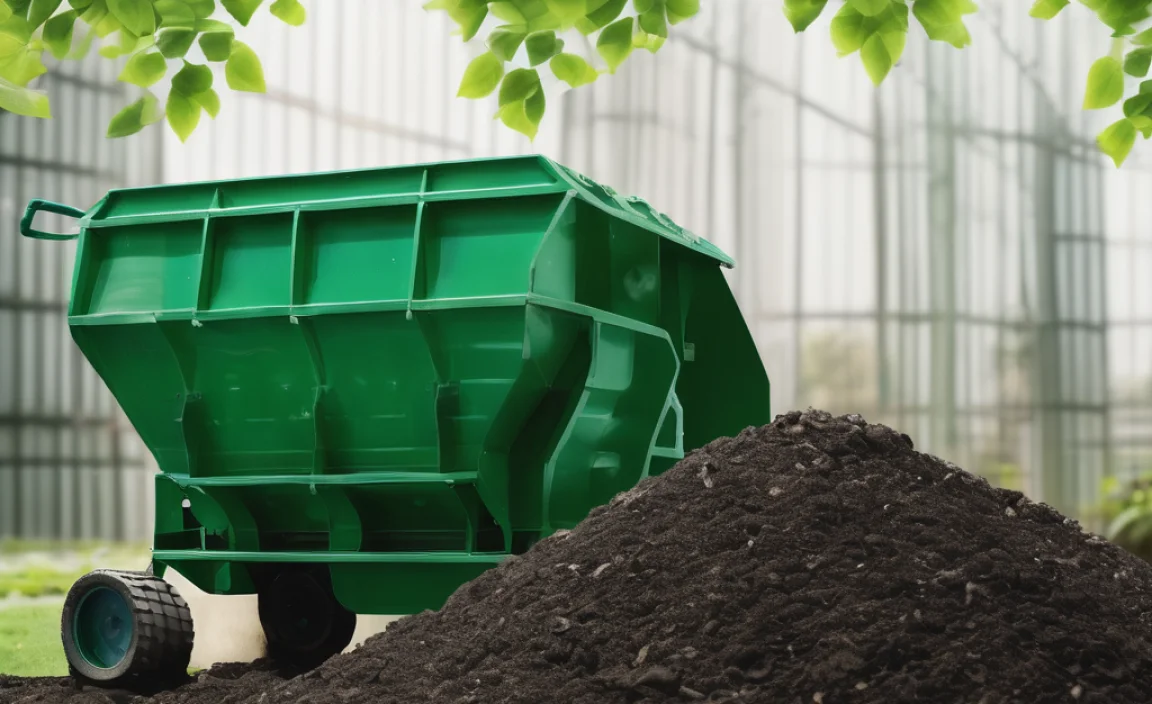
2. Compost Bins (Enclosed Systems)
These are containers that help keep your compost tidy and can speed up the process. They come in many forms:
- DIY Bins: You can build a bin from pallets, wire mesh, or old lumber. This is a great budget-friendly option.
- Purchased Bins: Many garden stores sell plastic or metal compost bins. Some are stationary, while others are tumblers.
Enclosed bins help retain heat and moisture, which are crucial for decomposition. They also keep pests out and look neater than an open pile.
3. Tumbler Composters
These are rotating bins that make turning your compost incredibly easy. You just give the bin a few turns every few days. Tumblers can be more expensive, but they significantly speed up the composting process, often producing compost in as little as a few weeks to a couple of months. They are great for smaller spaces and beginners who want quick results.
4. Worm Composting (Vermicomposting)
This method uses earthworms, like red wigglers, to break down food scraps. It’s ideal for people with very limited space, like apartment dwellers, as it can be done indoors or on a balcony in a specialized bin. Worms are efficient composters and produce a nutrient-rich material called worm castings. You can learn more about setting up a worm bin from organizations like the U.S. Environmental Protection Agency (EPA), which offers general composting guidance applicable worldwide.
Step-by-Step: Creating Your First Compost Fertilizer
Ready to get your hands dirty (but not too dirty!)? Let’s break down how to make compost. We’ll focus on a simple compost bin method, which is a great starting point for most people.
Step 1: Choose Your Location and Bin
Find a spot in your garden that’s relatively level, has good drainage, and gets some sun but isn’t in direct, scorching sun all day. You want it easily accessible for adding materials and for turning. If you’re using a purchased bin or building one, set it up in your chosen spot.
Step 2: Start Layering
Begin by adding a layer of “brown” materials to the bottom of your bin. This could be twigs, straw, or shredded cardboard. This layer helps with airflow and drainage.
Next, start adding your “green” materials. Remember, these are your kitchen scraps. Try to chop larger items into smaller pieces to speed up decomposition. Mix them in with more brown materials. A good rule of thumb is to add a layer of greens, then cover it with two or three times that volume of browns.
Step 3: Maintain Moisture Levels
Your compost pile needs to be about as damp as a wrung-out sponge. If it’s too dry, decomposition slows down. If it’s too wet, it can become smelly and anaerobic (lacking air). You can check the moisture by grabbing a handful. If water drips out, it’s too wet. If it crumbles apart easily, it’s too dry. Water your pile if needed, especially during dry spells.
Step 4: Aerate Your Compost
Microorganisms need oxygen to do their job. You can introduce air by “turning” your compost pile. Use a garden fork or a compost aerator to mix the materials. Aim to turn the pile every 1-2 weeks. This also helps keep the greens and browns mixed and speeds up the breakdown process. If you’re using a tumbler, just give it a spin!
Step 5: Be Patient and Observe
Composting takes time. Depending on the materials, temperature, and how often you turn it, it can take anywhere from a few months to a year to get finished compost. You’ll know your compost is ready when it’s dark, crumbly, smells earthy (like a forest floor), and you can no longer recognize the original materials.
Step 6: Harvesting Your Compost Fertilizer
Once your compost is ready, you can start using it! You can either remove the finished compost from the bottom of a bin (if it has a bottom access door) or simply start a new pile next to your old one and shovel the finished compost into a wheelbarrow. You might want to screen it through a sieve to remove any larger, undecomposed bits, which can go back into your new compost pile.
Troubleshooting Common Composting Problems
Even with the best intentions, you might run into a few snags. Here’s how to fix them:
Problem: Bad Odors (Ammonia or Rotten Egg Smell)
- Cause: Too many “greens” (nitrogen) or the pile is too wet and not getting enough air.
- Solution: Add more “brown” materials like dry leaves or shredded cardboard. Turn the pile to improve aeration. If it’s very wet, try adding some dry materials and turning it thoroughly.
Problem: The Pile Isn’t Heating Up or Decomposing
- Cause: Not enough “greens” (nitrogen), too dry, or the particle size is too large.
- Solution: Add more nitrogen-rich “green” materials. Check for moisture and water if needed. Chop up larger materials. Ensure you have a good mix of greens and browns.
Problem: Pests (Flies, Rodents)
Cause: Exposing certain materials or not burying food scraps properly.
- Solution: Ensure you’re not adding meat, dairy, or oily foods. Always bury fresh kitchen scraps deep within the pile and cover them with a layer of brown material. Using an enclosed bin or tumbler can also help deter pests.
Using Your Homemade Compost Fertilizer
Congratulations, you’ve made your own compost fertilizer! Now, how do you use this wonderful stuff?
- Soil Amendment: Mix compost generously into your garden beds before planting. It improves soil structure, drainage, and aeration, making it easier for plant roots to grow. A common recommendation is to work in 2-4 inches of compost into the top 6-8 inches of soil.
- Top Dressing: Spread a layer of compost (about 1-2 inches) around existing plants, shrubs, and trees. This feeds the plants slowly and helps retain soil moisture.
- Potting Mix: You can mix compost with other ingredients like coco coir or perlite to create a rich potting soil for containers and seedlings. A good ratio to start with is 1 part compost, 1 part coco coir, and 1 part perlite.
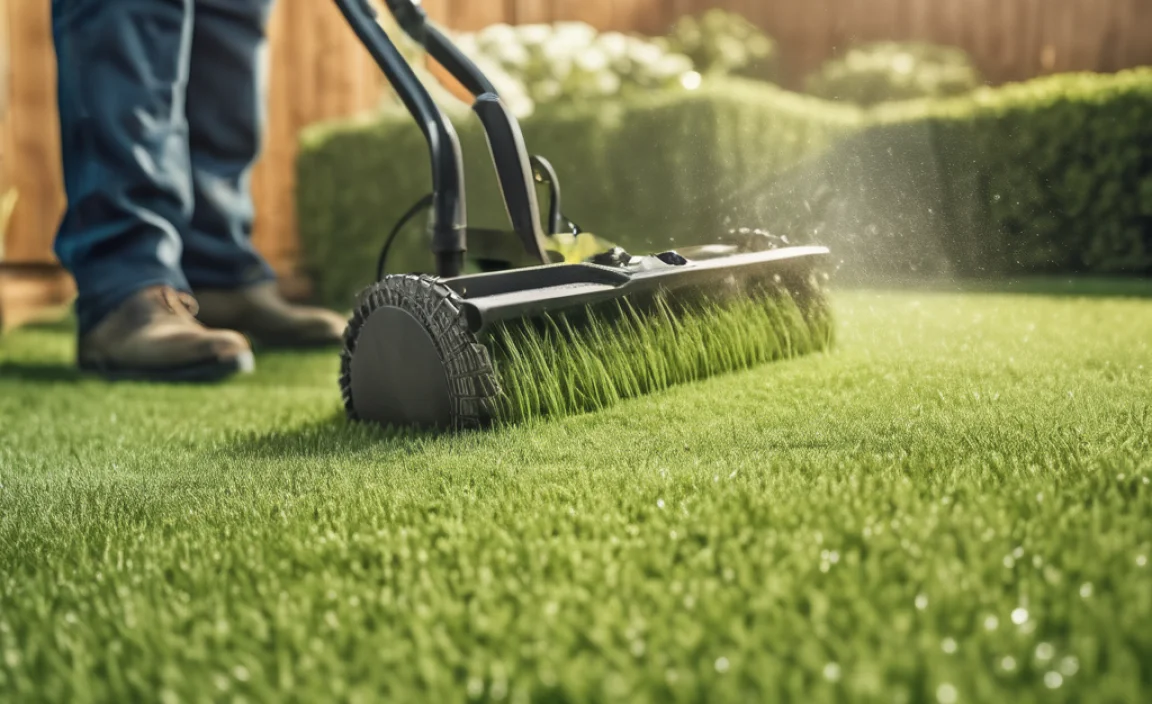
- Lawn Dressing: Lightly spread a thin layer of compost over your lawn in the spring to improve grass health and color.
Using compost is a gentle, natural way to feed your plants. They’ll thank you with lush growth and bountiful harvests!
Composting in Different Asian Climates
Asia is a diverse continent with a wide range of climates, from tropical humidity to cooler mountainous regions. Your composting approach might need slight adjustments:
- Tropical Climates: In very hot and humid areas, decomposition happens quickly. However, your pile can also dry out faster or become waterlogged. Ensure good aeration and adequate brown materials to absorb excess moisture. Smaller, well-turned piles might be better than large, dense ones to prevent overheating.
- Arid Climates: Water is key! You’ll need to monitor moisture levels very carefully and water more frequently. Consider placing your compost bin or pile in a shaded area to prevent rapid drying.
- Temperate and Cooler Climates: Decomposition might slow down during colder months. You might collect materials all year and start composting more actively in spring. Insulated bins can help retain heat during cooler periods.
Regardless of the climate, the core principles of greens, browns, moisture, and aeration remain the same. You just need to adapt your management based on the local conditions. For specific regional advice, local agricultural universities or gardening clubs can be excellent resources.
Benefits of Compost Fertilizer: The Big Picture
Beyond just feeding your plants, compost fertilizer brings a host of fantastic benefits:
- Environmental: Reduces landfill waste, lowers greenhouse gas emissions, and decreases the need for synthetic fertilizers, which can pollute water systems.
- Soil Health: Improves soil structure, increases water retention, promotes beneficial microbial activity, and helps to break down contaminants. This is essential for long-term soil fertility.
- Economic: Saves money on purchased fertilizers and soil amendments. Can even be a source of income if you produce surplus compost.
- Plant Health: Provides a slow-release source of essential nutrients, leading to stronger, healthier plants that are more resistant to pests and diseases.
It’s a win-win situation for your garden, your wallet, and the planet!
Essential Tools for Composting (Beginner-Friendly)
You don’t need a lot of fancy equipment to start composting. Here are a few useful items:
| Tool | Purpose | Why You Need It |
|---|---|---|
| Kitchen Compost Caddy | Collecting food scraps indoors | Keeps scraps contained and tidy before taking them to the main compost. Look for one with a lid and a charcoal filter to reduce odors. |
| Garden Fork or Shovel | Turning and aerating the compost pile | Essential for mixing materials, which speeds up decomposition and prevents smells. |
| Watering Can or Hose with Sprayer | Adding moisture | Crucial for keeping the compost at the right dampness. |
| Gloves | Protecting your hands | Keeps your hands clean and protected from any rough materials. |
| Compost Aerator (Optional) | Loosening compacted compost | A specialized tool that can make turning easier than a fork. |
| Container/Bin | Holding the compost materials | From a simple pile to a store-bought tumbler, this is where the magic happens. |
Start with the basics, and you can always add more tools as you get more involved in composting.
Frequently Asked Questions About Compost Fertilizer in Asia
Q1: How long does it take to make compost?
A1: It varies greatly depending on the method and conditions. A hot, actively managed pile with a tumbler can produce compost in 4-6 weeks. A slower, cooler method in an open pile or bin can take 6 months to a year.
Q2: My compost smells bad. What did I do wrong?
A2: Bad smells, especially like ammonia or rotten eggs, usually mean your pile is too wet or has too much “green” material without enough “browns” for balance and aeration. Add more dry brown materials (like leaves or cardboard), and turn the pile to allow air in.
Q3: Can I compost seeds and weeds?
A3: It’s best to avoid composting seeds and weeds that have gone to seed. They might survive the composting process and then sprout in your garden, becoming a nuisance. Only compost weeds if you are absolutely sure your pile reaches a high enough temperature (around 140-160°F or 60-70°C) to kill them. This often requires a very actively managed hot compost system.
Related Posts

I am passionate about home engineering. I specialize in designing, installing, and maintaining heating, ventilation, and air conditioning systems. My goal is to help people stay comfortable in their homes all year long.