Hey there, fellow Aussies! Ever look at your kitchen scraps and garden waste and think, “There’s gotta be a better way than just binning this?” You’re not alone! Lots of us want to help our gardens thrive without spending a fortune on store-bought fertilisers. It can feel a bit confusing figuring out where to start with making your own compost. But don’t sweat it! I’m Troy D Harn from TopChooser, and I’m here to show you just how simple and rewarding it is to create amazing compost fertiliser right here in Australia. We’ll break it all down, step-by-step, so your garden can too!
Your Compost Fertilizer in Australia: The Essential How-To Guide
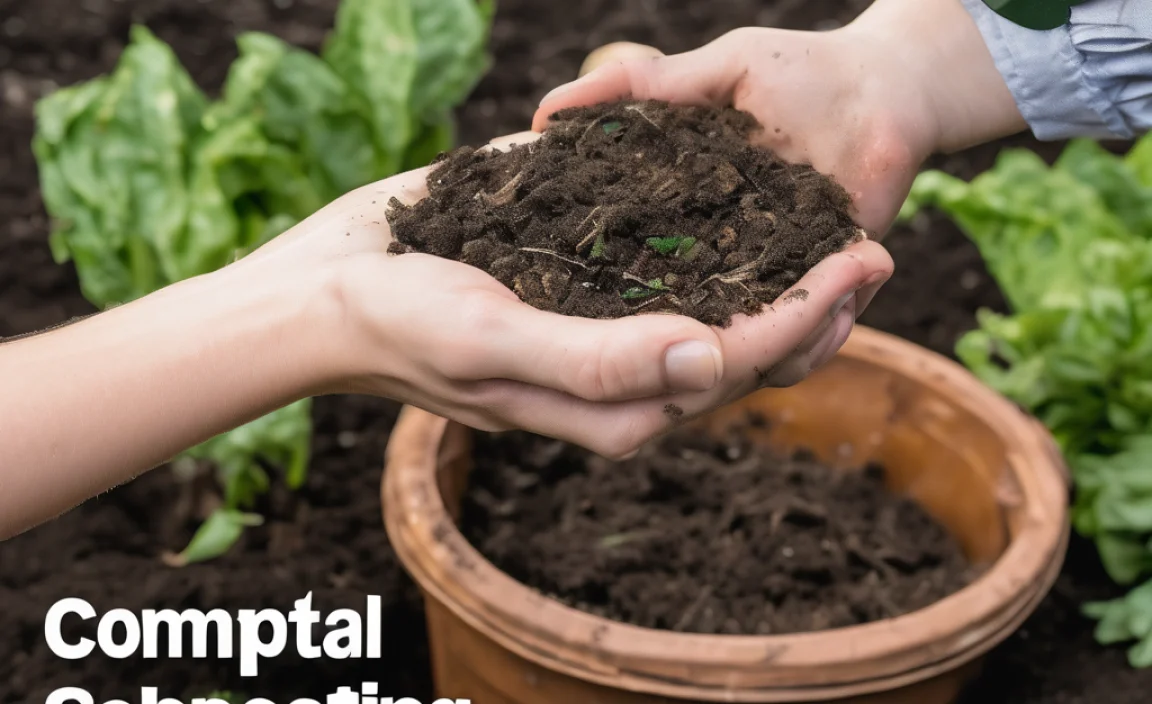
So, you’re keen to get your hands dirty and turn everyday waste into garden gold? Awesome! Making your own compost fertiliser in Australia is one of the most rewarding things you can do for your garden, your wallet, and the planet. It’s like a magic trick that nature does itself, and you just provide the right ingredients and a bit of space. We’ll cover everything you need to know, from what to toss in your compost bin to how to speed up the process, all tailored for our Aussie conditions.
Why Bother with Compost Fertiliser?
Think of compost as the superfood for your soil. It’s not just about getting rid of scraps; it’s about creating a rich, dark, crumbly material that does wonders for your garden:
- Boosts Soil Health: Compost introduces beneficial microorganisms and improves soil structure, making it easier for plant roots to grow and access nutrients and water.
- Reduces the Need for Chemicals: Healthy soil teeming with life means healthier plants that are less susceptible to pests and diseases, reducing your reliance on chemical fertilisers and pesticides.
- Saves You Money: Why buy expensive fertilisers when you can make your own free, high-quality alternative?
- Helps the Environment: Composting diverts waste from landfills, where it produces harmful greenhouse gases. It’s a fantastic way to reduce your carbon footprint.
- Improves Water Retention: Compost acts like a sponge in the soil, helping it hold onto moisture. This is a game-changer, especially during those hot Aussie summers.
What Can You Compost? The Good Stuff and The Stuff to Avoid
Getting the mix right is key to successful composting. You need a balance of “greens” (nitrogen-rich) and “browns” (carbon-rich). Think of it like a healthy diet for your compost pile!
“Greens” – The Nitrogen Boosters:
These are typically wet, fresh materials that break down quickly. They add nitrogen to your compost, which helps heat up the pile and speed up decomposition.
- Fruit and vegetable scraps (peels, cores, ends)
- Coffee grounds and tea bags (remove any staples)
- Grass clippings (in thin layers to avoid matting)
- Plant trimmings (non-diseased, non-woody)
- Eggshells (crushed)
- Manure from herbivores (chickens, rabbits, cows, horses) – if you can get it!
“Browns” – The Carbon Content:
These are usually dry, woody materials that provide carbon and allow air to circulate through the pile.
- Dry leaves
- Straw and hay
- Cardboard and paper (shredded, avoid glossy or coloured inks)
- Wood chips and sawdust (use sparingly)
- Pine needles
- Twigs and small branches (chopped up)
What to Leave Out: The No-Nos
Some things just don’t belong in your compost bin. They can cause smells, attract pests, or introduce diseases or weed seeds.
- Meat, bones, and dairy products (attract pests and smell)
- Oily or greasy foods
- Diseased plants or weed seeds (unless you have a very hot compost system)
- Pet waste (from cats and dogs – contains pathogens)
- Chemically treated wood or yard waste
- Large, woody branches (break them down first)
- Coal ash
Your Compost Setup: Choosing the Right Bin for Aussies
The “best” compost bin is the one that works for your space and your lifestyle. Here are some popular options for Australian homes:
1. The Basic Compost Bin (Tumbler or Static Bin)
These are widely available at hardware stores and garden centres across Australia. Static bins are usually plastic with a lid and an open bottom, allowing worms and microbes to access the pile. Tumblers are sealed drums that you can easily rotate to mix and aerate the compost.
- Pros: Easy to find, relatively inexpensive, keeps pests out, can look tidy.
- Cons: Static bins can take longer to break down if not turned, tumblers can be small and may require more frequent filling.
2. DIY Compost Piles/Bays
If you have a bit more space and are feeling handy, you can build your own compost bay or simply create a pile in a corner of your garden. This is a budget-friendly option.
- Pros: Can be made any size, very cost-effective, great for larger volumes of material.
- Cons: Can look untidy, more exposed to pests and weather, requires more effort to turn.
3. Worm Farms (Vermicomposting)
Perfect for smaller spaces like balconies or courtyards, or if you want to process kitchen scraps very quickly. Worm farms use special composting worms (like Red Wigglers) to break down food scraps into nutrient-rich worm castings (worm poo!).
- Pros: Produces high-quality fertiliser very quickly, ideal for apartment dwellers, relatively odour-free.
- Cons: Can’t handle large volumes or all types of kitchen scraps (no citrus, onions, or meat), requires specific worms and care.
No matter which system you choose, ensure it’s placed in a spot that gets some sun but also some shade, and that it’s accessible for adding materials and harvesting your finished compost. If you’re in a hotter climate, more shade is generally better to prevent it from drying out too quickly.
The Art of Composting: Step-by-Step
Ready to get started? It’s easier than you think! Here’s how to make fantastic compost fertiliser in Australia:
Step 1: Choose Your Location and Bin
Pick a convenient spot in your garden that’s relatively level and has decent drainage. Consider factors like sun exposure and accessibility for adding materials and harvesting. Select your bin type based on your space and needs.
Step 2: Start with a Layer of Browns
Begin your compost with a base layer of coarse brown materials like twigs, straw, or shredded cardboard. This helps with airflow and drainage from the start.
Step 3: Add Your Greens and Browns in Layers
Aim for a good balance. A rough ratio to aim for is about 2-3 parts Browns to 1 part Greens by volume. Don’t stress too much about exact measurements – it’s more about having a mix. Chop larger items into smaller pieces to speed up decomposition.
Layering tip: Add a layer of greens, then cover with a layer of browns. This helps prevent odours and discourages flies.
Step 4: Keep it Moist, Not Soaked
Your compost pile should be as damp as a wrung-out sponge. If it’s too dry, decomposition slows down. If it’s too wet, it can become anaerobic (lack of oxygen) and smelly. Water it regularly, especially during dry spells. If it’s too wet from rain, add more browns.
Aussie climate note: In our hot, dry climate, you’ll likely need to water your compost more often, especially if it’s in a sunny spot.
Step 5: Aerate Your Compost (Turn It!)
This is crucial for speeding up the process. Turning the compost pile introduces oxygen, which the beneficial microbes need to do their work effectively. Aim to turn it every 2-4 weeks. If you have a tumbler, just give it a spin every few days. If you have a static bin or pile, use a garden fork to mix the outer layers into the middle and vice-versa.
To turn or not to turn? If you’re not in a hurry, you can “lazy compost” by just adding materials and letting nature do its thing. It will eventually compost, just much slower. Turning is for faster results!
Step 6: Be Patient and Monitor
Composting takes time. Depending on the materials you use, the climate, and how often you turn it, compost can be ready anywhere from a few months to a year.
What to look for: Finished compost will be dark brown, crumbly, and smell earthy, like a damp forest floor. You shouldn’t be able to recognise the original materials.
Step 7: Harvest and Use Your Compost
Once your compost is ready, you can harvest it. Fork out the finished compost from the bottom of your bin or pile. You can sift it through a sieve to remove any larger, unfinished pieces (which can go back into a new compost pile). Use your homemade compost fertiliser to enrich your garden beds, mix into potting soil, or top-dress around plants.
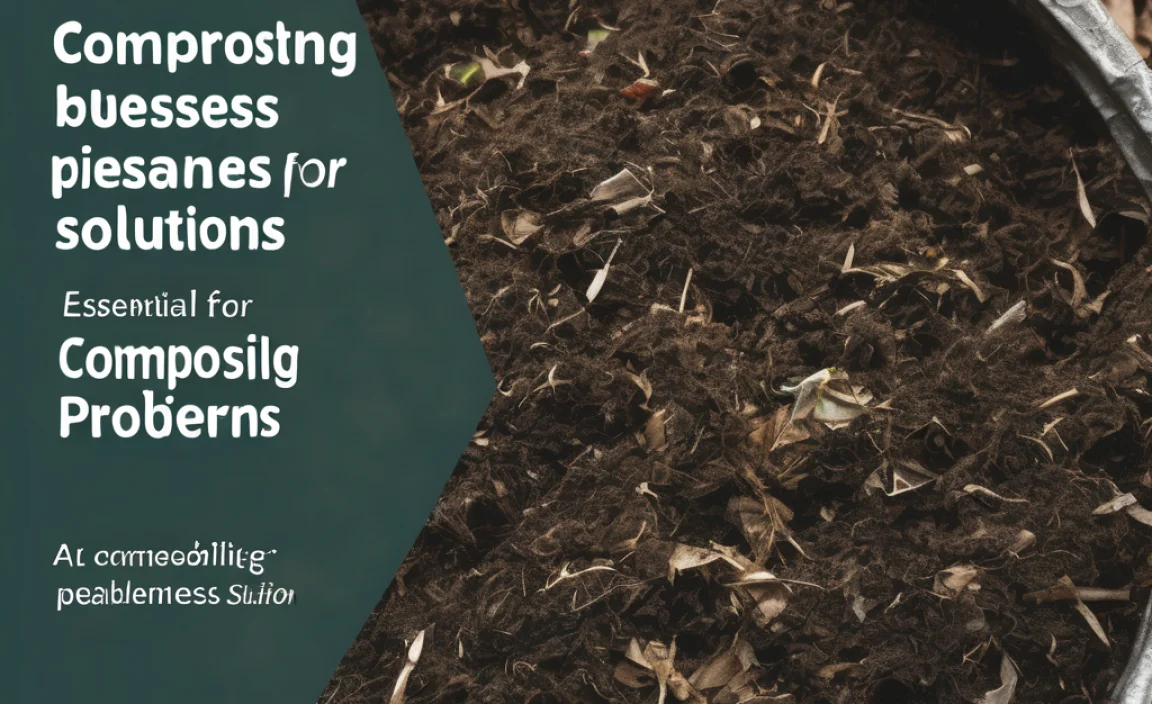
Troubleshooting Common Composting Problems
Even with the best intentions, you might run into a few snags. Here’s how to fix them:
- Smelly Compost: Usually caused by too much nitrogen (greens) or being too wet. Add more brown, carbon-rich materials (like dry leaves or shredded cardboard) and turn the pile to aerate it. Make sure it’s not waterlogged.
- Compost is Too Dry and Not Breaking Down: It needs more moisture. Water the pile thoroughly and mix it in.
- Attracting Pests (Flies, Rodents): Ensure you’re not adding meat, dairy, or oily foods. Always cover fresh kitchen scraps with a layer of brown material. Using a lidded bin or tumbler can also help.
- Pile Isn’t Heating Up: It might lack nitrogen (greens) or be too dry, or you might have too many large woody items. Add more green materials, water it, and turn it.
Compost Accelerator: Faster Composting Tips
Want to speed things up? Especially helpful when you’re eager to get that beautiful compost into your garden!
- Chop Materials: The smaller the pieces, the faster they break down.
- Balance Greens and Browns: This is the most important factor for a hot, fast compost.
- Keep it Moist: A consistently damp pile works faster.
- Aerate Regularly: Turning gives the microbes their oxygen supply.
- Add Finished Compost or Soil: Introducing microbes from finished compost or healthy garden soil can kickstart the process.
- Use a Compost Accelerator Product: You can buy commercial compost activators, which are usually a mix of beneficial microbes and sometimes a nitrogen boost.
Compost Tea: A Liquid Gold Drench for Your Plants
Once you’ve got compost, you can make compost tea! This is a fantastic liquid fertiliser that feeds your plants and the soil directly.
Easy Compost Tea Recipe:
- Fill a bucket with unchlorinated water (leave tap water out for 24 hours to let chlorine evaporate).
- Add a shovel-full of finished compost.
- Optionally, add a tablespoon of molasses (feeds the microbes) or some liquid seaweed.
- Stir well and let it steep for 1-3 days, stirring occasionally.
- Strain the liquid and use it to water your plants or spray on their leaves (foliar feeding).
Note on Water: In many parts of Australia, water restrictions might apply. Always check your local council guidelines before using water for gardening.
How Much Compost to Use?
There’s no single answer, as it depends on your soil type and what you’re growing. A good general guideline:
- For Garden Beds: Dig in a layer of 5-10 cm of compost into the top 15-20 cm of soil before planting.
- For Established Plants/Orchards: Apply a layer of 2-5 cm around the base of plants, keeping it a few centimetres away from the stem.
- For Potting Mix: Mix compost with other ingredients like potting soil, perlite, or coir at a ratio of 1 part compost to 3-4 parts other mix.
- For Lawns: Rake a thin layer (about 1 cm) over the surface, especially in spring and autumn.
Compost Fertiliser in Australia: Key Considerations
Australia is a big place with diverse climates, so keep these points in mind:
- Water: We’re known for dry spells! Be vigilant about keeping your compost moist, especially in warmer states or during summer. You might need to water more frequently than people in cooler, wetter climates.
- Pests: While composting is natural, some critters might be attracted. Using a lidded bin, burying kitchen scraps deep within the pile, and maintaining a good green-to-brown ratio helps deter them. If pests are a major issue, consider a tumbler or a more secure DIY bin.
- Local Councils: Many councils offer rebates on compost bins or worm farms, or provide great local guides to composting. Check out your local council’s website for resources. For example, Sustainability Victoria has excellent resources for Victorians.
- Climate Zones: What works perfectly in a humid tropical north will need adjustment in a dry desert interior or a temperate south. Generally, more shade is beneficial in hotter climates to prevent drying out.
The Benefits at a Glance: Compost vs. Chemical Fertilizers
Here’s a quick comparison to highlight why compost is such a winner:
| Feature | Compost Fertiliser | Chemical Fertilizers |
|---|---|---|
| Nutrient Release | Slow and steady, feeding plants over time | Fast and often quick-burning, can lead to nutrient imbalances |
| Soil Health | Improves structure, water retention, and microbial life | Can harm beneficial soil organisms, does not improve soil structure |
| Environmental Impact | Reduces waste, sequesters carbon, natural | Can cause runoff pollution, energy-intensive to produce |
| Cost | Free to make (minus initial bin cost) | Ongoing purchase costs |
| Sustainability | Highly sustainable | Often derived from non-renewable resources |
Frequently Asked Questions About Compost Fertiliser in Australia
What is the fastest way to make compost?
The fastest way involves a balanced mix of greens and browns, chopping materials small, maintaining consistent moisture, and turning the pile frequently (every few days to a week) to ensure good aeration. This can sometimes yield compost in as little as 6-8 weeks, although typically it takes longer.
How often should I turn my compost in Australia?
For faster composting, aim to turn your pile every 2-4 weeks. If you’re in a very hot or dry region, you might turn it more often to help with aeration and moisture distribution. If you’re using a tumbler, a few spins every few days is sufficient.
Can I compost weeds?
Yes, you can compost most weeds, but it’s best to avoid composting weeds that have already gone to seed, or diseased weeds, unless your compost pile gets very hot (over 60°C) consistently, as this will kill the seeds and pathogens. Woody weeds should be chopped finely. Adding a large amount of weed seeds can mean you’re just preparing them to spread in your garden.
My compost is smelling bad, what did I do wrong?
A bad smell (often like rotten eggs or ammonia) usually means your compost is too wet and/or has too much nitrogen (“greens”). This creates anaerobic conditions. To fix it, add more carbon-rich “brown” materials (like dry leaves, cardboard, or straw) and turn the pile thoroughly to introduce oxygen. Ensure it’s not waterlogged.
How do I know when my compost is ready to use?
Finished compost will be dark brown, crumbly, and have a pleasant, earthy smell. You won’t be able to recognise the original food scraps or garden waste

I am passionate about home engineering. I specialize in designing, installing, and maintaining heating, ventilation, and air conditioning systems. My goal is to help people stay comfortable in their homes all year long.