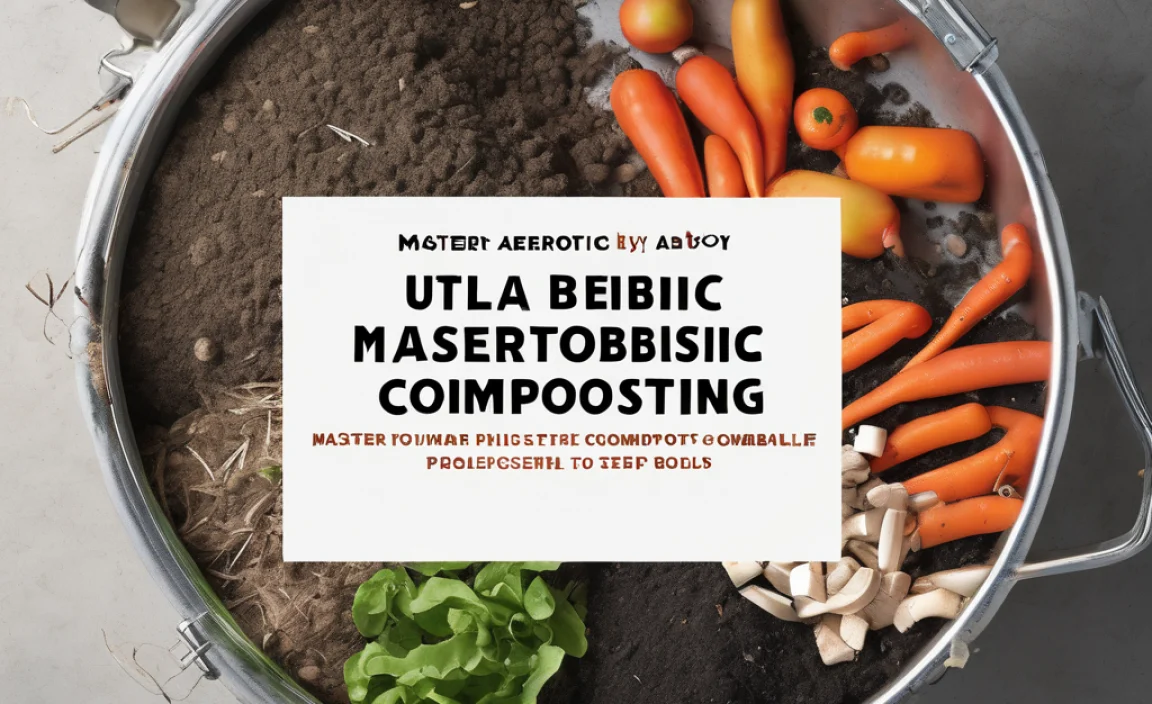
Compost Fertilizer Cost: Genius Savings Revealed
Ever look at bagged fertilizer at the garden store and do a double-take at the price? It’s enough to make your wallet run for cover! Luckily, there’s a way to feed your plants healthily without emptying your bank account. We’re talking about composting, the garden’s best-kept secret for saving money. Think of it as turning your everyday scraps into pure gold for your garden beds. Let’s dig into how composting can slash your gardening expenses and help your plants thrive.
The Real Cost of Buying Fertilizer
When you’re just starting out in the garden, grabbing a bag of fertilizer seems like the easiest way to give your plants a boost. But when you start adding up the costs over a season, or even a few years, it can really pile up. Especially if you have a larger garden or multiple pots. You’re not just paying for the nutrients; you’re paying for the packaging, the processing, the transportation, and a brand name. It’s a recurring expense that can feel like a necessary evil for healthy growth.
Let’s break down what you typically pay. Prices can swing wildly depending on the type of fertilizer (organic vs. synthetic, specific nutrient ratios) and the brand. But even for a mid-range, general-purpose fertilizer, you’re looking at a significant investment for consistent use.
| Fertilizer Type | Typical Bag Size | Estimated Cost Per Bag | Estimated Annual Cost (for a moderate garden) |
|---|---|---|---|
| General Purpose Synthetic | ~20 lbs | $15 – $30 | $60 – $120+ |
| Organic Granular (e.g., Alfalfa Meal, Bone Meal) | ~10 lbs | $20 – $40 | $80 – $160+ |
| Liquid Fertilizer (Concentrate) | ~32 oz | $10 – $25 | $40 – $100+ (depending on dilution) |
As you can see, buying fertilizer regularly adds up, especially for enthusiastic gardeners. This table is just a ballpark, but it illustrates the ongoing expense. Now, imagine cutting that cost down dramatically, or even to nearly zero, just by using what you already have!
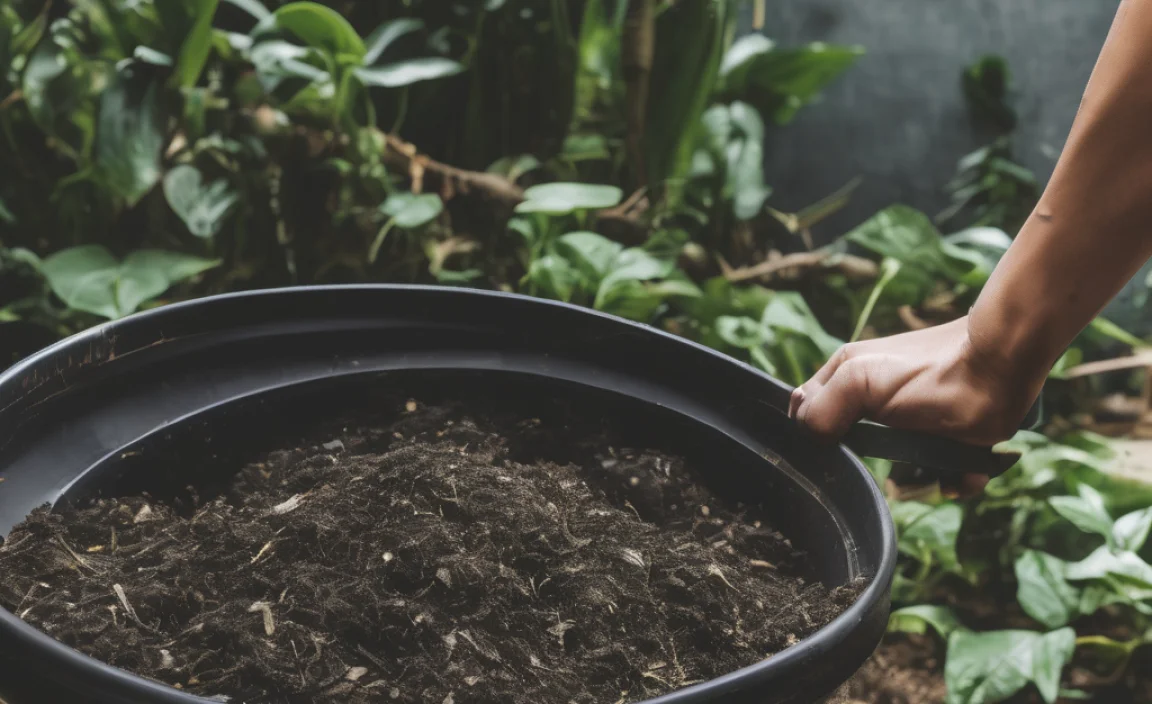
Composting: The Ultimate “Free” Fertilizer
Composting is your secret weapon against high fertilizer bills. By transforming food scraps and yard waste into nutrient-rich compost, you create a natural fertilizer that’s excellent for your soil and incredibly kind to your wallet. It’s not just about saving money, though; it’s about improving your garden’s health in the long run. Compost adds organic matter, improves soil structure, enhances water retention, and feeds beneficial microorganisms. This means healthier plants, better yields, and less need for chemical interventions – all of which contribute to significant savings.
The initial investment in a compost bin or a setup can be minor compared to the ongoing cost of buying bagged fertilizers season after season. Once you have your system, the “ingredients” are literally free – they’re the waste you’d otherwise be throwing away.
What Can You Compost? The “Free” Ingredients List
The beauty of composting is its flexibility. You can use a wide variety of common household and yard waste. The key is to balance “greens” (nitrogen-rich materials) and “browns” (carbon-rich materials).
Greens (Nitrogen-Rich):
- Fruit and vegetable scraps
- Coffee grounds and tea bags
- Grass clippings
- Plant trimmings (non-diseased)
- Eggshells (crushed)
Browns (Carbon-Rich):
- Dry leaves
- Shredded newspaper or cardboard (plain ink)
- Straw or hay
- Wood chips or sawdust (small quantities)
- Paper towel rolls (torn up)
Some things to avoid are meat, dairy products, oily foods, diseased plants, pet waste from carnivorous animals, and chemically treated yard waste. These can attract pests, spread disease, or contain harmful substances.
Getting Started: Options for Composting Systems
You don’t need anything fancy to start composting. There are several effective ways to set up your composting system, each with its own advantages and minimal cost.
1. DIY Piles (The Cheapest Option)
If you have some space, you can simply create a pile in a corner of your yard. For better containment and aesthetics, you can build a simple enclosure using pallets, chicken wire, or scrap lumber. The cost here is practically zero if you use salvaged materials.
2. Tumbler Composter
These are sealed drums that you turn to mix the compost. They can speed up the composting process and keep critters out. A good tumbler usually costs between $100-$300. While it’s an upfront cost, it can last for years and significantly reduce your need to buy fertilizer.
3. Stationary Bin Composter
These are enclosed bins, often made of plastic or wood, with lids and sometimes doors at the bottom for easy access to finished compost. They range from $50-$200. Many are designed to be efficient and tidy, making them a popular choice for yards with limited space.
4. Worm Composting (Vermicomposting)
This method uses red wiggler worms to break down food scraps. It’s great for apartment dwellers or those with very little outdoor space. A basic worm bin setup can cost $50-$100 for the bin and the worms.
Even if you opt for a higher-end tumbler or bin, consider this: how much do you spend on fertilizer each year? A modest investment in a compost bin can pay for itself within 1-3 years, and then you’re reaping free fertilizer year after year. That’s a smart long-term saving! For more on choosing the right bin, check out resources from your local university extension office, like those from agricultural departments which offer unbiased advice.
The Composting Process: Turning Waste into Wealth
Getting compost to work its magic is simpler than you might think. It’s a natural process that just needs a little guidance from you. Think of yourself as a facilitator, providing the right conditions for nature to do its thing.
Step 1: Gather Your Materials
Start collecting your kitchen scraps (rinsed and chopped if possible for faster decomposition) and yard waste. Keep a small bin in your kitchen for food scraps and a designated spot in your yard for larger yard debris.
Step 2: Set Up Your Bin or Pile
Choose your composting method (DIY, bin, tumbler). If you’re using a bin or DIY pile, start with a layer of “browns” at the bottom for good drainage and airflow.
Step 3: Layer Your Greens and Browns
Aim for a ratio of roughly 2-3 parts browns to 1 part greens by volume. This isn’t an exact science, but it helps avoid a slimy, stinky mess. If your pile is getting too wet and smelly, add more browns. If it’s dry and slow, add more greens or water.
Step 4: Add Water
Your compost pile needs to be moist, like a wrung-out sponge. Too dry, and the decomposition slows to a crawl. Too wet, and it can become anaerobic (lacking oxygen) and smelly.
Step 5: Aerate Your Pile
Microorganisms need air to work their magic. If you have a bin, follow the manufacturer’s instructions. For DIY piles, turn the pile with a pitchfork or compost aerator every week or two. Tumblers make this easy! Regular turning speeds up composting significantly.
Step 6: Wait and Watch
Depending on how actively you manage your pile and the materials you use, compost can be ready in as little as 2-3 months or take up to a year. You’ll know it’s ready when it’s dark, crumbly, and smells earthy and pleasant – not like rotting food.
Step 7: Use Your Compost!
Once it’s ready, you can use it as a soil amendment, a top dressing for your plants, or mix it into potting soil. You’ve just converted “waste” into premium fertilizer, saving you money and improving your garden’s health.
The Genius Savings: Quantifying Your Compost Value
Let’s get down to the numbers. How much are you really saving? It’s not just about avoiding the purchase of fertilizer; it’s also about the value compost adds to your soil. This makes your plants healthier, requiring fewer interventions, which translates to further savings.
| Composting Activity | Typical Cost to You | Value Gained / Cost Avoided |
|---|---|---|
| Kitchen/Yard Waste Disposal | $0 (using waste) | Avoids potential landfill fees or tipping charges; reduces garbage volume costs. |
| Compost Bin Setup | $0 – $300 (one-time) | Produces nutrient-rich soil amendment for free, year after year. |
| Purchased Fertilizer (Annual) | $50 – $200+ | Completely eliminated or drastically reduced. |
| Soil Health Improvement | $0 (using compost) | Better soil structure, water retention, and microbial activity means healthier, more resilient plants that require less watering and fewer pest/disease treatments. |
| Enhanced Plant Growth/Yield | $0 (using compost) | More flowers, bigger vegetables, and a more bountiful harvest – priceless! |
Let’s look at a practical example. If you spend $100 a year on fertilizer, and you get a compost bin for $150, that bin pays for itself in under two years. After that, every year you compost, you essentially pocket $100 (or more!). And that doesn’t even include the hidden value of improved soil and healthier plants that are more resistant to drought and pests. That’s the genius of compost fertilizer cost savings!
Beyond Fertilizer: The Added Benefits of Composting
The savings on fertilizer are fantastic, but composting offers a whole bouquet of benefits that contribute to a more sustainable and rewarding gardening experience.
1. Reduces Waste & Landfill Burden
A huge portion of household waste is organic material that could be composted. By diverting this from landfills, you help reduce methane gas production (a potent greenhouse gas) and extend the life of landfills. It’s a win for your home and the planet.
2. Enriches Soil Health Naturally
Compost isn’t just “plant food.” It’s a soil conditioner. It improves the physical structure of clay soils, making them drain better, and helps sandy soils retain moisture. It also boosts the biological activity in your soil, feeding the very microbes that plants thrive on.
3. Improves Water Retention
Adding compost to your garden beds means they’ll hold onto water longer. This is a huge benefit, especially in dry climates or during summer heat waves. You’ll water less frequently, saving water and time.
4. Suppresses Plant Diseases and Pests
Healthy soil grows healthy plants. A robust soil ecosystem, encouraged by compost, can help plants resist diseases and deter pests more effectively than chemical solutions. This means fewer sick plants and less money spent on remedies.
5. Promotes Stronger Plant Growth
With a steady supply of balanced nutrients and improved soil conditions, your plants will grow stronger, produce more flowers, and deliver better yields of fruits and vegetables. It’s the foundation for a truly abundant garden.
Tips for Maximizing Your Compost Savings
Ready to make compost your garden’s star player and bank account’s best friend? Here are some tips to ensure you get the most bang for your composting buck:
1. Start Small, Grow Big
Don’t feel like you need to build a giant compost system from day one. A small countertop bin and a modest outdoor bin are perfect for most households. You can always scale up as your composting enthusiasm grows.
2. Be Consistent with Greens and Browns
The better you balance your inputs, the faster and more efficiently your compost will break down. Keep a stash of dry leaves or shredded cardboard handy for when you have a lot of kitchen scraps (greens).
3. Turn Your Pile Regularly
Yes, it’s a little bit of work, but turning your compost pile or tumbling your bin significantly speeds up the decomposition process. Faster compost means you can start reaping the savings sooner.
4. Don’t Let “Finished” Compost Go to Waste
Once your compost is ready, use it! Don’t let it sit around indefinitely. Apply it to your garden beds before planting, top-dress your existing plants, or mix it into potting soil for containers. The more you use it, the more you replace purchased fertilizers and amendments.
5. Share the Wealth
If you find yourself with more finished compost than you can use, consider sharing with neighbors or friends. It’s a great way to spread the joy of gardening and sustainable living. Plus, you might inspire others to start composting and save money too!
Conclusion: Your Greener Garden and Greener Wallet
Making your own compost fertilizer is one of the most rewarding and cost-effective practices a gardener can adopt. It’s a sustainable cycle that benefits your garden, your household budget, and the environment. By transforming kitchen scraps and yard waste into rich, life-giving compost, you’re not just feeding your plants; you’re investing in the long-term health and vitality of your soil.
The initial setup for composting is a small price to pay for years of free, high-quality fertilizer. So, ditch those expensive bags, embrace the power of decomposition, and watch your garden thrive while your savings grow. Happy composting!
Frequently Asked Questions About Compost Fertilizer Cost
Q1: How much money can I realistically save by composting?
You can save anywhere from $50 to $200+ per year, depending on how much fertilizer you typically buy. If you have a large garden or use premium fertilizers, your savings could be even higher. The initial cost of a compost bin is quickly offset by eliminating recurring fertilizer purchases.
Q2: Is it difficult to start composting?
Not at all! The basic principle is simple: combine nitrogen-rich “green” materials (like food scraps) with carbon-rich “brown” materials (like dry leaves) and keep them moist and aerated. There are many easy-to-use composting systems available, from simple DIY piles to convenient tumblers.
Q3: How long does it take to make compost?
The time varies depending on the method, materials, and how often you turn it. Actively managed compost piles can produce usable compost in as little as 2-3 months, while passive piles might take 6-12 months. Tumblers often speed up the process.
Q4: Can I use compost instead of all commercial fertilizers?
For most home gardeners, yes! Mature compost provides a broad spectrum of nutrients and organic matter that significantly improves soil health and plant growth, often making additional fertilizers unnecessary. For very specific plant needs or nutrient-deficient soils, you might still supplement, but compost drastically reduces the need.
Q5: What if my compost pile smells bad?
A smelly compost pile usually indicates an imbalance. If it smells like rotten eggs or ammonia, it’s likely too wet and lacking air (anaerobic). Add more “brown” materials like dried leaves or shredded cardboard to absorb moisture and improve airflow. Turning the pile also helps.
Q6: Can I compost in a small apartment or condo?
Absolutely! Worm composting (vermicomposting) is perfect for small spaces. Red wiggler worms efficiently break down kitchen scraps in a compact worm bin, producing nutrient-rich worm castings – a fantastic fertilizer. Bokashi composting is another option for indoor composting.
Q7: What’s the best compost bin for beginners?
A stationary bin with a lid is a great starting point. It’s relatively inexpensive, keeps critters out, and is easy to manage. A tumbler is also very beginner-friendly as it simplifies the turning process, leading to faster results with less effort.

I am passionate about home engineering. I specialize in designing, installing, and maintaining heating, ventilation, and air conditioning systems. My goal is to help people stay comfortable in their homes all year long.