Compost Fertilizer in Europe: Your Essential Guide
Ever look at your garden and wish it had a little more life? Or maybe you’ve got kitchen scraps and yard waste piling up, wondering what to do with them? You’re not alone! Many of us want to give our plants a nutrient boost without harsh chemicals. And that pile of organic bits? It’s actually gold in disguise. This guide will show you how making your own compost fertilizer in Europe is easier than you think. We’ll break it down step-by-step, so you can get this simple, sustainable practice going in no time. Let’s dig in!
Why Compost Fertilizer is a Game-Changer for European Gardeners
Compost is often called “black gold” by gardeners, and for good reason! It’s decomposed organic matter that acts as a fantastic natural fertilizer. Think of it as a superfood for your soil. In Europe, with its diverse climates and gardening traditions, compost is a brilliant way to enrich soil, improve its structure, and feed your plants naturally.
Using compost fertilizer means you’re not just feeding your plants; you’re also:
- Reducing Waste: It diverts food scraps and yard trimmings from landfills, which is a big win for the environment, especially across various European waste management systems.
- Saving Money: You’ll buy fewer synthetic fertilizers, which can add up over time.
- Improving Soil Health: Compost helps soil retain moisture, improves drainage, and provides essential nutrients that plants need to thrive. This is especially valuable in areas with heavy clay or sandy soils common in parts of Europe.
- Boosting Plant Growth: Plants grown in compost-rich soil are generally healthier, more resistant to pests and diseases, and produce better yields.
Getting started with compost fertilizer in Europe is a fantastic way to connect with your garden and contribute to a more sustainable lifestyle. Let’s explore how you can do it.
Understanding the Essentials: What Goes Into Compost?
The secret to great compost is balancing two main types of materials: “Greens” and “Browns.” Think of it like a balanced diet for your compost pile!
Greens (Nitrogen-Rich Materials)
These are typically moist, nitrogen-rich items that help heat up the compost pile, speeding up decomposition. They often come from the kitchen or fresh yard waste.
- Fruit and vegetable scraps
- Coffee grounds and tea bags (paper filters are fine too)
- Grass clippings (in moderation)
- Fresh plant trimmings
- Eggshells (crushed)
- Weeds (avoiding those that have gone to seed or are persistent, like bindweed)
Browns (Carbon-Rich Materials)
These are drier, carbon-rich materials that provide bulk and aeration, preventing your compost from becoming a soggy, smelly mess. They help keep the pile airy for good decomposition.
- Dry leaves
- Cardboard (torn into small pieces, ideally unbleached)
- Paper (shredded newspaper, junk mail without glossy inserts)
- Straw and hay
- Wood chips and sawdust (use sparingly, especially from treated wood)
- Twigs and small branches (chopped up)
- Egg cartons (paper ones, torn up)
What to Avoid (The “Don’ts” of Composting)
Some things just don’t belong in a compost pile. Adding them can attract pests, create bad smells, or introduce harmful pathogens. When creating compost fertilizer in Europe, it’s important to follow these guidelines:
- Meat, fish, and dairy products (these attract pests and can smell bad)
- Oily or greasy foods
- Diseased plants or weeds that have gone to seed
- Pet waste (dog and cat feces can contain pathogens harmful to humans)
- Treated wood or sawdust from treated wood
- Coal ash or charcoal briquettes
- Synthetic materials
- Anything that is not organic matter
Think of it this way: if it grew from the earth and will eventually break down, it’s a good candidate for compost. If it’s man-made or animal-based (with specific exceptions like coffee grounds), it’s best to leave it out.
Choosing Your Composting Method in Europe
Where you live in Europe, and the space you have, will influence the best composting method for you. Here are some popular options:
1. The Traditional Open Pile
Best For: Gardeners with ample yard space. This is the classic method!
How it works: You simply create a heap of your compostable materials in a corner of your garden. For best results, layer your greens and browns. You can build the pile up to about 3 feet high. Turning the pile regularly (every week or two) will speed up the process. An advantage in many European climates is that it can be left exposed to rain, which helps keep it moist, though you might need to cover it in very wet conditions to prevent it from getting waterlogged.
2. The Compost Bin or Tumbler
Best For: Smaller gardens, urban yards, or for those who prefer a neater look.
How it works: These can be made from wood, plastic, or metal. Many European garden centres sell ready-made bins in various sizes. They help contain the compost, keep pests out, and can make turning easier. Tumblers are rotating bins that make turning a simple task and can speed up composting significantly. Some are designed with compartments for continuous composting.
A common feature of many European garden centers is the sale of affordable, often recycled-plastic, compost bins. These are designed to be durable and efficient for home use.
3. Worm Composting (Vermicomposting)
Best For: Apartment dwellers, small balconies, or anyone with limited outdoor space. This is a fantastic way to recycle kitchen scraps!
How it works: Special composting worms (like Red Wigglers, Eisenia fetida) do the hard work in a contained bin, often indoors or on a shaded balcony. You feed them kitchen scraps, and they produce nutrient-rich worm castings (worm poop), which is a super-powered fertilizer. This method is clean, odorless when done correctly, and perfect for producing high-quality fertilizer for houseplants or small garden plots.
For those in colder European regions, ensure your worm bin is protected from freezing temperatures.
4. Bokashi Composting
Best For: Those who want to compost practically everything, including meat and dairy, or who have very limited space and need a faster pre-composting method.
How it works: This is a fermentation process, not traditional decomposition. You use a special airtight bin and an additive (often bran inoculated with Effective Microorganisms or EM). You layer food scraps with the Bokashi bran. The microbes ferment the waste, pickling it. After a few weeks, the fermented material needs to be buried in soil or added to a traditional compost bin to finish decomposing. It produces a nutrient-rich liquid (“compost tea”) that can be diluted and used as fertilizer. This method is odorless and very effective for breaking down all types of food waste.
Bokashi bins and bran are readily available from eco-friendly retailers across Europe.
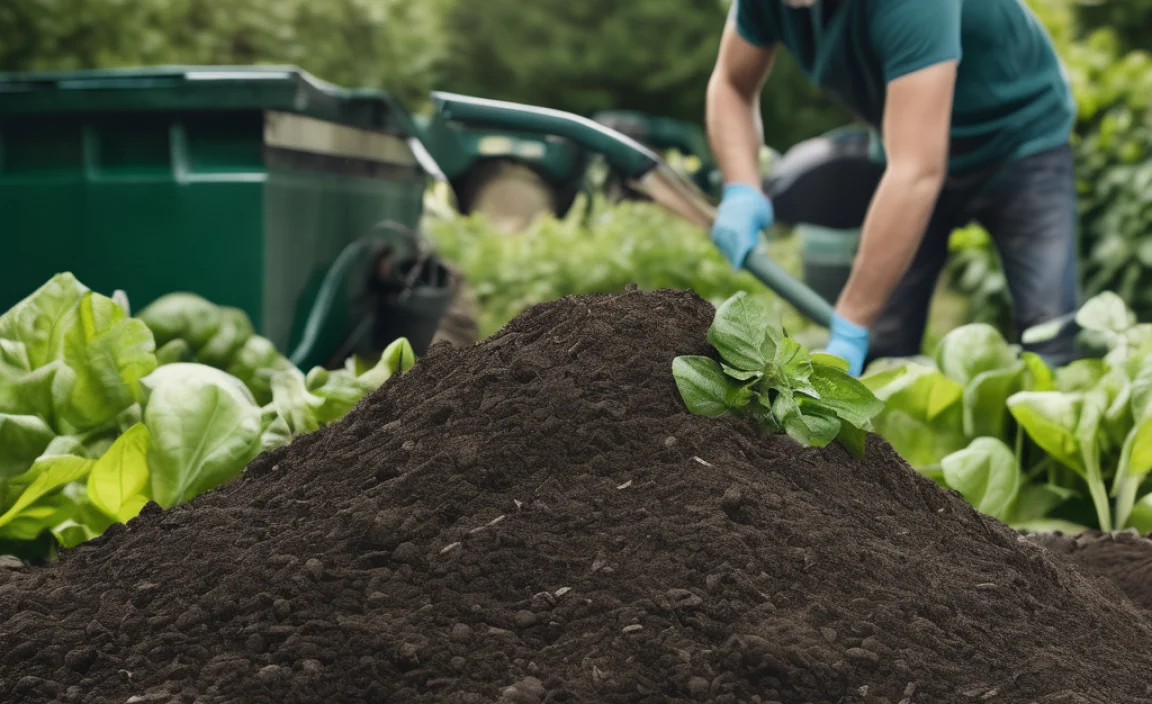
How to Build Your Compost Pile: Step-by-Step

Let’s get down to building that compost fertilizer. We’ll focus on the traditional pile or bin method, as it’s the most common starter approach across Europe.
Step 1: Choose Your Location
Find a convenient spot for your compost pile or bin. Ideally, it should be:
- Level: A flat surface is best.
- Accessible: Easy to reach with your compostable materials and tools.
- Partially Shaded: Direct sun can dry out the pile too quickly, while deep shade can keep it too cool and damp. A spot that gets morning sun and afternoon shade is often ideal in many European climates.
- Well-drained: You don’t want water pooling around the bottom.
Step 2: Start with a Base Layer
Begin by laying down a base of coarse, “brown” materials (like twigs or straw). This helps with aeration and drainage from the bottom. Aim for about 4-6 inches of this material.
Step 3: Add Your Materials in Layers
Now, start layering your “greens” and “browns.” A good ratio to aim for is roughly two parts browns to one part greens. However, don’t get too hung up on precise measurements; nature is messy! The most important thing is to get a good mix.
- Add a layer of greens (e.g., kitchen scraps, grass clippings).
- Cover this with a layer of browns (e.g., dry leaves, shredded cardboard).
- Continue layering, making sure to break up larger materials into smaller pieces. This helps them decompose faster.
Tipping your compost materials from buckets or wheelbarrows straight onto the pile is common in many European gardens. Smaller pieces decompose much quicker, so chopping up things like tough vegetable scraps or cardboard is helpful.
Step 4: Maintain Moisture Levels
Your compost pile should be as damp as a wrung-out sponge. When you grab a handful, it should feel moist, but no water should drip out when you squeeze it.
- Too Dry? Add water. You can use a hose or watering can. If you’re adding dry materials like autumn leaves, you might need to water them as you add them.
- Too Wet? Add more brown materials. This will help absorb excess moisture and improve aeration.
In regions like the UK with frequent rainfall, you might need to cover your heap with a tarp during prolonged wet spells. In drier southern European climates, you may need to water more frequently.
Step 5: Aerate Your Compost (Turning)
The microorganisms that break down your compost need air to survive and work efficiently. Turning the pile mixes everything up, introduces air, and helps the pile heat up, which speeds decomposition and prevents bad smells.
- Frequency: Aim to turn your compost pile every 1-4 weeks. The more often you turn it, the faster it will break down.
- How to Turn: Use a garden fork or a compost aerator tool. Start by moving the outer layers to the center and the inner layers to the outside.
- Tumblers: If you have a compost tumbler, simply rotate it according to the manufacturer’s instructions.
You can find excellent, durable garden forks or specialized compost aerator tools at most hardware stores and larger garden centres across Europe. These tools are designed for efficient turning and last for years.
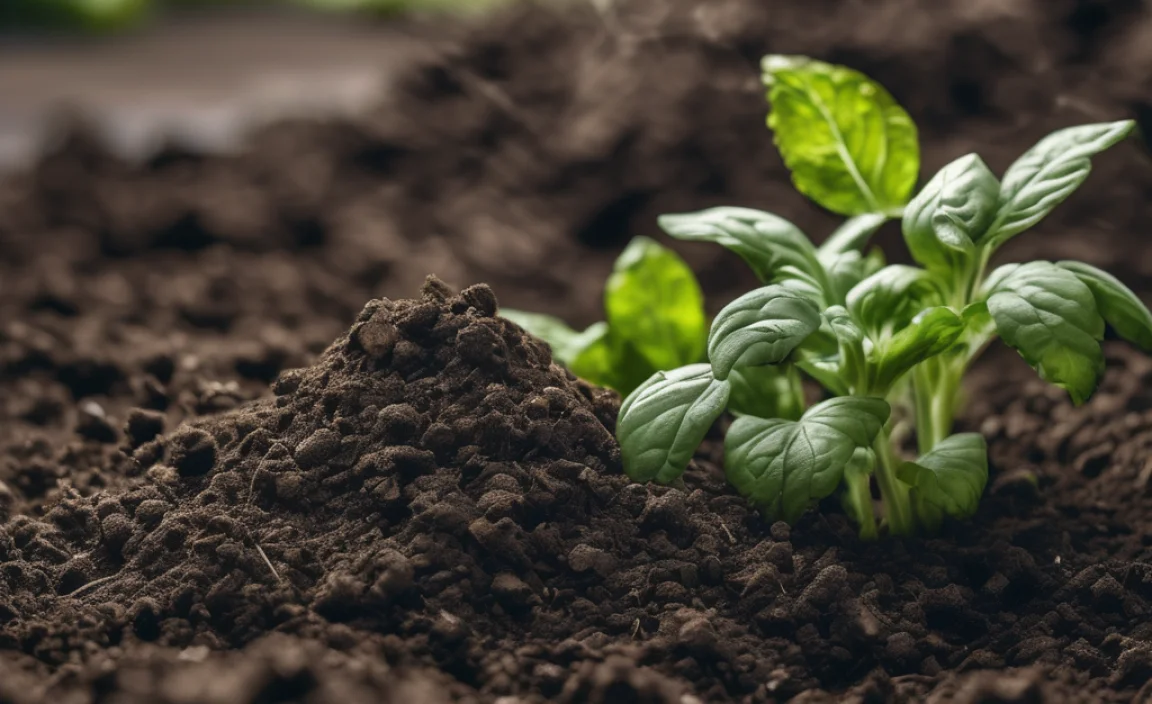
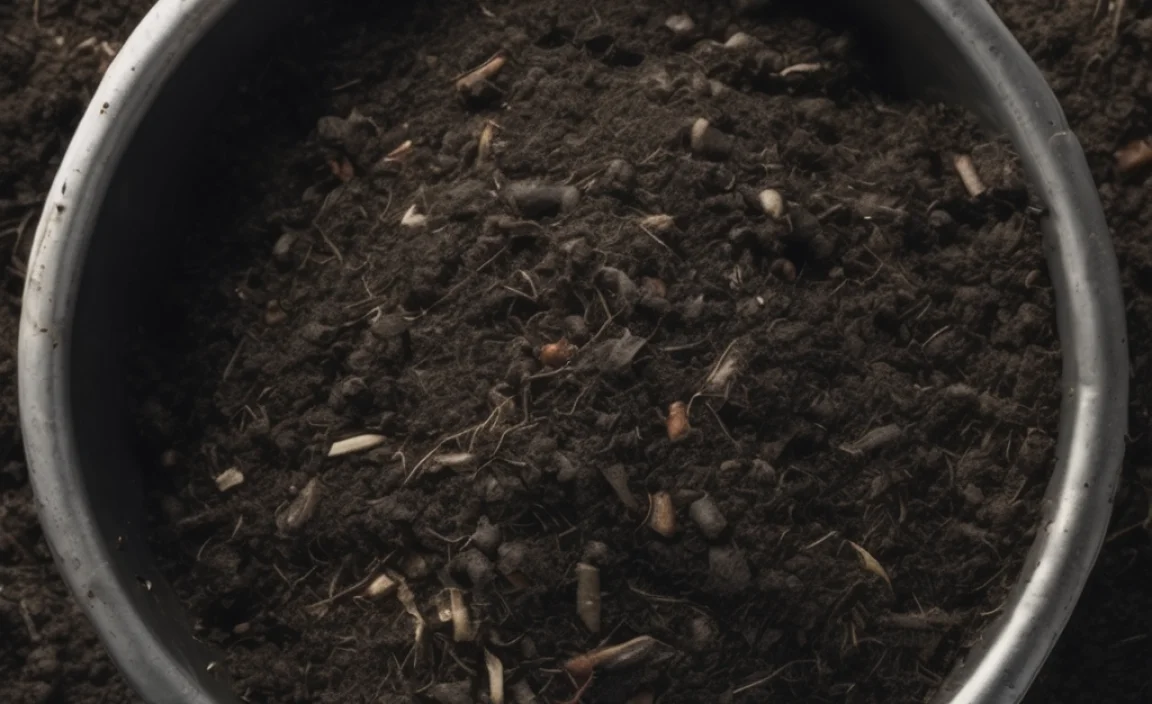
Step 6: Knowing When It’s Ready
Compost is ready when it is dark, crumbly, and has an earthy smell. You shouldn’t be able to recognize the original materials you put in. This process can take anywhere from a couple of months to a year, depending on the materials, how often you turn it, and the temperature.
Signs of finished compost:
- Dark brown or black color
- Crumbly texture
- Earthy, pleasant smell (like a forest floor)
- No recognizable food scraps or yard waste
- Cool temperature – a hot compost pile indicates active decomposition.
Sieving your compost through a garden sieve or a piece of hardware cloth can give you a finer, more uniform fertilizer, removing any larger bits that haven’t fully broken down yet. These remaining bits can go back into your new compost pile.
How to Use Your Homemade Compost Fertilizer
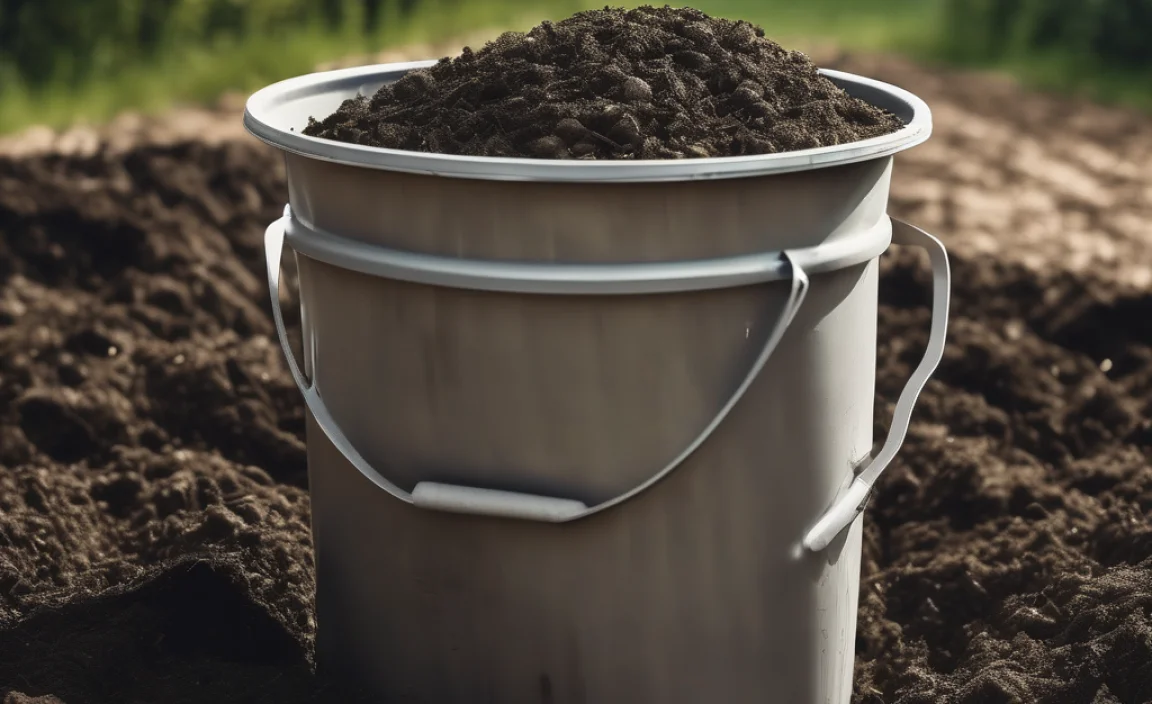
Once you have your rich, finished compost, the fun part begins: using it! It’s incredibly versatile.
For Existing Gardens and Flowerbeds
Top Dressing: Spread a 1-2 inch layer of compost around the base of your existing plants, shrubs, and trees. Gently fork it into the top inch or two of soil, or just leave it as a mulch layer. This feeds the soil and helps retain moisture.
For New Garden Beds and Vegetable Patches
Soil Improvement: Dig compost into the soil before planting. For new beds, a good amount is a 3-4 inch layer worked into the top 6-8 inches of soil. This is a fantastic way to prepare soil for planting vegetables like tomatoes, potatoes, or salad greens common in European vegetable gardens.
Potting Mix: Mix compost with garden soil and perhaps some perlite or sand for excellent potting mix for containers and hanging baskets. A common ratio is 1 part compost, 1 part garden soil, and 1 part perlite or grit.
For Seed Starting
For a finer texture, you can sift your compost. A mix of 50% sieved compost and 50% coir or vermiculite makes a wonderfully nutrient-rich and airy seed-starting medium. This is great for starting those tomato or pepper seeds indoors for the spring season.
Compost Tea
If you have a more advanced setup, you can brew compost tea. This involves steeping finished compost in water (often aerated with a pump) to extract nutrients and beneficial microbes. Diluted compost tea can be used as a foliar spray or a soil drench for an instant boost.
| Use | How to Apply | Benefits |
|---|---|---|
| Existing Plants | Spread 1-2 inches around base, lightly fork in or use as mulch. | Feeds soil, aids moisture retention, suppresses weeds. |
| New Beds/Veg Patches | Dig in 3-4 inches into the top 6-8 inches of soil before planting. | Enriches soil structure, provides sustained nutrient release. |
| Potted Plants | Mix with soil or coir (e.g., 1:1:1 compost:soil:perlite). | Improves drainage, aeration, and provides nutrients for container plants. |
| Seed Starting |

I am passionate about home engineering. I specialize in designing, installing, and maintaining heating, ventilation, and air conditioning systems. My goal is to help people stay comfortable in their homes all year long.