Ever wonder what to do with pet waste? You might be surprised to learn that with a little know-how, you can turn it into valuable fertilizer for your garden. It might sound a little “ick” at first, but many gardeners have been doing this for years, creating rich soil from materials that would otherwise go to waste. Don’t worry, we’ll walk through it step-by-step, making sure it’s safe and effective. Let’s get those pet piles working for your plants!
Compost Fertilizer Pets: Your Essential Beginner’s Guide
Hey there, fellow home improvers and garden enthusiasts! Troy D Harn here from TopChooser, ready to tackle a topic that might have you scratching your head: composting pet waste. I know, I know, the thought of mixing Fido’s or Fluffy’s business into your garden might seem a bit… well, wild. But stick with me! Composting pet fertilizer is totally doable, safe when done right, and an excellent way to reduce waste and supercharge your soil. We’re going to break down exactly how to do it, so you can turn those potential messes into garden magic.
Why even consider composting pet waste? For starters, it’s a fantastic way to divert waste from landfills. Think about it – every day, dog parks, backyards, and litter boxes generate a surprising amount of material. When this ends up in a landfill, it can contribute to methane gas, a potent greenhouse gas. Composting offers a much more eco-friendly alternative. Beyond that, properly composted pet waste is a nutrient-rich power-up for your garden. It breaks down into valuable organic matter that can improve soil structure, aeration, and water retention, all while feeding your plants essential nutrients.
The biggest concern people have is safety. And that’s important! Pet waste can carry pathogens like E. coli and Salmonella. However, the composting process, when done correctly, generates high temperatures that kill these harmful microbes. We’ll cover the best methods to ensure your compost is safe for your garden. For most home gardeners, the key is to avoid using this compost on edible plants or to ensure a very thorough composting process with very high temperatures.
Ready to get started? We’ll cover everything from what materials you need to the simple steps involved. You don’t need fancy equipment or a degree in soil science. Just a willingness to learn and a bit of space for your compost bin. Let’s transform those pet waste products into the best fertilizer your garden has ever seen!
What You Need to Know Before You Start
Before we dive into the “how-to,” let’s get a few foundational things straight. Understanding these basics will set you up for success and ensure you’re composting safely and effectively.
Is it Safe? The Pathogen Question.
This is the number one concern, and rightly so. Pet feces, especially from dogs and cats, can contain various pathogens—things like bacteria (E. coli, Salmonella) and parasites (roundworms, hookworms). These are harmful to humans and other animals. However, the good news is that a properly managed hot compost pile reaches temperatures (typically between 130°F and 160°F or 55°C to 70°C) that are lethal to most of these pathogens. The crucial part is ensuring your compost pile gets hot enough and stays hot long enough. For this reason, many composting experts recommend that compost made with pet waste should not be used on vegetables or edible plants, especially root vegetables that grow in the soil. It’s best reserved for ornamental plants, flowers, or lawns.
What Can and Can’t Be Composted?
Not all pet waste is created equal for composting. Here’s a general breakdown:
- Good Composting Candidates:
- Dog feces
- Cat feces (though often more concentrated and can be trickier due to diet)
- Bedding from small herbivores like rabbits, guinea pigs, hamsters, and gerbils (this is generally easier and safer to compost as their diets are plant-based).
- Avoid Composting:
- Waste from sick pets: If your pet has been ill, their waste can contain specific pathogens that might be harder to eliminate.
- Waste from puppies or kittens: Young animals are more likely to shed parasites.
- Litter box litter: Most clumping cat litters are not suitable for composting as they can contain chemicals and don’t break down well. Non-clumping, natural litters (like paper-based or wood-based) might be used in very small quantities as a carbon source, but it’s generally best to avoid them if possible.
- Dog or cat waste if you have carnivorous pets: Meat-heavy diets can lead to a higher concentration of potentially harmful bacteria.
Choosing the Right Composting Method: Hot vs. Cold
This is where safety really comes into play. For composting pet waste effectively and killing pathogens, a “hot composting” method is highly recommended. Cold composting simply breaks down organic matter very slowly and doesn’t reach temperatures high enough to eliminate harmful microbes.
- Hot Composting: This method involves a careful balance of “greens” (nitrogen-rich materials like pet waste, grass clippings) and “browns” (carbon-rich materials like dry leaves, shredded cardboard). It requires regular turning and monitoring of moisture to generate and maintain high temperatures. This is the preferred method for pet waste.
- Cold Composting: This is more like a passive pile where things break down over a long time. It’s great for yard waste like leaves and grass clippings but is NOT recommended for pet waste due to the risk of pathogens surviving.
Location, Location, Location!
Where you place your pet waste compost bin is important. Choose a spot that is:
- Out of the Way: You don’t want it right next to your patio or entrance.
- Accessible: You’ll need to get to it to add waste and turn the pile.
- Well-Drained: You don’t want it sitting in a puddle.
- Away from Water Sources: Keep it a good distance from wells, streams, and ponds to prevent any potential runoff.
- Away from Children and Other Pets: This is a safety precaution.
Step-by-Step: How to Compost Pet Fertilizer
Ready to roll up your sleeves? Here’s how to build and manage a compost pile specifically for pet waste. Remember, we’re focusing on hot composting for safety.
Step 1: Choose and Set Up Your Composter
For pet waste composting, your best bet is a contained system designed for hot composting. This helps retain heat and moisture, which are crucial for killing pathogens.
- Tumbler Composters: These are sealed drums that you can rotate. They’re great for keeping pests out and are efficient for hot composting. They can be a bit pricier but are very effective.
- Enclosed Bin Composters: Many plastic or wooden bins are available. Look for one with a lid and good ventilation. Some have compartments that allow you to have two or three piles working at different stages.
- DIY Bin: You can build a bin using wooden pallets or wire mesh. The key is to create a structure that holds material together, retains some heat, and allows for turning. Ensure it’s at least 3 feet x 3 feet x 3 feet (1 cubic meter) to generate enough heat.
Pro Tip: If you’re using a purchased bin, read the manufacturer’s instructions carefully. For DIY, ensure the structure is sturdy and allows for air circulation but prevents direct access to the pile by curious pets or children.
Step 2: Gather Your Materials – The “Greens” and “Browns”
This is the core of composting. You need a good balance of nitrogen-rich “greens” and carbon-rich “browns.” Pet waste is a strong “green.”
- Greens (Nitrogen):
- Fresh pet waste (dog, cat, small herbivores)
- Grass clippings (use sparingly if treated with pesticides)
- Vegetable scraps and fruit peels
- Coffee grounds and tea leaves
- Browns (Carbon):
- Dry leaves
- Shredded newspaper (avoid glossy inserts)
- Shredded cardboard (uncoated)
- Straw or hay
- Wood chips or sawdust (use sparingly)
Ideal Ratio: Aim for a mix of about 1 part greens to 2 or 3 parts browns by volume. This ratio isn’t exact science; you’ll learn to adjust as you go. Too much green and it gets slimy and smelly. Too much brown and it breaks down too slowly.
Step 3: Start Layering Your Pile
Begin by adding a layer of “browns” at the bottom of your composter. This helps with drainage and aeration.
- Base Layer: Start with a 4-6 inch layer of coarse brown material like straw or wood chips.
- Add Greens: Next, add a layer of pet waste. Try to bury it within the pile rather than just piling it on top.
- Cover with Browns: Immediately cover the pet waste with a generous layer of brown material (leaves, shredded paper). This is CRUCIAL for odor control and to keep pests away. The thicker the brown layer, the better.
- Alternate Layers: Continue alternating layers of greens and browns. Always finish with a thick layer of browns on top.
- Moisture: As you build your layers, lightly water them. The compost should feel like a wrung-out sponge – damp but not soggy.
Quick Tips for Layering:
- Don’t add too much pet waste at once: Mix it into smaller batches within the brown material before adding it to the main pile.
- Shred materials: Smaller pieces break down faster. Shred leaves, cardboard, and paper.
- Avoid adding diseased plants, large woody materials, or anything you wouldn’t want in your finished compost.
Step 4: Manage Your Pile – Turning and Temperature
This is where the “hot” in hot composting comes in. Regular turning and monitoring are key to ensuring pathogens are killed.
- Turning Frequency: Aim to turn your compost pile every 1-2 weeks. Use a pitchfork or compost turning tool to mix the materials thoroughly. This introduces oxygen, which is essential for the aerobic microbes that generate heat and break down waste efficiently.
- Monitoring Temperature: A compost thermometer is a very useful tool for pet waste composting. You want the internal temperature of the pile to reach at least 130°F (55°C) and stay there for several days. If it’s not heating up, it might be too dry, lack nitrogen (greens), or not have enough material. If it’s too hot (over 160°F/70°C), it can kill beneficial microbes, so turn it.
- What If it Doesn’t Get Hot? If your pile is consistently cold, you may need to add more green materials, ensure it’s moist enough, or turn it more often. If it remains cold after diligent effort, it’s safer to discard the contents or start over with a better-balanced mix using a dedicated pet waste composting system.
- Odor Control: If your pile smells like ammonia, it’s too rich in nitrogen (too many greens). Add more brown materials and turn it. If it smells rotten or sulfuric, it’s likely too wet and not getting enough air. Add browns and turn it well.
For more detailed information on composting science and best practices, the U.S. Environmental Protection Agency (EPA) offers excellent resources on home composting.
Step 5: Knowing When Your Compost is Ready
Matured compost is dark, crumbly, and smells earthy—like a forest floor. You shouldn’t be able to identify the original materials.
- Timeframe: A well-managed hot compost pile for pet waste can be ready in 3-6 months, sometimes longer. Cold composting piles can take much longer, perhaps a year or more.
- Visual Cues: The material will look uniform, dark brown.
- Smell Test: It should have a pleasant, earthy aroma. If it smells bad, it’s not ready or something went wrong.
- Texture: It should be loose and crumbly, not slimy or matted.
Important Safety Note: While hot composting aims to kill pathogens, if you have any doubts about the temperature your pile reached or maintained, it is safest to use this compost ONLY on non-edible ornamental plants, trees, shrubs, or your lawn. Do NOT use it on vegetable gardens, especially root vegetables. Some people prefer to mature the compost for an additional 6-12 months after it appears ready, which further reduces any remaining pathogen risk.
Dedicated Pet Waste Composting Systems
For those who want a highly targeted and contained solution, there are composting systems specifically designed for pet waste. These often function like sealed digesters or specialized bins.
- How They Work: These systems usually involve dropping pet waste directly into a sealed chamber. They often rely on high temperatures and specific microbial activators to break down the waste quickly and safely. Some systems require burying the waste underground in your yard, while others are above-ground bins.
- Benefits:
- Designed for efficient pathogen kill
- Often more contained and odor-controlled
- Simpler to manage for dedicated pet waste
- Considerations:
- Can be more expensive than DIY or general compost bins.
- May have limitations on capacity or type of waste.
- Still requires proper management and understanding of the process.
Examples of such systems can be found from manufacturers like “Solv,” “Wigloo,” or “Dibest.” Researching reviews and specific product details is recommended for those interested in this approach. Remember to always follow the manufacturer’s specific operating instructions for any dedicated system.
What to Do with Your Finished Compost
So, you’ve got a batch of lovely, dark, crumbly compost. Now what?
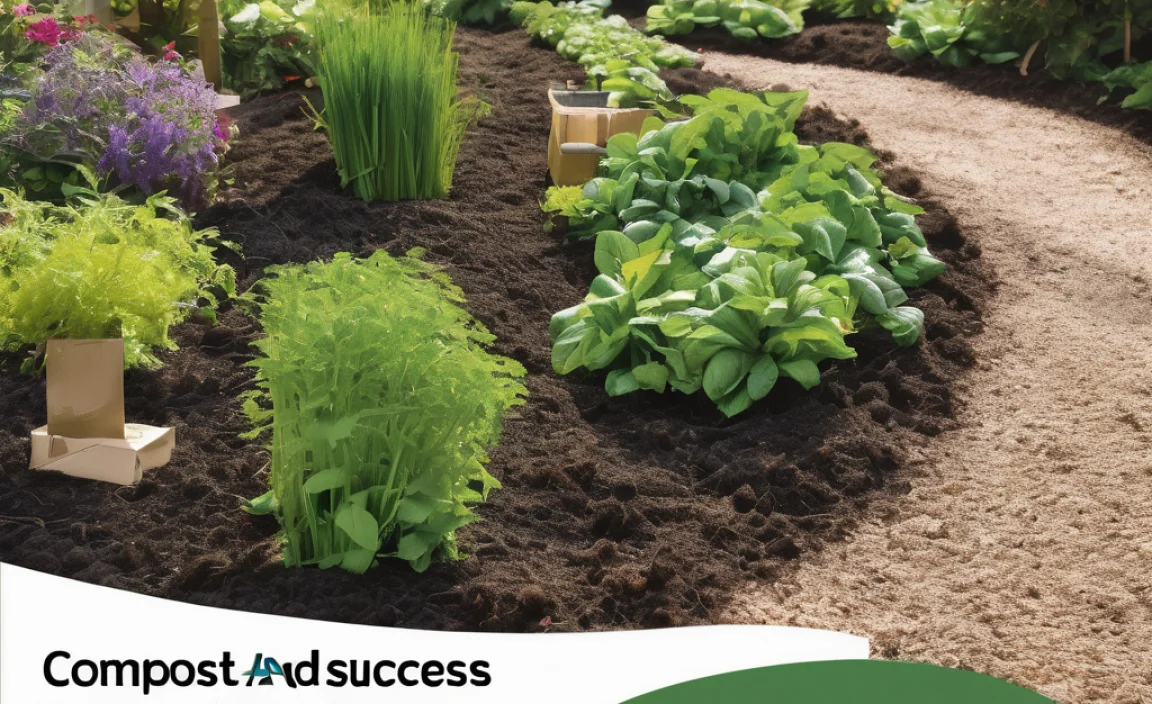
- For Ornamentals: Mix it into the soil around your flowers, shrubs, and trees. It’s like a nutrient boost that will help them thrive.
- For Lawns: You can rake a thin layer of compost over your lawn, especially in the spring or fall. It helps improve soil structure and adds nutrients.
- Potting Mix: Blend it with other organic materials like peat moss, coir, and perlite to create your own potent potting mix for containers.
- Avoid Edibles (Safest Practice): As mentioned earlier, to be absolutely safe, avoid using compost from pet waste directly on vegetables or fruits that you plan to eat, especially root crops. If you choose to use it on edibles, ensure a very long composting period and that the pile consistently reached very high temperatures.
Think of it as a gift to your garden – pure, recycled goodness that nourishes your plants and makes your yard a little greener.
Pros and Cons of Composting Pet Fertilizer
Like any project, there are upsides and downsides. Let’s look at them.
| Pros | Cons |
|---|---|
| Reduces Landfill Waste: Diverts significant amounts of organic matter from landfills. | Pathogen Risk: If not managed properly, can harbor harmful bacteria and parasites. |
| Creates Nutrient-Rich Fertilizer: Produces valuable organic material for soil amendment. | Requires Management: Needs careful balancing of materials, moisture, and turning for hot composting. |
| Eco-Friendly: Supports sustainability by recycling waste. | Odor Potential: Can be an issue if not covered properly with brown materials or if the pile becomes anaerobic. |
| Cost Savings: Reduces the need to buy commercial soil amendments and fertilizers. | Space Required: Requires a dedicated space for a compost bin. |
| Improves Soil Health: Enhances soil structure, aeration, and water retention. | Not for All Plants: Safest to avoid on vegetables and edible crops. |
| Can Use Specific Systems: Dedicated pet waste composters offer a streamlined approach. | Requires Diligence: Consistent effort is needed to maintain optimal composting conditions. |
As you can see, the benefits are substantial, but they come with the responsibility of proper management. The key

I am passionate about home engineering. I specialize in designing, installing, and maintaining heating, ventilation, and air conditioning systems. My goal is to help people stay comfortable in their homes all year long.


