Hey there! Ever looked at your kitchen scraps and garden waste and thought, “There’s got to be a better way than tossing this?” You’re not alone! Many of us in the Philippines want to keep our gardens lush and our fruit trees heavy with produce, but buying expensive fertilizer can add up. Plus, who wants all that organic stuff just going to waste in a landfill? It’s a common frustration, but I’ve got good news! We can turn that “waste” into black gold for your plants. This guide will walk you through making your own compost fertilizer right here in the Philippines, step-by-step. Get ready to boost your garden’s health the natural, budget-friendly way!
Unlock Your Garden’s Potential with Compost Fertilizer in the Philippines!

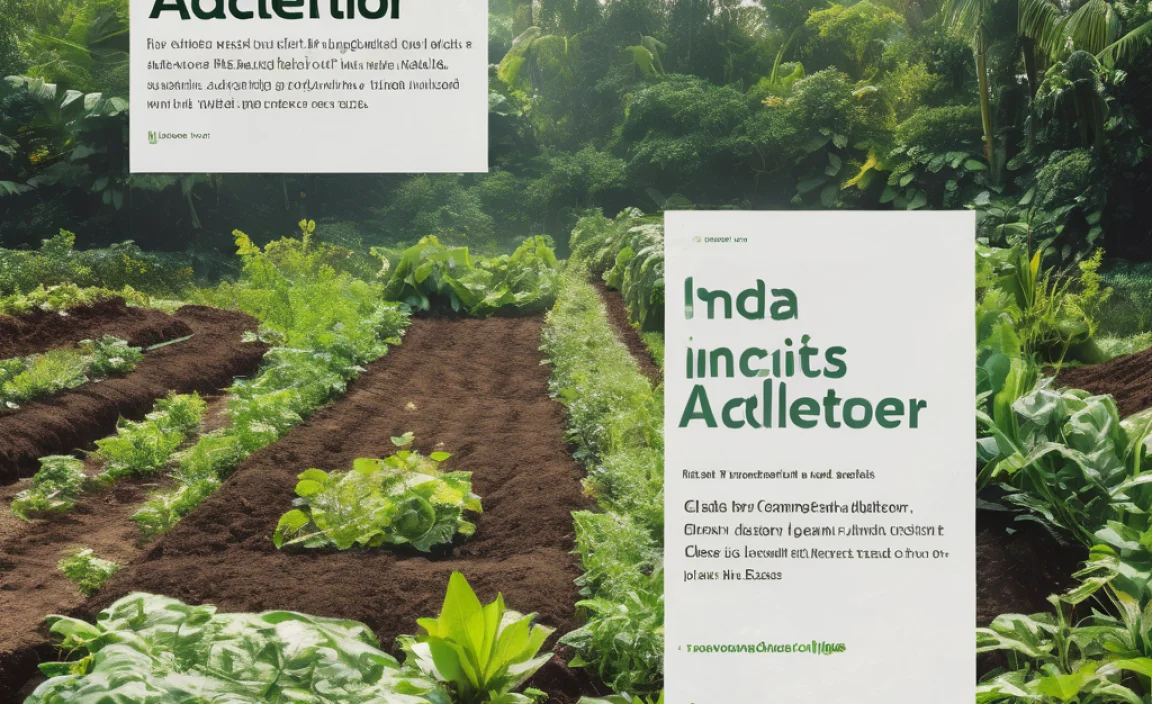
Gardening is a joy, especially here in the Philippines where our climate offers such a fantastic growing season. But to get those vibrant flowers, juicy vegetables, and bountiful fruit, our soil needs good nutrition. That’s where compost fertilizer comes in. It’s like a superfood for your plants, packed with nutrients they’ll gobble up. It also improves soil structure, helping it hold water better – something super useful, especially when the dry season hits and even when trying to conserve water during the rainy season.
Many folks think composting is complicated or stinky, or maybe just not “for them.” But I’m here to tell you it’s surprisingly simple and incredibly rewarding. You’ll be amazed at how easy it is to transform everyday kitchen and yard waste into a rich, dark, soil-enhancing material. Think of it as nature’s recycling program, and you’re the super recycler!
This guide is all about making compost fertilizer in the Philippines. We’ll cover everything from what you can compost to the simple steps to get started, no matter how much space you have. Let’s get your garden thriving the organic way!
Why Go the Compost Route in the Philippines?
Before we dive into the “how-to,” let’s quickly chat about why composting is such a smart move, especially for us here in the beautiful Philippine archipelago.
- Boosts Soil Health Naturally: Compost is packed with organic matter and beneficial microorganisms. It enriches your soil, providing essential nutrients that plants need to grow strong and healthy, leading to better harvests and more vibrant blooms.
- Reduces Waste: Think about all those vegetable peels, coffee grounds, and yard trimmings. Instead of them ending up in landfills, where they can produce harmful methane gas, composting turns them into something valuable. It’s a win for your garden and a win for the environment. You can check out Department of Environment and Natural Resources (DENR) tips on waste segregation which often includes composting.
- Saves Money: Buying fertilizers and soil conditioners can be expensive. Making your own compost is essentially free. Once you have your system set up, your fertilizer costs will drop to zero!
- Improves Water Retention: Compost acts like a sponge in your soil. It helps sandy soils retain moisture and improves drainage in clay soils. This means you’ll need to water less often, which is great for saving water and for your plants during dry spells.
- Adapts to Local Conditions: Whether you’re in a humid Luzon province, a bustling city like Manila, or a tropical island in the Visayas or Mindanao, composting methods can be adapted to fit your climate and space.
What Can You Compost? Your Kitchen and Yard’s Green Gold!
Composting is all about balancing “greens” and “browns.” Don’t worry, it’s not as complicated as it sounds. Think of greens as nitrogen-rich materials and browns as carbon-rich materials. This balance keeps your compost pile happy and breaking down nicely.
“Greens” (Nitrogen-Rich Materials)
These items are usually moist and break down quickly. They provide the nitrogen that microbes need to multiply and heat up the pile.
- Fruit and vegetable scraps (peels, cores, rotten bits)
- Coffee grounds and tea bags (remove staples/plastic tags if possible)
- Grass clippings (use in thin layers to avoid matting)
- Plant trimmings (from houseplants and garden)
- Eggshells (crushed)
- Manure from herbivores (like chickens, rabbits, cows – avoid pet waste)
“Browns” (Carbon-Rich Materials)
These items are usually dry and add bulk, providing carbon and allowing air to circulate through the pile.
- Dry leaves
- Cardboard (torn into small pieces, avoid glossy or heavily printed sections)
- Paper (newspaper, paper towels – avoid glossy magazine pages)
- Twigs and small branches (chopped or shredded)
- Straw or hay
- Sawdust (from untreated wood)
- Coconut coir (husks, fiber – very common in the Philippines!)
What NOT to Compost
To avoid attracting pests, creating unpleasant odors, or spreading diseases, keep these out of your compost pile:
- Meat, fish, and dairy products (can attract rodents and create smells)
- Oily or greasy foods
- Diseased plants or weeds that have gone to seed (you don’t want to spread them)
- Pet waste (dog or cat feces can contain pathogens)
- Treated wood products
- Synthetic materials or plastics
- Walnut leaves (can inhibit plant growth)
Getting Started: Your Compost Bin Options in the Philippines
Alright, let’s talk about where to put all this stuff! You don’t need fancy equipment. Depending on your space and how much waste you generate, there are a few great options.
Option 1: The Simple Pile (The “No Bin” Method)
This is the easiest way for those with a bit more yard space. Just find a quiet corner of your garden, away from your main living areas, and start layering your materials directly onto the ground. It’s free, simple, and works surprisingly well.
Option 2: DIY Compost Bin
You can easily build a compost bin using materials readily available in the Philippines.
- Pallet Bin: Grab a few old wooden pallets (often free from local markets or construction sites), stand them up to form three or four sides of a box, and secure them together. You can leave one side open for easy turning or add a simple door.
- Wire Mesh Bin: Use chicken wire or other sturdy wire mesh to form a cylinder. Secure the ends together. This allows for great airflow.
- Plastic Container Bin: An old plastic drum or a large storage bin can be repurposed. Just make sure to drill plenty of holes all over it for aeration and drainage.
Option 3: Purchased Compost Bins
If you prefer a ready-made solution, you can find various compost bins for sale. Look for ones designed for tropical climates that offer good ventilation. Some popular types include:
- Tumblers: These are rotating bins that make turning the compost easy, speeding up the process.
- Stationary Bins: These are sturdy, often plastic bins that sit in one place. Many have doors at the bottom for easy harvesting of finished compost.
For those in urban areas in the Philippines with limited space, a smaller bin, or even an indoor worm composting system (vermicomposting), might be a better fit. We’ll touch on that briefly later.
The Magical Mix: How to Layer Your Compost
Now for the fun part – building your compost! The key is balance. A good rule of thumb is to aim for roughly two parts “browns” to one part “greens” by volume. This ratio helps keep the pile from getting too wet or too dry and smelly.
Step-by-Step Composting Process
Step 1: Choose Your Spot
Select a convenient, well-drained spot for your bin or pile. Partial shade is ideal to prevent it from drying out too quickly in the intense Philippine sun, but it can also be in full sun. Ensure easy access with a wheelbarrow or shovel.
Step 2: Start with a Base Layer
Begin with a layer of coarse brown materials like small twigs or straw at the bottom. This helps with drainage and aeration.
Step 3: Add Your Materials
Start layering your greens and browns.
As you collect kitchen scraps (greens), add them.
Then, cover them with a layer of dry leaves or shredded cardboard (browns).
Alternate layers like building a cake!
Try to chop or shred larger items before adding them; they’ll break down faster.
Step 4: Moisture Check
Your compost pile should be as damp as a wrung-out sponge. If it’s too dry, it will break down slowly. If it’s too wet, it can become smelly and anaerobic (lacking oxygen).
If it’s dry, add some water.
If it’s too wet, add more brown materials.
Step 5: Aerate (Turn Your Pile!)
This is crucial for speeding things up and preventing odors. Oxygen is needed by the microbes that break down the organic matter.
Aim to turn your compost pile every week or two.
You can use a pitchfork, shovel, or a special compost aerating tool.
For tumblers, just give them a spin!
Turning involves mixing the outer layers into the center and vice versa.
Step 6: Patience is a Virtue
Composting takes time. Depending on the materials you use, the size of your pile, how often you turn it, and the weather conditions (warmer weather speeds things up), it can take anywhere from 2 months to a year to produce finished compost.
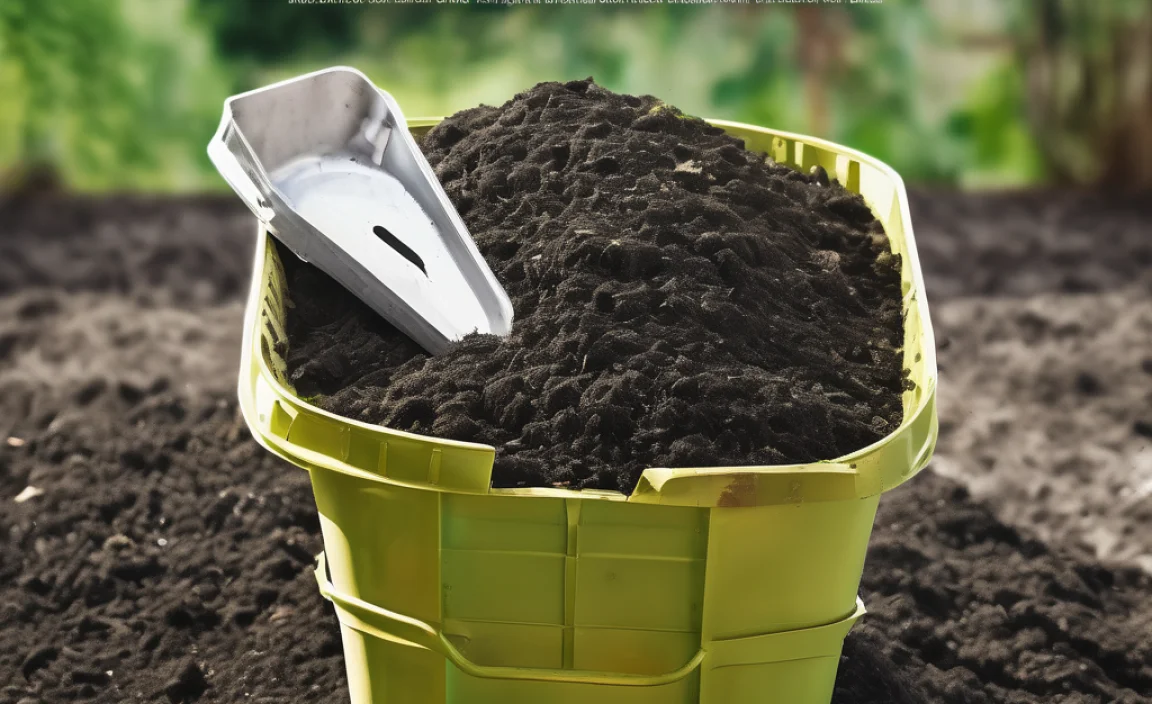
You’ll know your compost is ready when it’s dark, crumbly, and smells earthy, like fresh soil. You shouldn’t be able to recognize the original materials anymore.
Troubleshooting Your Compost Pile
Even with the best intentions, sometimes compost piles can be a bit quirky. Here are a few common issues and how to fix them:
| Problem | Possible Cause | Solution |
|---|---|---|
| Bad Odor (Rotten Egg Smell/Ammonia) | Too wet, not enough air, or too many greens. | Add more brown materials (leaves, cardboard, sawdust). Turn the pile to aerate. If it’s very wet, let it sit open to dry slightly before covering. |
| Pile is not heating up / Decomposing slowly | Too dry, not enough greens (nitrogen), or pile is too small. | Add water until it’s damp. Add more green materials (kitchen scraps, grass clippings). Turn the pile to distribute existing heat and moisture. Make sure your pile is at least 3×3 feet for good heat generation. |
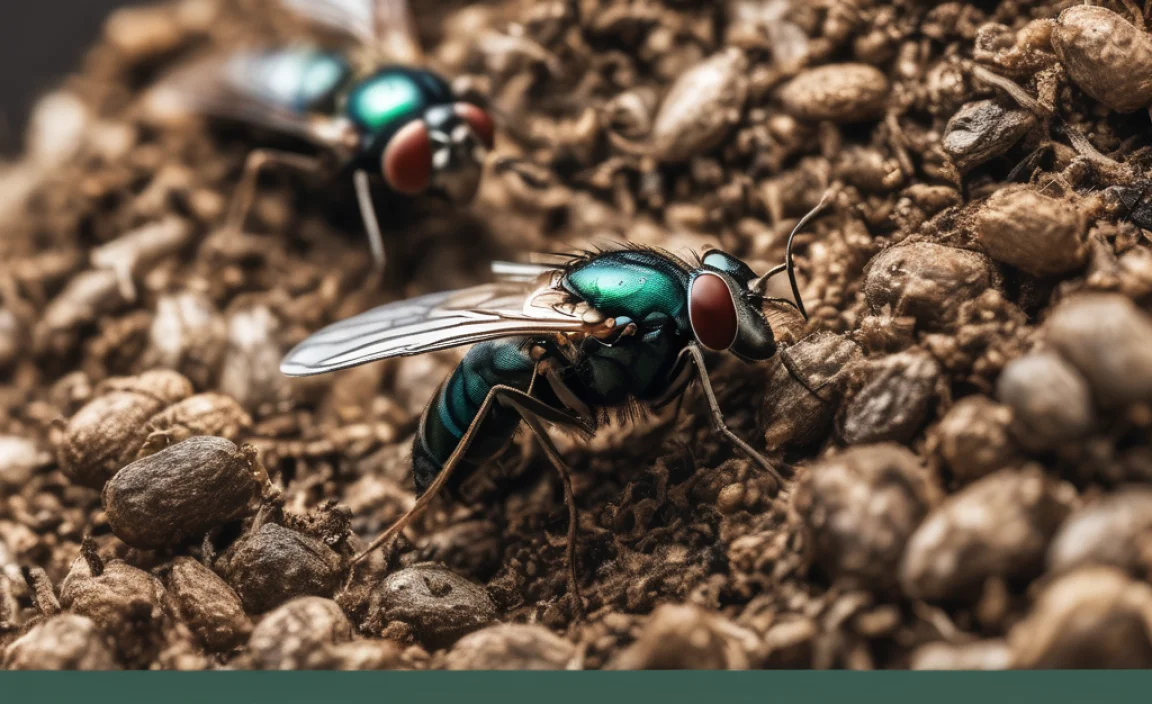
| Attracting Pests (Flies, Rodents) | Exposed food scraps, meat/dairy/oils added. | Always bury fresh kitchen scraps under a layer of brown materials. Ensure you are not adding prohibited items like meat, dairy, or fatty foods. Secure your bin if pests are a persistent problem. |
| Pile is too wet and slimy | Too many greens, poor drainage, or too much rain. | Add plenty of dry, brown materials. Ensure your bin has good drainage holes. If it’s in a very rainy spot, consider covering it temporarily during heavy downpours. Turn to mix dry with wet. |
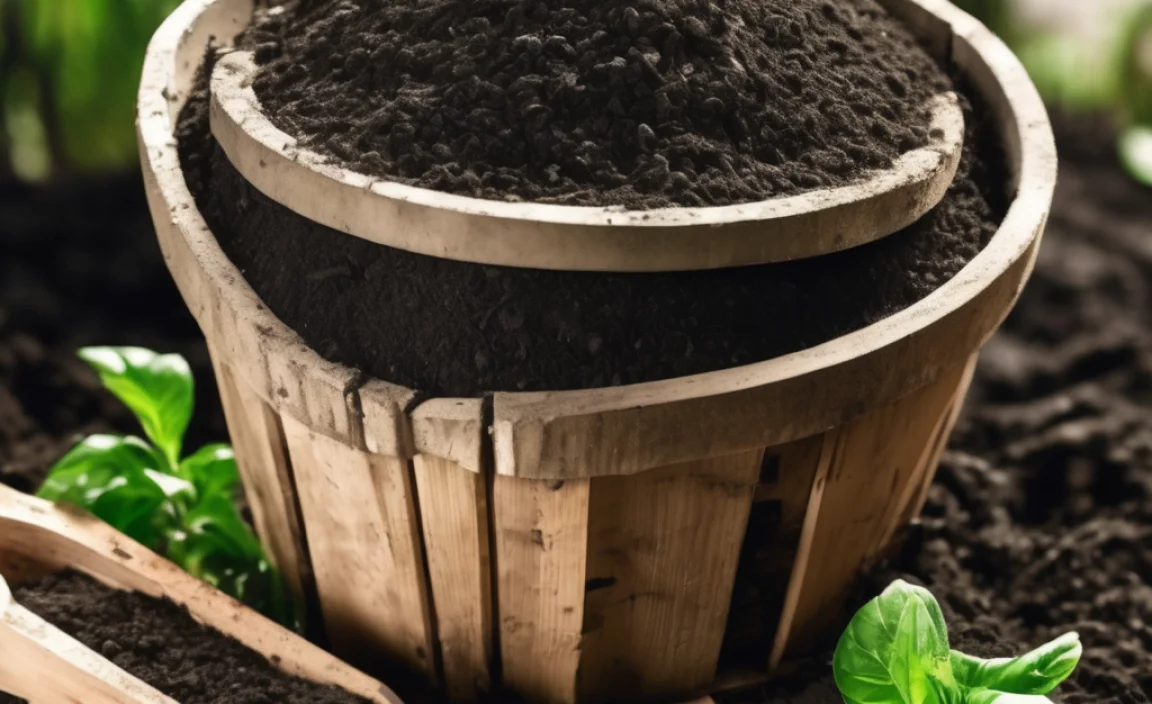
Using Your Finished Compost Fertilizer
Your homemade compost is ready to work its magic! Here’s how to use it:
When to Use It
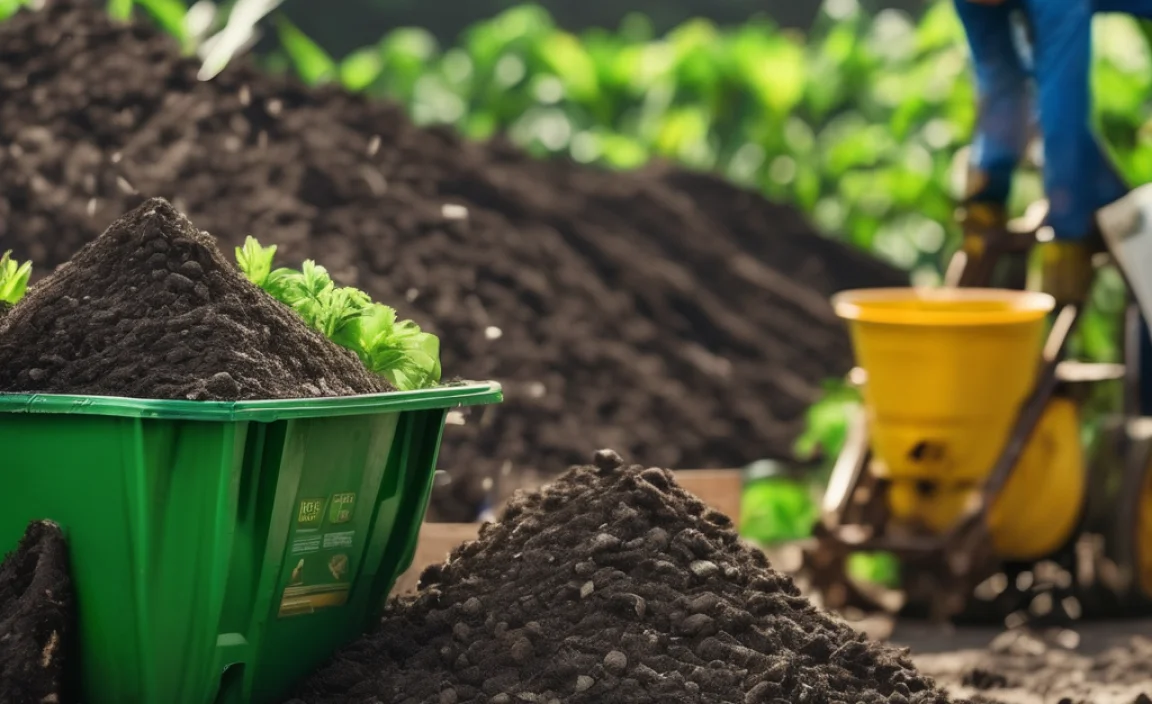
- Soil Amendment: Mix 2-4 inches of compost into your garden beds before planting. This is great for preparation before planting your favorite vegetables or flowers.
- Mulch Top-Dressing: Spread a 1-2 inch layer of compost around existing plants. This feeds them slowly, conserves moisture, and suppresses weeds.
- Potted Plants: Mix compost with your potting soil (about 1/3 compost to 2/3 soil) for a nutrient boost in your containers.
- Starting Seeds: A mix of compost and seed-starting mix provides a gentle, nutrient-rich start for young seedlings.
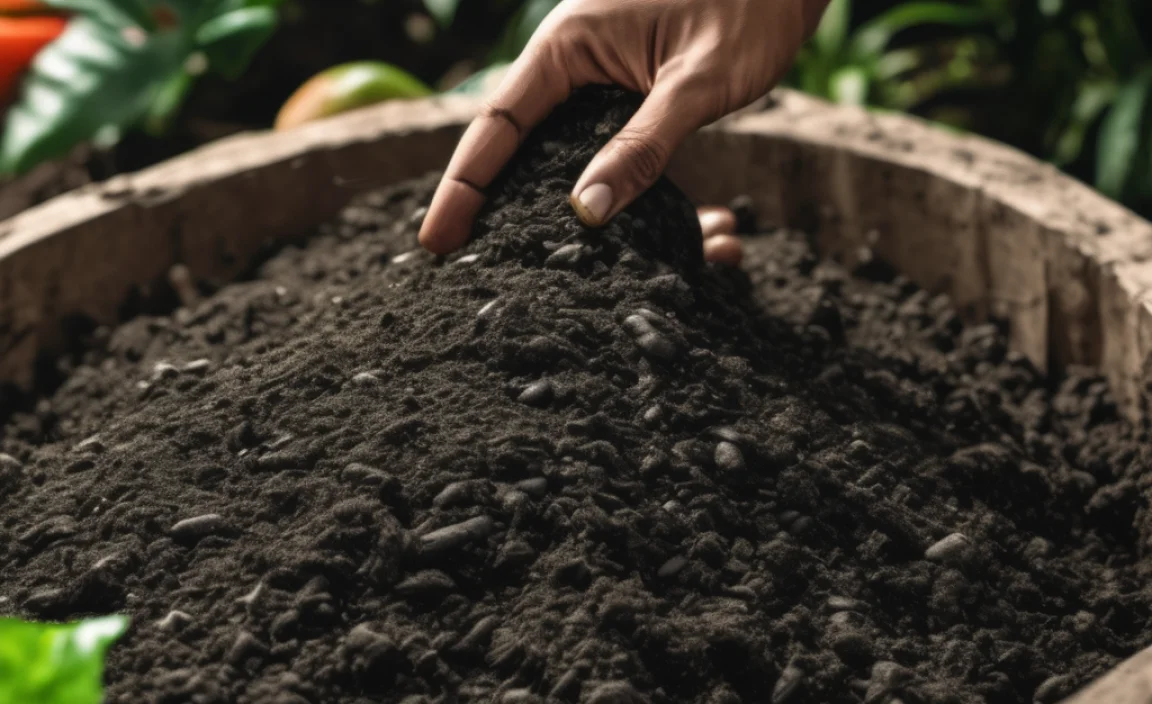
How to Harvest
If you have a pile, the compost at the bottom is usually the most finished. You can shovel it off, leaving the less decomposed material on top to continue breaking down. If you have a bin with a door, just open it up and scoop out the dark, crumbly material. You can always sift it through a screen (a piece of hardware cloth stapled to a wooden frame) to get a finer texture if desired, returning any larger bits to the active compost pile.
Composting Adapting to the Philippine Weather and Environment
The Philippines’ tropical climate presents unique opportunities and challenges for composting. High humidity and temperatures are actually great for composting – they speed up the decomposition process! However, you might encounter issues with excess moisture during the rainy season or extreme dryness during the hot months.
Rainy Season: To prevent your pile from becoming waterlogged, ensure good drainage. Consider choosing a slightly elevated spot or building up the base with coarse materials. If your bin is uncovered, you might need to cover it partially during heavy rains. Also, make sure to turn the pile more frequently to allow trapped water to escape and mix drier materials into the wet spots.
Hot & Dry Season: The intense sun can dry out your compost pile quickly. Keep it consistently moist – like a wrung-out sponge. You might need to water it more often. Adding more greens, which are moister, can also help retain humidity. Partial shade is beneficial during these months.
Urban Composting: For those in cities like Metro Manila, Cebu, or Davao with limited space, consider:
- Smaller Bins: Opt for smaller, enclosed bins or even a 3-bin system if you have a small backyard.
- Vermicomposting (Worm Composting): This method uses specific types of worms (like red wigglers) to break down kitchen scraps in a contained bin. It’s efficient, produces nutrient-rich worm castings, and is ideal for apartments or balconies. You can find many resources online about setting up a worm farm in the Philippines.
- Community Composting: Check if your local community or barangay has organized composting initiatives.
For more general composting advice that can be adapted globally, resources like the Penn State Extension’s Composting Guide offer excellent foundational knowledge.
Quick Summary: Your Composting Checklist
Here’s a quick rundown to keep you on track:
- Choose a Bin/Spot: Pile, DIY, or purchased bin. Ensure good drainage and airflow.
- Balance Greens & Browns: Aim for about 2 parts browns to 1 part greens.
- Keep it Moist: Damp like a wrung-out sponge.
- Aerate Regularly: Turn your pile every 1-2 weeks.
- Be Patient: It takes time!
- Harvest & Use: When it’s dark, crumbly, and smells good.
Frequently Asked Questions (FAQ)
Q1: How long does it take for compost to be ready?
A1: It can take anywhere from 2 months to a year. Factors like pile size, frequency of turning, materials used, and weather all play a role. A well-managed, actively turned hot pile can be ready in as little as 2-3 months.
Q2: My compost smells bad. What did I do wrong?
A2: A bad smell usually means your compost is too wet or doesn’t have enough air, or you have too many “greens.” Try adding more “browns” (like dry leaves or shredded cardboard) and turning the pile to aerate it.
Q3: Can I compost everything from my kitchen?
A3: Most fruit and vegetable scraps, coffee grounds, and eggshells are great for composting. However, avoid meat, fish, dairy products, and oily foods, as these can attract pests and create foul odors.
Related Posts

I am passionate about home engineering. I specialize in designing, installing, and maintaining heating, ventilation, and air conditioning systems. My goal is to help people stay comfortable in their homes all year long.