Hey there, fellow gardeners! Ever look at your compost pile and wonder if it’s actually doing your plants any good? You’re not alone! Getting the right mix of “greens” and “browns” – that’s the secret to killer compost fertilizer. But what’s the magic ratio? It can feel a bit like a guessing game, leaving you unsure if you’re making gold or just… well, mush. Don’t stress! We’re going to break down the compost fertilizer ratio in a super simple way. You’ll learn exactly what goes into a balanced pile that feeds your garden like royalty. Let’s get your compost cooking!
The “Why” Behind the Compost Fertilizer Ratio: It’s All About Balance
So, why do we even talk about a “compost fertilizer ratio”? Think of it like baking a cake. If you add too much flour, it’s dry and crumbly. Too much sugar, and it’s sickly sweet. Compost is similar. It needs a good balance of two main ingredients for healthy decomposition and nutrient-rich fertilizer.
These two key players are:
- Greens (Nitrogen-rich): These are the fresh, wet materials. They provide the nitrogen that microorganisms need to multiply and break down the materials.
- Browns (Carbon-rich): These are the dry, woody materials. They offer the carbon, which provides energy for those same microorganisms and helps keep the pile from getting too wet and smelly.
When you get this balance right, your compost pile becomes a tiny, bustling ecosystem. Microorganisms – like bacteria and fungi – have a feast. They break down the organic matter, transforming it into that dark, crumbly, nutrient-packed goodness we call compost. If the ratio is off, things can slow down, get stinky, or just not break down properly.
Understanding Your Compost Ingredients: Greens vs. Browns
Before we dive into ratios, let’s get to know our ingredients. This is the fun part, like sorting your recycling!
What are “Greens”? (Nitrogen)
Think “green” like fresh, vibrant, and a bit moist. These materials decompose quickly and provide essential nitrogen. Without enough greens, your compost breaks down very slowly.
Examples of Greens:
- Fruit and vegetable scraps (peels, cores, rinds)
- Coffee grounds and tea bags
- Grass clippings (in thin layers to avoid matting)
- Plant trimmings (from flowers and non-woody garden plants)
- Manure from herbivores (like chickens, rabbits, cows, horses – avoid pet waste from
carnivores) - Fresh leaves
- Seaweed
What are “Browns”? (Carbon)
Think “brown” like dry, woody, and earthy. These materials break down more slowly and provide the carbon, helping to aerate the pile and balance out the moisture from the greens. Too many browns, and your compost might take longer to break down. Too few browns and your pile can become a slimy, smelly mess.
Examples of Browns:
- Dried leaves
- Straw and hay
- Wood chips and sawdust (use sparingly, as they break down slowly)
- Shredded newspaper and cardboard (avoid glossy paper or heavily inked materials)
- Twigs and small branches
- Pine needles
- Eggshells (technically good for calcium, but they are dry and bulky like browns)
A handy way to remember is that greens are often wet and nitrogen-rich, while browns are dry and carbon-rich.
The Magic Ratio: It’s Not Exactly 1:1
Here’s where the “ratio” comes in. Many composting guides talk about a carbon-to-nitrogen (C:N) ratio. For ideal composting, you’re aiming for a C:N ratio of roughly 25:1 to 30:1. This means for every 25 to 30 parts of carbon, you have 1 part of nitrogen. Wow, that sounds complicated, right? Don’t worry, we don’t need to get out a calculator for every banana peel you toss in!
In practical terms, this C:N ratio translates to a volume ratio of about 2 to 3 parts Browns to 1 part Greens. It’s more about balancing the bulk of materials. So, for every bucket of kitchen scraps (greens), you’ll want two or three buckets of dried leaves or shredded cardboard (browns).
Think about it this way:
- Too many Greens: The pile can become too wet, dense, and anaerobic (lacking oxygen), leading to foul odors like ammonia or rotten eggs.
- Too many Browns: The pile will likely be too dry and lack the nitrogen microbes need to thrive, causing decomposition to slow to a crawl.
This 2-3:1 volume ratio is a fantastic starting point and usually works wonders for home composters.
Putting the Ratio into Practice: Easy Steps to a Balanced Pile
Now let’s get practical! Building a balanced compost pile is easier than you think. Here’s a simple, step-by-step approach:
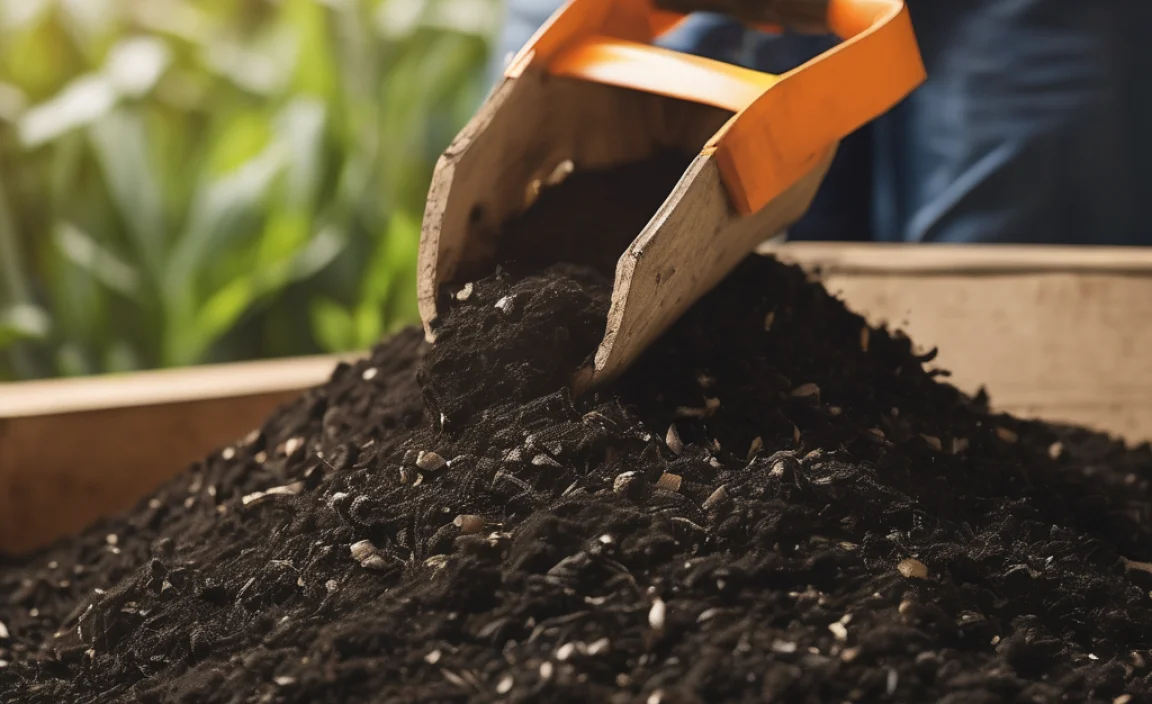
Step 1: Choose Your Compost Bin (or Pile)
You can use a designated compost bin (tumbler, stationary bin) or simply create a pile in a corner of your yard. For beginners, a bin can help contain materials and keep things tidy.
Step 2: Start with a Base Layer of Browns
Begin your compost pile with a 4-6 inch layer of coarse brown materials like twigs, straw, or wood chips. This helps with drainage and aeration from the start, preventing the bottom from getting too soggy.
Step 3: Layer Your Greens and Browns
This is where the ratio comes into play. Think of adding materials in layers:
Layer 1 (Greens): Add a layer of your kitchen scraps, grass clippings, or other nitrogen-rich materials. Keep this layer relatively thin, about 2-4 inches deep.
Layer 2 (Browns): Cover the greens with a thicker layer of browns. Aim for twice or three times the volume of the greens layer, so about 4-8 inches deep.
Repeat: Continue layering greens and browns as you accumulate them. Always try to finish with a layer of browns to act as a “cap.” This helps deter pests and reduces odors.
Quick Tip: If you’re adding a lot of “wet” greens, like kitchen scraps, try to have a ready supply of “dry” browns to mix in immediately. This prevents the greens from clumping together and becoming smelly.
Step 4: Chop and Shred
Smaller materials decompose faster. Before adding them to your pile, chop up large fruit and vegetable scraps, shred newspaper, and break up larger twigs. This increases the surface area for microbes to work on.
Step 5: Add Water (Moisture is Key!)
Your compost pile needs to be about as moist as a wrung-out sponge. It shouldn’t be dripping wet, but it shouldn’t be bone dry either. As you add layers, lightly water the browns. If your pile seems dry, add water. If it seems too wet, add more browns and turn it.
Step 6: Aerate or Turn Your Pile
Oxygen is crucial for the aerobic microorganisms that do the heavy lifting. Turning your compost pile regularly (every 1-4 weeks, depending on how quickly you want compost) helps introduce air and mixes the materials.
How to Turn: Use a pitchfork or a compost aerator tool. Mix the outer layers into the center and the center layers to the outside.
If you have a tumbler: Just give it a good spin!
If you have a fast-composting system (like those using activators or specific methods): You might need to turn it more frequently, even daily or every few days.
Step 7: Be Patient!
Composting takes time. Depending on the materials you use, the ratio, moisture, and aeration, it can take anywhere from a few weeks to several months to get finished compost.
Visualizing the Compost Fertilizer Ratio
Sometimes seeing it helps! Here’s a visual breakdown of the types of materials, their primary role, and how they fit into your ratio.
| Material Type | Primary Nutrient | Role in Compost | Examples | Volume Guideline (for 2-3:1 ratio of Browns:Greens) |
|---|---|---|---|---|
| Greens (Nitrogen-Rich) | Nitrogen (N) | Provides “fuel” for decomposition, essential for microbial growth. | Fruit/veg scraps, coffee grounds, grass clippings, fresh plant trimmings, manure. | 1 Part |
| Browns (Carbon-Rich) | Carbon (C) | Provides energy for microbes, adds bulk, helps with aeration and moisture control. | Dried leaves, straw, cardboard, newspaper, twigs, wood chips, sawdust. | 2-3 Parts |
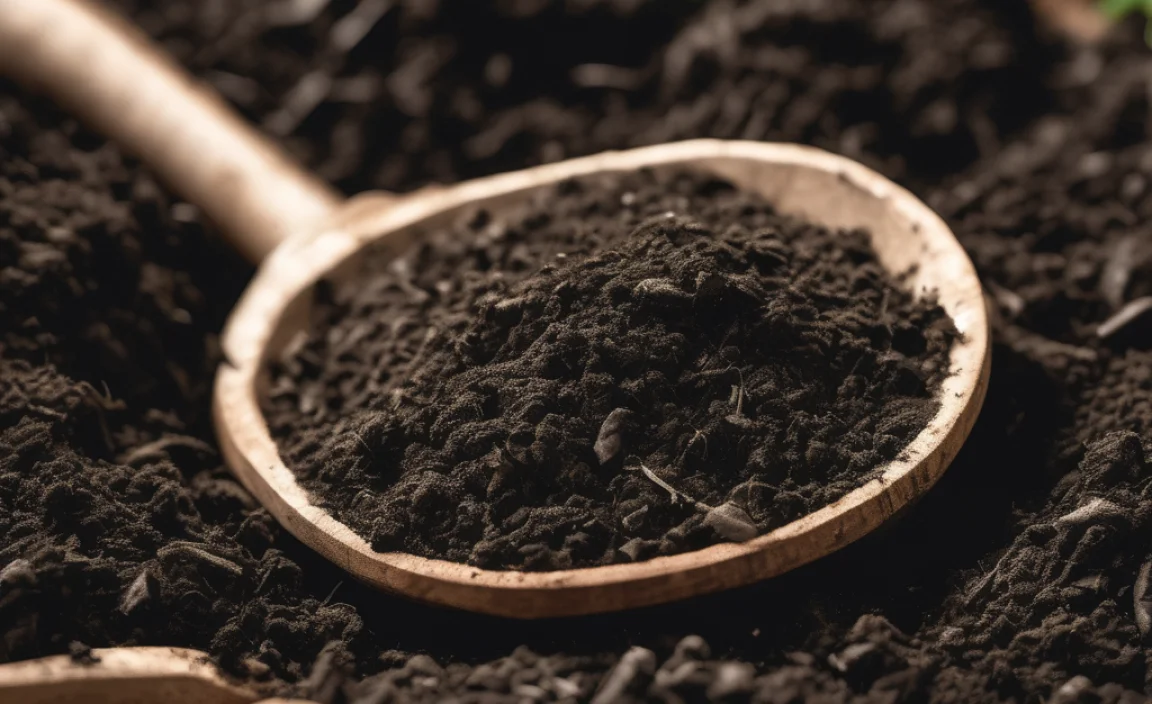
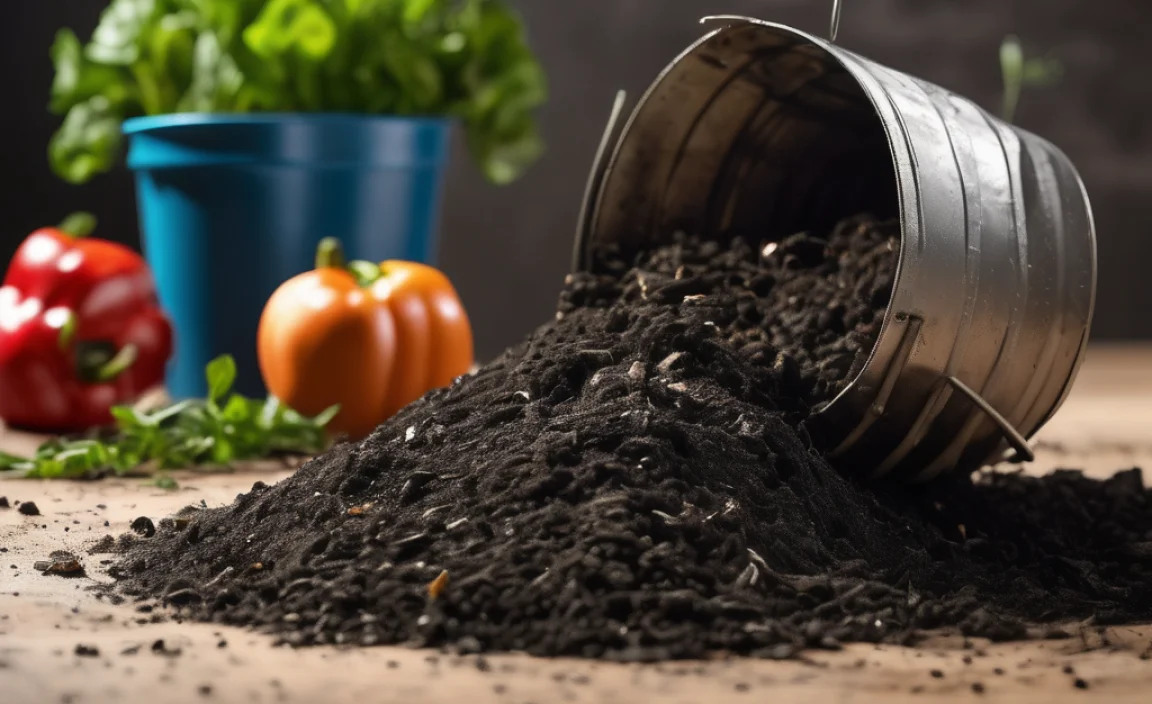
What About Finished Compost?
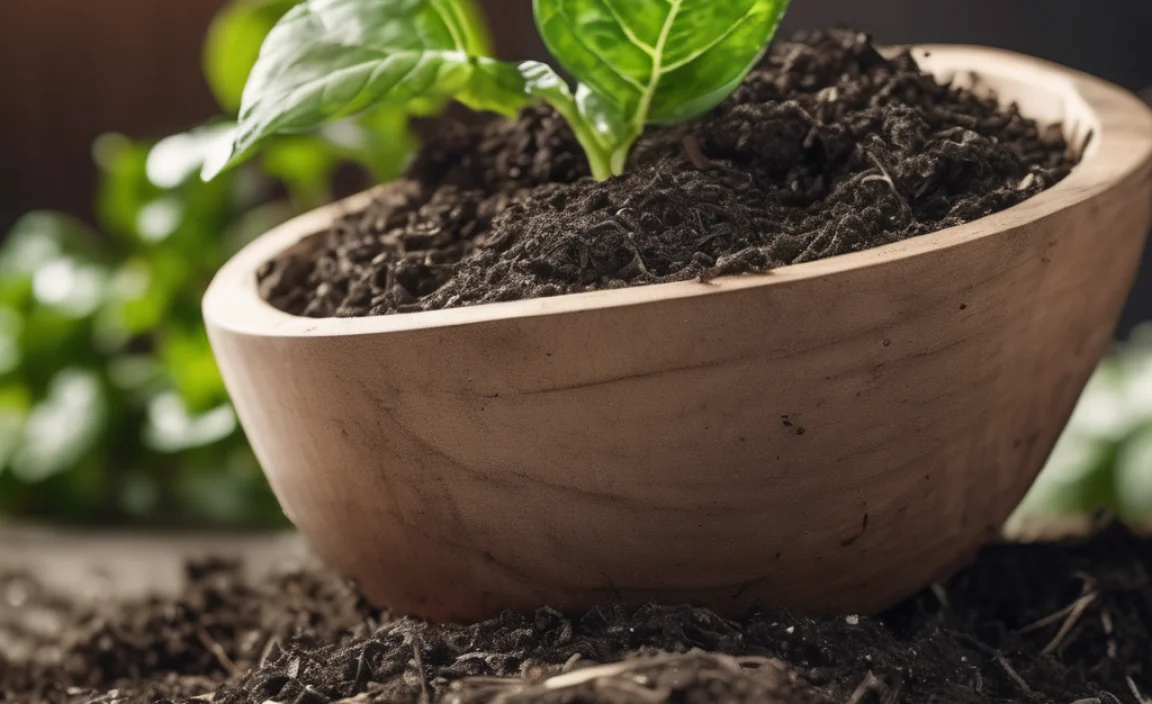
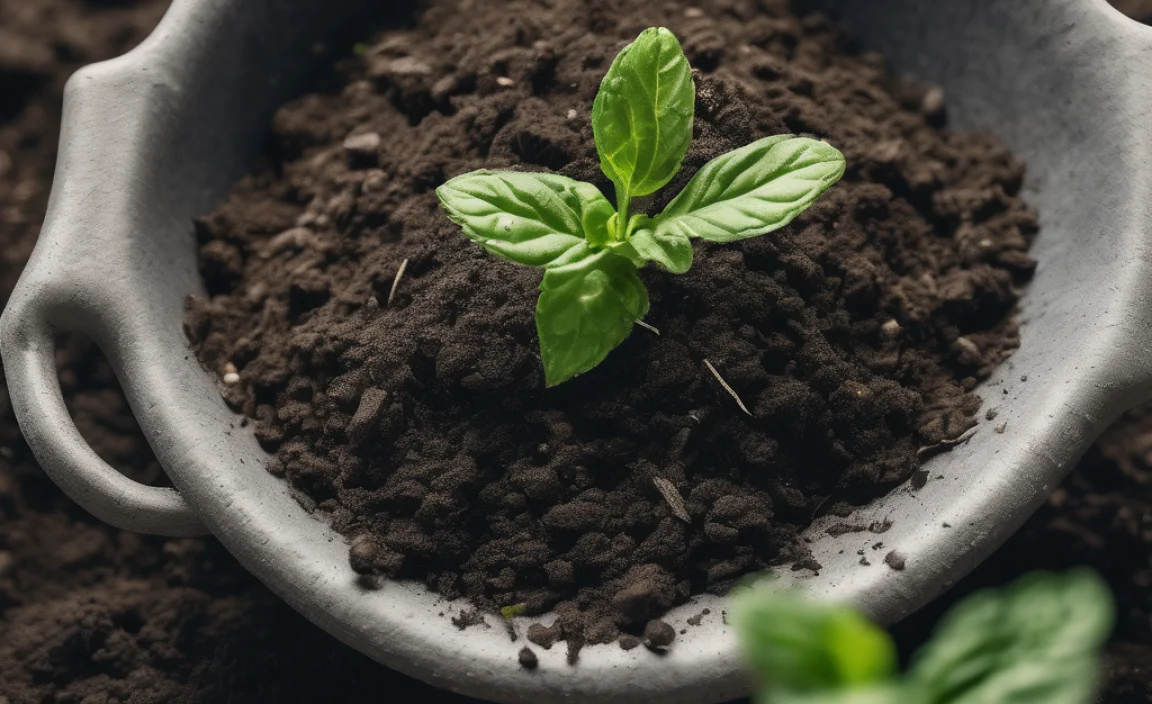
Once your compost is ready – it should be dark, crumbly, earthy-smelling, and you shouldn’t be able to identify the original materials – it’s a fantastic fertilizer. It doesn’t have a strict “ratio” in the same way your active pile does. Instead, finished compost is a complete soil amendment, providing a broad spectrum of macro and micronutrients, improving soil structure, water retention, and beneficial microbial activity.
As a fertilizer, it’s considered a slow-release, balanced nutrient source. You can mix it directly into your garden beds, use it as a top dressing around plants, or incorporate it into potting mixes. The exact nutrient content will vary based on what went into the pile, but it’s always beneficial for plant growth.
Troubleshooting Common Compost Issues (and How the Ratio Helps!)
Even with the best intentions, compost piles can sometimes misbehave. Here’s how understanding the ratio can help you fix common problems:
Problem: My compost pile smells bad (like rotten eggs or ammonia)!
Cause: Likely too many greens or the pile is too wet and not getting enough air. This leads to anaerobic conditions.
Fix: Add a generous amount of browns! Mix in dried leaves, shredded cardboard, or straw. Turn the pile thoroughly to introduce air. Ensure there’s adequate drainage if it’s in a bin.
Problem: My compost pile is slimy and mushy.
Cause: Too much moisture, often from an excess of greens, and compacted materials preventing airflow.
Fix: Add more browns. Chopped-up cardboard, sawdust, or straw can absorb excess moisture. You might also need to turn it more vigorously to break up the mushiness and introduce air.
Problem: My compost pile isn’t breaking down and seems dry.
Cause: Not enough greens (nitrogen) for the microbes to work efficiently, or the pile is too dry overall.
Fix: Add more greens. Kitchen scraps, fresh grass clippings (in thin layers), or coffee grounds are great. If the entire pile is dry, you’ll need to add water as you turn it, ensuring it’s “damp, not soaked.”
Problem: My compost pile is taking forever to decompose.
Cause: Could be a combination of things – not enough nitrogen (too many browns), lack of moisture, poor aeration, or large particle size.
Fix: Review your ratio. If it’s heavily brown-biased, add more greens. Ensure the pile has adequate moisture. Turn it more frequently to introduce air. Chop or shred materials smaller.
Problem: There are pests (flies, rodents) in my compost bin.
Cause: Exposed food scraps and a lack of a good “brown cap.”
Fix: Always bury fresh kitchen scraps (greens) under a layer of browns. Make sure your browns layer is thick enough. Check that your bin is secure and that you are not adding meat, dairy, or oily foods, which attract pests.
By adjusting the balance of your greens and browns, you’re directly influencing the speed and quality of your compost!
Compost Ratios for Specific Garden Needs
While the general 2-3:1 volume ratio is excellent for most home composting, sometimes you might want to influence the final nutrient profile slightly. Remember, this is more advanced and not necessary for beginners, but it’s good to know!
For Leafy Greens & Vegetables (High Nitrogen Needs):
If you’re amending soil specifically for leafy crops like lettuce, spinach, or kale, you might lean towards a slightly “greener” finished compost (meaning you might have aimed for the lower end of the brown ratio during active composting, or used more nitrogen-rich inputs earlier on). However, the most crucial thing is still a balanced diet during decomposition. Finished compost is inherently good for all plants.
For Root Vegetables (High Potassium Needs):
Root vegetables like carrots, potatoes, and beets benefit from good drainage and balanced nutrients. A well-balanced compost, rich in organic matter, is perfect. Some gardeners add things like banana peels (potassium source) to their compost, but again, this should be balanced within the overall ratio to ensure efficient decomposition.
For Flowering & Fruiting Plants (Balanced Needs):
Plants that bloom and produce fruit (tomatoes, peppers, squash, flowers) need a broad spectrum of nutrients. A compost made with a good variety of greens and browns typically provides this perfectly. The balanced C:N ratio ensures all essential nutrients are available.
Remember, the beauty of compost is its complexity. It’s a complete soil conditioner, not just a simple fertilizer with an N-P-K value like store-bought chemical fertilizers. It feeds the soil, which in turn feeds the plant.
Beyond the Ratio: Other Factors for Great Compost
While the compost fertilizer ratio is super important, don’t forget these other key ingredients for composting success:
- Moisture: As mentioned, aim for the consistency of a wrung-out sponge. Too dry, and decomposition stops. Too wet, and it goes anaerobic and smelly.
- Aeration (Oxygen): Turning the pile is your best friend here. It prevents compaction and allows beneficial microbes to breathe and multiply.
- Particle Size: Smaller pieces break down faster. Don’t be afraid to chop, shred, or mulch your materials.
- Temperature: An active compost pile will heat up in the center (Thermophilic composting). This heat is great for killing weed seeds and pathogens. Maintaining the right C:N ratio, moisture, and aeration helps achieve this.
Think of the ratio as the recipe, and moisture, air, and particle size as the cooking method and temperature. All work together!
Frequently Asked Questions About Compost Fertilizer Ratio
Q1: What is the ideal compost fertilizer ratio for beginners?
A: For beginners, the easiest guideline is a volume ratio of 2 to 3 parts Browns (carbon-rich materials like dried leaves, cardboard) to 1 part Greens (nitrogen-rich materials like kitchen scraps, grass clippings). Don’t overthink; just aim for more browns than greens by volume.
Q2: Do I need to measure my compost ingredients?
A: No, precise measurements aren’t necessary! Think in terms of volume – like buckets or wheelbarrows. Aim for roughly two to three times more brown material than green material by bulk.
Q3: Can I compost pet waste?
A: It’s generally not recommended to compost pet waste from cats and dogs because it can contain harmful pathogens. Manure from herbivores like rabbits, chickens, cows, or horses is safe and beneficial when composted properly.
Q4: What happens if I don’t have enough browns?
A: If you don’t have enough browns, your compost pile can become too wet, dense, and develop foul odors (like ammonia or rotten eggs) due to a lack of air circulation and an excess of nitrogen. Add more brown materials like dried leaves or shredded cardboard to balance it out.
Q5: How do I know when my compost is ready to use?
A: Finished compost will be dark, crumbly, and have an earthy smell, like forest soil. You shouldn’t be able to recognize the original materials you put in. It will also have cooled down from the active composting heat.
Q6: Can I add compost to plants that are already growing?
A: Yes! Finished compost is excellent as a top dressing. Spread a layer around the base of your plants, being careful not to pile it directly against the stem. It will slowly release nutrients and improve soil health.
.lwrp.link-whisper-related-posts{
margin-top: 40px;
margin-bottom: 30px;
}
.lwrp .lwrp-title{
}.lwrp .lwrp-description{
}
.lwrp .lwrp-list-container{
}
.lwrp .lwrp-list-multi-container{
display: flex;
}
.lwrp .lwrp-list-double{
width: 48%;
}
.lwrp .lwrp-list-triple{
width: 32%;
}
.lwrp .lwrp-list-row-container{
display: flex;
justify-content: space-between;
}
.lwrp .lwrp-list-row-container .lwrp-list-item{
width: calc(25% – 20px);
}
.lwrp .lwrp-list-item:not(.lwrp-no-posts-message-item){
max-width: 150px;
}
.lwrp .lwrp-list-item img{
max-width: 100%;
height: auto;
object-fit: cover;
aspect-ratio: 1 / 1;
}
.lwrp .lwrp-list-item.lwrp-empty-list-item{
background: initial !important;
}
.lwrp .lwrp-list-item .lwrp-list-link .lwrp-list-link-title-text,
.lwrp .lwrp-list-item .lwrp-list-no-posts-message{
}@media screen and (max-width: 480px) {
.lwrp.link-whisper-related-posts{
}
.lwrp .lwrp-title{
}.lwrp .lwrp-description{
}
.lwrp .lwrp-list-multi-container{
flex-direction: column;
}
.lwrp .lwrp-list-multi-container ul.lwrp-list{
margin-top: 0px;
margin-bottom: 0px;
padding-top: 0px;
padding-bottom: 0px;
}
.lwrp .lwrp-list-double,
.lwrp .lwrp-list-triple{
width: 100%;
}
.lwrp .lwrp-list-row-container{
justify-content: initial;
flex-direction: column;
}
.lwrp .lwrp-list-row-container .lwrp-list-item{
width: 100%;
}
.lwrp .lwrp-list-item:not(.lwrp-no-posts-message-item){
max-width: initial;
}
.lwrp .lwrp-list-item .lwrp-list-link .lwrp-list-link-title-text,
.lwrp .lwrp-list-item .lwrp-list-no-posts-message{
};
}
Related Posts


I am passionate about home engineering. I specialize in designing, installing, and maintaining heating, ventilation, and air conditioning systems. My goal is to help people stay comfortable in their homes all year long.