Want richer soil and healthier plants without buying expensive bags of fertilizer? Making your own compost fertilizer is like a superpower for your garden! It might sound complicated, but it’s actually pretty simple. We’ll go through it step-by-step so you can turn your kitchen scraps and yard waste into amazing garden food. Let’s get started!
Compost Fertilizer in USA: Your Essential Guide for a Greener Garden
Hey there, garden enthusiasts and DIYers! Troy D Harn here from TopChooser, and I’m stoked to talk about one of my favorite ways to boost your garden: homemade compost fertilizer. In the USA, folks are rediscovering this ancient practice, and for good reason. It’s eco-friendly, cost-effective, and makes your plants happier than a kid with a new toy. If you’ve ever looked at your food scraps and wondered if they could have a second life, or if your garden soil could use a serious upgrade, you’re in the right place. We’re going to break down exactly how to create fantastic compost fertilizer, right here in the USA, making it easy for you to follow along and succeed.
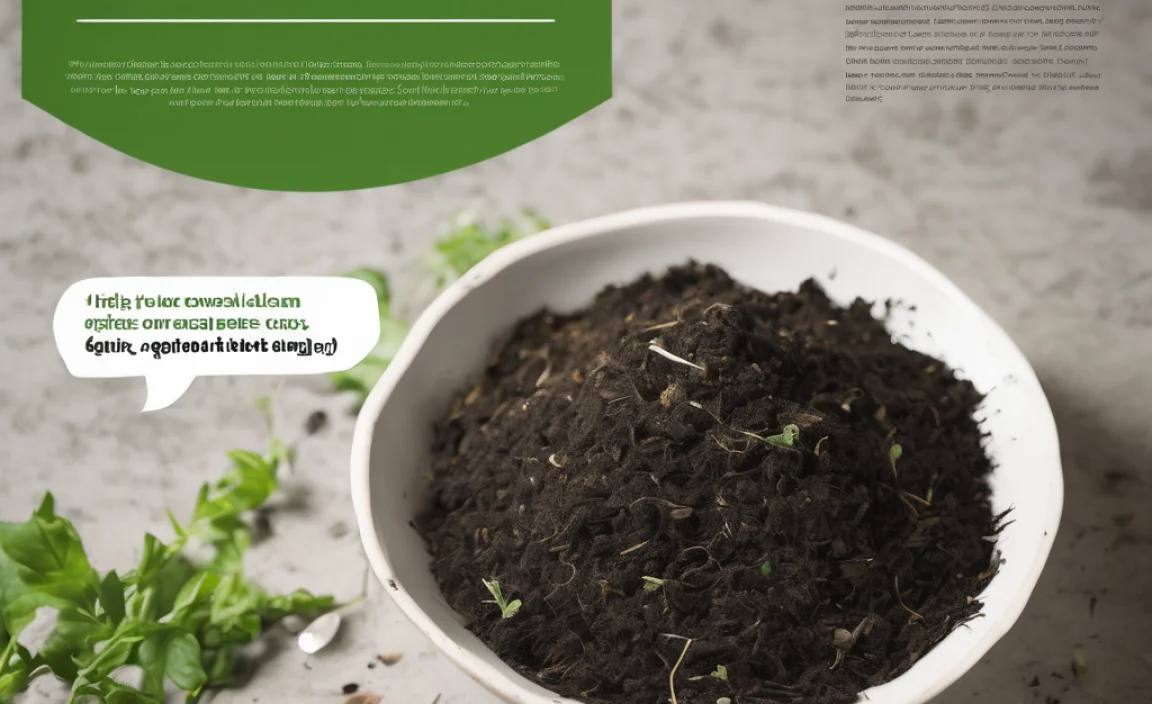
Think of compost as black gold for your garden. It’s a nutrient-rich soil amendment made from decomposed organic materials. This process not only diverts waste from landfills but also creates a natural fertilizer that improves soil structure, water retention, and provides essential nutrients for plant growth. Whether you’re a seasoned gardener or just starting out, understanding how to make and use compost fertilizer is a game-changer.
Why Compost? The Amazing Benefits for Your Garden and the Planet
Let’s chat about why turning your kitchen and yard waste into compost is such a brilliant idea. It’s more than just throwing stuff in a pile; it’s a pathway to a healthier garden and a healthier planet.
Here are some of the top reasons to embrace composting:
- Boosts Soil Health: Compost adds vital organic matter to your soil. This helps improve its structure, making it easier for plant roots to grow and access water and air.
- Reduces the Need for Chemical Fertilizers: Chemical fertilizers can be expensive and, over time, can harm your soil’s natural ecosystem. Compost provides nutrients naturally, feeding your plants and the beneficial microbes in the soil.
- Improves Water Retention: Soil amended with compost acts like a sponge, holding onto more moisture. This means you’ll need to water less often, which is great for saving water and for your plants during dry spells.
- Suppresses Plant Diseases and Pests: Healthy soil leads to healthy plants, which are naturally more resistant to diseases and pests. Compost can also introduce beneficial microorganisms that fight off harmful ones.
- Reduces Landfill Waste: A significant portion of household waste is organic material that could be composted. By composting, you’re diverting this waste from landfills, where it can produce harmful methane gas.
- Saves Money: Making your own compost fertilizer means you buy less soil, less mulch, and less commercial fertilizer. It’s a fantastic way to keep your gardening budget happy.
- Environmentally Friendly: Composting is a natural process that cycles nutrients and reduces your carbon footprint. It’s a tangible way to contribute to a more sustainable lifestyle.
Getting Started: What You Need to Make Compost Fertilizer
You don’t need a fancy setup to start making compost. Whether you have a sprawling backyard or a small apartment balcony, there’s a composting method for you. Let’s look at the basic tools and considerations.
Choosing Your Composting Method
The first step is deciding how you want to compost. Here are the most common methods in the USA:
- Outdoor Compost Bin (Enclosed or Open): This is the classic method. You can buy a sturdy bin made of plastic or wood, or even build your own. Enclosed bins often help retain heat and moisture, speeding up decomposition, and they can look tidier. Open piles are simple but can be more exposed to weather and critters.
- Tumbling Composter: These are enclosed drums that rotate on an axis. Tumblers make mixing compost easy with just a spin, and they can speed up the process significantly. They are also good at keeping pests out.
- Worm Composting (Vermicomposting): Perfect for smaller spaces or if you want to compost primarily kitchen scraps. Red wiggler worms do the work for you in a bin, producing highly potent worm castings (vermicast).
- Bokashi Composting: An anaerobic (without oxygen) fermentation process using a special bran. It can handle almost all food scraps, including meat and dairy, and is suitable for small spaces. The fermented material then needs to be buried or added to a traditional compost pile.
Essential Tools and Materials
You’ll want a few basic things to make the composting process smoother:
- A Compost Bin or Pile Area: Whatever method you choose, you need a designated spot.
- A Pitchfork or Aerator Tool: Essential for turning and aerating your compost pile. This helps with decomposition and prevents odors. A pitchfork works great for larger piles. For smaller bins, a small garden fork or a specialized compost aerator will do.
- A Kitchen Compost Pail: A small container with a lid to collect food scraps from your kitchen before you take them out to the main compost bin. This helps keep your kitchen tidy and odor-free. Look for ones with charcoal filters.
- Water Source: Compost needs to be kept moist, like a wrung-out sponge. A garden hose with a spray nozzle or a watering can will be handy.
- “Greens” and “Browns”: These are the building blocks of your compost. We’ll dive into this next!
The Art of Composting: Understanding Your “Greens” and “Browns”
This is the heart of successful composting! To make great compost, you need a good balance of nitrogen-rich materials (your “greens”) and carbon-rich materials (your “browns”). Too much of one and not enough of the other, and your compost might get smelly or just sit there. Think of it like a recipe – the right mix is key.
What are “Greens”? (Nitrogen-Rich Materials)
Greens are generally moist, nitrogen-rich materials that provide the “fuel” for the microorganisms breaking down your compost. They help heat up the pile. If your compost isn’t heating up, you might need more greens.
- Fruit and vegetable scraps (peels, cores, rinds)
- Coffee grounds and tea bags
- Grass clippings (in thin layers to avoid matting)
- Plant trimmings (leaves, non-woody stems)
- Manure from herbivores (chickens, rabbits, cows, horses – NOT dogs or cats)
- Seaweed
What are “Browns”? (Carbon-Rich Materials)
Browns are dry, carbon-rich materials that provide food for the microbes and add bulk and airiness to your compost. They help prevent the pile from becoming too wet and dense, which can lead to odors.
- Dried leaves
- Straw and hay
- Shredded newspaper and cardboard (avoid glossy or heavily inked paper)
- Wood chips and sawdust (use sparingly, especially from treated wood)
- Twigs and small branches (chop them up)
- Paper towels and napkins (if not used with chemicals)
- Eggshells (crushed)
What NOT to Compost
To avoid attracting pests, creating odors, or introducing diseases, steer clear of these:
- Meat, fish, and bones
- Dairy products (cheese, yogurt, milk)
- Oily or greasy foods
- Diseased plants or weeds that have gone to seed
- Pet waste (dog and cat feces)
- Treated wood or sawdust from treated wood
- Inorganic materials (plastic, metal, glass)
- Coal or charcoal ash (wood ash is okay in small amounts)
The Ideal Ratio: Balancing Greens and Browns
The magic ratio for good compost is often cited as about 2 parts Browns to 1 part Greens by volume. This isn’t an exact science, and you can adjust as you go. If your pile smells like ammonia, add more browns. If it’s dry and not breaking down, add more greens and moisture.
A good way to think about it is to layer your materials. Start with a layer of coarse browns (like twigs) for airflow, then alternate layers of chopped greens and browns. Each layer doesn’t need to be thick, but consistency helps.
For example, a good week’s worth of kitchen scraps (greens) might be balanced by a larger bag of dried leaves (browns).
Step-by-Step: How to Make Compost Fertilizer in Your USA Backyard
Ready to get composting? Here’s how to do it, whether you’re using a bin or a simple pile. We’ll focus on the common bin/pile method, which is very popular across the United States.
Step 1: Choose and Prepare Your Location/Bin
Select a spot for your compost bin or pile. Ideally, it should be:
- Easily accessible for adding materials and turning.
- Well-drained to avoid waterlogging.
- Partially shaded to prevent it from drying out too quickly in the hot sun.
- At least 3 feet by 3 feet by 3 feet for a pile to generate enough heat, or use a store-bought bin that meets these dimensions.
If using a bin, set it up according to the manufacturer’s instructions. If starting a pile, you might want to lay down a few coarse twigs first to help with drainage and airflow.
Step 2: Start Layering Your Materials
Begin by adding a layer of “brown” materials, such as shredded cardboard, dry leaves, or small twigs. This provides good airflow at the bottom.
- Follow with a layer of “green” materials, like fruit scraps or grass clippings.
- Continue alternating layers of greens and browns. Chop or shred larger items to speed up decomposition.
- Aim for that approximate 2:1 brown-to-green ratio.
Step 3: Add Water
Your compost pile needs to be moist, but not soaking wet. When you add new materials, especially dry browns, it’s a good time to add some water. The ideal moisture level is like a wrung-out sponge – damp to the touch but no water drips when you squeeze it.
Step 4: Aerate Your Compost (Turn It!)
This is crucial for decomposition and preventing bad smells. You need to introduce oxygen to the microbes.
- Ideally, turn your compost pile every 1-2 weeks.
- Use your pitchfork or aerator tool to mix the materials from the outside into the center and vice-versa.
- The center of an active pile will be hotter – turning brings cooler outer material into the center to decompose.
If you have a tumbling composter, simply rotate it every few days. Worm bins require no turning, but you’ll need to manage their feeding and environment.
Step 5: Monitor and Maintain
Keep an eye on your compost:
- Moisture: Stick your hand in. If it feels dry, add water. If it’s soggy, add more browns and turn it.
- Temperature: An active compost pile will heat up significantly in the center (130-160°F or 50-70°C). This heat is great because it kills weed seeds and pathogens. You can get a compost thermometer to check this, but feeling the warmth is often enough.
- Smell: A healthy compost pile should smell earthy, like a forest floor. A rotten egg or ammonia smell means it’s too wet, lacks air, or has too much nitrogen (too many greens). Add browns and turn.
Step 6: Harvesting Your Compost
How long does it take? This varies greatly depending on your method, materials, and how often you turn it. It can take anywhere from 2 months to a year. You’ll know your compost is ready when:
- It’s dark, crumbly, and has a pleasant, earthy smell.
- You can no longer identify the original ingredients.
- The temperature has cooled down to ambient levels.
To harvest, you can either scoop off the finished compost from the bottom of a bin, or sift through your pile to separate the finished material from any larger, unfinished pieces. The unfinished bits can go back into your new compost pile to continue decomposing.
Using Your Compost Fertilizer
Congratulations, you’ve made black gold! Now, how do you use this amazing compost fertilizer?
- Soil Amendment: The most common way is to mix it into your garden beds. Spread a layer of compost 1-3 inches deep and gently work it into the top 6-8 inches of soil. Do this in the spring before planting or in the fall after harvest.
- Top Dressing: For existing plants, you can spread a thin layer of compost around the base of the plants. This will gradually break down and enrich the soil. Keep it a few inches away from the main stem.
- Potting Mix: You can add compost to your homemade potting mixes for containers. A common ratio is about one-third compost, one-third peat moss or coco coir, and one-third perlite or vermiculite.
- Compost Tea: For a liquid boost, you can make compost tea. Steep a shovelful of finished compost in a burlap sack in a bucket of water for a day or two (aerating it with an aquarium pump helps create a more potent brew). Dilute and use to water plants or as a foliar spray.
Using compost is one of the best things you can do for your plants. It provides a slow-release of nutrients, improving plant health and vigor naturally. You might even notice your plants producing more flowers or fruits!
Compost vs. Fertilizer: What’s the Difference?
It’s easy to get compost and fertilizer mixed up. Let’s clarify:
Compost is an organic soil amendment. It primarily improves the physical condition of the soil, conserves water, and provides a slow, steady release of nutrients. It’s often less concentrated in specific nutrients compared to commercial fertilizers.
Fertilizer is typically a concentrated substance designed to provide specific nutrients (like Nitrogen, Phosphorus, and Potassium – N-P-K) to plants quickly. Fertilizers can be organic (derived from natural sources) or synthetic (chemically manufactured).
While compost isn’t a fertilizer in the same concentrated sense, it is a natural fertilizer because it does contain and release nutrients. Think of it this way: Compost is a complete soil conditioner that also fertilizes, while commercial fertilizers are primarily for feeding plants specific nutrients.
Composting Challenges and Troubleshooting
Even the best gardeners run into snags. Here are some common compost problems and how to fix them:
| Problem | Cause | Solution |
|---|---|---|
| Foul Odors (Ammonia/Rotten Eggs) | Too much nitrogen (greens), not enough air. Pile is too wet. | Add more brown materials (leaves, cardboard). Turn the pile to aerate. Ensure good drainage. |
| Pile Isn’t Heating Up | Not enough nitrogen (greens). Pile is too dry. Pile is too small. | Add more green materials. Add water if dry. Turn to mix. If the pile is too small, consider adding more material or combining with a neighbor’s pile. For larger piles, aim for at least 3x3x3 feet. |
| Decomposition is Slow | Materials are too large. Pile is too dry or too wet. Not enough microbes. | Chop materials into smaller pieces. Adjust moisture. Turn regularly to introduce air and moisture. For new piles, adding a shovel-full of finished compost or healthy garden soil can introduce microbes. |
| Attracting Pests (Rodents, Flies) | Composting meat, dairy, or oily foods. Pile is too exposed. | Do NOT compost meat, dairy, or oily items. Bury fresh kitchen scraps in the center of the pile. Use an enclosed bin or tumbler. Keep bin lids secure. |
| Weeds or Disease Spores Persist | Pile not hot enough to kill them. | Ensure your pile reaches and maintains sufficient heat (130-160°F / 50-70°C) for at least a few days. This often requires a larger pile and proper turning. |
Remember, composting is a natural process. Sometimes it takes a little trial and error to find what works best for your specific setup and climate here in the USA. Don’t get discouraged!
Composting Resources in the USA
For those looking to dive deeper or get specific advice for their region, here are some excellent resources:
- EPA: Compost at Home: The Environmental Protection Agency provides a great overview of composting methods and benefits. You can find detailed information on their website regarding best practices and what to compost. Visit EPA.gov for their comprehensive guide.
- University Extension Offices: Many universities across the USA have agricultural or horticultural extension programs. Their websites often feature fact sheets and best practices tailored to local conditions. Search for “[Your State] University Extension Composting.”
- Local Master Gardener Programs: These volunteer programs, often affiliated with university extensions, are a wealth of local gardening knowledge. They can provide hands-on advice and answer specific questions about composting in your area.
- The Association of Compost Producers (ACP): While more focused on commercial composting, their resources and publications can offer insights into the science and best practices of composting.
Conclusion: Your Thriving Garden Starts with Compost
There you have it – your essential guide to making compost fertilizer in the USA. It’s a rewarding journey that benefits your garden, your wallet, and the environment. By understanding the simple principles of balancing greens and browns, maintaining moisture, and providing air, you’re well on your way to transforming kitchen scraps and yard waste into rich, life-giving compost.
Don’t be afraid to experiment and learn as you go. Every backyard is a little different, and your compost pile will respond uniquely. The most important thing is to start! You’ll soon see the difference it makes in the health and vibrancy of your plants. Happy composting, and enjoy the fruits (and vegetables!) of your labor!
FAQ: Your Compost Questions Answered
Here are some frequently asked beginner questions about making compost fertilizer in the USA:
What is the fastest way to make compost?
The fastest way involves chopping materials into small pieces, maintaining a good balance of greens and browns, keeping the pile moist, and turning it frequently (every few days). Tumbling composters can also speed up the process significantly because they are designed for easy aeration and heat retention.
Can I compost in winter?
Yes, you can compost in winter! Decomposition will slow down due to colder temperatures, but it doesn’t stop entirely, especially in active piles. You might notice it takes longer to break down materials. It’s often a good time to collect “browns” like leaves and store them for spring use.
How do I deal with fruit flies in my compost?
Fruit flies are usually attracted by exposed food scraps. The best way to avoid them is to bury fresh kitchen scraps deep in the center of your compost pile or bin, covering them with brown materials. Ensure your bin has a tight-fitting lid.
My compost smells bad. What did I do wrong?
Bad smells usually mean too much nitrogen (greens) or not enough air. The solution is to add more “brown” materials like dry leaves or shredded cardboard, and to turn the pile thoroughly. Make sure it’s not waterlogged.
How often should I turn my compost?
For faster composting, turning it every 1-2 weeks is ideal. If you’re not in a hurry, turning it once a month will still get the job done, just more slowly. Tumblers might only need a turn every few days.
Is it safe to use compost made with some questionable items?
It’s best to avoid “questionable” items like meat, dairy, and diseased plants altogether, especially for beginners or if you’re concerned about safety. These can attract pests, create odors, or spread pathogens. Stick to the recommended materials for the best results and peace of mind.
Do I need to buy a fancy compost bin?
Not at all! While bins offer convenience and tidiness, you can create a perfectly effective compost pile using just a designated area in your yard. Many people start with a simple heap. You can also build simple bins from pallets for very little cost.

I am passionate about home engineering. I specialize in designing, installing, and maintaining heating, ventilation, and air conditioning systems. My goal is to help people stay comfortable in their homes all year long.