Want brighter, healthier blooms? It’s simpler than you think!
Lots of us try to grow beautiful flowers, but sometimes they just don’t seem to thrive. You might be missing one key ingredient: good compost!
Don’t worry if you’re new to this. I’m Troy D Harn from TopChooser, and I’m here to break down exactly how compost can make your flowers sing.
We’ll cover why compost is amazing, how to use it, and even how to make your own if you’re feeling ambitious. Let’s get your garden blooming!
Compost for Flowers: Your Secret Weapon for Gorgeous Blooms
Hey there, fellow gardeners and flower enthusiasts! Troy D Harn here, your go-to guy for making home and garden projects easy. If you’ve ever looked at magazine photos of vibrant flower gardens and wondered, “How do they do it?”, I’ve got a pretty big secret for you: compost!
Compost isn’t some fancy, expensive fertilizer. It’s the natural byproduct of breaking down organic materials – think kitchen scraps and yard waste – into a nutrient-rich soil amendment. And for your flowers? It’s like giving them a supercharged, all-natural multivitamin.
You might be thinking, “Compost? Isn’t that just old leaves and banana peels?” Well, yes, but it’s also so much more! Done right, it’s a powerhouse that can transform sad-looking plants into showstoppers. Whether you’re planting in pots, raised beds, or directly in the ground, understanding how to use compost for flowers is a game-changer.
We’re going to dive deep into why this humble material is so fantastic for your flowering friends. We’ll cover the basics to get you started, from what makes good compost to how much you should use. And don’t worry, I’ll walk you through it step-by-step. By the end, you’ll be ready to give your flowers the best possible start and watch them reward you with stunning blooms all season long!
Why Compost is a Flower’s Best Friend
Let’s get down to why compost is so incredibly good for your flowers. It’s not just about feeding them; it’s about creating the perfect home for their roots to thrive.
- Nutrient Powerhouse: Compost is packed with essential nutrients that flowers need to grow strong and produce vibrant blooms. Think of it as a slow-release buffet of goodness. These nutrients become available as the plant’s roots explore the soil.
- Improved Soil Structure: Sandy soil drains too quickly, and clay soil can get waterlogged and compacted. Compost acts like a magic potion, improving both! It helps sandy soil hold onto moisture and nutrients, and it loosens up heavy clay, allowing for better drainage and air circulation. Happy roots need to breathe!
- Water Retention: In those hot summer months, keeping your flowers consistently watered can be a challenge. Compost acts like a sponge, helping your soil retain moisture for longer. This means you might be able to water a little less frequently (hooray for saving time!), and your plants will be more resilient to dry spells.
- Beneficial Microbes: Healthy soil is alive! Compost introduces a host of beneficial microorganisms and earthworms to your soil. These tiny helpers break down organic matter further, make nutrients available to your plants, and can even help suppress diseases that might harm your flowers. It’s like a tiny underground ecosystem working for you.
- pH Balancer: Many flowers prefer a slightly acidic to neutral soil pH. Compost can help buffer extreme pH levels, bringing your soil closer to the ideal range for most flowering plants. This ensures your flowers can actually absorb the nutrients available in the soil.
Understanding the Good Stuff: What Makes Compost “Good”?
So, not all compost is created equal. While even “aged” compost is usually better than nothing, understanding what makes high-quality compost is key to unlocking its full potential for your flowers.
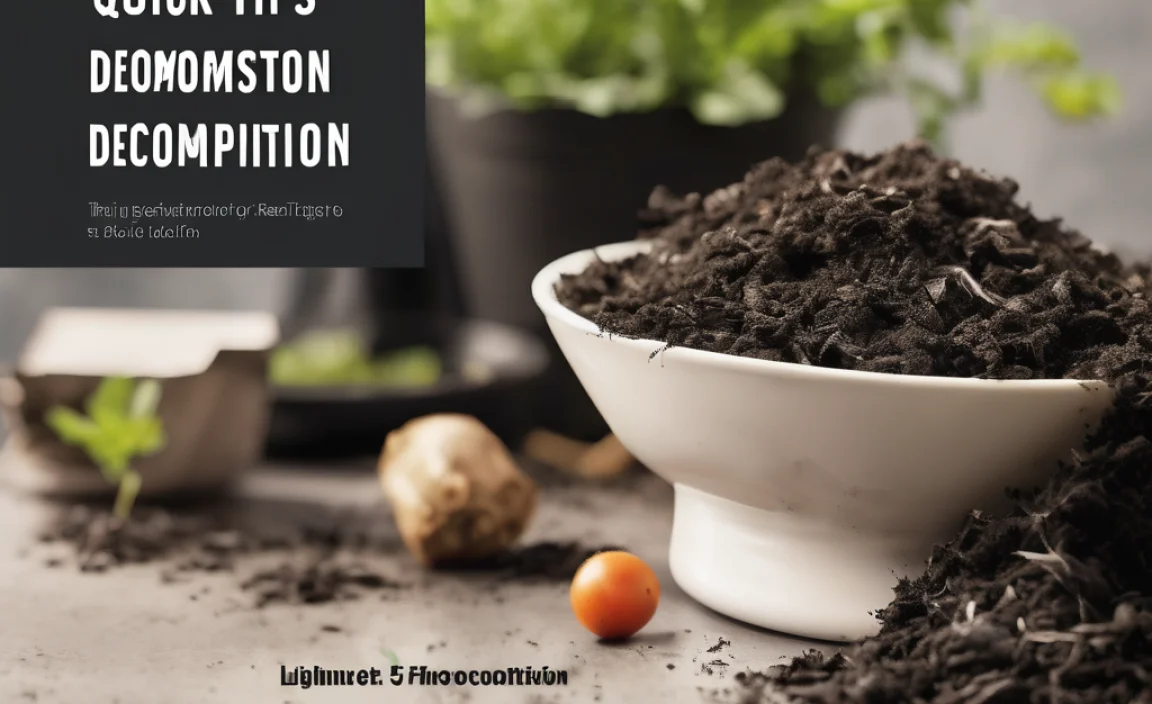
Good compost should look and smell earthy. Think of the pleasant aroma of a forest floor after rain. It should be dark brown, crumbly, and free of recognizable food scraps or yard waste. If it smells sour, ammonia-like, or like rotten eggs, it’s likely not fully broken down (we call this “unfinished compost”) and might even harm your plants.
Key components of healthy compost:
- Humus: This is the dark, rich end product of decomposition. It’s what gives compost its structure and sticky, soil-binding properties.
- Balanced Nutrients: It contains a good mix of macronutrients (like nitrogen, phosphorus, and potassium) and micronutrients that plants need.
- Beneficial Organisms: A healthy population of bacteria, fungi, and other microorganisms.
If you’re buying compost, look for reputable sources like your local garden center or a landscape supply company. Often, they’ll sell “screened compost” which has had larger, undecomposed bits removed, making it finer and easier to work with for flower beds. You can also find compost often sold as “garden compost” or “organic compost.” Always check the description to ensure it’s suitable for general garden use.
How to Use Compost for Your Flowers: Step-by-Step
Alright, you’ve got your compost! Now, how do you actually get it into your flower garden to make those blooms pop? It’s not complicated, and you can do it in a few different ways depending on what you’re planting and your existing garden setup.
1. Preparing New Flower Beds or Pots
This is the ideal time to add compost for maximum benefit. You want to integrate it well into the soil where the roots will grow.
- Clear the Area: Remove any weeds, rocks, or debris from your planting area.
- Loosen the Soil: Dig or till the soil to a depth of about 8-12 inches. This loosens compacted soil and makes it easier for the compost to mix in. For pots, ensure they have drainage holes.
- Spread the Compost: Apply a generous layer of compost over the loosened soil. A good starting point is about 2-4 inches of compost.
- Mix It In: Use a shovel or garden fork to thoroughly mix the compost into the existing soil. You want it to be well-integrated, not just sitting on top. Aim for a blend where you can’t easily distinguish between the old soil and the compost.
- Level and Plant: Rake the area smooth, and you’re ready to plant your flowers!
2. Amending Existing Flower Beds
Even if your flower beds are already established, you can still give them a boost with compost. This is often called “top-dressing.”
- Water Lightly: It’s easier to work with slightly damp soil.
- Spread a Layer: Apply a 1-2 inch layer of compost around your existing plants. Important Safety Tip: Keep the compost a few inches away from the base (stems) of your plants to prevent rot or disease.
- Gently Work It In: Use a garden fork or trowel to gently loosen the top inch or two of soil and mix the compost in. You don’t need to dig deeply and disturb the plant roots. For established perennial beds, you can often just let worms and time do most of the work of incorporating it.
- Water Again: Water the area well after adding and mixing the compost.
3. Using Compost in Pots and Containers
Potted plants can deplete nutrients faster because their roots are in a limited space. Compost is essential here!
- For New Plantings: Mix compost with your potting mix. A common ratio is 1 part compost to 3 parts potting mix. This provides great drainage and adds nutrients.
- For Existing Potted Plants: Once a year, top-dress containers with about an inch of compost, gently working it into the top layer of soil. Replace the top layer of old potting mix with compost if it looks depleted.
When to Add Compost
- Spring: The best time to add compost is in the spring as you’re preparing beds for new annuals and perennials, or waking up overwintered plants.
- Fall: You can also add compost in the fall after your flowers have finished for the season. This gives it time to break down over winter and be ready for spring.
- Throughout the Season: A light top-dressing of compost can be beneficial anytime during the growing season, especially for heavy feeders or plants that look like they need a pick-me-up.
Compost Ratios: Getting it Just Right
Figuring out how much compost to use can seem a bit tricky, but it boils down to a few simple guidelines. Too much of a good thing isn’t ideal, so let’s aim for the sweet spot!
For New Beds and Soil Improvement:
This is where you can be generous. The goal is to create a rich planting medium.
- Ideal Ratio: Aim for a mix of 25-50% compost mixed into your existing soil. If you’re digging down 12 inches, you could use 4-6 inches of compost across the top and then mix it.
- Explanation: This significantly improves soil structure, fertility, and water retention, giving your new flowers the best start.
For Amending Existing Beds (Top-Dressing):
Here, you want to be a bit more conservative to avoid overwhelming plant roots or altering the soil too drastically all at once.
- Ideal Layer: Apply a 1-2 inch layer of compost around plants, keeping it a few inches away from the stems.
- Explanation: This provides a slow release of nutrients and organic matter to the surface soil, which will gradually work its way down.
For Pots and Containers:
Potting mixes are designed to be light and airy, so you’ll mix compost in rather than layer it.
- Ideal Mix: A ratio of 1 part compost to 3 parts potting mix is a great starting point.
- Explanation: This adds essential nutrients and improves the water-holding capacity of lighter potting mixes without making them too dense.
Remember, these are guidelines. Observe your soil and your plants. If your soil is very poor (like pure sand or heavy clay), you might lean towards the higher end of these recommendations initially. If your soil is already reasonably good, a smaller amount will still make a difference.
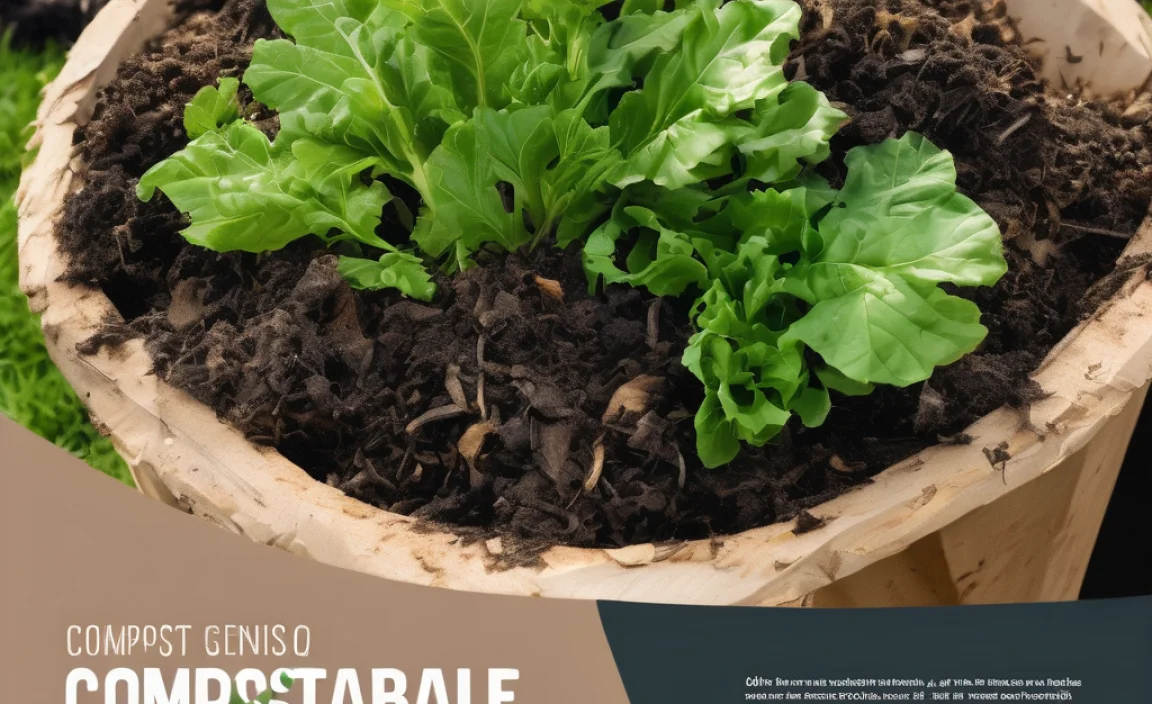
Compostable Materials: What to Toss In (and What to Skip!)
If you decide to roll up your sleeves and make your own compost, knowing what to put in your bin or pile is crucial. It’s all about creating a balanced, nutrient-rich mix that breaks down efficiently. Think of it like creating a recipe for your compost!
Composting relies on a balance of “greens” (nitrogen-rich materials) and “browns” (carbon-rich materials). You need both for the microorganisms that do the decomposing.
Excellent “Greens” (Nitrogen-rich):
- Fruit and vegetable scraps (peels, cores, rinds)
- Coffee grounds and tea bags
- Grass clippings (in thin layers to prevent matting)
- Plant trimmings from healthy plants
- Eggshells (crushed for faster breakdown)
Excellent “Browns” (Carbon-rich):
- Dry leaves
- Shredded newspaper or plain cardboard (avoid glossy or heavily inked paper)
- Straw or hay
- Small twigs and wood chips (chop them small for faster breakdown)
- Sawdust (from untreated wood)
Materials to Avoid (or Use with Caution):
- Meat, dairy, and oily foods: These can attract pests, create foul odors, and don’t break down well in a typical home compost pile.
- Diseased plants: If you compost these, you risk spreading diseases back into your garden.
- Weeds that have gone to seed: The composting process might not get hot enough to kill all the seeds, leading to a weedier garden.
- Pet waste (dog/cat feces): Can contain pathogens harmful to humans.
- Chemically treated wood or plants: You don’t want those chemicals in your garden.
- Coal or charcoal ash: Can contain harmful substances not good for soil.
A good rule of thumb for balancing greens and browns is roughly 2-3 parts browns to 1 part greens by volume. This ratio helps create a pile that heats up nicely, breaks down quickly, and doesn’t get too wet or too smelly.
DIY Compost Bin Options
Making your own compost is incredibly rewarding and can save you money. There are many ways to set up a compost system, depending on your space, budget, and how much effort you want to put in. Here are a few beginner-friendly options:
1. Simple Compost Pile
- What it is: Literally just a pile of organic materials in a designated spot in your yard.
- Pros: Easiest and cheapest option. No construction needed. Can handle large volumes.
- Cons: Can look messy if not managed. May take longer to break down. Might attract pests if not balanced properly.
- Best for: Larger yards, those who don’t mind a less tidy look, and people with plenty of yard waste.
- How-to: Choose a level spot that gets some sun or partial shade. Start layering your greens and browns about 3 feet high and wide. Turn it with a pitchfork every few weeks to aerate.
2. Wire Mesh Bin
- What it is: A cylinder made from chicken wire or hardware cloth.
- Pros: Relatively inexpensive, easy to build, good aeration.
- Cons: Can dry out quickly in hot climates. Might not be the most aesthetically pleasing.
- Best for: Smaller to medium yards, budget-conscious gardeners.
- How-to: You’ll need a roll of wire mesh (about 3-4 feet high), wire cutters, and zip ties or wire to fasten the ends. Form a cylinder and secure it. Layer your materials inside.
For more detailed instructions on building a wire bin, check out resources from the U.S. Environmental Protection Agency (EPA) on Composting at Home.
3. Pallet Compost Bin
- What it is: A square bin made from wooden pallets.
- Pros: Often free if you can source used pallets. Sturdy and effective. Can be built with multiple compartments.
- Cons: Requires some basic tools (hammer, nails/screws) and ability to join pallets. Can be heavy.
- Best for: Those comfortable with basic DIY, who can get free pallets.
- How-to: You’ll need about 4-5 pallets of the same size. Stand three pallets up to form three sides of a square. Secure them together. You can either leave the front open, or attach a fourth pallet with hinges to create a door. You can also build multi-bay systems for turning compost.
4. Purchased Tumbler or Bin
- What it is: Commercially made compost bins, often made of plastic. Tumblers spin, making turning easy.
- Pros: Neat and tidy appearance. Can speed up composting. Many designs are pest-resistant.
- Cons: Can be expensive. Limited capacity with some models. Tumblers can be heavy to spin when full.
- Best for: Urban gardeners, those who prioritize neatness, or anyone wanting a more contained system.
No matter which method you choose, the basic principles remain the same: balance greens and browns, add moisture (it should feel like a wrung-out sponge), and aerate by turning periodically.
Common Compost-Related Flower Problems and Solutions
Sometimes, even with compost, things can go a bit awry. Don’t get discouraged! Most compost-related flower issues are easily fixed. Here’s how to troubleshoot:
Problem 1: Flowers are Leggy or Have Weak Growth
Cause: Usually too much nitrogen, or not enough overall nutrients/organic matter. This can happen if your compost is too ‘green’ heavy (lots of fresh grass clippings) or if you’ve used compost that’s too young and hasn’t broken down fully.
Solution: Add more ‘brown’ materials (leaves, shredded cardboard) to your compost pile if you’re making it. If using finished compost, mix in some aged shredded leaves or coco coir into the soil. For existing plants, ensure your compost mix isn’t overwhelmingly nitrogen-rich annually.
Problem 2: Yellowing Leaves (

I am passionate about home engineering. I specialize in designing, installing, and maintaining heating, ventilation, and air conditioning systems. My goal is to help people stay comfortable in their homes all year long.
I am passionate about home engineering. I specialize in designing, installing, and maintaining heating, ventilation, and air conditioning systems. My goal is to help people stay comfortable in their homes all year long.