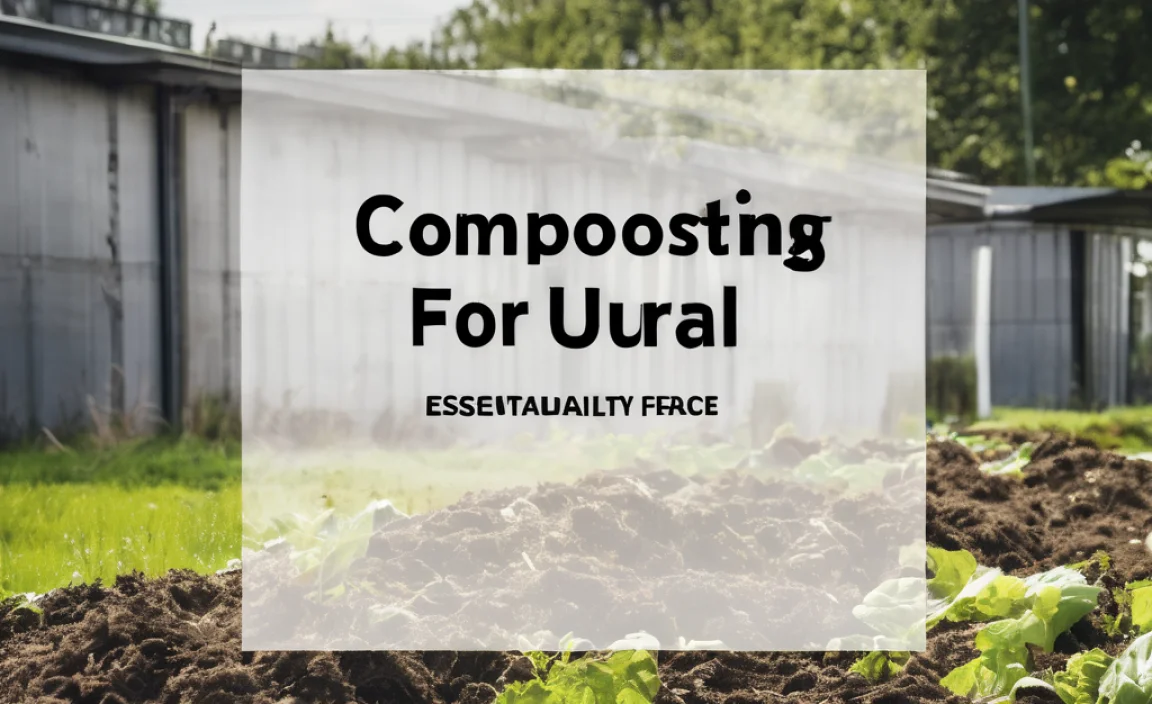
Hey there, fellow home improvers and garden enthusiasts! Ever looked at your kitchen scraps and yard waste, wondering if there’s a better way to deal with them than just tossing them in the bin? You’re not alone! Composting might sound a bit technical, but trust me, it’s one of the simplest, yet most rewarding, things you can do for your garden.
It’s like giving your plants a superfood boost, all while reducing waste. I’m Troy D Harn, and I’m here to make composting easy peasy for you. We’ll break down everything you need to know, step-by-step, so you can start turning those scraps into garden gold. Ready to get your hands a little dirty?
Your Super Simple Compost Guide: Essential Tips for Success
Welcome to your no-fuss guide to composting! If you’ve ever thought composting was just for expert gardeners or people with acres of land, think again. This guide is designed to take you from compost curious to compost confident. We’ll walk through the basics, what to toss in, what to leave out, and how to get that pile working for you, yielding nutrient-rich compost that your plants will absolutely love. Let’s dig in!
What is Composting and Why Bother?
At its heart, composting is nature’s recycling program. It’s the process of breaking down organic materials—things like food scraps and yard trimmings—into a rich, dark, soil-like substance called compost. This “black gold” is a fantastic fertilizer and soil conditioner. Why bother? Well, there are some pretty compelling reasons:
- Boosts Your Garden: Compost improves soil structure, making it easier for plant roots to grow. It also helps soil retain moisture (less watering!) and nutrients, leading to healthier, more vibrant plants.
- Reduces Waste: A significant portion of household waste is organic material that can be composted. By composting, you divert waste from landfills, which helps reduce methane gas emissions, a potent greenhouse gas.
- Saves Money: Buying fertilizers and soil conditioners can add up. Homemade compost is free and often more effective than store-bought alternatives.
- It’s Empowering: There’s a real satisfaction in turning what would be trash into something that nourishes your garden and the environment.
Getting Started: Do You Need Fancy Gear?
Nope! The beauty of composting is its flexibility. You can start with very little or even no special equipment. Here are a few common ways people compost:
1. The Simple Pile (Open Composting)
This is the most basic method. You just create a pile of organic materials in a corner of your yard. It’s super easy and free, but it can look a bit untidy and might take a little longer to break down, especially if it’s not managed well. It’s best if you have a bit of space and aren’t worried about appearances.
2. Compost Bins
These are enclosed containers that help keep things tidy and can speed up the composting process. They come in various forms:
- Stationary Bins: Often made of wood, wire mesh, or recycled plastic, these are like large bins that hold your compost. They’re great for keeping things contained.
- Tumblers: These are enclosed drums that you can manually turn or “tumble.” Tumblers make it incredibly easy to aerate your compost (turning it), which speeds up decomposition significantly. They’re usually more expensive but very efficient and neat.
You can buy these or even build your own! Searching for “DIY compost bin plans” will give you tons of ideas using simple lumber or salvaged materials.
3. Worm Composting (Vermicomposting)
This is perfect for apartment dwellers or those with very limited outdoor space. You use red wiggler worms in a bin to break down your food scraps. It produces a nutrient-rich compost called “worm castings” and a liquid fertilizer. It requires a bit more specific care for the worms but is a fantastic option for small spaces.
What Goes Into Your Compost Pile (The “Greens” and “Browns”)
The secret to successful composting is balancing two types of materials: “Greens” and “Browns.” Think of them as the fuel for your composting fire—you need the right mix to keep it going efficiently.
Greens (Nitrogen-Rich Materials)
These materials are typically moist and provide nitrogen, which is essential for the microorganisms that break down the compost. They often come from the kitchen or fresh yard waste.
- Fruit and vegetable scraps (peels, cores, rinds)
- Coffee grounds and tea bags
- Grass clippings (in moderation, as they can mat down)
- Plant trimmings from the garden (non-diseased)
- Eggshells (crushed)
Browns (Carbon-Rich Materials)
These are usually dry and provide carbon, which is the energy source for your compost critters. They also help with airflow and prevent the pile from becoming too dense and smelly.
- Dry leaves
- Shredded newspaper or cardboard (avoid glossy paper)
- Straw or hay
- Small twigs and branches (chopped or shredded)
- Sawdust (from untreated wood)
- Paper towels and napkins (unsoiled by grease or chemicals)
The Ideal Mix: A Ratio to Aim For
A good rule of thumb is to aim for a ratio of about 2 to 3 parts Browns to 1 part Greens by volume. This doesn’t need to be exact science, especially when you’re starting. If your pile seems too wet or smelly, you probably need more Browns. If it’s not breaking down and seems dry, add more Greens and moisture.
Here’s a handy table to visualize what goes where:
| Greens (Nitrogen) | Browns (Carbon) |
|---|---|
| Fruit & Veggie Scraps | Dry Leaves |
| Coffee Grounds & Tea Bags | Shredded Newspaper/Cardboard |
| Grass Clippings | Straw/Hay |
| Plant Trimmings (Green) | Small Twigs/Branches |
| Eggshells | Sawdust (untreated wood) |
| Manure (from herbivores like cows, horses, chicken) | Paper Towels (clean) |
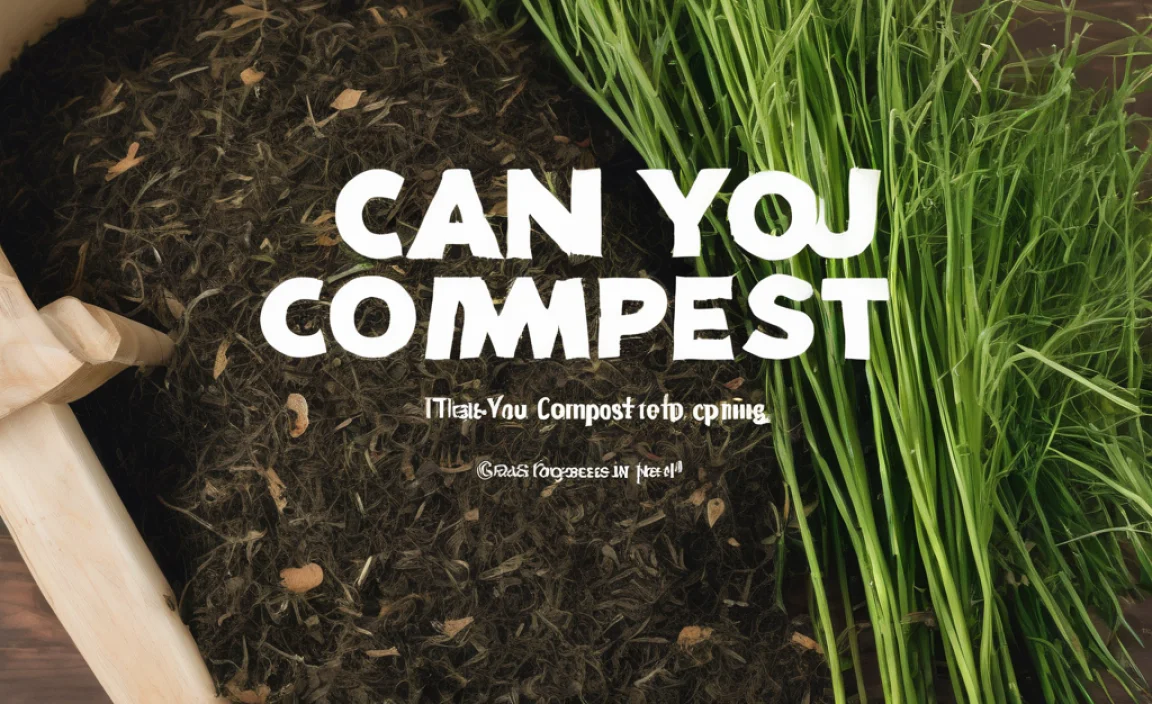
What NOT to Compost
It’s just as important to know what to keep out of your compost bin, as some items can attract pests, create unpleasant odors, or contain pathogens. Here’s a list of common items to avoid:
- Meat, fish, and bones: These attract pests and can smell bad.
- Dairy products (cheese, yogurt, milk): Same reasons as meat.
- Oily or greasy foods: These can slow down decomposition and attract pests.
- Diseased plants or weeds that have gone to seed: You don’t want to spread diseases or weed seeds back into your garden.
- Pet waste (dog and cat feces): These can contain harmful pathogens.
- Coal or charcoal ash: Can be harmful to plants.
- Chemically treated wood or yard waste: You don’t want these chemicals in your compost.
- Glossy or coated paper/cardboard: The coatings can prevent proper decomposition and may contain plastics.
Building Your Compost Pile: The Step-by-Step
Ready to build your first compost creation? It’s easier than you think!
- Choose Your Location: Pick a spot for your compost bin or pile that’s convenient to access, has good drainage, and gets some sun (but not baking hot sun all day, which can dry it out too much). Placing it on bare soil is ideal, as it allows beneficial microbes and worms to find their way in.
- Start with a Layer of Browns: Begin your pile with a layer of thicker brown materials, like twigs or straw. This helps with aeration from the bottom up. About 4-6 inches thick is good.
- Add Your Greens: Next, add a layer of your kitchen scraps and other green materials. Try to chop larger items into smaller pieces to speed up decomposition.
- Add Another Layer of Browns: Cover your green layer with a layer of brown materials (like shredded newspaper or dry leaves). This is important for managing moisture and odor.
- Continue Layering: Keep adding alternate layers of greens and browns as you accumulate them. A good general guide is to finish with a layer of browns on top to deter pests and odors.
- Moisture Check: Your compost pile should be about as damp as a wrung-out sponge. If it’s too dry, water it down. If it’s too wet, add more brown materials. You can check by taking a handful and squeezing it – a few drops of water should come out.
- Aerate Regularly: This is key to getting compost faster and preventing it from becoming a slimy, smelly mess. You need oxygen for the microbes to do their work.
- For simple piles/bins: Turn the pile with a pitchfork or compost aerator every week or two. Aim to mix the outer materials into the center and vice-versa.
- For tumblers: Follow the manufacturer’s instructions, usually just a few turns every few days.
- Be Patient: Composting can take anywhere from a few months to a year, depending on the materials you use, how actively you manage it, and the climate. You’ll know it’s ready when it looks and smells like rich, dark soil and the original materials are no longer distinguishable.
Troubleshooting Common Compost Problems
Even with the best intentions, sometimes your compost pile might act up. Don’t get discouraged! Most issues are easily fixed.
My compost smells bad (like ammonia or rotten eggs)!
Cause: Too much green material or it’s too wet, leading to anaerobic (without air) conditions. An ammonia smell usually means too much nitrogen (greens), while rotten egg smell means it’s too wet and lacks air. This is a sign of too much nitrogen or lack of oxygen.
Solution: Add more brown materials (dry leaves, shredded paper, straw) to balance the nitrogen and improve aeration. Turn the pile thoroughly to introduce air. If it’s very wet, add a good layer of dry browns to soak up excess moisture.
My compost pile isn’t heating up or breaking down.
Cause: Not enough greens (nitrogen), too dry, or lack of aeration. The microorganisms need a good mix of ingredients, moisture, and air to thrive and generate heat.
Solution: Add more green materials. Check the moisture level; it should be damp, not dry. Turn the pile to introduce air. If you have a good mix but it’s still not heating up, consider chopping materials smaller.
I see flies or pests in my compost.
Cause: Exposed food scraps, especially meat or dairy (which you shouldn’t be adding anyway), or a pile that’s too wet and not turned enough.
Solution: Always bury fresh kitchen scraps (greens) under a layer of brown materials. Ensure your pile isn’t too wet. Regularly turn your compost to deter pests. If using an open pile, ensure it’s not overly attractive. For bins, make sure lids are secure if pests are a concern.
My compost is just a soggy, matted mess.
Cause: Too much moisture and not enough fibrous brown materials for structure and airflow. This is a common issue with excessive grass clippings.
Solution: Add plenty of dry brown materials like shredded cardboard, straw, or dry leaves. Break up any matted sections with a pitchfork. Turn the pile to help it dry out and get air into it.
Knowing When Your Compost is Ready
This is the exciting part! You’ll know your compost is mature and ready to use when:
- It has a deep, dark brown color.
- It smells earthy and pleasant, like a forest floor.
- You can no longer recognize the original materials you put in.
- The temperature of the pile has cooled down to ambient temperature.
The whole process can take from about 3 months to a year. Active composting with regular turning and a good balance of greens and browns will speed things up. If you’re just letting it pile up with minimal intervention, expect it to take longer.
Using Your Homemade Compost
Once your compost is ready, you can use it in so many ways:
- Soil Amendment: Mix a generous amount (about 25-30%) into your garden beds before planting. It will improve soil structure, drainage, and nutrient content.
- Top Dressing: Spread a 1-2 inch layer around existing plants (shrubs, trees, flowers, vegetables) in the spring or fall. This helps retain moisture, suppress weeds, and feed the plants.
- Potting Mix: Mix compost with other ingredients like perlite or coir to create a rich, DIY potting mix for containers and hanging baskets. A common mix is 1/3 compost, 1/3 garden soil, and 1/3 perlite or sand.
- Lawn Dressing: A thin layer (about 1/4 inch) of screened compost spread over your lawn in the spring or fall can help improve soil health and grass vitality.
Composting Resources for More Information
If you want to dive even deeper, here are a few places to find more information. For research on composting, the U.S. Environmental Protection Agency (EPA) offers fantastic resources on waste reduction and composting best practices. They have data and scientific backing to many of the tips we’ve discussed.
For building specific structures, sites like The Old Farmer’s Almanac often have great DIY plans and gardening advice that’s simplified for home users.
Conclusion: Your Garden’s Best Friend is Waiting
There you have it! Composting is a straightforward, incredibly beneficial practice that’s accessible to just about everyone. By understanding the simple balance of “greens” and “browns,” maintaining the right moisture and aeration, and knowing what to avoid, you’re well on your way to producing your own nutrient-rich compost.
It’s a fantastic way to reduce waste, save money, and significantly improve your garden’s health and vitality. So don’t hesitate – start gathering those scraps and leaves, build that pile or bin, and get ready to see your garden thrive like never before. Happy composting!
Frequently Asked Questions About Composting
How long does it take to make compost?
This varies a lot! With good management (regular turning, balanced ingredients, and proper moisture), you can have usable compost in as little as 3-6 months. Without much intervention, it can take up to a year or even longer.
Do I need a special bin or can I just make a pile?
No, you don’t need a fancy bin! A simple pile in a corner of your yard works perfectly fine, especially if you have the space. Bins can help with tidiness, manage moisture better, and sometimes speed up the process, but they aren’t essential to get started.
What if my compost smells bad?
A bad smell usually means your compost pile is too wet or doesn’t have enough air (it’s gone anaerobic). The solution is to add more “brown” materials (like dry leaves or shredded paper) and turn the pile to add air. Burying food scraps well also helps prevent odors.
Can I compost kitchen scraps that are oily?
It’s best to avoid composting large amounts of oily or greasy food scraps. They can slow down decomposition, attract pests, and make the pile go anaerobic. Small amounts of oils from things like salad dressing on greens are usually okay, but it’s not ideal.
Is it okay to compost with kitchen scraps and grass clippings? Do they need to be layered?
Yes, kitchen scraps (greens) and grass clippings (can be greens or browns depending on how dry they are) are excellent compost ingredients. It’s best to layer them with more carbon-rich “brown” materials (like dry leaves or shredded paper) to maintain a good balance. Adding a thick layer of wet grass clippings all at once can mat down and get slimy, so mixing them with browns is key.
Can I compost pet waste from my dog or cat?
No, it’s generally not recommended to compost pet waste from dogs and cats in a home compost system. Their waste can contain harmful pathogens that might not be killed by the composting process, posing a health risk.
How do I know when my compost is ready to use?
Your compost is ready when it looks dark, crumbly, and smells earthy like a forest floor. You shouldn’t be able to recognize the original food scraps or yard waste. It should also feel cool, not hot, to the touch.

I am passionate about home engineering. I specialize in designing, installing, and maintaining heating, ventilation, and air conditioning systems. My goal is to help people stay comfortable in their homes all year long.