Hey there, neighbour! Ever looked at your kitchen scraps or yard waste and thought, “There has to be a better way than just tossing this stuff?” You’re not alone! Many of us in Canada want to be a bit greener, but the idea of composting can seem… well, complicated. But guess what? It’s actually super simple and incredibly rewarding. We’ll walk through building your own compost heap, step-by-step. Let’s turn that waste into garden gold!
Your Genius Guide to an Awesome Compost Heap in Canada
So, you’re ready to dive into the wonderful world of composting right here in Canada! That’s fantastic. Composting is one of the easiest and most impactful ways to reduce your household waste and create amazing food for your garden. Think of it as nature’s recycling program. Instead of sending your leftover veggie peels, coffee grounds, and grass clippings to the landfill, you’re turning them into rich, nutrient-filled soil. This guide is designed for you – the beginner, the busy bee, the budget-conscious canuck – to make building and maintaining a compost heap totally stress-free.
We’ll cover everything from picking the perfect spot and gathering your materials to the simple science behind making compost happen. By the end of this, you’ll have a thriving compost heap ready to work its magic for your garden next spring. Ready to get your hands a little dirty (in the best way possible)? Let’s get started!
Why Bother with a Compost Heap? The Big Wins
Before we dig in, let’s chat about why a compost heap is such a darn good idea, especially for us Canadians. It’s more than just a pile of scraps; it’s a smart, sustainable choice with benefits that ripple out far beyond your backyard.
- Waste Reduction: About 30% of what you throw away is compostable. Imagine cutting down your garbage bin by a third! That’s less going to landfills and a lighter load for our planet.
- Garden Gold: Compost is like a superfood for your soil. It improves soil structure, helps retain moisture (super useful for those dry Canadian summers!), and provides essential nutrients for your plants. Healthy plants mean healthier you!
- Money Saver: Why buy expensive fertilizers or soil amendments when you can make your own for free? Your compost heap becomes your personal garden supply store.
- Environmental Friendliness: Composting reduces methane emissions from landfills, a potent greenhouse gas. Plus, reducing the need for synthetic fertilizers helps cut down on pollution.
- Educational Fun: It’s a fantastic way to teach kids (and ourselves!) about natural cycles and the importance of sustainability. It’s hands-on science!
What Can Actually Go in Your Canadian Compost Heap? “Greens” vs. “Browns”
The secret to successful composting is balance. You need a good mix of “green” materials (nitrogen-rich) and “brown” materials (carbon-rich). Think of it like a recipe – getting the right ingredients in the right proportions makes all the difference.
“Green” Materials (Nitrogen-Rich)
These are typically moist materials that provide nitrogen, which helps the microorganisms that break down the compost get to work. Think of them as the “fast food” of your compost pile.
- Fruit and vegetable scraps (apple cores, banana peels, carrot tops)
- Coffee grounds and tea bags
- Grass clippings (in thin layers to avoid matting)
- Plant trimmings (non-woody, disease-free)
- Eggshells (crushed)
- Manure from herbivores (chickens, rabbits, cows, horses – but avoid dog or cat waste)
“Brown” Materials (Carbon-Rich)
These are dry, woody materials that provide carbon and add structure to your pile, allowing air to circulate. They break down more slowly. Think of them as the “staples” that give your compost body.
- Dried leaves (a composter’s best friend in the fall!)
- Straw or hay
- Shredded newspaper and cardboard (avoid glossy or coloured inks)
- Twigs and small branches (chopped or shredded)
- Sawdust or wood shavings (from untreated wood only)
- Pine needles (in moderation, as they can be acidic)
- Paper towels and napkins (unsoiled)
What to Keep OUT of Your Compost Heap
Just as important as knowing what to add is knowing what to avoid. Putting the wrong things in can attract pests, create unpleasant odours, or even hinder the composting process.
- Meat, bones, and fish scraps: These attract rodents and can smell terrible.
- Dairy products: Same reason as meat – they attract pests and can stink.
- Oily or greasy foods: These can slow down decomposition.
- Diseased plants or weeds that have gone to seed: You don’t want to spread diseases or more weeds into your garden.
- Pet waste (dog or cat): Can contain harmful pathogens.
- Treated wood or sawdust: Chemicals can leach into your compost.
- Coal or charcoal ash: Can contain sulphur and other compounds harmful to plants.
- Synthetic materials: Plastics, Styrofoam, etc., will never break down.
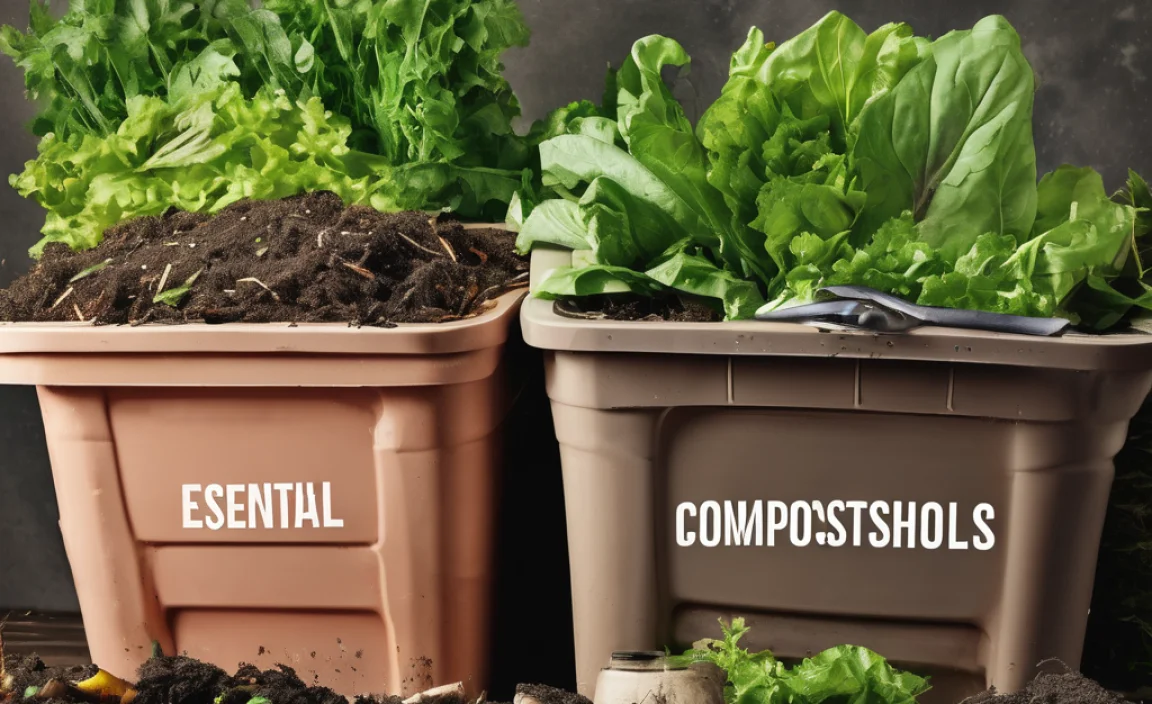
Choosing Your Compost Heap Style: Bins vs. Piles
When it comes to containing your compost in Canada, you have a few popular options. Your choice might depend on your space, budget, and how tidy you like things to look.
Option 1: The Simple Compost Pile
This is the most basic approach. You simply create a pile directly on the ground. It’s free and easy, but it can look a bit… wild.
- Pros: No cost, easy to turn, good aeration.
- Cons: Can look messy, materials might spread, may take longer to break down if not managed well.
Option 2: DIY Enclosed Bin (Pallets or Wire Mesh)
This involves building a simple enclosure. You can use readily available materials like wooden pallets or chicken wire. It keeps things contained and looking neater.
Using Pallets: If you can get your hands on four free wooden pallets, you can have a sturdy 3-sided (or 4-sided) bin in no time. Simply stand them up and secure them together with screws or zip ties. It’s a great way to repurpose materials!
Using Wire Mesh: You can form a cylinder out of chicken wire or hardware cloth. Secure the ends, and you’ve got a quick compost bin. This offers excellent aeration.
- Pros: Relatively inexpensive, keeps materials tidy, good aeration (especially wire mesh).
- Cons: Pallet bins can be heavy, wire mesh bins might be less sturdy.
Option 3: Purchased Compost Bin (Tumblers or Stationary Bins)
These pre-made bins are available at garden centres and hardware stores. They come in various designs, from stationary bins that hold materials to tumblers that make turning a breeze.
Stationary Bins: Often made of plastic, these are enclosed and sometimes have doors at the bottom for easy compost removal. They can be great for keeping pests out.
Tumblers: These are enclosed drums that you can spin or tilt. They make turning the compost much easier and can speed up the decomposition process. They are also excellent for keeping critters away.
- Pros: Tidy appearance, often designed for good aeration and moisture control, tumblers make turning easy, stationary bins can deter pests.
- Cons: Can be expensive, tumblers have limited capacity.
For a beginner, a simple DIY pallet bin or a wire mesh bin is often the perfect starting point. They’re affordable, effective, and you get that satisfying DIY feeling!
Where to Set Up Your Compost Heap in Canada
Location, location, location! Even with a simple compost heap, picking the right spot makes a big difference. You want to make it easy on yourself and good for the composting process.
- Sunlight: A partly sunny spot is ideal. Too much direct, hot sun can dry out your compost too quickly, while too much shade might keep it too wet and slow things down. A spot that gets morning sun and afternoon shade is often perfect.
- Accessibility: Make sure you can easily get to it with your kitchen scraps and garden waste. You’ll also need access to turn it and, eventually, to get the finished compost out.
- Drainage: Choose a spot that doesn’t collect water. You want your compost to be moist, not waterlogged. Placing it directly on bare soil is best, as it allows beneficial organisms from the soil to access your pile and excess moisture to drain away.
- Water Source: Having a hose or watering can nearby is helpful, as you’ll need to keep your compost moist.
- Away from Neighbours (if needed): While a well-managed compost heap shouldn’t smell bad, it’s wise to place it where it won’t bother neighbours, especially when you’re first learning.
Building Your Compost Heap: A Step-by-Step Guide
Let’s get down to business! Here’s how to build your very own compost heap. We’ll assume you’re going with a simple pile or a DIY bin for this guide.
Step 1: Prepare Your Location
Clear the chosen spot of any grass or weeds. Loosen up the soil a bit underneath where your pile will sit. This helps with drainage and allows soil critters to move in.
Step 2: Start with a Base Layer of “Browns”
Lay down a coarse layer of “brown” materials, about 4-6 inches thick. This could be small twigs, straw, or shredded cardboard. This layer allows air to circulate from the bottom and helps prevent the pile from becoming a soggy mess.
Step 3: Start Adding Layers – The Green & Brown Mix!
Now, begin alternating layers of “green” and “brown” materials. A good ratio to aim for is roughly 2 parts brown to 1 part green. You don’t need to be super precise, but this gives you a starting point.
- Add a layer of greens (kitchen scraps, grass clippings).
- Cover it with a layer of browns (leaves, shredded paper).
- Continue layering until your bin is about half full or you’ve used up your initial materials.
Tip: Chop up larger items like watermelon rinds or cabbage leaves. Smaller pieces break down much faster!
Step 4: Moisten Your Heap
Your compost pile should be about as damp as a wrung-out sponge. Use your hose or watering can to lightly moisten each new layer as you add it. If it’s too dry, the decomposition process slows way down. If it’s too wet, it can become anaerobic (lacking oxygen) and start to smell.
Step 5: Incorporate Air (Turning!)
Compost needs oxygen to work efficiently. This is where “turning” comes in. You can use a pitchfork or a compost aerator tool to mix the materials. The more you turn, the faster you’ll get compost, but even occasional turning helps.
- Beginners: Aim to turn your pile gently every 2-4 weeks.
- The Goal: Move material from the outside to the inside and vice-versa. This ensures everything gets a chance to decompose.
Step 6: Keep Adding Materials
As you generate more kitchen scraps and yard waste, continue adding them to your compost heap. Try to bury fresh kitchen scraps in the centre of the pile to help deter pests and speed up their breakdown.
When adding new materials, try to maintain that green-to-brown balance and moisten them as you go. If you add a lot of grass clippings (green), be sure to add extra leaves or shredded paper (browns) to balance it out.
Step 7: Be Patient!
Composting is a natural process, and it takes time. Depending on the materials you use, the weather, and how often you turn your pile, it can take anywhere from a few months to a year to get finished compost.
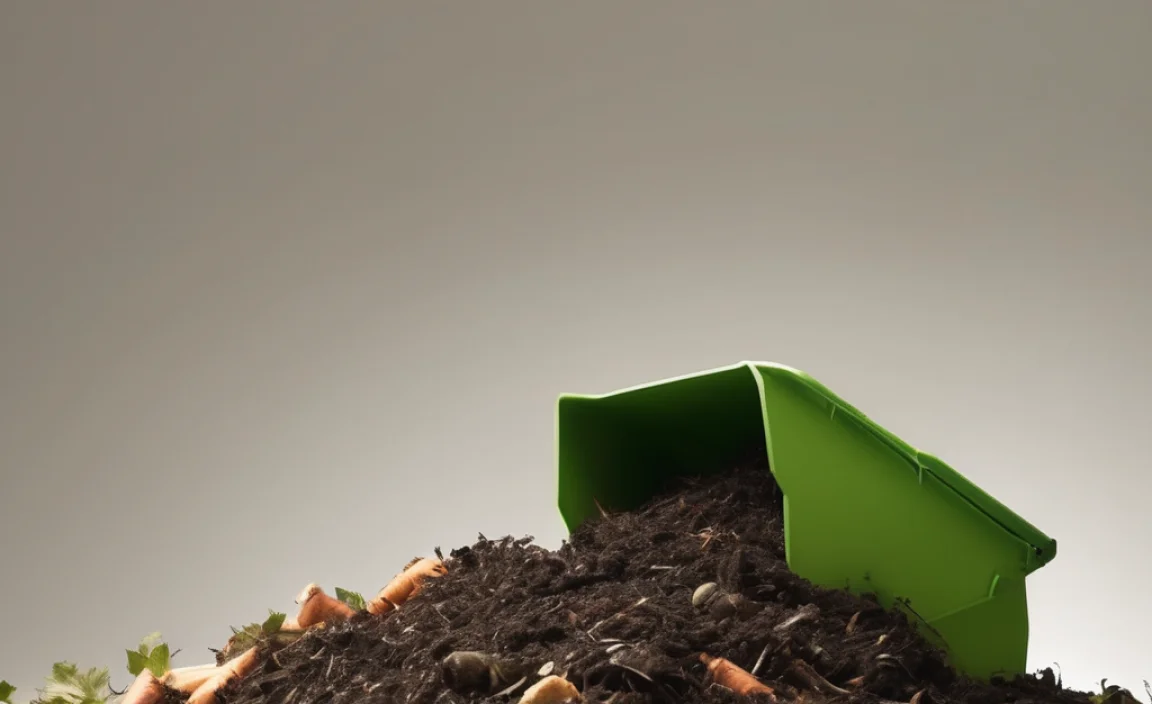
What Does Finished Compost Look Like?
You’ll know your compost is ready when it looks and smells like rich, dark earth. It should be crumbly, and you shouldn’t be able to recognize the original materials you put in (except perhaps some larger twigs that you can screen out).
Maintaining Your Compost Heap: Tips for Success
Keeping your compost happy and healthy isn’t hard. It’s all about maintaining that balance:
- Moisture: Check the moisture level regularly. If it feels dry, water it. If it’s too wet after rain, you might need to add more brown materials or turn it to help it dry out a bit.
- Aeration: Turn the pile when you add new materials, or at least once a month. A compost aerator tool is a great investment for this.
- Balance: If your pile starts to smell like ammonia, you probably have too many greens. Add more browns! If it smells like rotten eggs, it’s likely too wet and needs more air and browns.
Troubleshooting Common Compost Issues
Even experienced composters run into little hiccups. Here are some common problems and how to fix them:
| Problem | Cause | Solution |
|---|---|---|
| Smells Bad (Rotten Eggs, Ammonia) | Too wet, not enough air, too many greens. | Add more brown materials (leaves, shredded paper). Turn the pile to introduce air. Ensure good drainage. |
| Not Heating Up / Decomposing Slowly | Too dry, not enough green materials, pile too small. | Add water. Add more green materials. Ensure the pile is at least 3x3x3 feet, if possible. Turn the pile. |
| Attracting Pests (Rodents, Flies) | Exposed food scraps, meat/dairy added. | Bury food scraps in the centre of the pile. Never add meat, dairy, or oily foods. Ensure your bin is secure or your pile is well-managed. |
| Pile is Too Matted/Clumpy | Too many grass clippings or wet materials matted together. | Add dry, bulky brown materials like straw or shredded cardboard to break up clumps and improve airflow. Turn the pile more frequently. |
Composting in Different Canadian Climates
Canada is a big place with diverse climates! Here’s how that might affect your composting:
- Colder Regions (e.g., Prairies, Northern Ontario/Quebec, Maritimes in winter): Decomposition slows down significantly in winter. You can either let it rest, or continue adding materials to a well-insulated bin (like a stationary plastic bin). The goal is not necessarily active decomposition in winter, but preservation of materials until spring. You can insulate your bin with straw bales or blankets.
- Milder Regions (e.g., BC Coast, Southern Ontario): You might be able to compost year-round, though decomposition will still slow in cooler months. Tumblers can be helpful as they can be brought into a garage or sheltered area.
- General Tip: In any climate, starting a good, hot compost pile in spring allows you to get usable compost by fall. If fall is your start time, you’ll likely have to wait until the next spring or summer.
For more detailed guidance on composting in specific regions or for dealing with specific challenges, the Government of Canada’s environmental resources offer great insights into sustainable practices.
When to Harvest Your Compost
As mentioned, finished compost looks and smells like dark, crumbly soil. There should be no recognizable food scraps or, more importantly, no foul odours. You can screen your compost using a simple sieve made of hardware cloth (1/2-inch or 1/4-inch openings) to remove any larger, undecomposed bits. These bits can go right back into your active compost heap to continue breaking down.
How to Use Your Finished Compost
- Soil Amendment: Mix compost into your garden beds before planting. A layer 1-3 inches deep is usually sufficient.
- Top Dressing: Spread a thin layer of compost around existing plants, shrubs, and trees.
- Potting Mix Ingredient: Combine compost with potting soil and other ingredients to create your own custom potting mix for containers.
- Lawn Care: Rake a light layer of compost over your lawn in the spring or fall

I am passionate about home engineering. I specialize in designing, installing, and maintaining heating, ventilation, and air conditioning systems. My goal is to help people stay comfortable in their homes all year long.