Hey there, neighbor! Ever look at your kitchen scraps and yard waste and think, “There’s gotta be a better way than just tossing this?” You’re right! Composting can seem a bit mystifying, but it’s actually super simple and way cheaper than you might think. We’re talking about turning trash into gardening gold, all without breaking the bank. This guide will show you exactly how to build and manage a fantastic compost heap for next to nothing. Ready to get started?
Compost Heap Cheap: Your Ultimate Budget-Friendly Guide
As Troy D Harn, your go-to guy for making home projects easy and affordable, I’m here to tell you that composting is one of the most rewarding — and budget-friendly — habits you can adopt. It’s like having a magic trick for your garden. You take stuff you’d normally throw away, and in a few months, you’ve got nutrient-rich goodness that will make your plants sing. Forget fancy bins that cost a fortune; we’re going to build a super effective compost heap using what you might already have. Let’s dig in!
Why Bother with Composting? It’s More Than Just Dirt!
Before we get our hands dirty, let’s chat about why composting is such a brilliant idea. For starters, it’s a massive win for your garden. Compost is packed with nutrients that help your soil become healthier, more fertile, and better at holding moisture. This means lusher plants, tastier veggies, and fewer trips to the garden center for expensive fertilizers. It’s also a fantastic way to reduce waste. Did you know that food scraps and yard waste make up a significant portion of what we send to landfills? Composting diverts this from landfills, which helps reduce methane gas emissions, a potent greenhouse gas. Plus, it feels pretty darn good to be a part of the solution!
Think of it as giving your waste a second life. Instead of ending up buried in a landfill, it’s transformed into something truly valuable for your home and the planet. It’s this simple:
- Boosts Soil Health: Improves soil structure, aeration, and drainage.
- Reduces Waste: Diverts landfill waste and cuts down on methane emissions.
- Saves Money: Less need for chemical fertilizers and soil amendments.
- Healthier Plants: Provides essential nutrients for vibrant growth.
- Environmentally Friendly: A natural way to recycle organic materials.
What Exactly Can You Compost? The “Greens” and “Browns” Explained
The secret to successful, low-cost composting lies in understanding what goes into your heap. It’s not a free-for-all! You want a good balance of “greens” and “browns.” Think of it like a recipe. Mixing these two types of materials correctly is key to getting that perfect compost without any funky smells.
The “Greens”: Nitrogen-Rich Materials
Green materials are typically moist and provide nitrogen, which is essential for the microbes that break down everything in your compost pile. These are the things that tend to break down quickly.
- Vegetable and Fruit Scraps: Peels, cores, rinds, wilted produce.
- Coffee Grounds and Filters: Yes, you can compost those!
- Tea Bags: Remove any staples or plastic wrappers.
- Grass Clippings: In thin layers to avoid matting.
- Plant Trimmings: From your garden, as long as they aren’t diseased.
- Manure: From herbivores like chickens, cows, horses, rabbits (avoid pet waste).
The “Browns”: Carbon-Rich Materials
Brown materials are usually dry and provide carbon, which feeds the microbes and helps create air pockets in the pile. These break down slower and add bulk.
- Dry Leaves: A composters best friend!
- Twigs and Small Branches: Chop them up for faster decomposition.
- Straw and Hay: Ensure it hasn’t been treated with herbicides.
- Cardboard: Plain, unprinted cardboard, torn into small pieces (avoid glossy or coated types).
- Paper: Shredded newspaper (some advice suggests avoiding colored inks, but for general composting, plain newsprint is fine).
- Sawdust: From untreated wood, use in moderation.
- Eggshells: Crushed for faster breakdown.
What NOT to Compost (The Don’ts of Dirt!)
Just as important as knowing what to add is knowing what to leave out. Adding the wrong things can attract pests, create foul odors, or introduce diseases to your garden. When you’re aiming for a “compost heap cheap,” you want to avoid materials that cost you money as well as those that cause problems. Trust me, you don’t want that!
- Meat, Fish, and Bones: These attract rodents and pests and can smell awful.
- Dairy Products: Similar to meat, they attract pests and can rot.
- Oily or Greasy Foods: These slow down decomposition and can create anaerobic (low-oxygen) conditions, leading to bad smells.
- Diseased Plants: You don’t want to spread plant diseases in your garden.
- Weeds with Seeds: Unless your compost pile gets very hot, these seeds might survive and sprout in your garden.
- Pet Waste: From cats and dogs can contain harmful pathogens.
- Chemically Treated Materials: Lawn clippings treated with herbicides, treated wood, etc.
- Coal or Charcoal Ash: Can contain harmful substances.
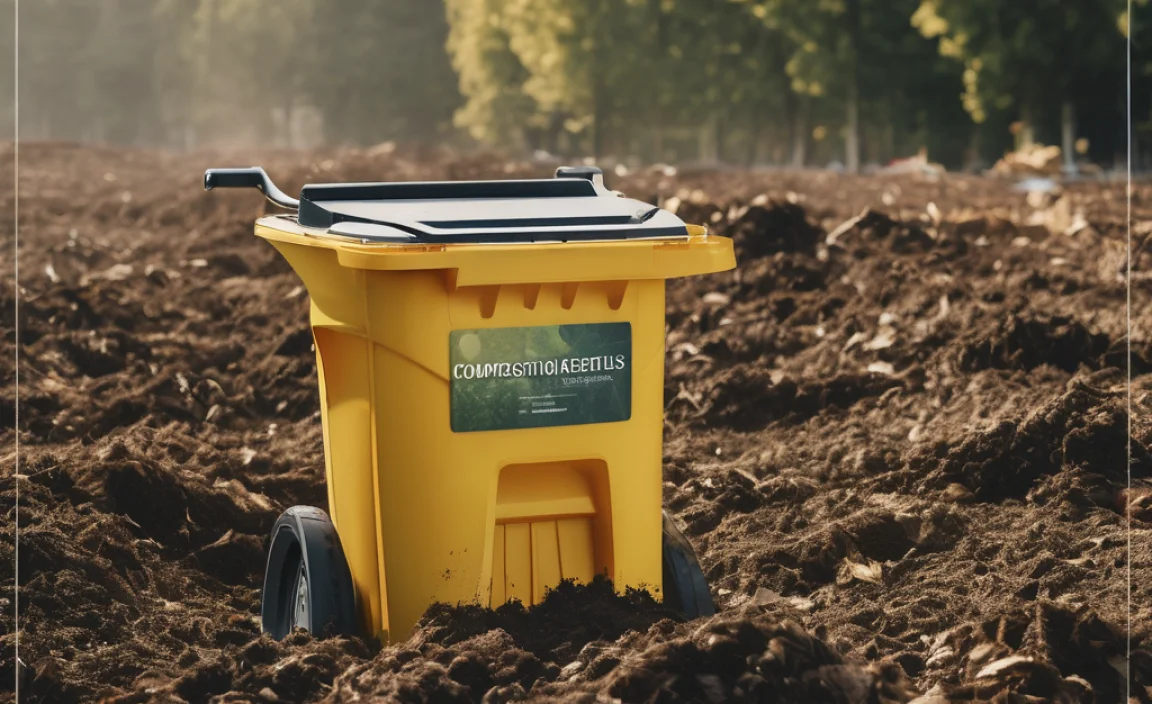
Building Your Cheap Compost Heap: Methods That Don’t Cost a Fortune
Alright, let’s get to the good stuff: building your compost heap without spending a dime or just a few bucks. There are several ways to go, and the best one for you depends on your space and what you have available.
Method 1: The Simple Pile (Free!)
This is the most basic and cheapest method. You literally just create a pile of your compostable materials in a corner of your yard. It requires no construction, no tools, just a little space.
Where to put it: Choose a level, well-drained spot. Partial shade is ideal, as direct sun can dry it out too quickly, and deep shade can keep it too wet. It should be away from wooden structures, as constant moisture can cause rot.
How to build it:
- Start with a layer of coarse brown material (like twigs or straw) at the bottom for aeration.
- Then, begin layering your greens and browns. Aim for roughly a 2:1 or 3:1 ratio of browns to greens by volume. Don’t stress too much about exact measurements; it’s more about visual balance.
- Make sure to chop or shred larger items to speed up decomposition.
- Keep the pile moist, like a wrung-out sponge.
Method 2: The Pallet Bin (Low Cost/Recycled Materials)
This is a fantastic way to create a contained compost bin using recycled materials. Old wooden pallets are often available for free from local businesses, construction sites, or online marketplaces. This method is super popular because it’s sturdy, looks tidy, and keeps your compost contained.
What you’ll need:
- 4 wooden pallets of similar size (often free!)
- Wire, zip ties, screws, or nails to fasten them together.
- Optional: Hinges for a front gate (if you want easy access).
How to build it:
- Stand three pallets on their edges to form three sides of a square.
- Connect them at the corners using wire, strong zip ties, screws, or nails. Make sure they are secure.
- You can either attach the fourth pallet as the front, or hinge it to create a door for easier turning and harvesting of compost.
- If you want a smaller bin, you can use just 3 pallets to form a U-shape.
Pro Tip: If you can’t find pallets, look for scrap lumber at construction sites or check out local building supply stores for offcuts. Sometimes they’ll give them away for free!
Method 3: Wire Mesh Cylinder (Quick and Easy)
This is another super-simple and cheap option. It provides good airflow and is easy to move if needed. You can often find hardware cloth or chicken wire at garden centers or hardware stores.
What you’ll need:
- A length of sturdy wire mesh (hardware cloth is best, about 3-4 feet tall and 6-8 feet long).
- Wire or zip ties to secure the ends.
- Wire cutters.
How to build it:
- Roll the wire mesh into a cylinder shape. Aim for a diameter of about 3 feet.
- Secure the ends together with wire or heavy-duty zip ties.
- Place it in your chosen spot and start filling!
Where to buy: Look for hardware cloth at home improvement stores like The Home Depot or Lowe’s, or local agricultural supply stores.
Managing Your Compost Heap: Temperature, Moisture, and Turning
Building the heap is only half the battle. To get good compost quickly and without problems, you need to manage it. Don’t worry, it’s not complicated!
Moisture: It’s All About the Dampness
Your compost microorganisms need moisture to live and work. The ideal moisture level is like a wrung-out sponge – damp but not soggy. If your pile is too dry, decomposition slows way down. If it’s too wet, it can become anaerobic, smell bad, and attract unwanted guests.
- Too Dry? Add some water. A hose is your friend here. If you’re adding lots of dry brown materials (like a big load of leaves), you might need to water as you build.
- Too Wet? Add more brown materials (like shredded cardboard or dry leaves) and turn the pile to help it dry out and aerate.
Aeration: Giving Your Microbes Room to Breathe
Composting is an aerobic process, meaning it needs oxygen. Turning your compost pile regularly adds oxygen, which helps the microbes work efficiently and prevents odors. This is where your turning fork or garden fork comes in handy.
- How often to turn: Aim to turn your pile every 1-4 weeks. More frequent turning means faster compost, but even turning once a month will get you good results.
- What to do: Use your fork to mix the outer layers into the center and bring the inner material to the outside. It’s like fluffing a pillow for your compost!
Temperature: The Hot and Cold of It
A well-managed compost pile will heat up in the center as the microorganisms do their work. This “hot composting” is great because it speeds up the process and kills off weed seeds and pathogens. However, even a “cold compost” pile (one that doesn’t get very hot) will eventually break down material, it just takes longer.
- Signs of heat: The center of a actively composting pile can reach 130-160°F (54-71°C). You might see steam rising from it.
- If it’s not heating up: It might be too dry, lack nitrogen (too many browns), or need turning.
- Don’t worry if it stays cool: Your compost will still be great, it just might take 6-12 months instead of 2-4 months.
Compost Heap Ratios: The Magic Mix
This is where many beginners get a bit stressed, but it’s really about achieving a balance, not a precise science. The goal is to have enough carbon (browns) for energy and enough nitrogen (greens) for protein. A good starting point is a ratio of around 25-30 parts carbon to 1 part nitrogen by weight. In terms of volume, this often translates to about 2-3 parts browns to 1 part greens.
Here’s a quick visual guide for building your layers:
| Compost Material Type | Examples | Approximate Ratio Contribution (by volume) |
|---|---|---|
| Browns (Carbon-rich) | Dry leaves, straw, shredded cardboard, twigs, sawdust | 2-3 parts |
| Greens (Nitrogen-rich) | Grass clippings, vegetable scraps, coffee grounds, plant trimmings | 1 part |
Common Mistakes to Avoid:
- Too many greens: Can lead to a slimy, smelly pile. Add more browns!
- Too many browns: Decomposition will be very slow. Add more greens!
- Compacting: Don’t let your pile become a dense, soggy mess. Turn it!
What Tools Do You Really Need for a Cheap Compost Heap?
The beauty of a cheap compost heap is that you don’t need many fancy tools. In fact, you might already have what you need in your shed or garage. Here’s a rundown of useful items, from essential, free options to a couple of budget-friendly additions.
Essentials (Likely Free or Already Owned):
- Your Hands: For mixing smaller amounts and checking moisture.
- A Garden Fork or Pitchfork: Invaluable for turning the pile. If you don’t have one, ask a neighbor or look on local buy/sell groups for a used one.
- A Shovel: For moving materials and harvesting finished compost.
- Water Source: A hose is best, but buckets of water work too!
Budget-Friendly Additions (Optional but Helpful):
- A Thermometer: A compost thermometer can help you monitor temperatures, especially if you’re aiming for hot composting. These can usually be found for around $20-$30.
- A Tarp: To cover the pile if it’s getting too wet from rain, or to help retain moisture if it’s very dry in the summer.
- Watering Can: If a hose isn’t easily accessible.
Troubleshooting Common Compost Heap Problems
Even with the best intentions, your compost heap might present a few challenges. Don’t get discouraged! Most issues are easy to fix with a little know-how.
| Problem | Cause | Solution |
|---|---|---|
| Bad Odors (Ammonia or Rotten Eggs) | Too many nitrogen-rich “greens” or the pile is too wet and compacted, leading to anaerobic conditions. | Add more carbon-rich “browns” (leaves, shredded cardboard, sawdust). Fork the pile to aerate it and improve airflow. Make sure it’s not waterlogged. |
| Pile Isn’t Heating Up / Decomposing Slowly | Too many “browns” (carbon), pile is too dry, pile is too small, or it hasn’t been turned. | Add more “greens” (kitchen scraps, grass clippings). Moisten the pile if it’s dry. Ensure your pile is at least 3x3x3 feet for best results. Turn the pile regularly. Chop materials into smaller pieces. |
| Attracting Pests (Rodents, Flies) | Presence of meat, dairy, greasy foods, or uncovered food scraps. | Remove these items immediately. Bury fresh food scraps deep within the center of the pile, covering them with brown materials. Ensure your bin is sturdy if using a pallet or wire method. For persistent issues, consider a more enclosed bin. |
| Pile is Too Wet and Slimy | Too much moisture, lack of aeration, too many greens. | Add plenty of dry brown materials. Turn the pile frequently to introduce air. Ensure the location has good drainage and isn’t collecting standing water. |
| Compost is Clumped and Hard | Lack of moisture or materials are too large. | Break up any large clumps. Ensure the pile is adequately moist. Continue to turn and mix thoroughly. |
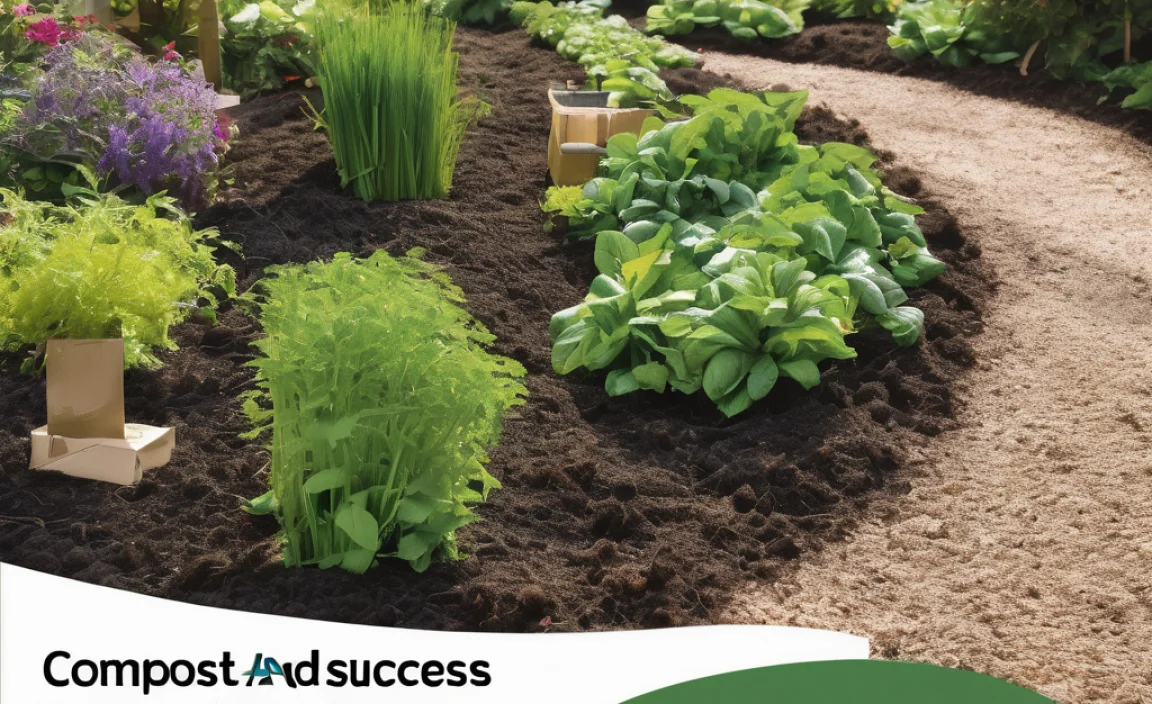
When is Compost Ready? The Magic Black Gold
The ultimate reward for your efforts is finished compost, often called “black gold.” It’s a dark, crumbly material that smells earthy, like a forest floor after rain. You shouldn’t be able to identify

I am passionate about home engineering. I specialize in designing, installing, and maintaining heating, ventilation, and air conditioning systems. My goal is to help people stay comfortable in their homes all year long.