Hey there, fellow home improvers and garden enthusiasts! Troy D Harn here, your go-to guy for making DIY, gardening—and yes, even composting—easy and stress-free. Ever looked at your kitchen scraps and garden waste and thought, “There’s gotta be a better way than just tossing this stuff?” You’re right! Making your own compost is like magic for your garden, turning everyday waste into black gold. It sounds complicated, but I promise it’s simpler than you think. Let’s break down how to build an awesome compost heap that’ll make your plants sing. Ready to get started?
What is Composting and Why Should You Care?
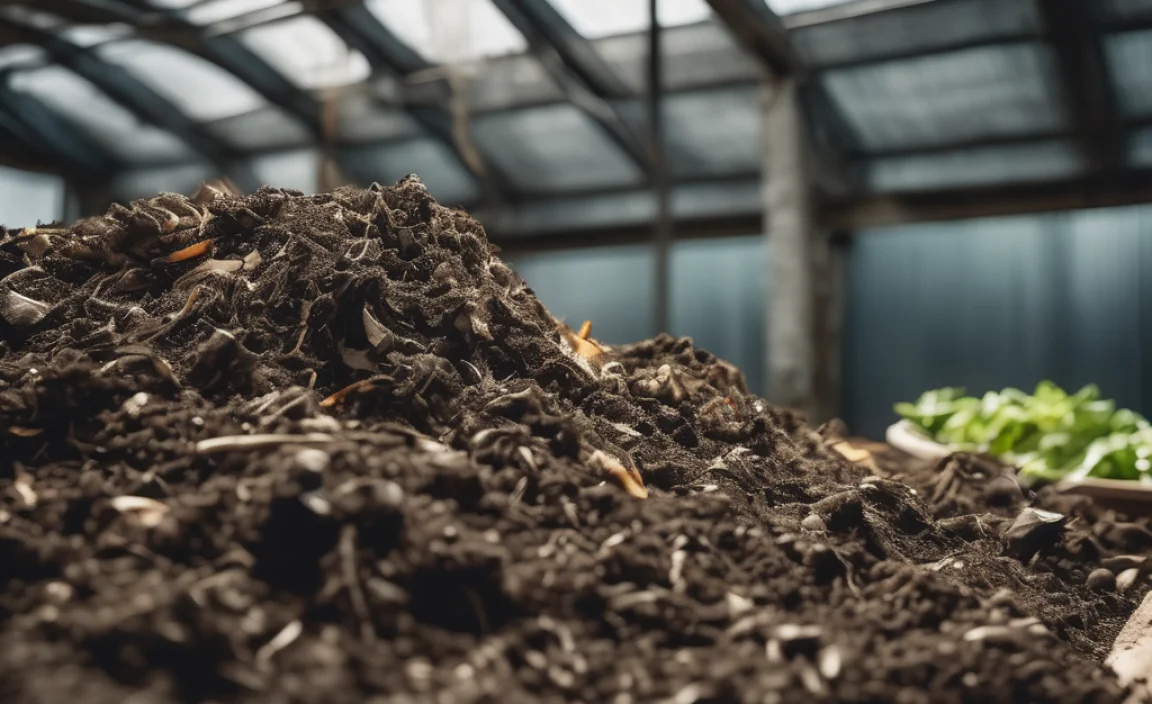
Composting is nature’s recycling program! It’s the process of breaking down organic materials—like food scraps and yard trimmings—into a nutrient-rich soil amendment called compost. Think of it as super-powered fertilizer that you can make yourself, for free.
Why bother? Well, for starters, it’s incredibly good for your garden. Compost improves soil structure, helps it retain moisture, and feeds your plants the nutrients they need to thrive. It also means less waste going into landfills, which is a win for everyone and Mother Earth. Plus, imagine growing vibrant flowers and delicious veggies using something YOU created from waste! Pretty cool, right?
Getting Started: What You’ll Need
Before we dive into the heap itself, let’s gather our supplies. Don’t worry, you won’t need fancy equipment. Most of what you need you might already have, or it can be found affordably.
Choosing Your Compost Bin or Heap Style
You have a few options for containing your compost. The best choice depends on your space, how much waste you generate, and your aesthetic preference.
- Open Heap: The simplest method. Just pile your materials directly onto the ground. This is great if you have plenty of space and don’t mind a less tidy look.
- Enclosed Bin: These are commercially available bins made from plastic or wood. They can look neater, help retain moisture and heat, and can deter pests.
- DIY Bin: You can build your own using wooden pallets, chicken wire, or cinder blocks. This is a fantastic budget-friendly option and a great weekend project!
- Tumbler: These are enclosed, rotating barrels. They make turning the compost easy and speed up the decomposition process. They can be pricier but are very convenient.
Essential Tools for Compost Heap Success
You don’t need much, but a few key tools will make your composting journey much smoother.
- Pitchfork or Garden Fork: Your best friend for turning and aerating the compost pile.
- Shovel: Handy for moving materials, especially the finished compost.
- Watering Can or Hose with a Spray Nozzle: To keep your compost pile moist.
- Kitchen Compost Pail (Optional): A small container with a lid to collect food scraps indoors before taking them out to the main heap.
- Gardening Gloves: To keep your hands clean and protected.
The Magic Ingredients: Greens and Browns
The secret to a successful compost heap lies in the balance of two main types of materials: “Greens” and “Browns.” Getting this ratio right is crucial for effective decomposition.
What are “Greens”?
Greens are nitrogen-rich materials. They provide the protein and moisture that microorganisms need to eat and multiply. Think of them as the fuel for your compost fire.
- Fruit and vegetable scraps (peels, cores, rinds)
- Coffee grounds and tea bags
- Grass clippings (in thin layers)
- Fresh plant trimmings
- Manure from herbivores (cow, horse, chicken, rabbit – NOT dog or cat)
Always aim to chop larger items into smaller pieces. This gives the microbes more surface area to work with, speeding up decomposition.
What are “Browns”?
Browns are carbon-rich materials. They provide the energy source for the microorganisms and help create air pockets in the pile, preventing it from becoming a soggy, smelly mess. Think of them as the carbon backbone of your compost.
- Dry leaves
- Straw or hay
- Shredded newspaper or plain cardboard (avoid glossy or colored inks)
- Wood chips or sawdust (use sparingly, especially from treated wood)
- Twigs and small branches (chopped up)
- Dryer lint (from natural fibers)
Many people find it easiest to keep a bin or bag for kitchen scraps (greens) and a separate pile or large bag for yard waste (browns).
The Ideal Ratio: Greens to Browns
The golden rule for a healthy compost heap is to aim for a ratio of roughly 2 to 3 parts Browns to 1 part Greens by volume. This might sound tricky, but it’s more about observation than strict measurement.
If your pile is too wet, smelly, and slimy, you likely have too many Greens. Add more Browns to dry it out and balance things. If your pile is dry, not heating up, and decomposing very slowly, you probably need more Greens. Add some fresh kitchen scraps or grass clippings.
Building Your Compost Heap: Step-by-Step
Now that you know what goes in, let’s build the heap itself. It’s a straightforward process, and you’ll be amazed at how quickly it comes together.
Step 1: Choose a Location
Pick a spot that’s:
- Level: So your heap doesn’t slump to one side.
- Well-drained: You don’t want your compost sitting in a puddle.
- Partly shaded: This helps maintain moisture without drying out too quickly in intense sun.
- Accessible: You’ll need to get to it with your kitchen scraps and garden tools.
- Away from structures: Ideally, not right against your house or wooden fence, as it can retain moisture.
Step 2: Start with a Layer of Browns
Begin by laying down a base layer of coarse, bulky Browns. This could be twigs, straw, or wood chips. This layer helps with drainage and airflow from the bottom.
Step 3: Add Your First Green Layer
Next, add a layer of your Green materials. Kitchen scraps, grass clippings, or garden waste go here.
Step 4: Alternate Layers
Continue alternating layers of Browns and Greens. As you add Greens (like kitchen scraps), try to cover them with a layer of Browns. This is a key step to prevent odors and deter pests.
Step 5: Add Water
With each layer or every couple of layers, lightly moisten the materials. The compost should be as damp as a wrung-out sponge – not dripping wet, and not dusty dry. If you’re using a hose, try a gentle spray setting.
Step 6: Bury Food Scraps
Always bury fresh kitchen scraps in the center of the heap, under at least several inches of Browns. This is the best way to avoid attracting pests like rodents or flies.
Step 7: Turning Your Compost
This is where your pitchfork comes in! To speed up decomposition and ensure everything breaks down evenly, you need to aerate and mix the pile. Aim to turn your compost heap every 1-4 weeks.
- How to Turn: Use your pitchfork to lift material from the outside and bottom and move it to the center. Then, bring the material from the center to the outside. This mixes the hot interior with the cooler exterior and introduces oxygen.
- Signs it Needs Turning: If your pile starts to smell like ammonia or rotten eggs, or if decomposition seems to be slowing dramatically, it’s definitely time to turn.
What NOT to Compost
While composting is forgiving, there are some things you should avoid putting into your compost heap to keep it healthy and safe. These items can cause odors, attract pests, or introduce disease to your garden.
Here’s a simple rundown:
| What to AVOID | Why Avoid It |
|---|---|
| Meat, fish, bones, and dairy products | Attract pests (rodents, flies) and can cause foul odors. Meat can also harbor harmful pathogens. |
| Oils, greases, and fatty foods | Can slow down decomposition, create odors, and attract pests. |
| Diseased plants or weeds gone to seed | The composting process might not get hot enough to kill pathogens or seeds, potentially spreading them back into your garden. |
| Pet waste (dog or cat feces) | Can contain harmful pathogens that are not eliminated by typical home composting temperatures. |
| Treated wood or sawdust | Chemicals in treated wood can leach into your compost and soil; some woods can be toxic. |
| Coal or charcoal ash | Can contain sulfur and iron in amounts that are harmful to plants. |
| Synthetic materials (plastics, synthetic fabrics) | These do not break down. |
For more information on what’s compostable, check out resources from your local Environmental Protection Agency (EPA).
Troubleshooting Common Compost Heap Problems
Even with the best intentions, your compost heap might encounter a hiccup or two. Don’t get discouraged! Most problems have simple fixes.
Problem: The Heap Smells Bad (Rotten Eggs or Ammonia)
Cause: Too much Green material, leading to anaerobic (lack of oxygen) conditions. It’s essentially rotting, not decomposing.
Solution:
- Add more Brown material (leaves, shredded newspaper, straw).
- Turn the pile thoroughly to introduce air.
- Break up any large clumps.
Problem: The Heap is Bone Dry and Not Decomposing
Cause: Not enough moisture or too many Brown materials.
Solution:
- Add water. Sprinkle it in as you turn the pile. Remember, damp like a wrung-out sponge!
- Add more Green materials (kitchen scraps, grass clippings).
- Ensure it’s not in direct, scorching sun all day.
Problem: The Heap is Slimy and Smells Like Ammonia
Cause: Too much Nitrogen (Greens), often from excessive grass clippings or kitchen waste without enough Browns.
Solution:
- Turn the pile thoroughly to aerate it.
- Add a generous amount of Brown materials.
- Avoid adding more nitrogen-rich materials until the nitrogen/carbon balance is restored.
Problem: Pests (Rodents, Flies) are Visiting
Cause: Exposed food scraps, or the presence of meat, dairy, or fatty foods.
Solution:
- Bury all kitchen scraps deep in the center of the pile and cover them with Browns.
- Ensure you are NOT adding any prohibited items like meat, dairy, or oils.
- Turn the pile regularly; this disturbs any potential nests and speeds up decomposition, removing attractants.
- Consider using an enclosed bin or a compost tumbler, which are more pest-resistant.
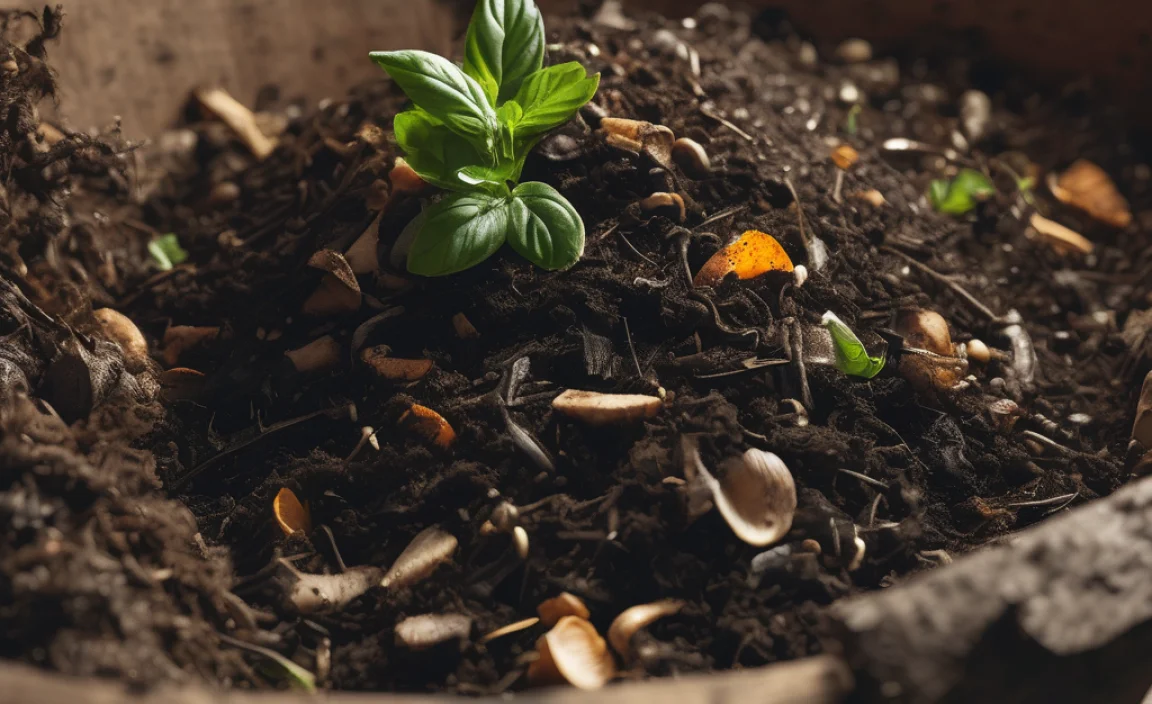
How to Know When Your Compost is Ready
Patience is key! You can’t rush perfection. Your compost is ready to use when it looks, smells, and feels right.
Here are the signs:
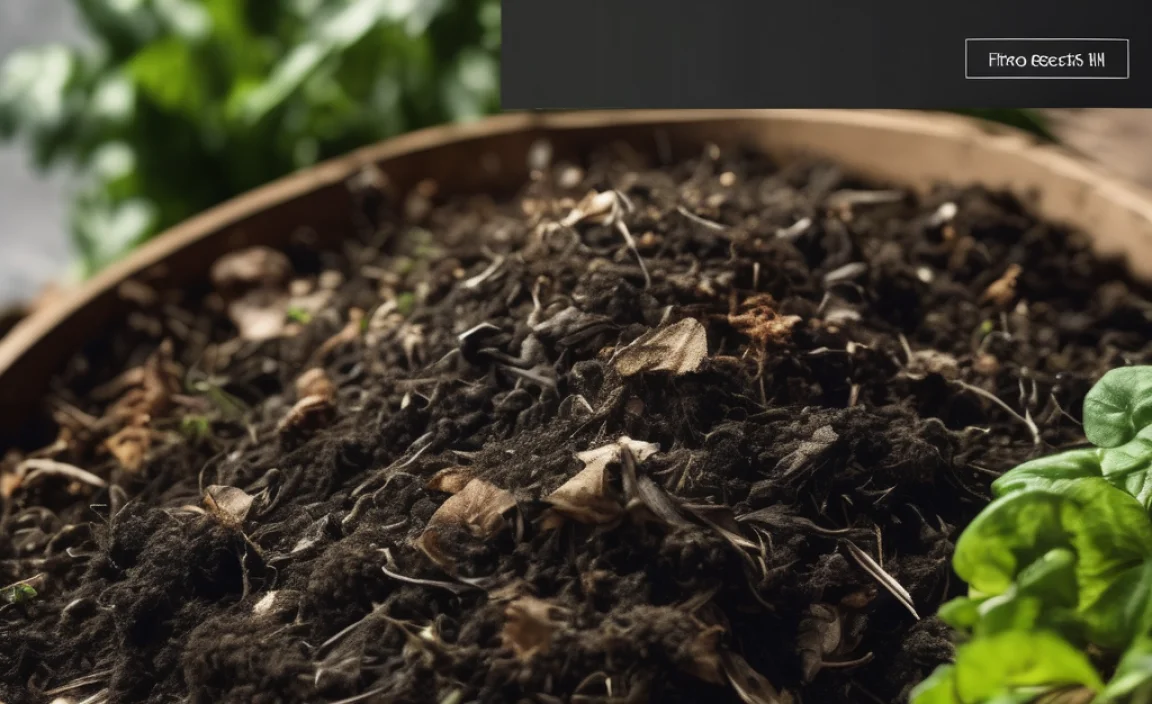
- Appearance: It will be dark brown or black, crumbly, and uniform in texture. You shouldn’t be able to recognize the original materials (no recognizable food scraps or leaves).
- Smell: It should smell earthy and pleasant, like a forest floor after rain. No sour or ammonia odors!
- Texture: It will feel moist but not wet, and it won’t feel overly hot anymore.
Depending on your methods (how often you turn, the materials used, and the weather), compost can be ready anywhere from 2-3 months to a year. Tumblers often produce finished compost much faster.
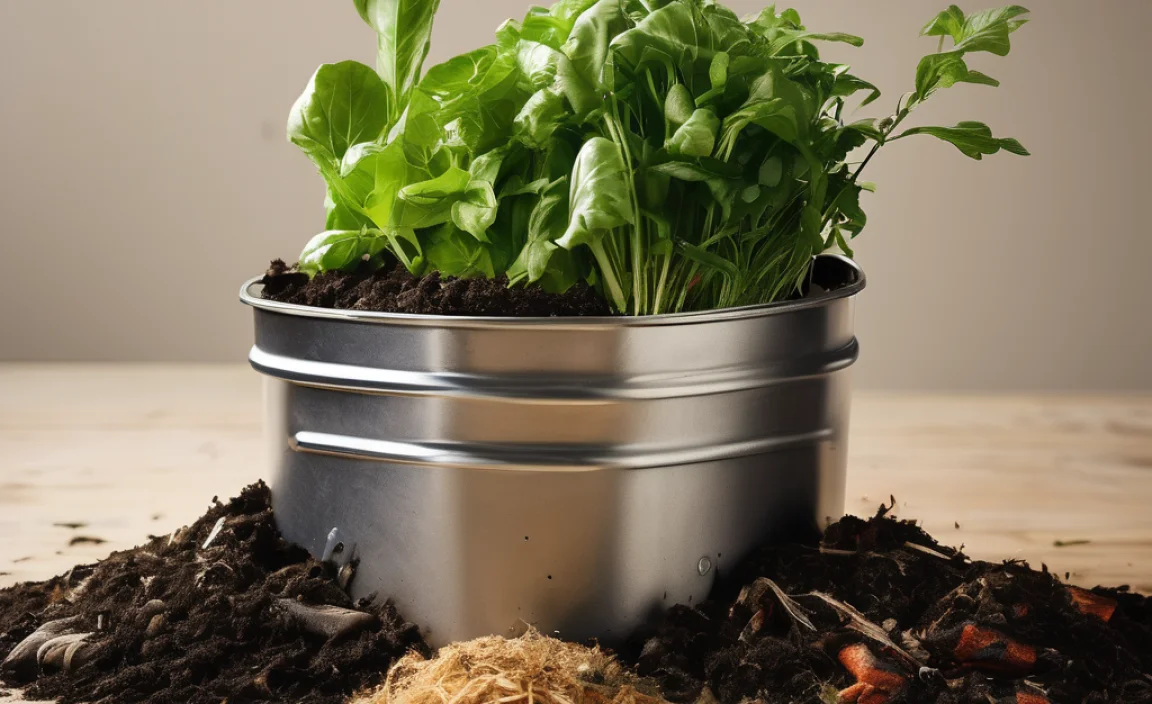
Using Your Finished Compost
Congratulations! You’ve made your own “black gold.” Now it’s time to reap the rewards for your garden.
- Soil Amendment: Mix compost into your garden beds before planting. Aim for about 2-4 inches worked into the top 6-8 inches of soil. This is wonderful for vegetable gardens, flower beds, and even new lawns.
- Top Dressing: Spread a thin layer (about 1-2 inches) of compost around existing plants, shrubs, and trees. This feeds them, helps retain moisture, and suppresses weeds.
- Potting Mix: Create your own rich potting soil by mixing compost with other ingredients like perlite or peat moss. A common mix is one-third compost, one-third peat moss/coir, and one-third perlite or vermiculite.
Using compost helps improve drainage in clay soils and water retention in sandy soils. It’s a truly versatile amendment that your plants will thank you for.
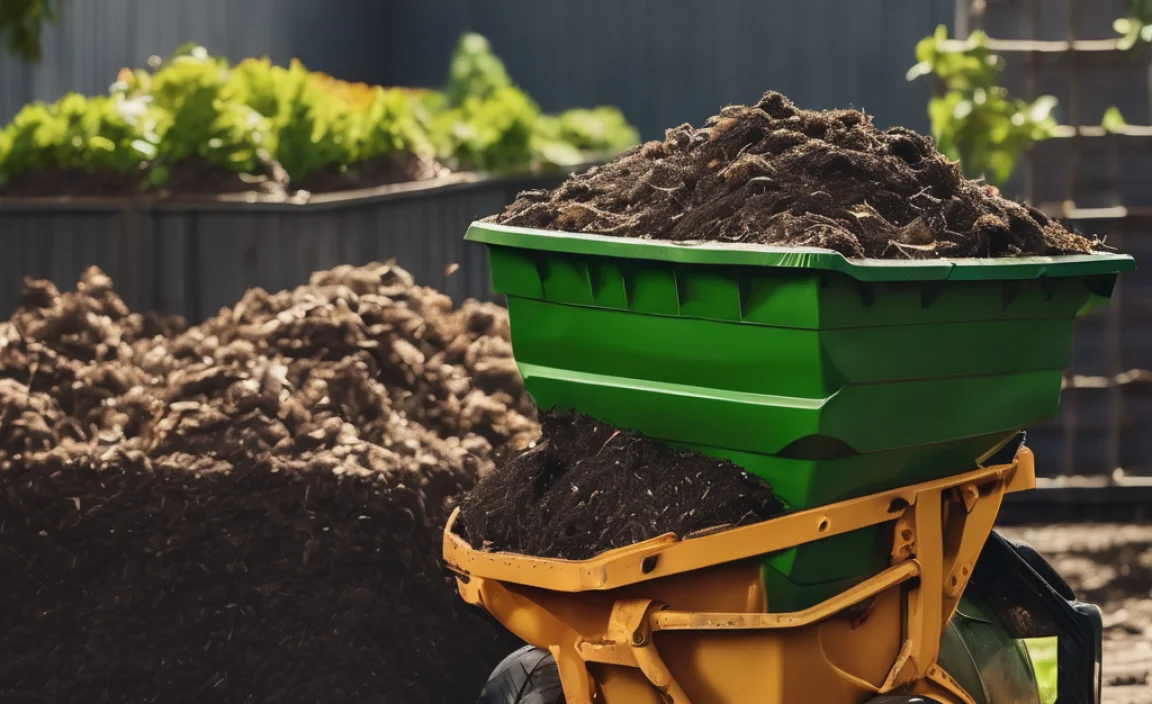
Compost Heap vs. Compost Bin vs. Tumbler: A Quick Comparison
Choosing the right system for you is important. Here’s a quick look at the pros and cons of each popular method:
| Method | Pros | Cons | Best For |
|---|---|---|---|
| Open Heap | Simplest, no cost for containment. Easy to add materials. Good for large volumes. | Can look messy. May attract pests if not managed well. Slower decomposition without turning. | Large yards, high volumes of yard waste, budget-conscious beginners. |
| Enclosed Bin (DIY or Commercial) | Neater appearance. Helps retain heat and moisture. Can deter pests somewhat. | Requires purchase or DIY effort. Can be harder to turn and aerate thoroughly. | Smaller yards, those wanting tidiness, moderate waste volumes. |
| Compost Tumbler | Fastest decomposition. Easy to turn/aerate. Pest-resistant. Tidy. | Highest cost. Limited capacity per batch. Can be heavy to turn when full. | Small spaces, those who want compost quickly, people who dislike manual turning. |
Frequently Asked Questions About Compost Heaps
Here are some common questions beginner composters have. Hopefully, these clear things up!
Q1: How big does my compost heap need to be?
A1: For effective decomposition and to reach ideal temperatures, a heap should ideally be at least 3 feet by 3 feet by 3 feet (about 1 cubic yard). Smaller piles can work, but decomposition might be slower.
Q2: Can I compost everything from my kitchen?
A2: Mostly yes, but avoid meat, dairy, oils, and fatty foods. Also steer clear of diseased plants or anything treated with pesticides/herbicides that might harm your garden.
Q3: How do I get my compost heap to heat up?
A3: A hot compost pile breaks down faster and kills weed seeds and pathogens. To achieve heat, you need the right balance of Greens and Browns, sufficient moisture, and good aeration (turning). The ideal ratio is key, along with a good volume of material to insulate itself.
Q4: I turned my pile and it still smells! What did I do wrong?
A4: If it smells like ammonia, you likely have too many Greens. Add more Browns and turn it. If it smells rotten, it’s too wet and compacted; add Browns and turn to aerate. Sometimes, it just needs a few days after turning to “air out.”
Q5: How long until I have usable compost?
A5: It varies! A “hot” compost pile that’s turned regularly can be ready in 1-3 months. A slower, “cold” pile that’s left mostly alone might take 6-12 months. The key is when it looks and smells like rich soil.
Q6: Can I compost pet waste?
A6: It’s generally not recommended for home composting. Dog and cat feces can contain harmful pathogens that typical home compost heaps don’t get hot enough to kill consistently. It’s best

I am passionate about home engineering. I specialize in designing, installing, and maintaining heating, ventilation, and air conditioning systems. My goal is to help people stay comfortable in their homes all year long.