Hey there, fellow home improvers and garden enthusiasts! Troy D Harn here from TopChooser. Are you looking to go a little greener in your home and garden? Do you have kitchen scraps and yard trimmings piling up, and you’re not sure what to do with them?
It might seem like a lot to manage, but turning that “waste” into garden gold is actually super simple. We’re diving into how to create a truly compost heap sustainable, and I’ve got some genius eco-tips to make it easy for even the newest beginner. Get ready to transform your yard and your gardening game!
What’s So Great About a Sustainable Compost Heap?
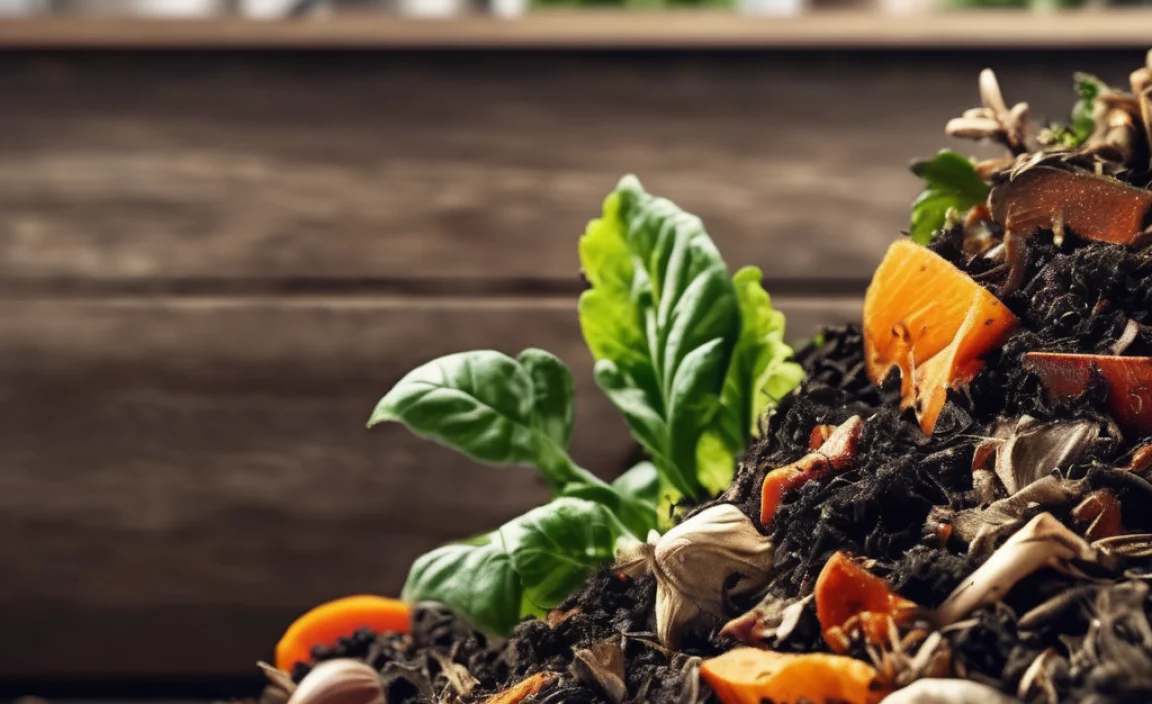
Let’s break it down. A compost heap, at its heart, is nature’s recycling program. You take organic materials – things like fruit peels, coffee grounds, grass clippings, and fallen leaves – and help them break down into a rich, dark, nutrient-packed soil amendment. This “black gold” is amazing for your garden. It improves soil structure, helps retain moisture, and feeds your plants the good stuff they need to thrive, all while reducing the amount of waste heading to the landfill.
Why “sustainable”? Because we’re talking about doing it the smart way. This means making sure your compost pile is efficient, effective, and doesn’t create any unintended problems. It’s about working with nature, not against it, to create a system that benefits your garden and the planet. When you nail a sustainable compost heap, you’re not just gardening; you’re actively participating in a circular economy right in your backyard!
Getting Started: Your Beginner’s Guide to Composting

Feeling a little daunted? Don’t be! Composting is one of those things that sounds complicated but is wonderfully straightforward once you get the hang of it. Think of me as your friendly neighbor guiding you through it, step-by-step. We’ll cover everything you need to know, from choosing a spot to knowing what goes in and what stays out.
Choosing Your Compost Companion: The Bin or Heap?
First things first, where will your compost live? You have a couple of main options:
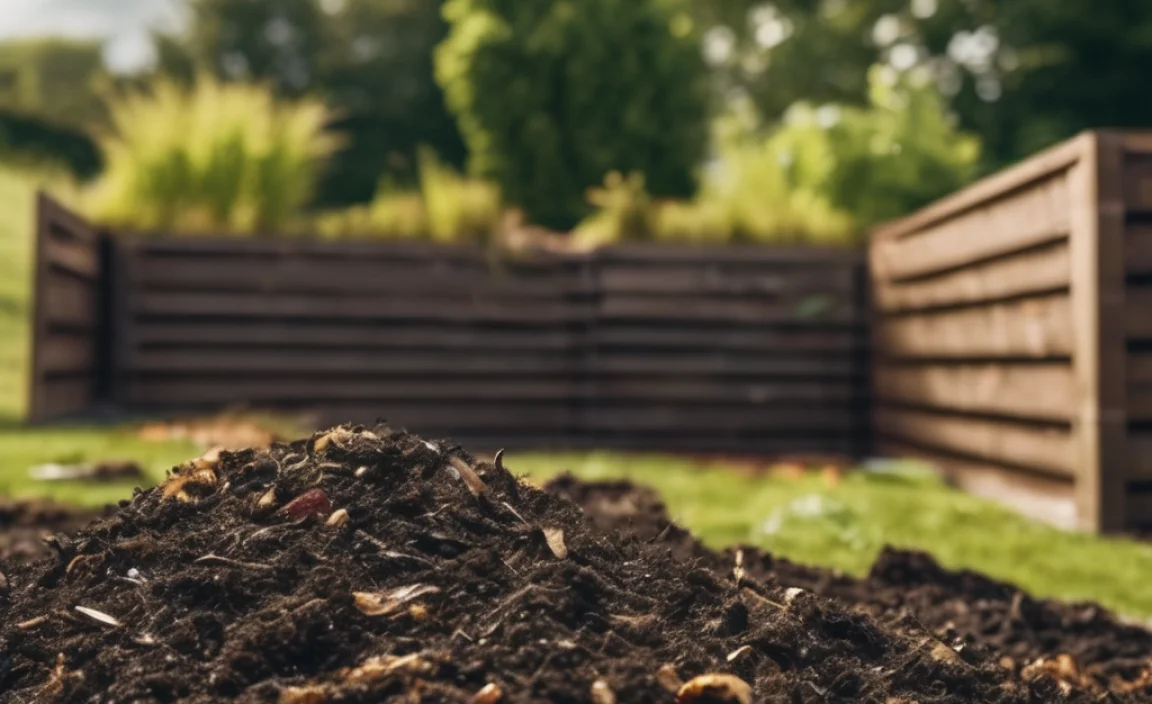
- The Open Heap: This is the most basic approach. You designate a spot in your yard and simply start piling your materials. It’s the cheapest and easiest to start, but can sometimes spread out, look a bit untidy, and might attract unwanted visitors if not managed well.
- The Compost Bin: These come in many shapes and sizes, from simple wooden enclosures to fancier plastic tumblers. A bin can help keep things tidy, retain heat and moisture better, and deter pests. They can be purchased or even built yourself!
For beginners, a simple, enclosed bin is often a great starting point. It contains your efforts nicely and helps keep the composting process humming along.
Location, Location, Location! (For Your Compost)
Picking the right spot for your compost is key to its success:
- Shade or Sun? A little bit of sun is good for heating things up and speeding decomposition, but too much direct sun can dry out your pile. Partially shaded spots are often ideal.
- Good Drainage: You don’t want your compost sitting in a puddle. Ensure the area drains well.
- Accessibility: You’ll be adding to it regularly and eventually harvesting the finished compost, so make sure it’s easy to get to with your kitchen scraps and garden tools.
- Proximity: Not too close to the house if you’re worried about smells (though a well-managed pile shouldn’t smell bad!), but not so far that it’s an effort to get there.
The “Greens” and “Browns”: The Secret Recipe
Composting is all about balance. You need a good mix of nitrogen-rich materials (the “greens”) and carbon-rich materials (the “browns”). Think of it like fuel for the tiny organisms that do the decomposing work. Too much of one can lead to a slimy, smelly mess or a pile that just won’t break down.
Here’s a simple breakdown:
| Greens (Nitrogen-Rich) | Browns (Carbon-Rich) |
|---|---|
| Fruit and vegetable scraps | Dry leaves |
| Coffee grounds and tea bags | Straw or hay |
| Grass clippings (in thin layers) | Shredded newspaper or cardboard (avoid glossy print) |
| Plant trimmings (non-woody) | Sawdust (from untreated wood) |
| Eggshells | Twigs and small branches (chopped) |
A good rule of thumb is to aim for a ratio of roughly 2 to 3 parts browns to 1 part greens. This might sound technical, but it mostly means don’t put in a giant pile of grass clippings without balancing it with plenty of dry leaves or shredded paper.
What NOT to Compost: Avoiding Pitfalls
Just as important as knowing what to add is knowing what to leave out. These items can cause problems like attracting pests, spreading disease, or simply not breaking down:
- Meat, fish, and dairy products (can attract pests and cause odors)
- Oily or greasy foods
- Diseased plants
- Weeds that have gone to seed (they might sprout in your garden!)
- Pet waste (from dogs and cats – can contain harmful pathogens)
- Treated wood or coal ash
- Synthetic materials
Sticking to plant-based materials is your safest bet when you’re starting out.
Your Step-by-Step Compost Heap Journey
Ready to build it? Here’s how to get your sustainable compost heap or bin up and running:
- Prepare Your Spot: Clear your chosen area. If you’re using a bin, assemble it according to its instructions. If you’re building a heap, you might want to lay down a base layer of coarse twigs or branches for aeration.
- Start Layering: Begin by adding a layer of “browns” – think dry leaves, shredded cardboard, or straw. This helps with airflow from the beginning.
- Add Your “Greens”: Now, add a layer of your kitchen scraps and garden trimmings. Chop larger items into smaller pieces to speed up decomposition.
- Cover and Mix: Always cover your green layers with a layer of browns. This is crucial for preventing odors and deterring pests. If you can, give them a little mix with a garden fork.
- Maintain Moisture: Your compost pile should be about as damp as a wrung-out sponge. If it’s too dry, decomposition will slow down. If it’s too wet, it can become anaerobic (lack of air) and start to smell. Water it if it’s dry, and add more browns if it’s too wet.
- Aerate Regularly: The microbes that break down your compost need air. Turn your compost pile every week or two with a garden fork. This also helps mix the materials and speed things up. If you have a tumbler, just give it a spin!
- Be Patient: Depending on the materials you use, how often you turn it, and the weather, compost can take anywhere from a few months to a year to be ready. You’ll know it’s ready when it’s dark, crumbly, and smells earthy.
Troubleshooting Common Composting Issues
Even with the best intentions, sometimes you’ll run into a snag. Here are a few common problems and how to fix them:
- Bad Odor (Ammonia or Rotten Eggs): Usually means too much “green” material or not enough air. Solution: Add more “browns” (leaves, cardboard) and turn the pile thoroughly to introduce air.
- Pile is Too Wet and Slimy: Too much moisture, often from kitchen scraps or rain. Solution: Add generous amounts of “browns,” turn the pile, and cover it if heavy rain is expected.
- Pile Isn’t Heating Up/Breaking Down: Likely too dry, too many “browns,” or not enough nitrogen. Solution: Add some water, mix in more “greens” (like coffee grounds or grass clippings), and turn it to aerate.
- Attracting Pests (Flies, Rodents): Usually from exposed food scraps or meat/dairy contamination. Solution: Ensure all food scraps are buried deeply within the pile and covered with browns. Avoid adding prohibited items. A secure bin can also help.
Genius Eco-Tips for a Super Sustainable Compost Heap

Now, let’s elevate your composting game with some smart, eco-friendly tips:
1. Chop It Up!
Smaller pieces break down faster. Before you toss your kitchen scraps or garden waste, give larger items a chop with a knife or garden shears. This is especially true for things like stalks or citrus peels that can take longer to decompose.
2. Bury Your Scraps
When adding fresh kitchen waste (your “greens”), dig a small hole in the existing compost pile and bury the scraps. Then, cover them over with more material. This practice is fantastic for deterring flies and preventing odors.
3. Layer Wisely
Alternate your green and brown layers. Don’t just dump a whole bag of grass clippings on top. Try a layer of browns, then greens, then browns, and so on. This balanced approach is key to a healthy breakdown. For more on soil health and composting, the EPA has some great resources.
4. Coffee Grounds and Tea Bags for the Win
Did you know coffee shops often give away used coffee grounds? They’re packed with nitrogen and are a fantastic free addition to your compost pile. Just make sure to remove staples from tea bags.
5. Shredded Cardboard is Your Friend
Got junk mail or old boxes? Shredded cardboard (avoiding glossy or heavily inked sections) is an excellent source of carbon. It’s often more readily available than dry leaves, especially in certain seasons. You can get a good shredder for occasional use or even just tear it up.
6. Mulch with Finished Compost
Once your compost is ready, don’t just use it to mix into the soil. Spread a layer around your plants as mulch. This helps retain soil moisture, suppress weeds, and keeps your soil temperature more stable – making your gardening efforts even more sustainable!
7. Consider a Worm Bin (Vermicomposting)
For a more contained and speedy composting method, especially if you have limited space or primarily kitchen scraps, a worm bin is genius. Red wiggler worms do the work, turning your scraps into nutrient-rich worm castings. For more on this, check out resources on vermicomposting.
8. Think About Airflow in Your Bin
If you’re using a commercial plastic bin, make sure it has plenty of ventilation holes. If you’re building a wooden bin, consider leaving small gaps between the slats. Good airflow is essential for aerobic decomposition, which is the odorless, efficient way to compost.
9. Use a Thermometer
This might sound advanced, but a compost thermometer is a simple tool that tells you how your pile is doing. A “hot” compost pile (around 130-160°F or 55-70°C) breaks down much faster and kills weed seeds and pathogens. Don’t worry if yours isn’t reaching these temperatures; “cold” composting still works, it just takes longer. For more on compost temperatures, Oregon State University Extension offers great advice.
10. Embrace Local Resources
Connect with local gardening groups or municipal waste management programs. They often have workshops, discounted bins, or can provide free “brown” materials like leaves or wood chips from local tree pruning services.
When Is My Compost Ready?
This is the exciting part! Your compost is ready to use when it looks, smells, and feels like dark, crumbly soil. Here are the signs:
- Appearance: It should be uniform, dark brown or black, and no longer resemble the original materials you put in. You might occasionally see a larger piece that hasn’t fully broken down, which is fine – you can sift it out and put it back in the active pile.
- Smell: It should have a pleasant, earthy aroma, like a forest floor after rain. If it smells sour or like ammonia, it’s not quite ready and might need more aeration or balancing.
- Texture: It will be crumbly and moist, not wet or slimy, and not dry and dusty.
- Temperature: A finished compost pile will have cooled down to ambient temperature.
The time it takes can vary widely, from 2-3 months for a frequently turned, hot compost pile to 6-12 months or more for a passively managed pile. The key is to observe your pile and wait for these indicators!
What Can I Use My Compost For?
Once you’ve got your “black gold,” the uses are almost endless:
- Soil Amendment: Mix it into garden beds before planting to enrich the soil.
- Top Dressing: Spread a layer around existing plants, trees, and shrubs.
- Potting Mix: Combine it with other ingredients like perlite or coco coir to create a nutrient-rich potting mix for containers.
- Lawn Dressing: Rake a thin layer over your lawn in spring or fall to improve soil health and grass growth.
- Compost Tea: Steep finished compost in water to create a liquid fertilizer that can be used to water plants.
Think of it as a superfood for your soil and a natural way to boost your plant’s health and resilience, all powered by your own efforts!
Conclusion: Your Sustainable Garden Starts Now!
There you have it! Creating a compost heap sustainable is one of the most rewarding and eco-friendly things you can do for your home and garden. It’s a simple, effective way to reduce waste, enrich your soil naturally, and foster a healthier environment. By understanding the balance of “greens” and “browns,” managing moisture and air.
Frequently Asked Questions About Sustainable Composting
Q1: How often do I need to turn my compost pile?
A1: For faster composting, turning it once a week is ideal. If you’re less concerned with speed, turning it every 2-4 weeks or even just a few times a year will still result in compost, it will just take longer.
Q2: My compost pile is attracting flies. What should I do?
A2: This usually means food scraps are exposed. Make sure to bury fresh kitchen waste deep into the pile and cover it thoroughly with “brown” materials like leaves or shredded paper. Also, ensure you are not adding prohibited items like meat or dairy.
Q3: Can I compost diseased plants from my garden?
A3: It’s generally best to avoid composting diseased plants, especially if you’re relatively new to composting or if your pile doesn’t get hot enough to kill pathogens. Stick to healthy plant material to be safe.
Q4: What are the best “brown” materials for a beginner?
A4: Dry leaves are fantastic and readily available in autumn. Shredded newspaper (avoid glossy inserts) and plain cardboard are also excellent, easy-to-find carbon sources that help balance out nitrogen-rich kitchen scraps.
Q5: My compost smells bad. What’s wrong?
A5: A foul smell usually indicates a lack of air (anaerobic conditions) or too much nitrogen (“greens”). Add more “brown” materials, turn the pile thoroughly to aerate it, and ensure you’re not adding meat, dairy, or oily foods.
Q6: How do I know if my compost is too wet or too dry?
A6: The ideal moisture level is like a wrung-out sponge – moist but not dripping. If it feels dry and dusty, add some water. If it’s soggy and compacted, add more “browns” and turn it to improve airflow.
Q7: Can I compost pet waste?
A7: It’s best to avoid composting pet waste from dogs and cats, as it can contain harmful pathogens. Animal manure from herbivores like rabbits or chickens can be composted, but it’s wise to compost it separately or ensure your pile heats up significantly.

I am passionate about home engineering. I specialize in designing, installing, and maintaining heating, ventilation, and air conditioning systems. My goal is to help people stay comfortable in their homes all year long.