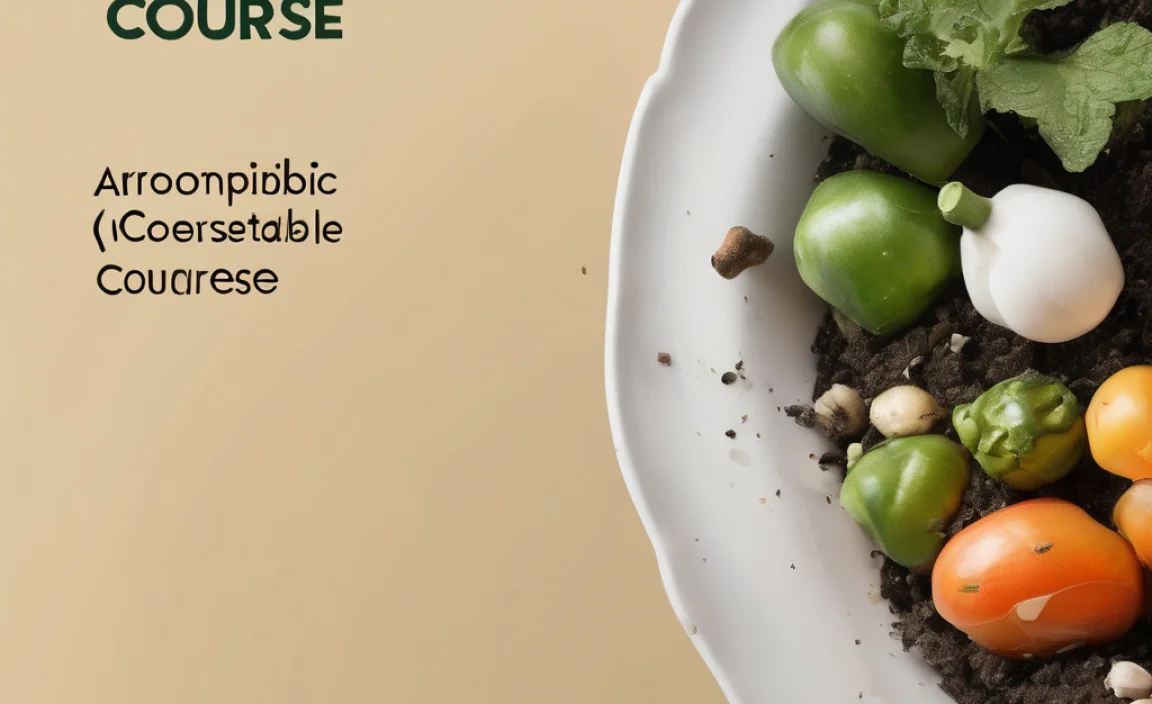
Ever looked at your food scraps and yard waste and thought, “There has to be a better way than just tossing it?” Well, there is! Creating great compost isn’t some dark art. It’s simpler than you think, and I’m here to walk you through it. We’ll break down how to get your compost heap going right, turning waste into wonderful garden gold. Ready to get your hands (a little) dirty and grow something amazing?
Compost Heap Time: Essential Secrets Revealed for Garden Gold
Hey there, fellow home improvers and garden enthusiasts! Troy D Harn here from TopChooser. You know how sometimes a project feels like it’s going to be super complicated? Composting can seem like that, but trust me, it’s totally doable. We’re going to demystify the compost heap, turning those kitchen scraps and yard trimmings into rich, life-giving compost for your garden. Think of it as giving your plants a superfood boost, all while being kind to the planet.
Setting up a compost heap might sound like a big task, but it really just boils down to a few key ingredients and a little bit of patience. We’ll cover everything from choosing the right spot to knowing what goes in and what stays out. By the end of this, you’ll be a composting pro, ready to create your own nutrient-packed soil conditioner. Let’s dig in!
Why Bother with a Compost Heap? The Big Payoffs
Before we start piling things up, let’s talk about why this whole compost heap thing is such a fantastic idea. It’s not just about reducing what goes into your trash can, though that’s a great start! Compost is like a miracle worker for your garden.
- Amazing Soil: Compost improves soil structure. This means better drainage in heavy clay soil and better water retention in sandy soil. It’s a win-win!
- Nutrient Boost: It’s packed with essential nutrients that plants love, helping them grow stronger and healthier.
- Reduced Waste: You’ll significantly cut down on the amount of organic waste going to landfills, which is great for the environment.
- Saves Money: You’ll spend less on store-bought fertilizers and soil amendments.
- Healthier Plants: Healthier soil leads to healthier plants that are more resistant to pests and diseases.
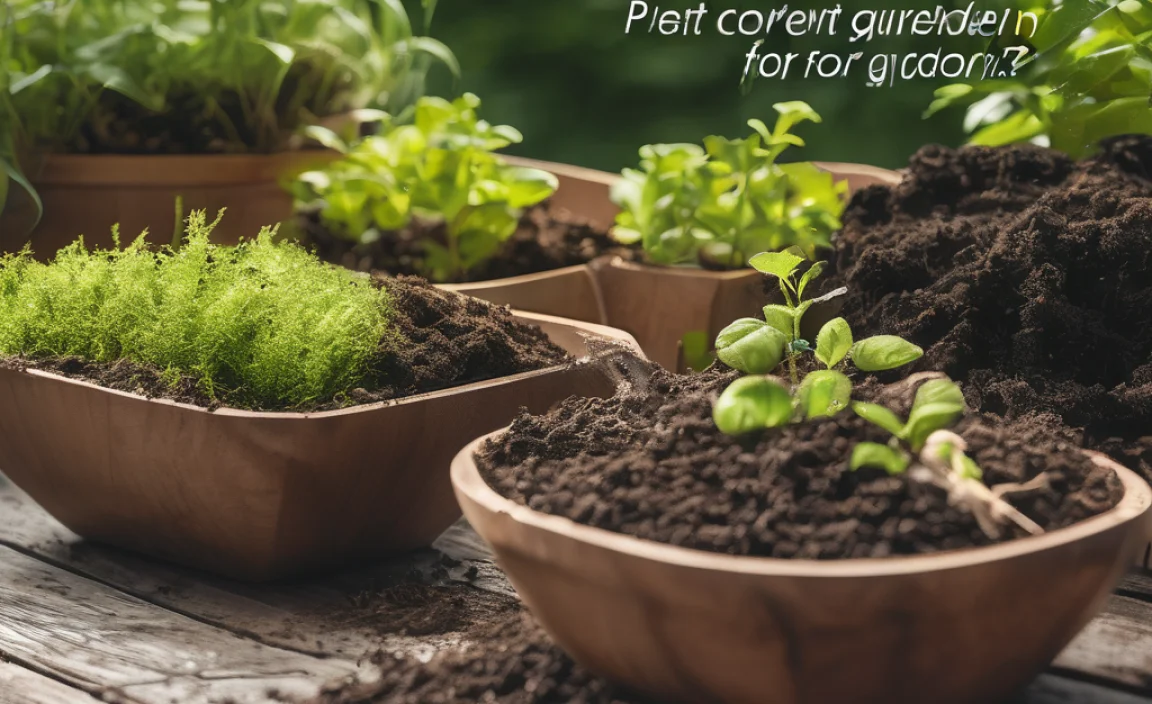
Getting Started: Your Compost Heap Toolkit
You don’t need a fancy setup to start composting. The most important things are a space for your heap and the right mix of materials. Here’s what you might find helpful:
- Compost Bin or Pile Area: This can be a store-bought tumbler, a wooden bin, or simply a designated pile in a corner of your yard. For beginners, a simple open pile or a basic bin is perfect.
- Pitchfork or Shovel: You’ll need this to turn your compost. Turning helps aerate the pile, which speeds up decomposition.
- Gardening Gloves: To keep your hands clean.
- Water Source: A hose or watering can to keep the pile moist.
Choosing the Best Spot for Your Compost Heap
Location, location, location! Just like with a house, where you put your compost heap matters. You want a spot that’s:
- Accessible: Easy for you to get to with kitchen scraps and yard waste, and easy to access for turning.
- Shady or Partially Shady: Too much direct sun can dry out your pile too quickly. A little sun is okay, but full, intense sun is best avoided.
- Well-Drained: You don’t want your compost sitting in a puddle.
- Away from Your Home (if possible): While a well-maintained compost pile shouldn’t smell bad, it’s good practice to keep it a little distance from your main living areas.
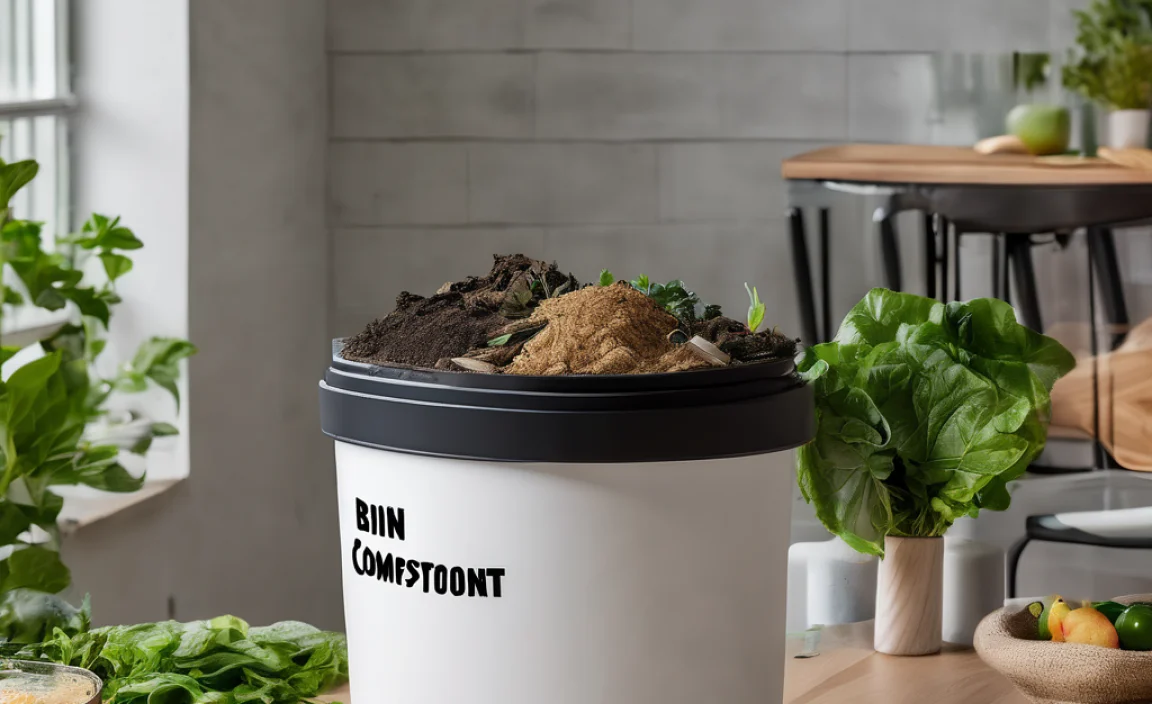
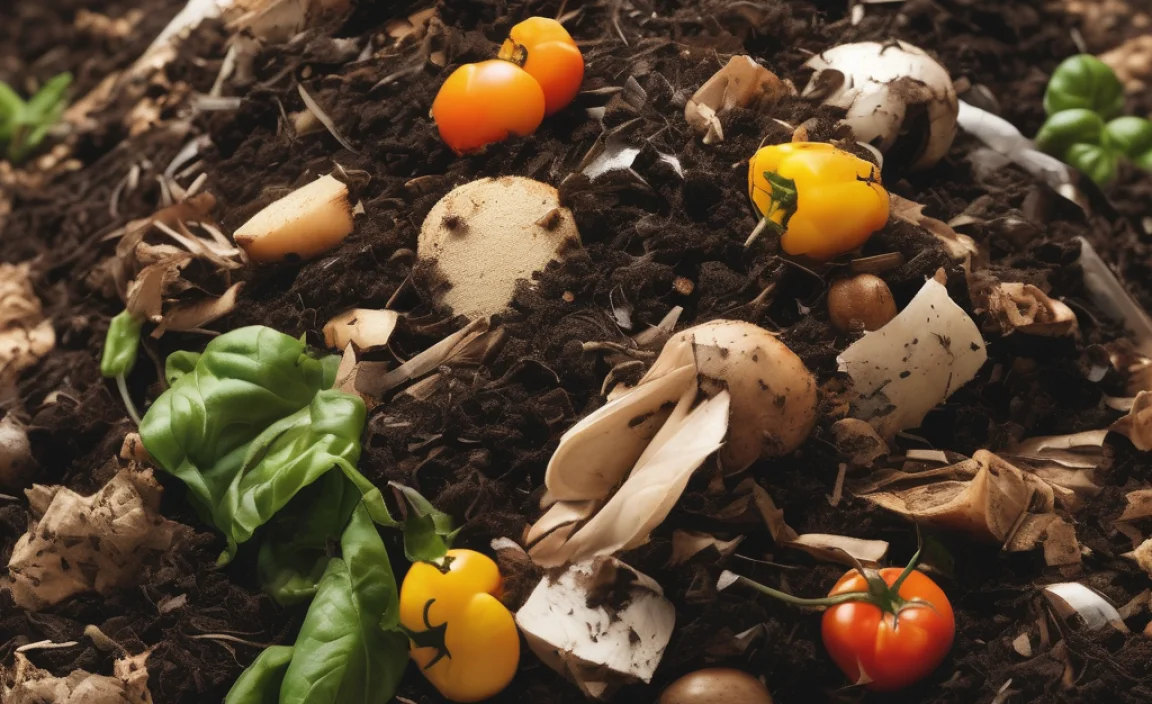
The Magic Mix: Greens and Browns
This is where the real composting magic happens! Compost piles need a balance of two types of materials: “greens” and “browns.” Think of it like feeding your compost pile a balanced diet.
Greens (Nitrogen-Rich): These are the wet, fresh materials that provide nitrogen. They heat up the pile and get the decomposition process going.
- Fruit and vegetable scraps
- Coffee grounds and tea bags
- Grass clippings (in thin layers)
- Plant trimmings (non-woody)
- Eggshells
Browns (Carbon-Rich): These are the dry, woody materials that provide carbon. They add bulk, help with airflow, and prevent the pile from becoming too soggy and smelly.
- Dry leaves
- Shredded newspaper and cardboard (avoid glossy paper)
- Straw and hay
- Wood chips or small twigs (in moderation)
- Paper towels and napkins (unsoiled by grease or chemicals)
The Ideal Ratio: Aim for roughly 2 to 3 parts Browns to 1 part Greens by volume. This ratio is a guideline, not a strict rule. If your pile is slow, you might need more greens. If it’s soggy and smelly, add more browns.
What NOT to Compost: Keeping it Safe and Effective
Just as important as knowing what to put in your compost heap is knowing what to leave out. Some things can cause problems, like attracting pests, spreading disease, or just not breaking down.
- Meat, fish, and bones: These can attract pests and create unpleasant odors.
- Dairy products: Like meat, these can attract pests and smell bad.
- Oily or greasy foods: They can slow down decomposition and make the pile smelly.
- Diseased plants: You don’t want to spread plant diseases to your garden.
- Weeds that have gone to seed: The seeds might survive the composting process and sprout in your garden.
- Pet waste (dog and cat): Can contain harmful pathogens.
- Treated wood: Contains chemicals that you don’t want in your compost.
- Coal or charcoal ash: Can be harmful to plants.
Building Your Compost Heap: A Step-by-Step Guide
Ready to build? It’s easier than assembling furniture! Follow these simple steps:
- Gather Your Materials: Start collecting your greens and browns as you generate them. It’s a good idea to have a bit of both ready before you begin building.
- Start with a Layer of Browns: Lay down a 4-6 inch layer of coarse browns (like twigs or straw) at the bottom. This helps with drainage and airflow from the start.
- Add Greens and Browns: Start adding your kitchen scraps (greens) and yard waste (browns) in alternating layers. Try to finish with a layer of browns on top to help reduce odors and deter pests. Aim for that 1:2 or 1:3 greens-to-browns ratio as best you can.
- Chop it Up: Smaller pieces break down faster. If you have a lot of bulky items like large vegetable stalks or cardboard, chop them up or shred them.
- Moisten as You Go: Your compost pile should be as damp as a wrung-out sponge. Water each layer lightly as you add it, especially the brown materials, which tend to be dry.
- Build Your Pile: Continue layering greens and browns until your bin is full or you’ve reached a manageable size (around 3 feet high is ideal for good heat generation).
The Art of Composting: Temperature, Moisture, and Air
A healthy compost heap is a living ecosystem! Tiny organisms are doing the hard work, and they need the right conditions to thrive. These three elements are key:
1. Temperature: The Hot Zone
A hot compost pile is a happy compost pile. When the ratio of greens to browns is right, and you have enough moisture and air, the pile can heat up to 130-160°F (54-71°C). This heat is crucial for breaking down materials quickly and killing off weed seeds and pathogens. You might not be able to measure the temperature precisely without a compost thermometer, but you can often feel the warmth when you’re turning it.
2. Moisture: The Damp Sponge Test
Compost needs moisture to work. If it’s too dry, decomposition slows to a crawl. If it’s too wet, it can become a soggy, anaerobic (oxygen-deprived) mess that smells bad. The best way to check is the “squeeze test”: grab a handful of compost. If a few drops of water come out when you squeeze it, it’s just right. If water streams out, it’s too wet. If it feels dry and crumbly, it needs water.
For more detailed advice on compost science and best practices, check out these resources from university extensions:
- Composting Basics from North Carolina State University Extension
- Composting for the Home Garden from Oregon State University Extension
3. Air: The Breath of Life
Decomposition is an aerobic process, meaning it requires oxygen. Turning your compost pile regularly is the most effective way to introduce air. Aim to turn it every 1-4 weeks. This also helps mix the materials, ensuring everything breaks down evenly. If you’re using a compost tumbler, simply rotating it does the job.
Troubleshooting Common Compost Heap Problems
Even seasoned composters run into a snag now and then. Don’t get discouraged! Most compost problems are easy to fix.
| Problem | Cause | Solution |
|---|---|---|
| Smelly Pile (Rotten Egg or Ammonia Smell) |
Too much green material; pile is too wet; lack of air. | Add more brown materials. Turn the pile to aerate it. If it’s too wet, add dry browns and turn. |
| Pile Isn’t Heating Up or Decomposing Slowly |
Not enough green material; pile is too dry; pile is too small; lack of air. | Add more green materials (food scraps, grass clippings). Moisten the pile. Make the pile larger (aim for 3x3x3 feet). Turn the pile. |
| Attracting Pests (Flies, Rodents) |
Exposed food scraps; too much meat or dairy (which shouldn’t be in compost anyway). | Bury food scraps in the center of the pile. Always finish with a layer of brown material. Ensure you are not adding prohibited items. Consider a critter-proof bin if pests are persistent. |
| Pile is Too Dry |
Not enough moisture; too much sun; too many brown materials. | Water the pile thoroughly. Cover with a tarp if in direct sun. Add more green materials or water until it reaches “damp sponge” consistency. |
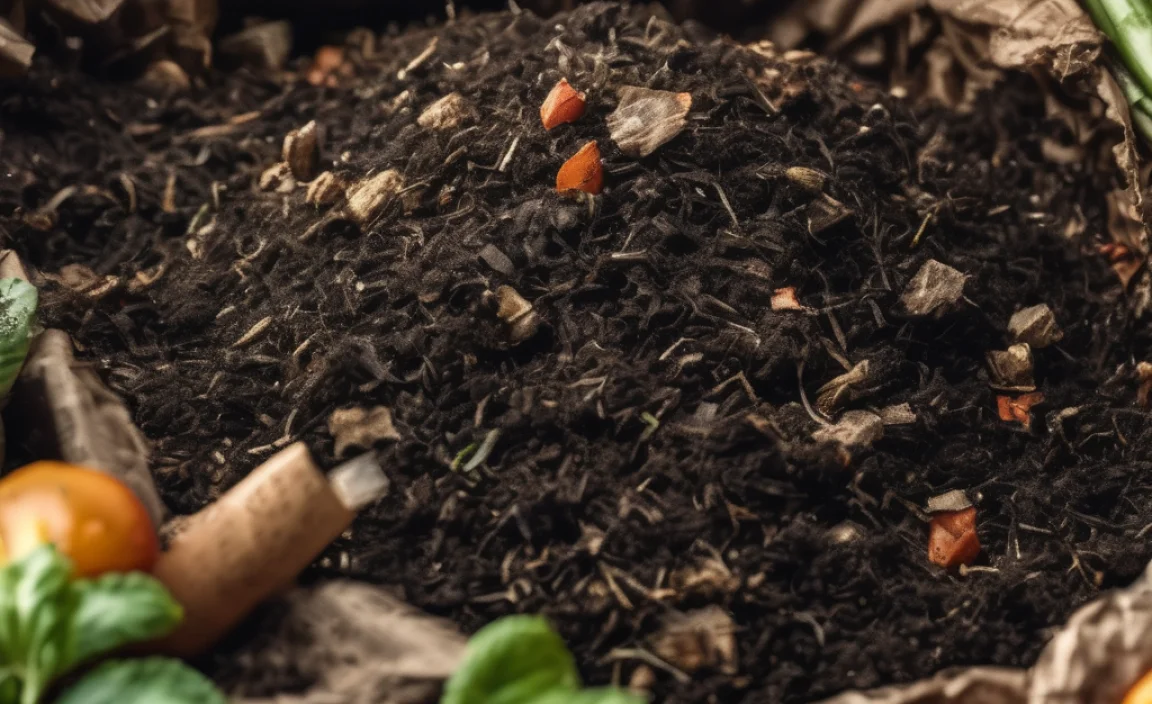
When is Compost Ready? The Grand Reveal!
Patience is a virtue, especially with composting! Your compost is ready when it:
- Looks dark and crumbly, like rich soil.
- Smells earthy and pleasant, like a forest floor after rain.
- The original materials are no longer recognizable.
- It’s cool to the touch (the hot composting phase is over).
This process can take anywhere from a few months to a year, depending on how actively you manage your pile, the materials used, and the climate. Typically, a well-managed, actively turned compost pile will yield finished compost faster than a passively managed one. You can speed things up by chopping materials smaller and ensuring good aeration and moisture levels.
Using Your Finished Compost: Garden Gold at Work
Once your compost is ready, you have a fantastic, nutrient-rich soil amendment. Here’s how to use it:
- Soil Amendment: Mix 1-3 inches of compost into your garden beds before planting. This improves soil structure, fertility, and moisture retention.
- Top Dressing: Spread a thin layer (about 1 inch) around existing plants, trees and shrubs. You can gently scratch it into the top inch of soil or let nature do the work.
- Potting Mix: Mix compost with other ingredients like perlite or vermiculite to create a high-quality potting mix for containers.
- Lawn Care: Rake a thin layer over your lawn in the spring or fall to improve soil health and turf vigor.
Conclusion: Your Journey to Compost Mastery
See? Building and managing a compost heap isn’t rocket science. It’s a natural process that, with a little understanding and effort, can transform your kitchen scraps and garden waste into black gold for your plants. You’ve learned about the essential greens and browns, the importance of moisture and air, and how to troubleshoot common issues. Now you have all the secrets to get your compost heap time off to a fantastic start!
Don’t be afraid to experiment and learn as you go. Every compost pile is a bit unique. The rewards – healthier plants, a happier garden, and a more sustainable lifestyle – are well worth the effort. So go ahead, start building that pile, and enjoy the satisfying process of turning waste into something truly valuable. Happy composting!
Frequently Asked Questions About Compost Heap Time
Q1: How long does it actually take for compost to be ready?
A: It varies! A hot, actively managed pile can be ready in 2-4 months. A cooler, passively managed pile might take 6 months to a year or more. The key signs are appearance and smell – it should look and smell like rich earth.
Q2: My compost smells bad. What did I do wrong?
A: Bad smells (like rotten eggs or ammonia) usually mean too much green material or not enough air. Try adding more brown materials (leaves, shredded paper) and turning the pile to aerate it.
Q3: Can I compost in a small yard or even on a balcony?
A: Absolutely! For smaller spaces, consider a compost tumbler or a worm bin (vermicomposting). These are compact and efficient for smaller volumes of waste.
Q4: Do I need to buy a special compost bin?
A: Nope! While bins can help contain the pile and look neater, you can simply create a pile in a corner of your yard. Even a simple wire mesh or wooden pallet enclosure works perfectly.
Q5: What’s the difference between hot composting and cold composting?
A: Hot composting involves actively managing the pile (turning, balancing greens/browns, moisture) to reach high temperatures, which breaks down material faster and kills pathogens. Cold composting is more of a “set it and forget it” approach; materials break down, but much more slowly, and without killing many weed seeds or pathogens.
Q6: I’m worried about pests like rodents. How can I prevent them?
A: The best way is to avoid adding tempting items like meat and dairy. Always bury food scraps deep within the pile and cover them with a layer of brown material. Using a lidded compost bin or tumbler can also help.
.lwrp.link-whisper-related-posts{
margin-top: 40px;
margin-bottom: 30px;
}
.lwrp .lwrp-title{
}.lwrp .lwrp-description{
}
.lwrp .lwrp-list-container{
}
.lwrp .lwrp-list-multi-container{
display: flex;
}
.lwrp .lwrp-list-double{
width: 48%;
}
.lwrp .lwrp-list-triple{
width: 32%;
}
.lwrp .lwrp-list-row-container{
display: flex;
justify-content: space-between;
}
.lwrp .lwrp-list-row-container .lwrp-list-item{
width: calc(25% – 20px);
}
.lwrp .lwrp-list-item:not(.lwrp-no-posts-message-item){
max-width: 150px;
}
.lwrp .lwrp-list-item img{
max-width: 100%;
height: auto;
object-fit: cover;
aspect-ratio: 1 / 1;
}
.lwrp .lwrp-list-item.lwrp-empty-list-item{
background: initial !important;
}
.lwrp .lwrp-list-item .lwrp-list-link .lwrp-list-link-title-text,
.lwrp .lwrp-list-item .lwrp-list-no-posts-message{
}@media screen and (max-width: 480px) {
.lwrp.link-whisper-related-posts{
}
.lwrp .lwrp-title{
}.lwrp .lwrp-description{
}
.lwrp .lwrp-list-multi-container{
flex-direction: column;
}
.lwrp .lwrp-list-multi-container ul.lwrp-list{
margin-top: 0px;
margin-bottom: 0px;
padding-top: 0px;
padding-bottom: 0px;
}
.lwrp .lwrp-list-double,
.lwrp .lwrp-list-triple{
width: 100%;
}
.lwrp .lwrp-list-row-container{
justify-content: initial;
flex-direction: column;
}
.lwrp .lwrp-list-row-container .lwrp-list-item{
width: 100%;
}
.lwrp .lwrp-list-item:not(.lwrp-no-posts-message-item){
max-width: initial;
}
.lwrp .lwrp-list-item .lwrp-list-link .lwrp-list-link-title-text,
.lwrp .lwrp-list-item .lwrp-list-no-posts-message{
};
}
Related Posts

I am passionate about home engineering. I specialize in designing, installing, and maintaining heating, ventilation, and air conditioning systems. My goal is to help people stay comfortable in their homes all year long.